This blog was once about my 40K Eldar army, modeled in conflict with the Tau. It has grown into my hobby home on the internet. Basically that means anything I do from a gaming standpoint is written about here.
During the Summer I typically have the opportunity for a Work-Cation trip to New England. This is a two week period of time where my wife, mother-in-law, and kids get to go to the beach and I settle myself out on the porch and work. One of the high points of this week is the relaxation and an increased chance to paint. This, along with Christmas, is typically my highest level of yearly productivity for painting miniatures.
This year I brought a number of things with me including my entire hunters set. These were already primed and I had been waiting to paint them before playing them. I'd stumbled around trying to figure out a good scheme for them for a while. I thought I wanted a fall theme but was having trouble picturing the right combination in my head. Thanks to "The Art of Wargaming" on facebook, I found the scheme that fit the picture in my head. While I certainly do not compare to their level of painting, I am pretty happy with my table top quality Hunters.
Overall I'm happy with the way the team looks, and I particularly like how they look when all together. Here's a group shot of the whole team.
It's going to be a lighter article today, nothing controversial like previous opinion pieces nor heavy on math like my analysis article last week. I've been pushing myself to carve out time to paint over the past couple weeks. I've not been the most successful, but have made sure to grab time here and there. I'm moving through my Morticians, having gotten all but 2 painted and some of the base coats down on those last 2 models. This is good because I'm looking forward to learning the Morticians and it's nice to play fully painted. I also got in an early release of one of the Season 2 captains, Esters, who needed paint before she could hit the table.
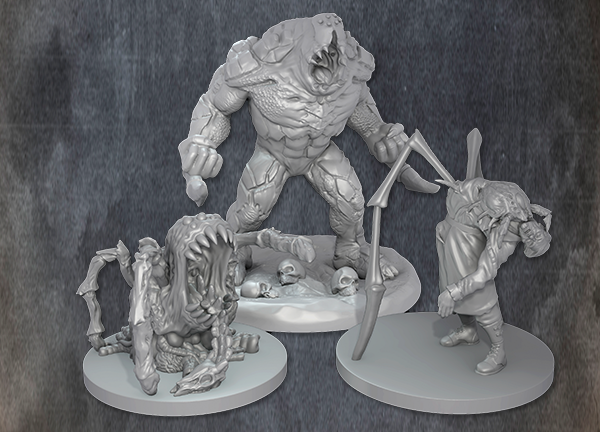
Before jumping into a showcase of those models I'll share a short story with you as well. I recently received the first portion of my Fireteam Zero kickstarter pledge which included a number of models. I decided I was going to hold out on playing the game with my copy and paint up the models in the set. Another person in my gaming group got the game as well, so we can play his copy while I'm painting. The group of enemy model's I'm painting are the Children of Typhon, a bug styled infesting monster who take over other creatures bodies at lower levels. FTZ is new enough that I've been stymied on finding examples of painted models. I asked my buddy John for his advice, as he is a painting machine and has completely painted most of his board game miniatures including complete sets of Zombicide.
Me - "Hey John, I'm stuck and would love your advice on what colors to use to paint these models. Check these out, how would you paint them up"
John - "These look good. You know lots of insects like beetles and ants have different markings and many different colors. You should look those up and use the colors from them"
Me - (thinking huh, I just wanted a color scheme) "Cool, that sound good. What color's would you use?"
John - "I'd go online and look up different insects until I found one that I liked then paint them that way. There's a whole lot of different colors you could use"
I realized a couple things at that point:
John was answering my question
It wasn't exactly the answer I wanted
It was most likely the answer I needed
So now I'm off to dig up color schemes of beetles and ants and such to figure out how to paint up my children of typhon. I decided to start painting up the hero's first, as the browns, greens, and tan for WW2 military troops are a bit easier to figure out. I'll post pictures of the set's once I get them done.
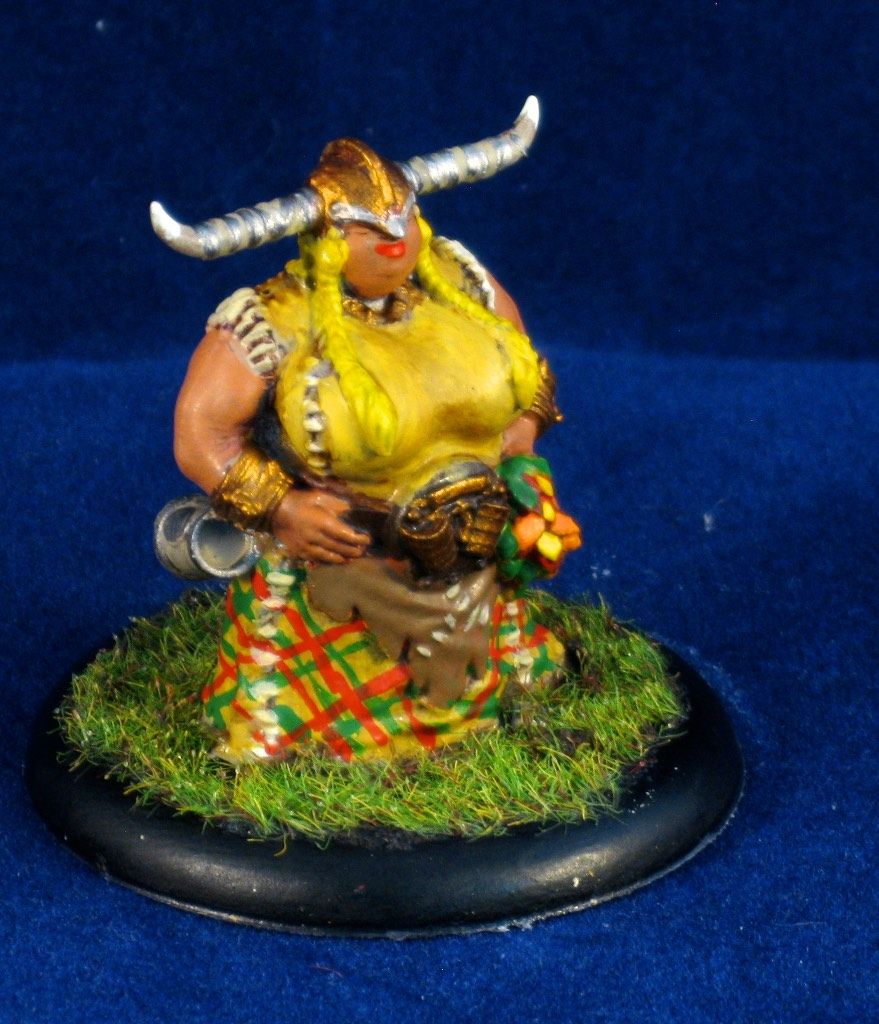
Now let's take a look at the Guild Ball models. First up is Esters, the new Guild Ball Captain. I must admit that I have painted her twice now, and I'm still not as happy with her as I am with the rest of the team. I think she will look good on the table next to the team, but overall she is not among my best paint jobs. I'm unsure if I've just bee off in my painting or if it's the model overall that's not working for me. My first take on her had her dress as one color and then the leather apron painted with the tartan pastern. She looked ok but not fantastic, so I went back and decided to switch things up. I did not think this scheme would work out but after everything was done she looks better than she did originally. She also fits into the team a bit better than before.
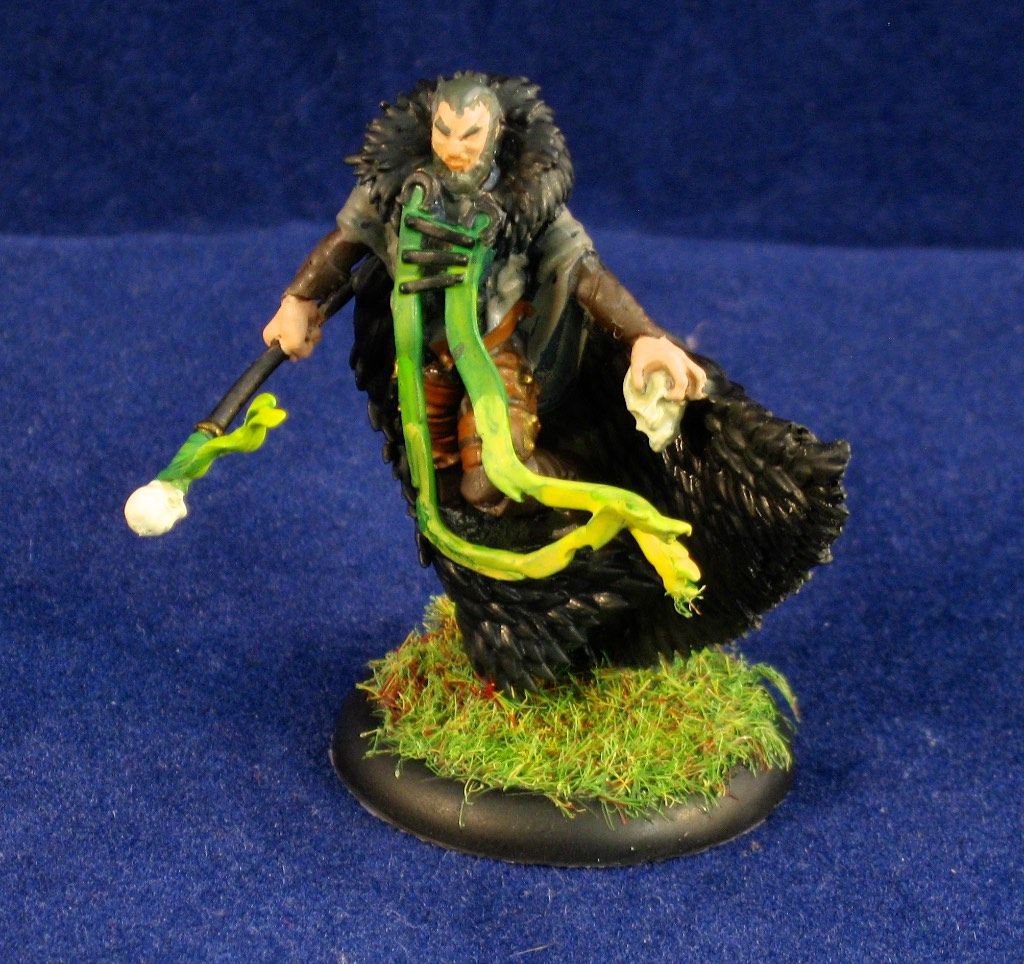
Next up are my morticians. I'm going with a darker scheme, blacks, off-white, tan, and grey. I'm working on mimicking some of the other schemes which use green to yellow fading on the ribbons and other various bits in the team. I'm also grabbing any fabric edges and such as straight yellow. Overall I'm happy with how they look but they are not among my best painted models. They don't come together as nicely as the Brewers or Union models did, being a bit tougher to take on paint and color throughout the team. I'm hoping once I finish them up they'll look good on the table.
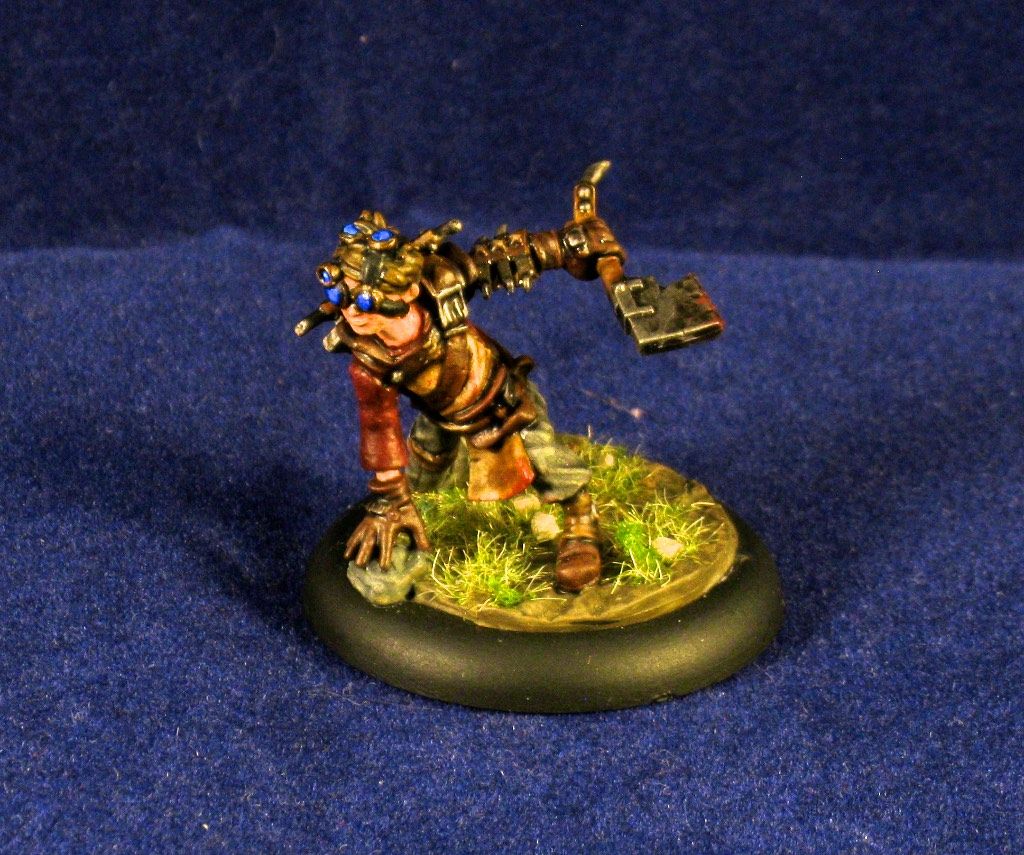
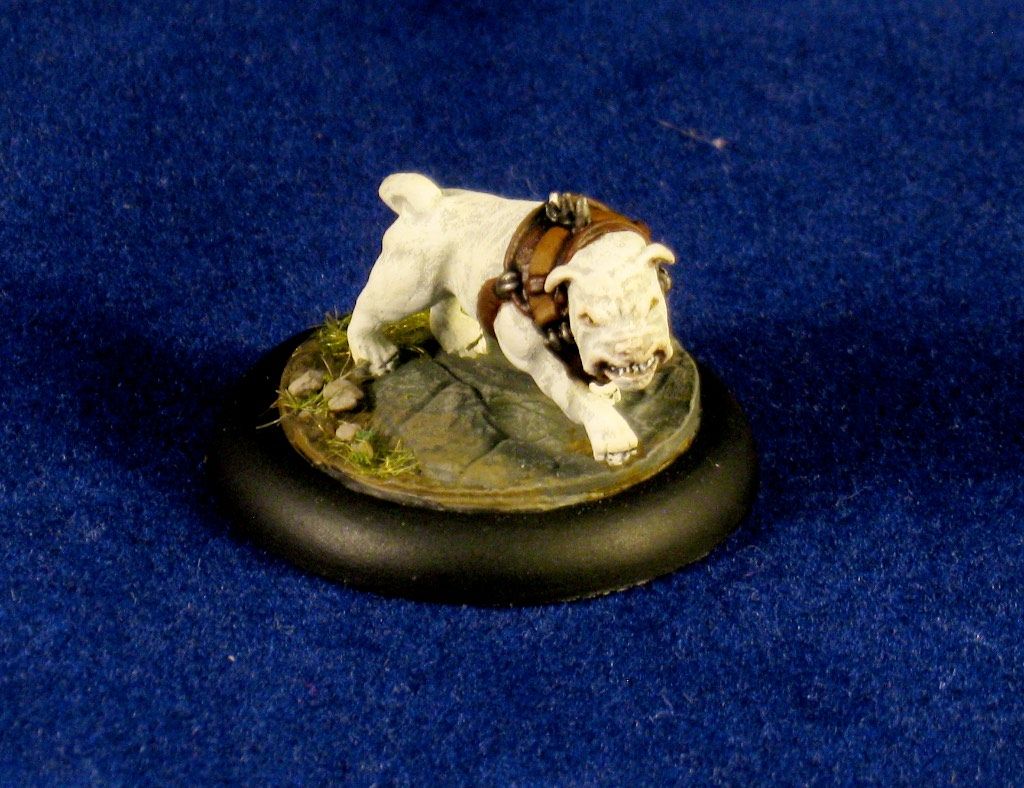
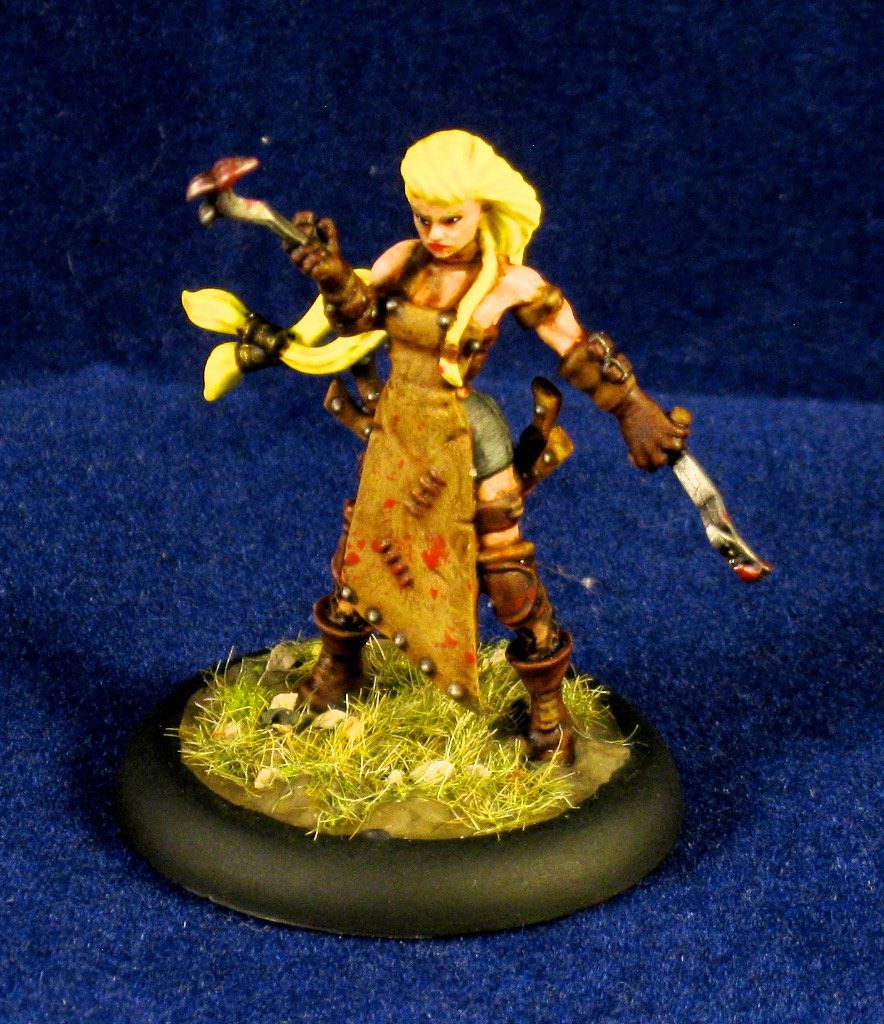
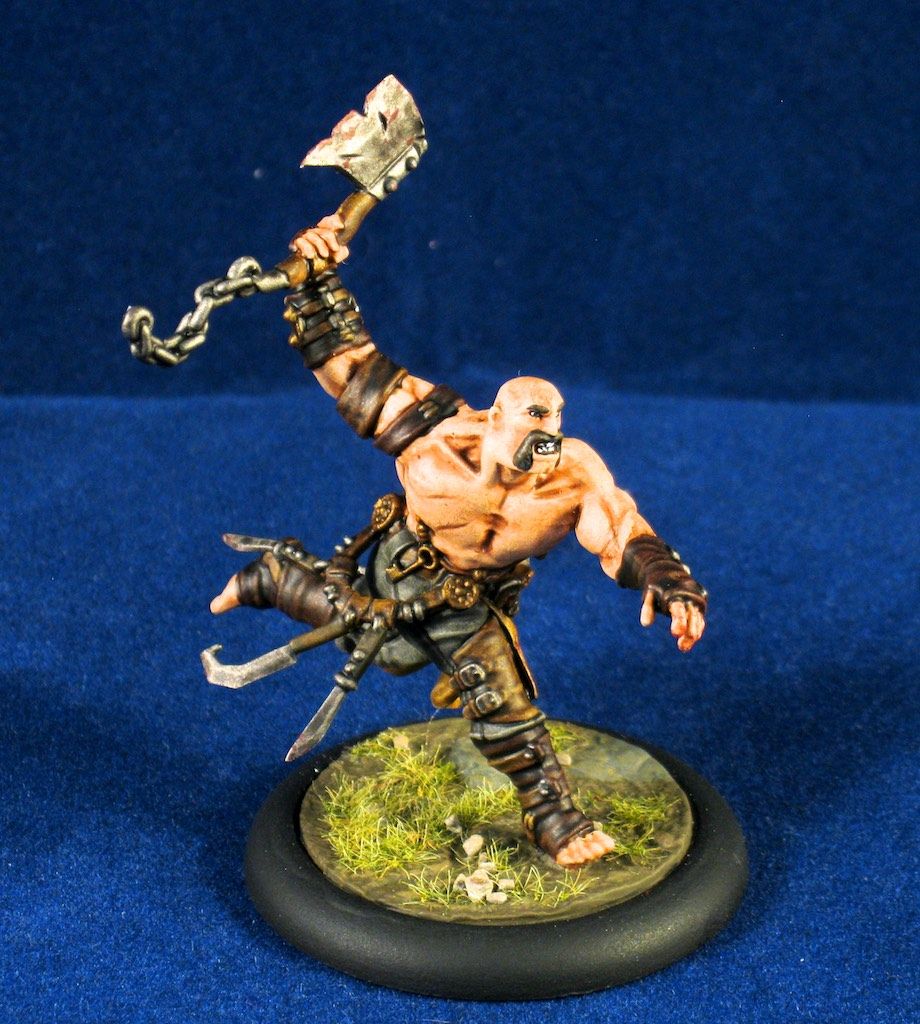
Now it's Monday, and there's a regularly scheduled post on DTP! I had a bit of an advantage, grabbing the following picture set at the same time I grabbed pictures of last weeks team, Fishermen. Now we're going to take a look at the Butchers.
John does a great job painting, and these models show off that skill just as nicely as the Fishermen did last week. There are subtle smears of blood throughout the team, really adding to the brutal combat aspect of the guild. Overall, these are just nice models.
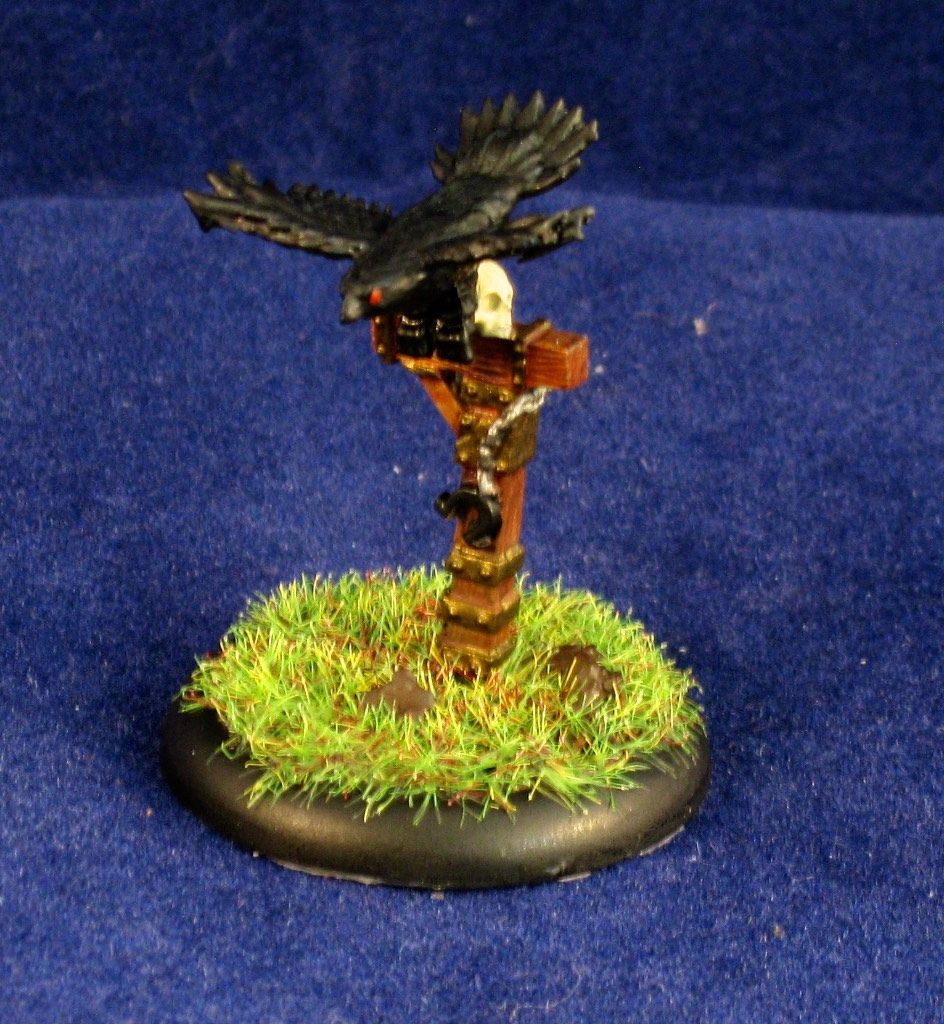
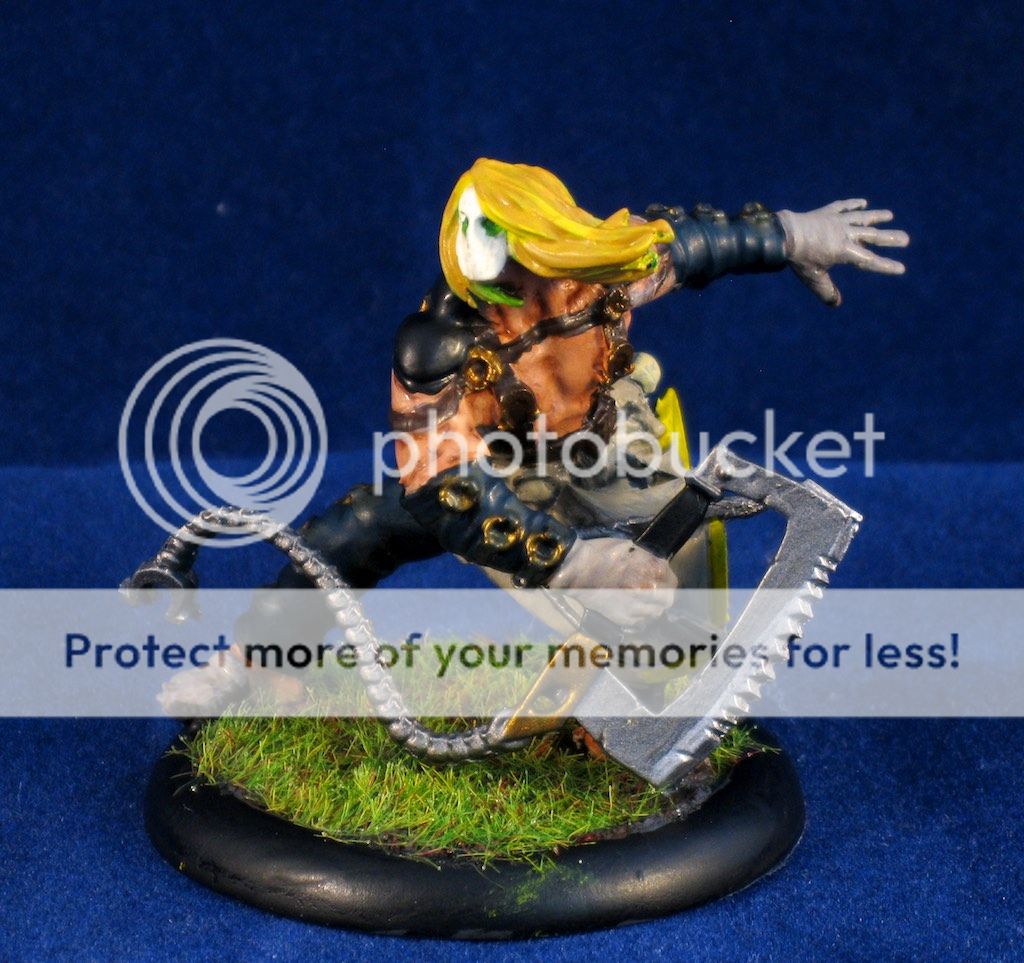
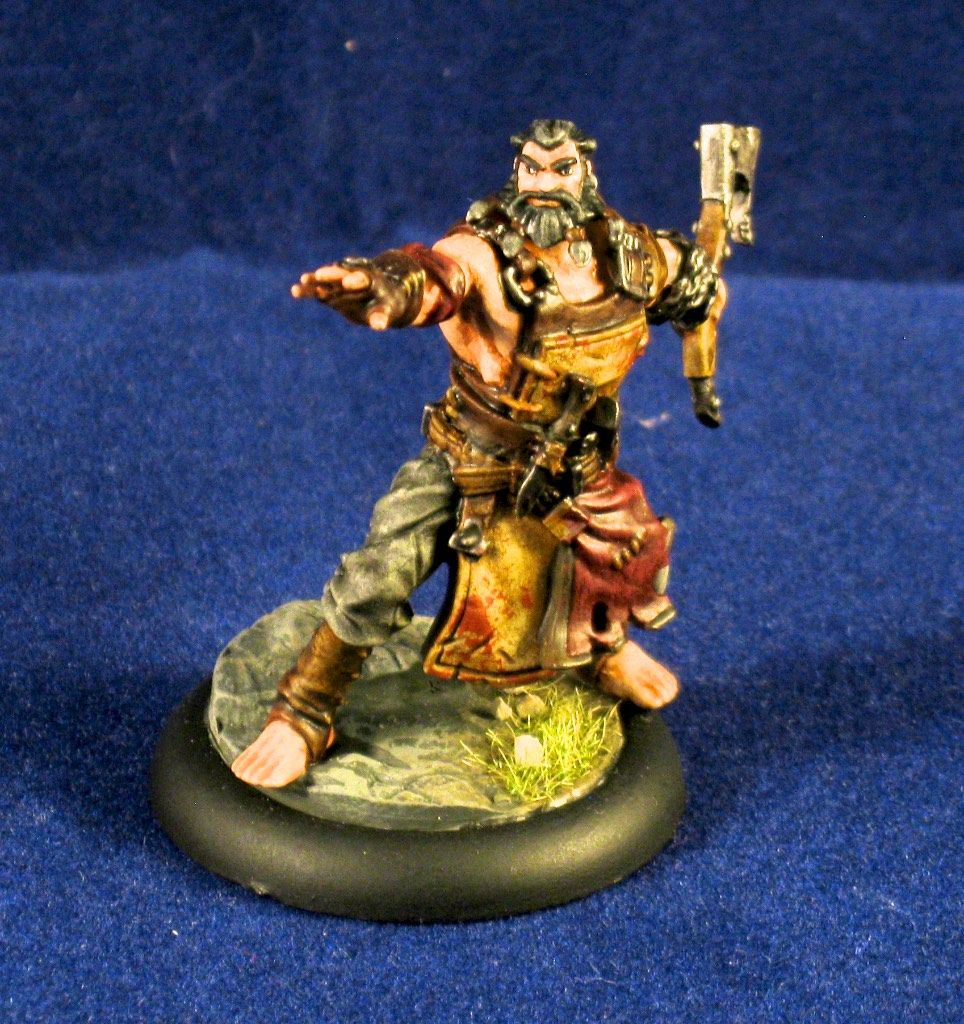
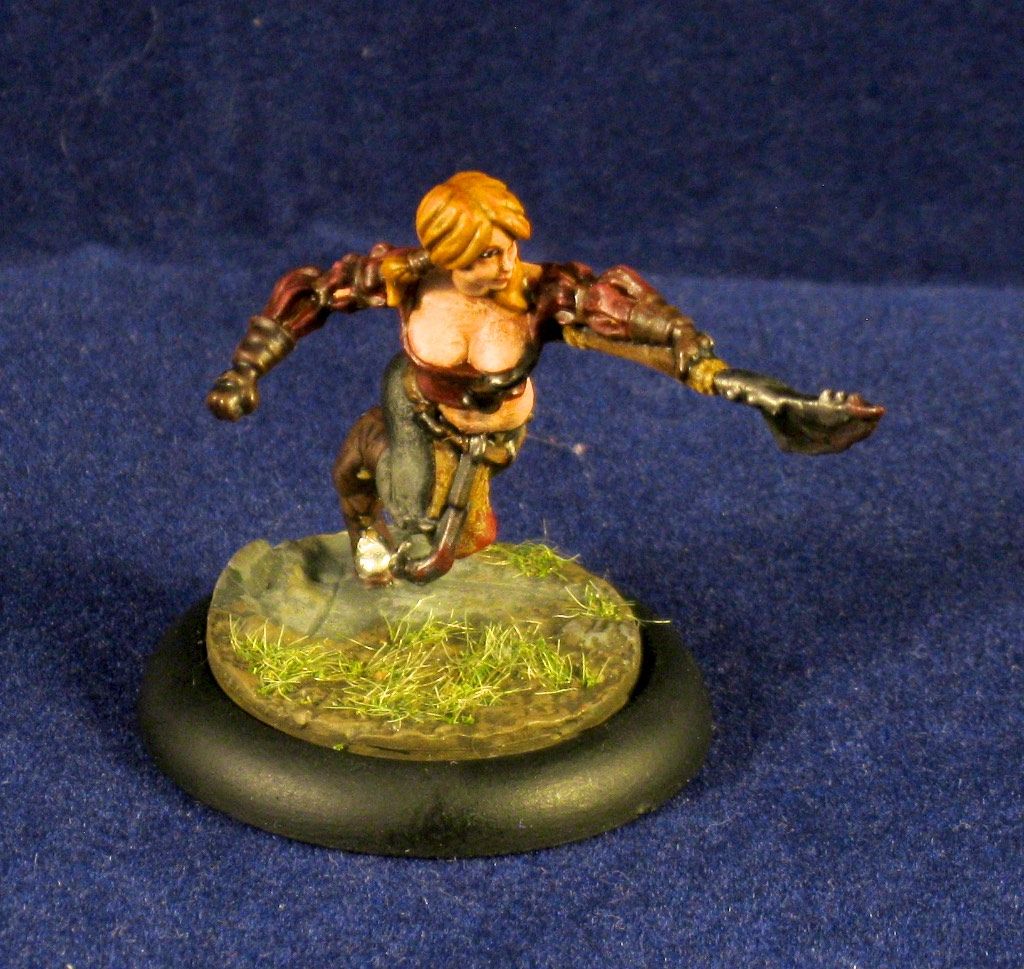
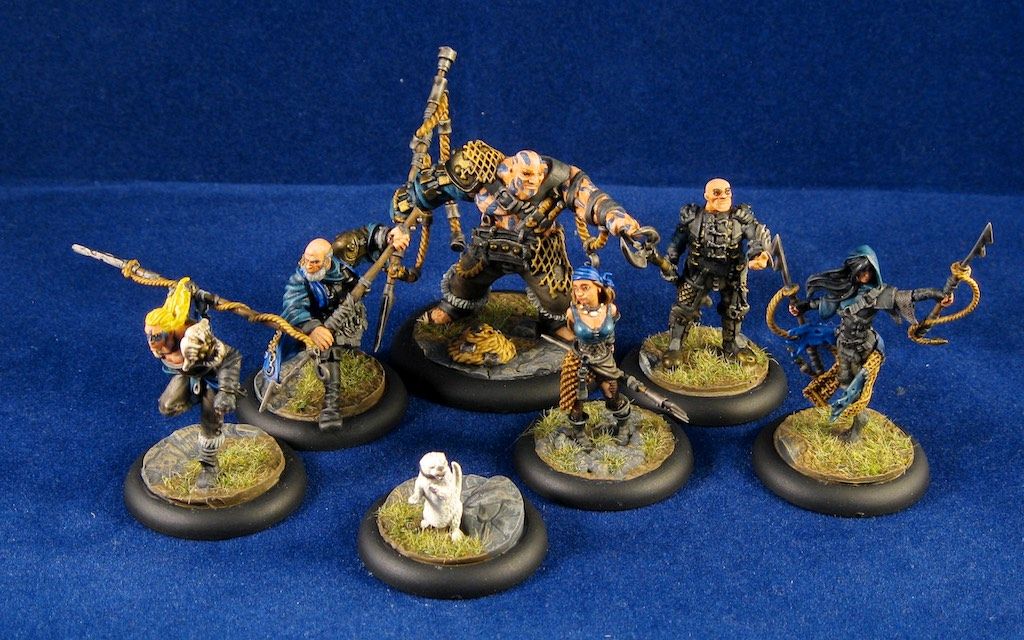
First up let's look at the whole Butchers team.
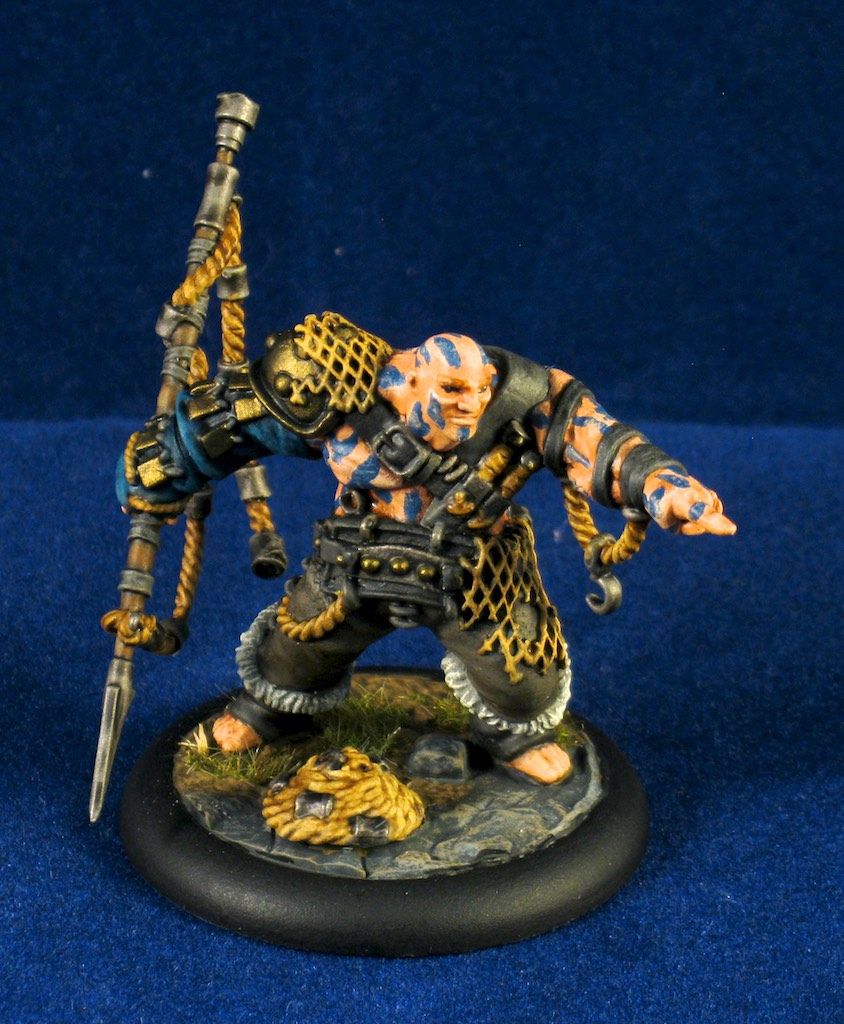
Keeping with last weeks format, we then move onto the Demo 3, the three butchers models used in game demos.
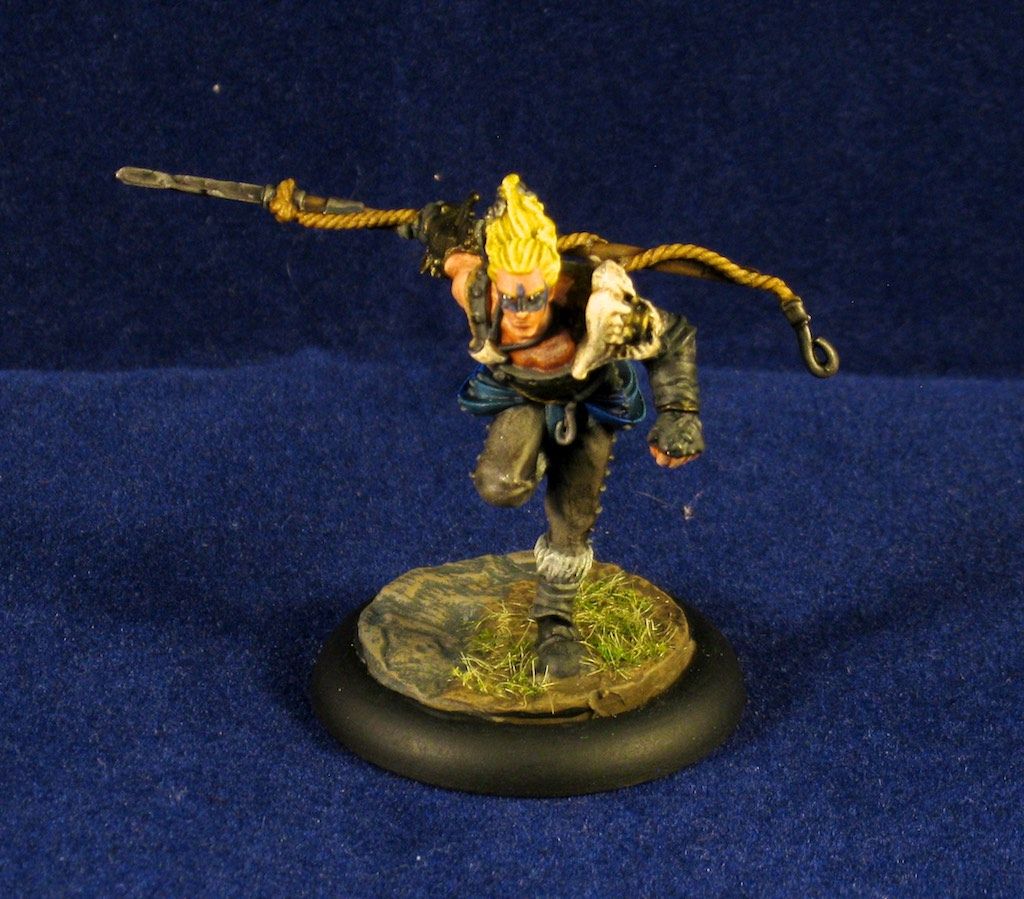
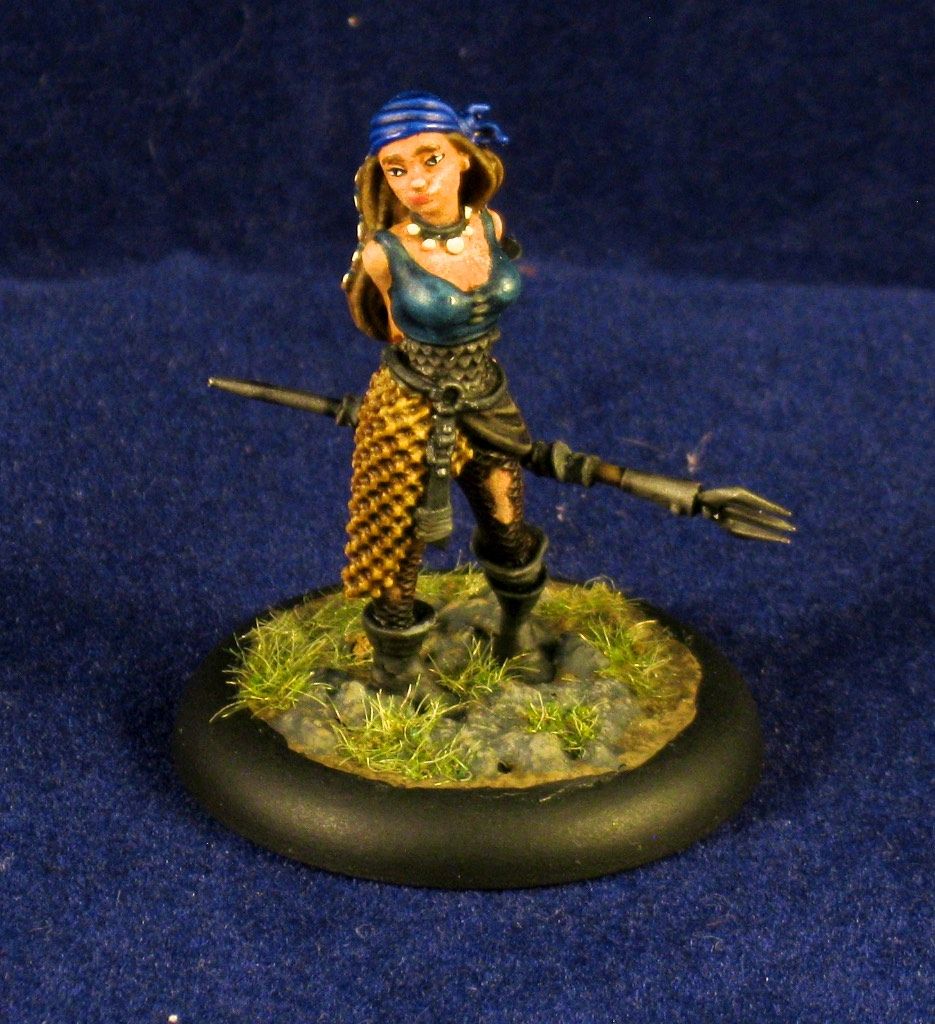
Then we look at the remaining 4 models in the season 1 team.
It's Monday isn't it?
No?
Damn, missed the deadline to get this post out. Ironically, I realized I missed the post yesterday morning and headed down to my cave to grab some pictures. I had planned to grab these pictures before, but over the holidays it just did not happen. On arriving at my humble photo set-up I realized I had a dead battery in my camera and needed to recharge. Now it's Tuesday and here we are.
As a little background on the next two picture posts coming up (this and next Monday), we'll be looking at the Fishermen and Butchers team from Guild Ball. During the Guild Ball Kickstarter I joined my pledge with a friends (John) pledge and we ended up getting 7 teams between the two of us. On looking over the teams I liked the look of most of them, but found myself drawn heavily to a set of particular teams. Fishermen and Butchers were not in the group of teams I wanted, and nicely John did like how they looked. John grabbed those teams, I grabbed the others, neither of us grabbed Engineers, and we were good to go. After playing for a couple months John decided that Guild Ball was not to his liking and I offered to buy his teams from him to fill out my collection. John's a great painter and I wanted these two teams for Demo's. Everything fit well.
So let's take a look at the team:
First up we have the Demo 3, the three models that are used for Demoing Guild Ball.
Following those three we have the balance of the team and the mascot.
It's been a really strong 9 week run to date with two posts a day. I'm certainly back in the swing of blogging but I've started to run close to my backlog of scheduled posts. I foresee some point in the next couple weeks where the content here will drop down to the originally planned single post per week. This could happen as soon as next week, depending on how this week goes.
That said, I'm still moving along with a second post this week. I wanted to share some of the additional model's I've painted up since the last post. I'm spending my time currently split between painting Guild Ball and painting Super Dungeon Explore.
Guild Ball
On the Guild Ball front, to date I've completed painting up all my Brewers, Masons, and Union models. That is to say all my Union models minus one, Mynx, who's making her way onto my painting table this week. I've already posted pictures of my Union and Masons with the team reviews, which savvy readers will have picked out. I just completed my Brewers and will be sharing the individual model pictures with readers when I do the team review for them. I expect that will be in a couple weeks once I've had a chance to play a half-dozen games and feel comfortable with them. For the time being, here's a team shot to show off:
Super Dungeon Explore
On the SDE front I've been powering through new models at a much higher pace. I'm working on getting my Von Drakk set painted up so I have all the models I need for a Haloween game we'll be playing at our party. I have a fair bit to go but have been doing ok on progress.
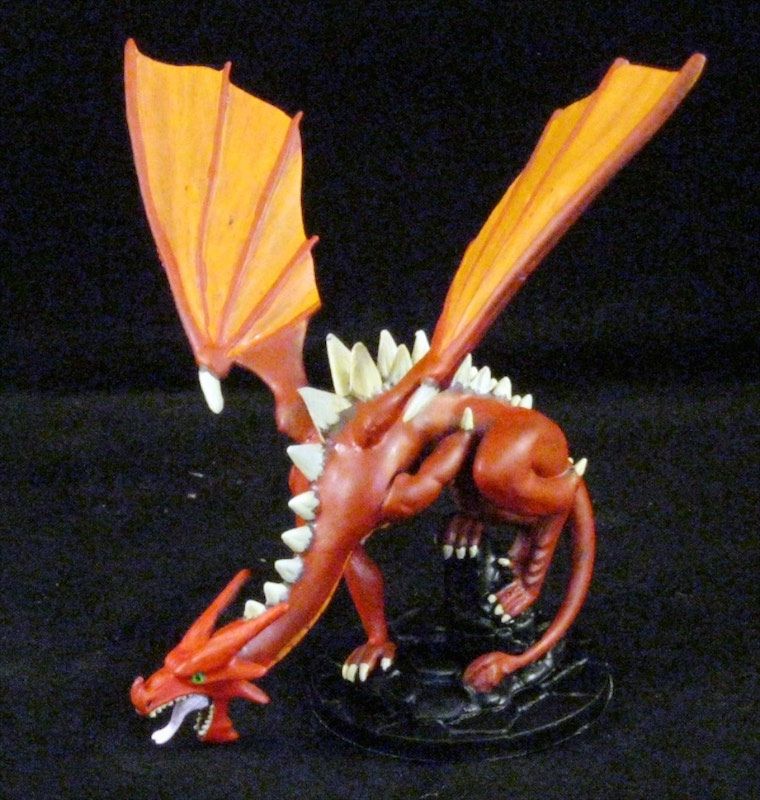
First I worked on finishing up my set of dragons from the 1st edition starter set.
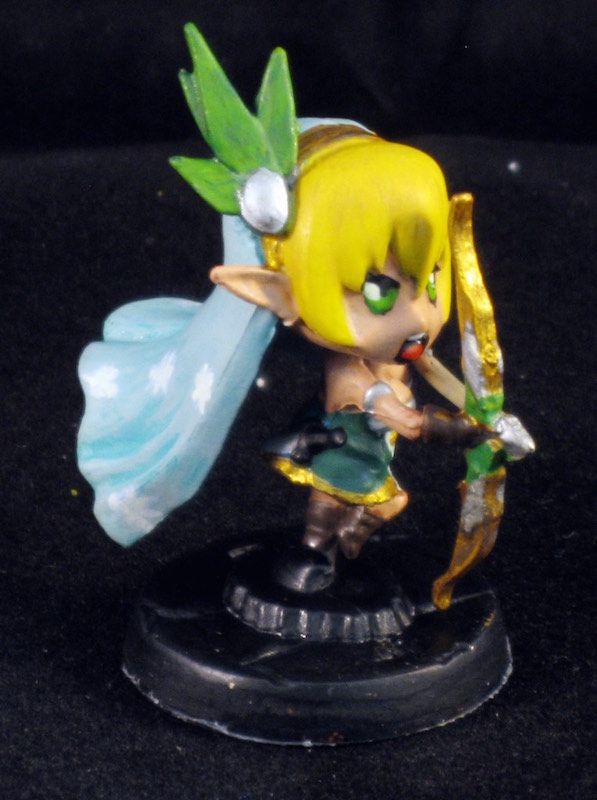
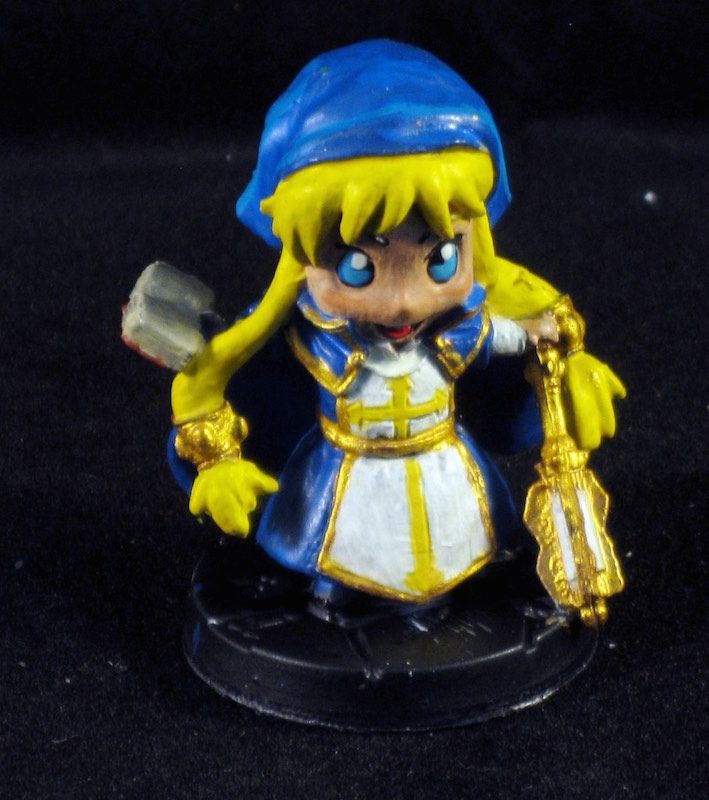
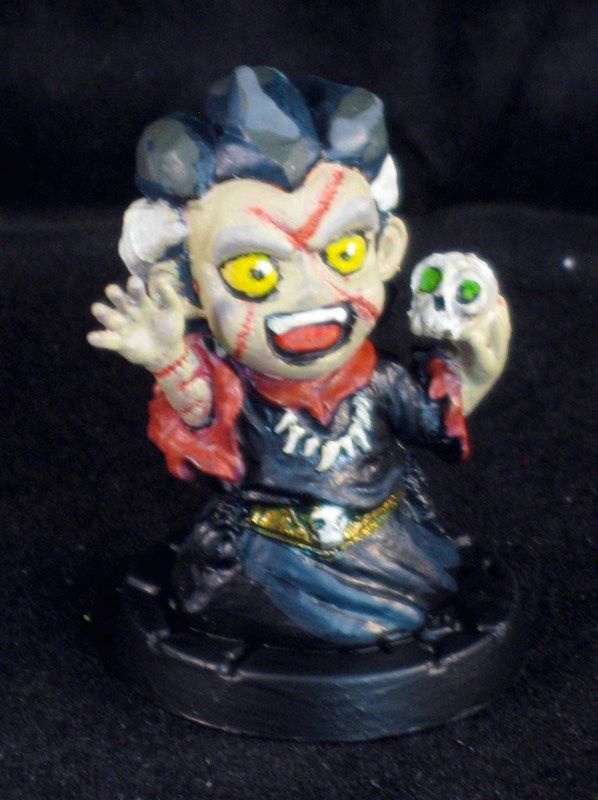
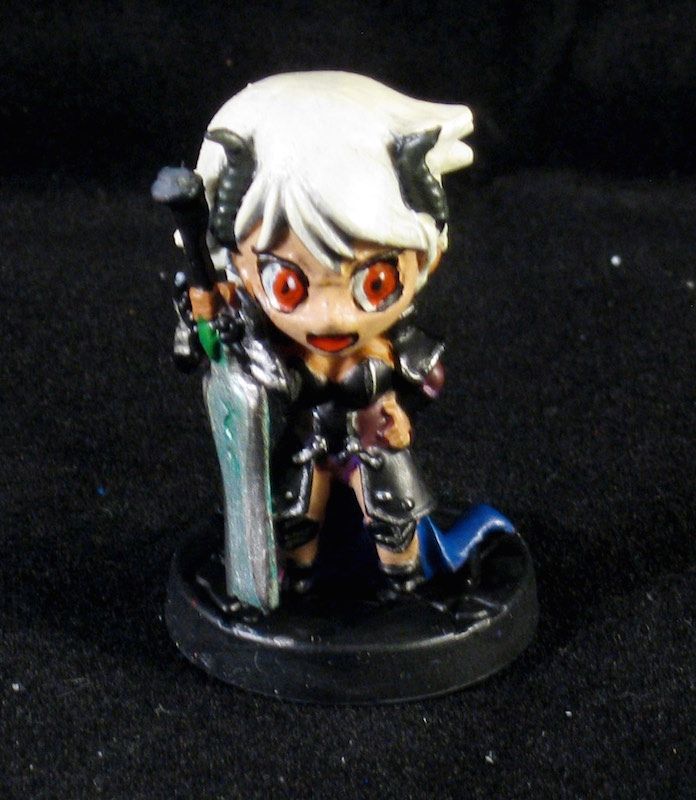
Following that I knocked out another couple heroes before setting in on my Von Drakk baddies:
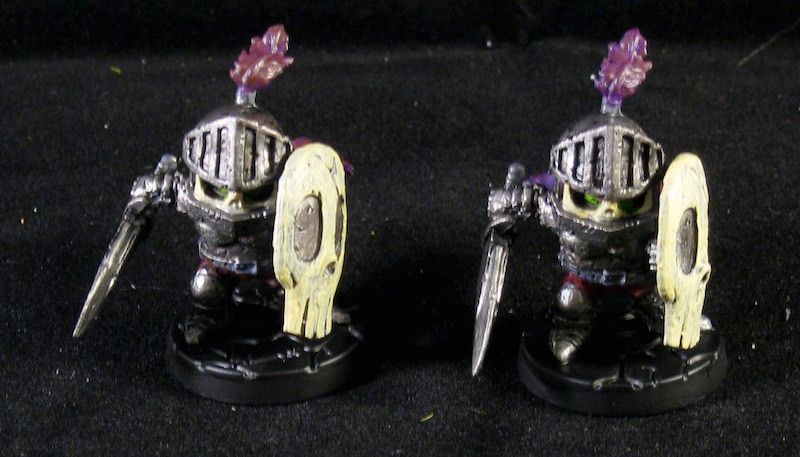
The Von Drakk stuff has been coming along steadily, although I still have the big set's of multiple models do paint up (skeletons, armored skeletons, skull bats).
I broke out some time during my elite minion painting to knock out a couple mini-bosses I needed to complete:
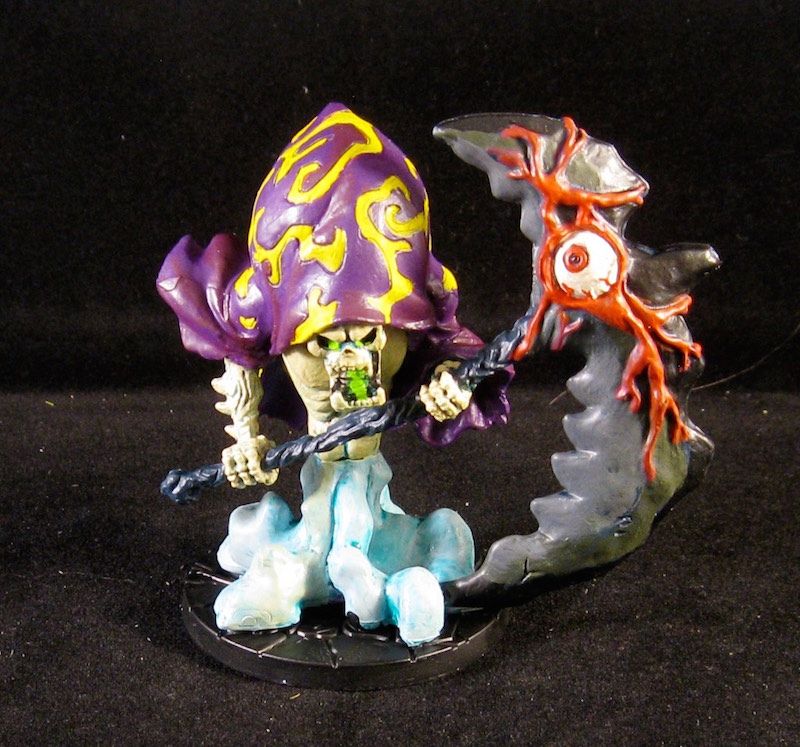
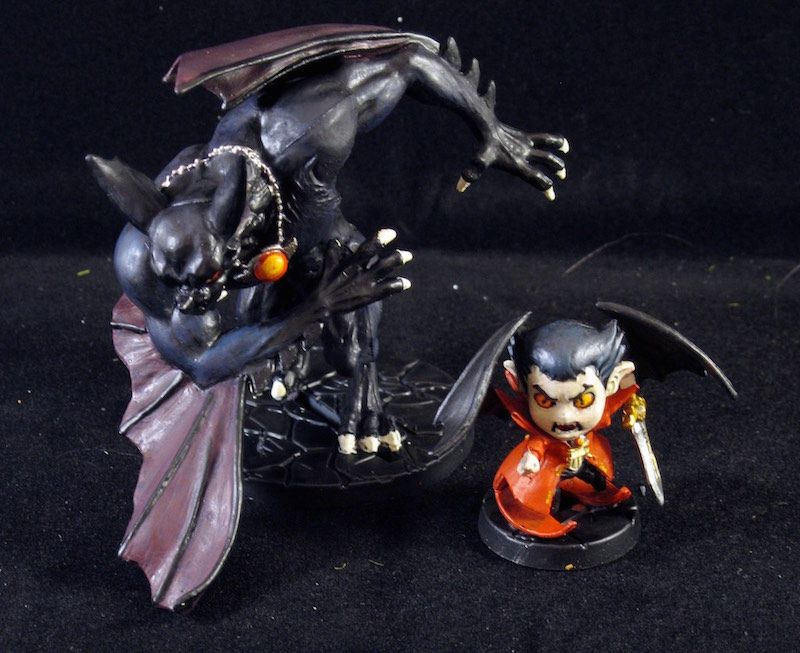
And of course I made time to paint up the Boss and his shapeshift form as well.
I might regret not saving them for last, but I doubt it overall. I'm keeping my fingers crossed I'll be able to power through the minions and creeps with time to paint up the full Stilt Town Zombies box as well.
I thought this would be a fun article to share with readers, although I am going to provide a big disclaimer at the beginning. I paint to achieve a table top standard, and am by no means a top painted. I've had lots of conversations with top painted such as Jay and Convy, and realize where my painting skills fall short. Considering that, if this tutorial helps you then I am happy to share. If you find ways to incorporate what I did here and improve upon it, please share as I am interested in new techniques!
Background
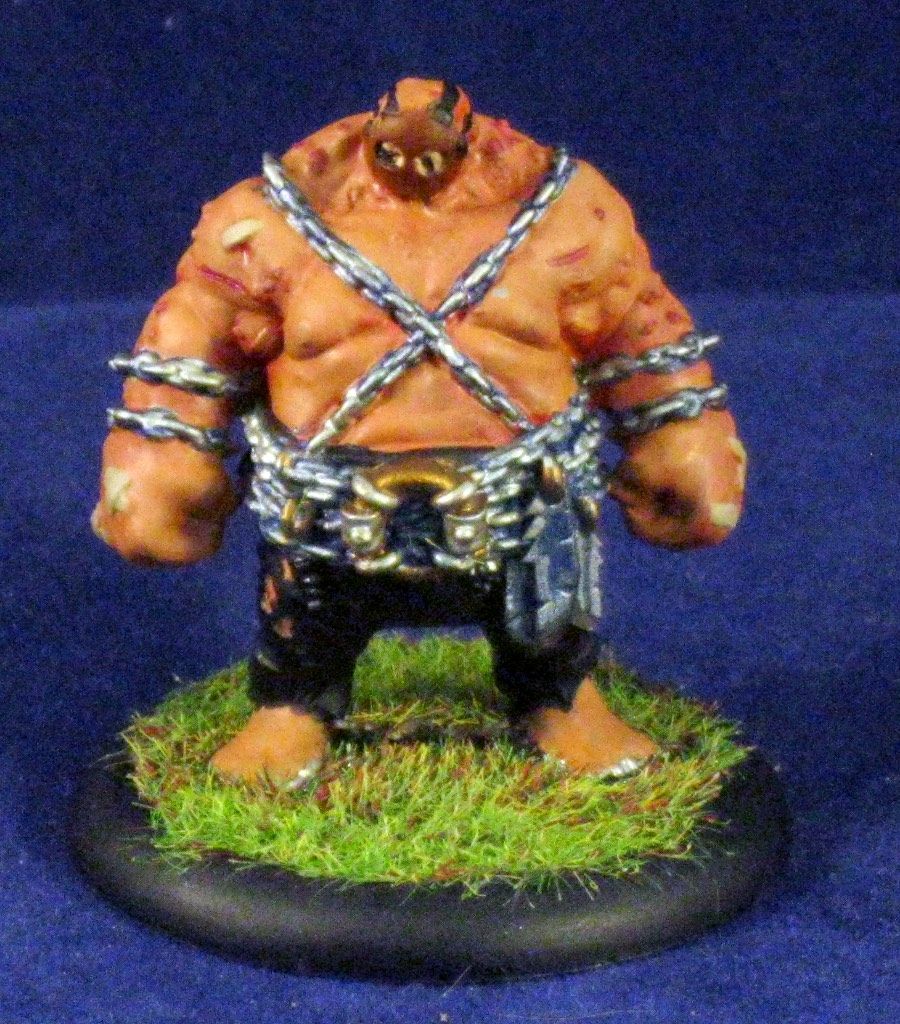
I was browsing the painted models section of the Guild Ball forums and came across a wonderful post by Hobbybutterfly. In this post he walked through painting up one of the Union team players, Fangtooth. He used a technique which I found to be intriguing, where he started the skin with a base coat of red instead of a flesh color. I typically start with a darker flesh tone then highlight with a lighter flesh tone when I'm painting skin, so the idea of starting with another base color blew my mind a bit. I liked the way his Fangtooth looked in the pictures so tried the same technique for my own. I did not leave as much red showing in the recesses of the skin, but was really happy with how the colors worked out. I felt that it gave a nice red tint to the skin tone along with really bringing out the bruises and cuts on Fangtooth.
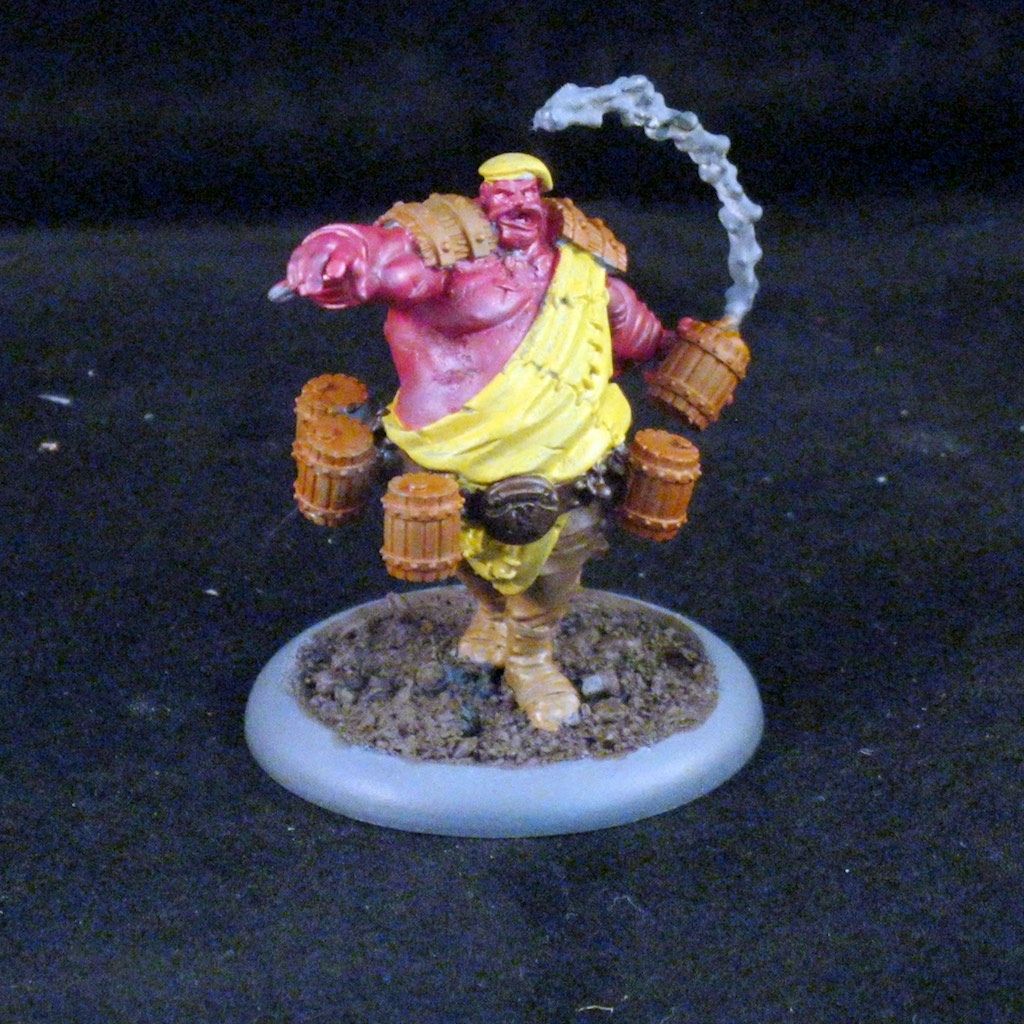
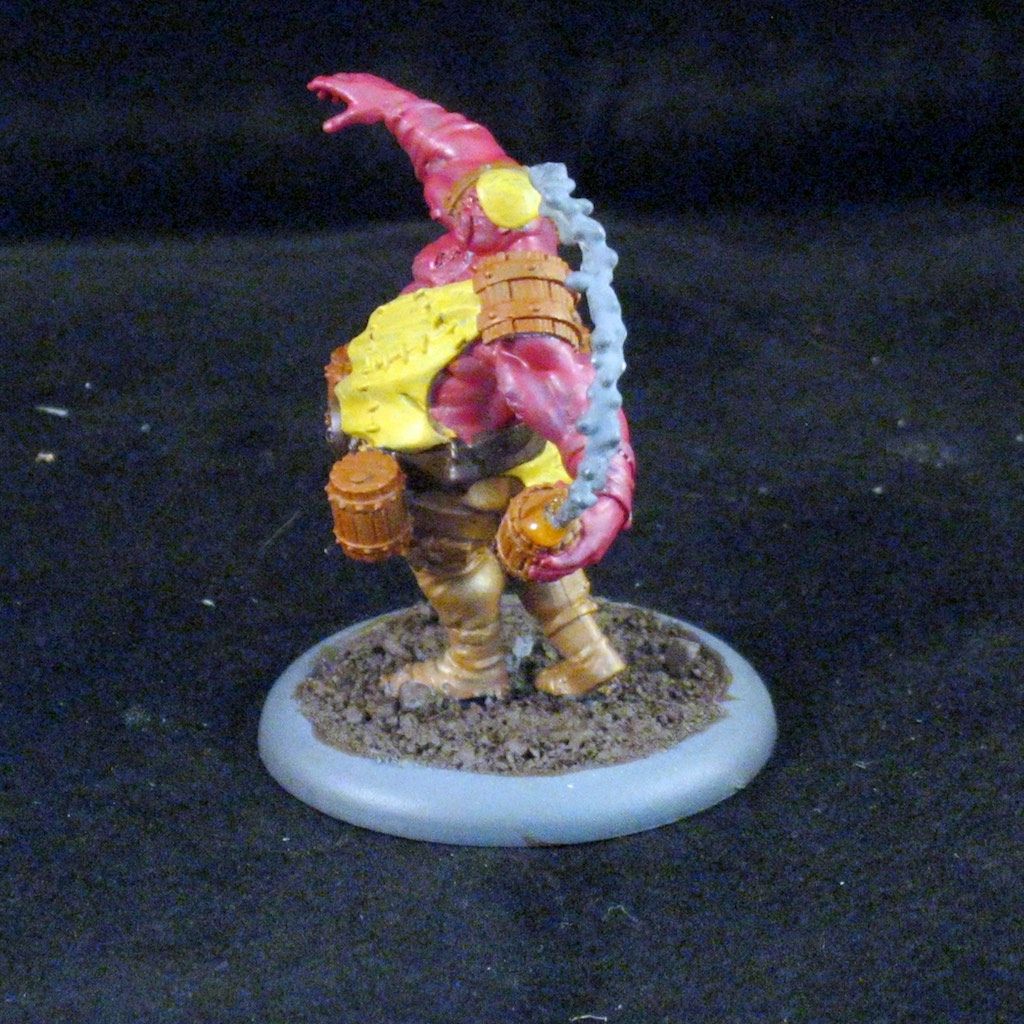
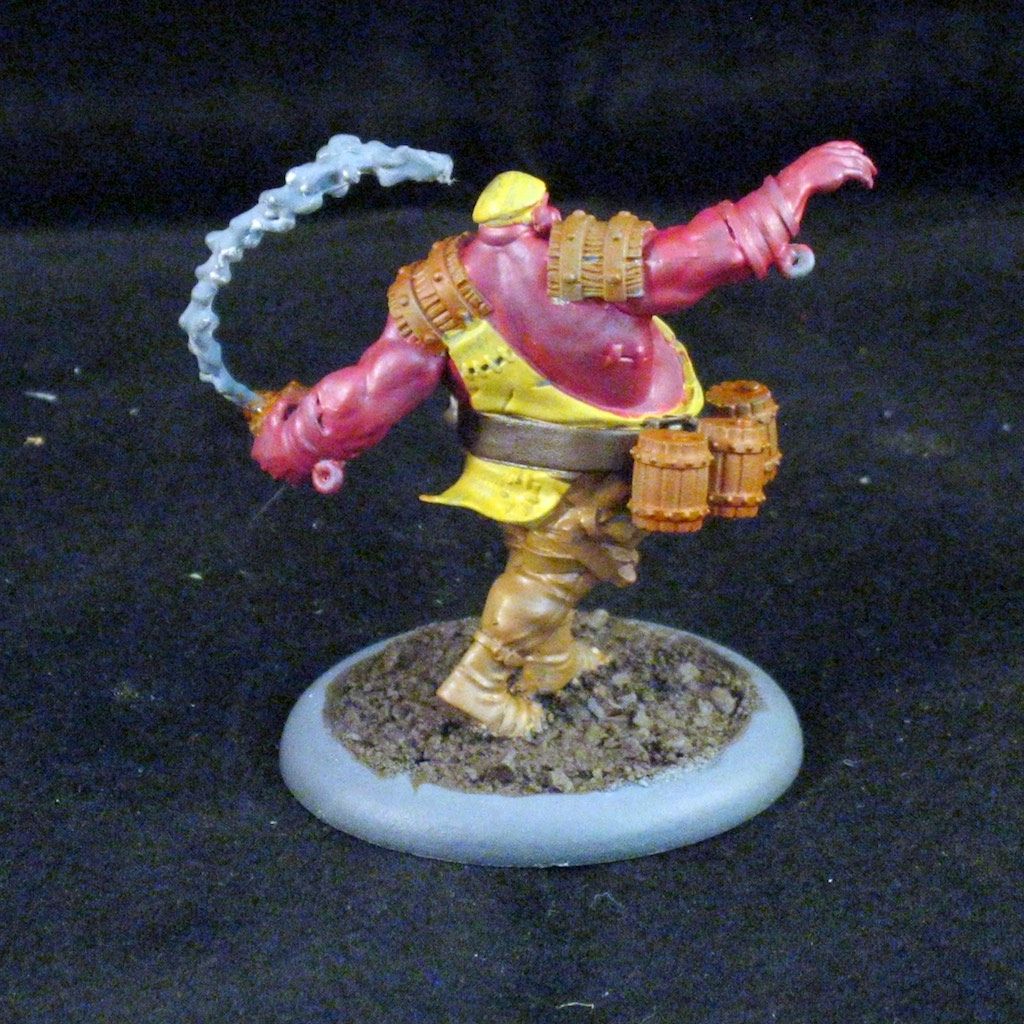
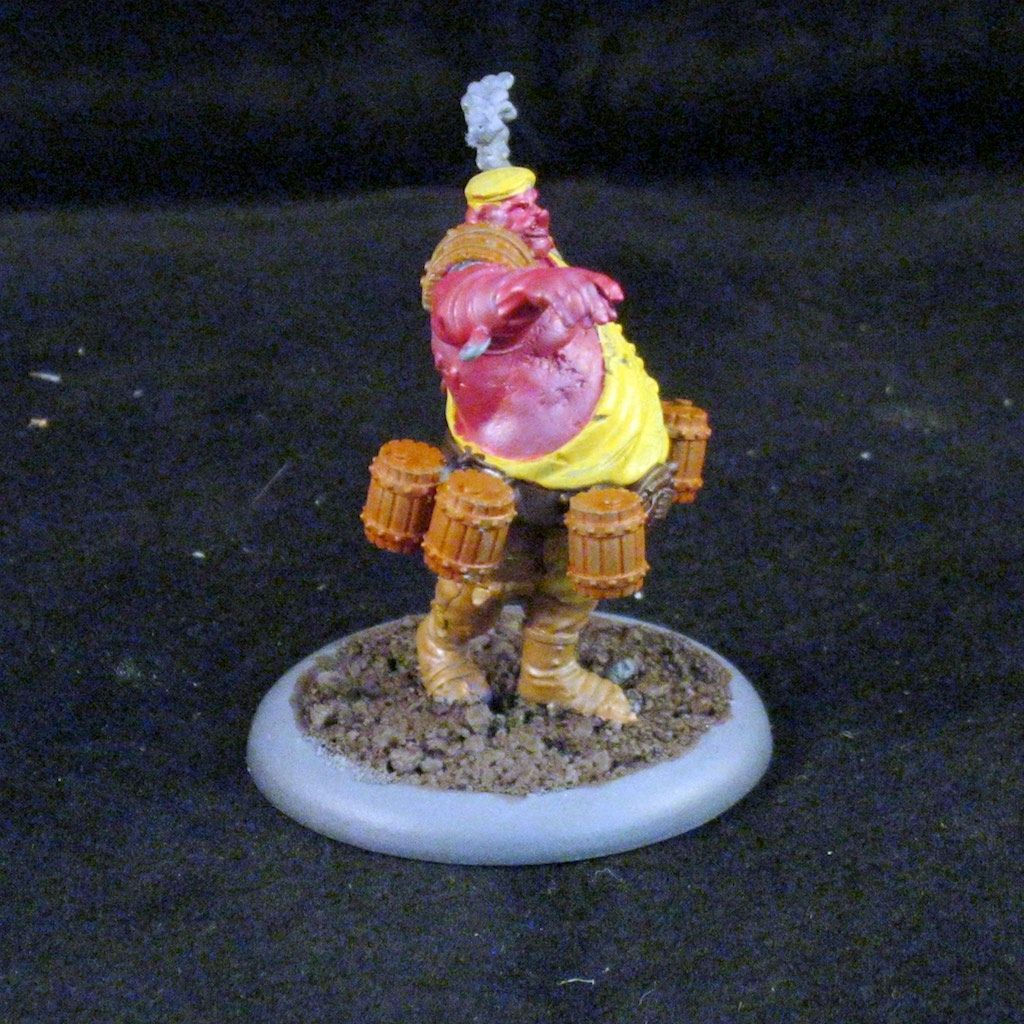
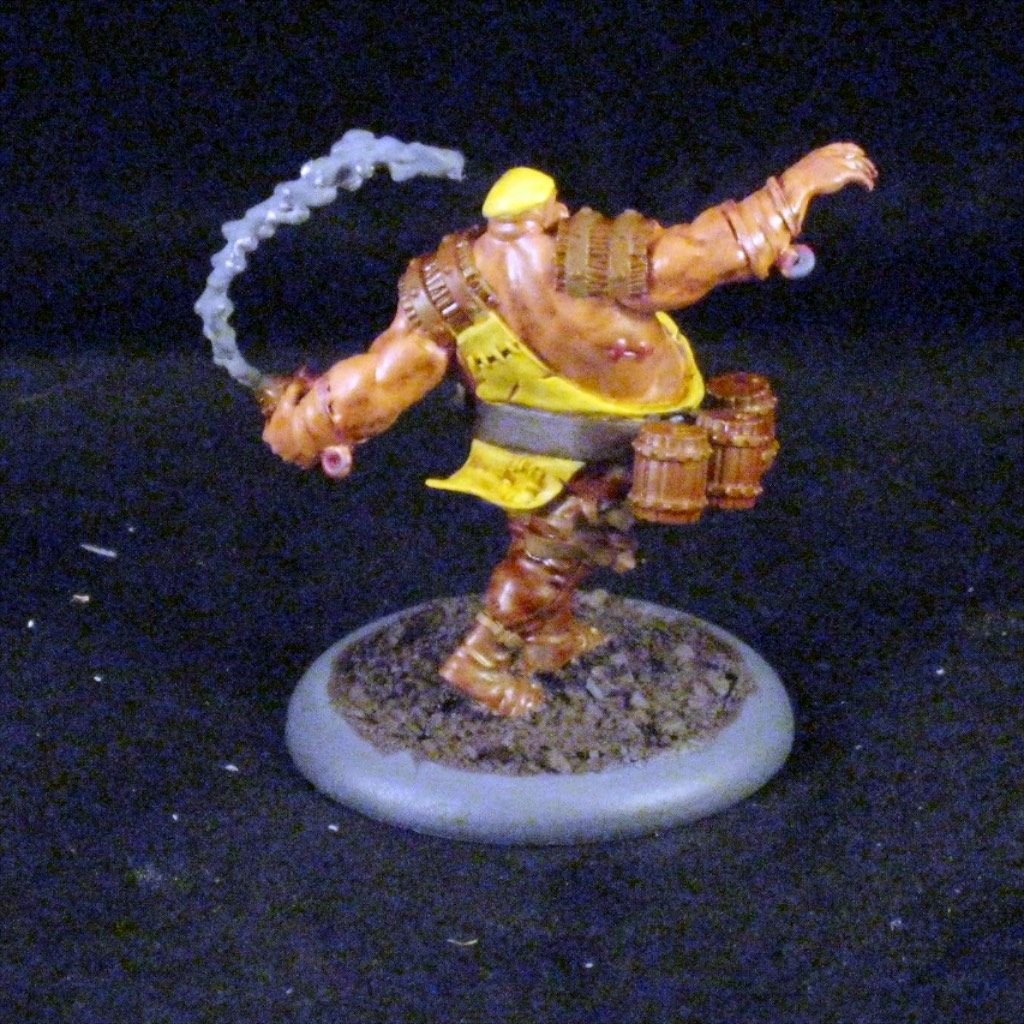
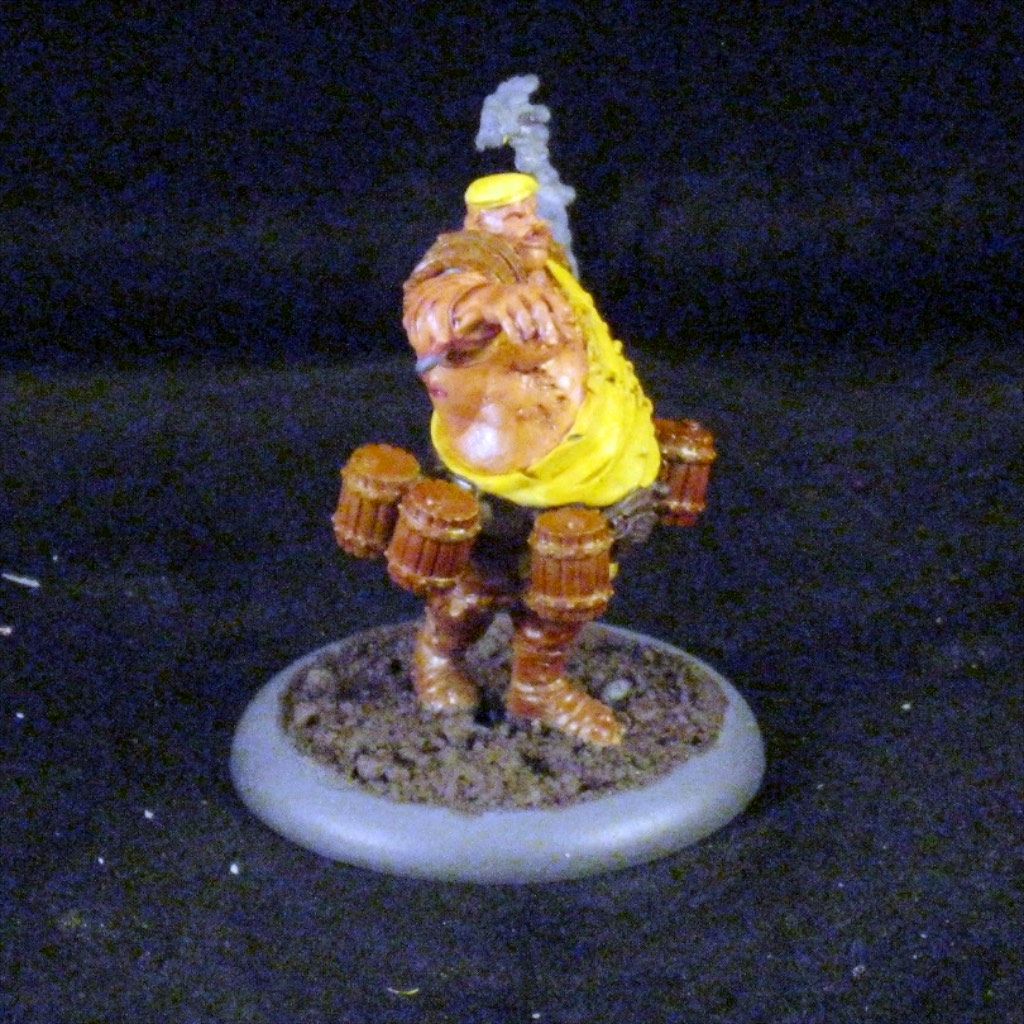
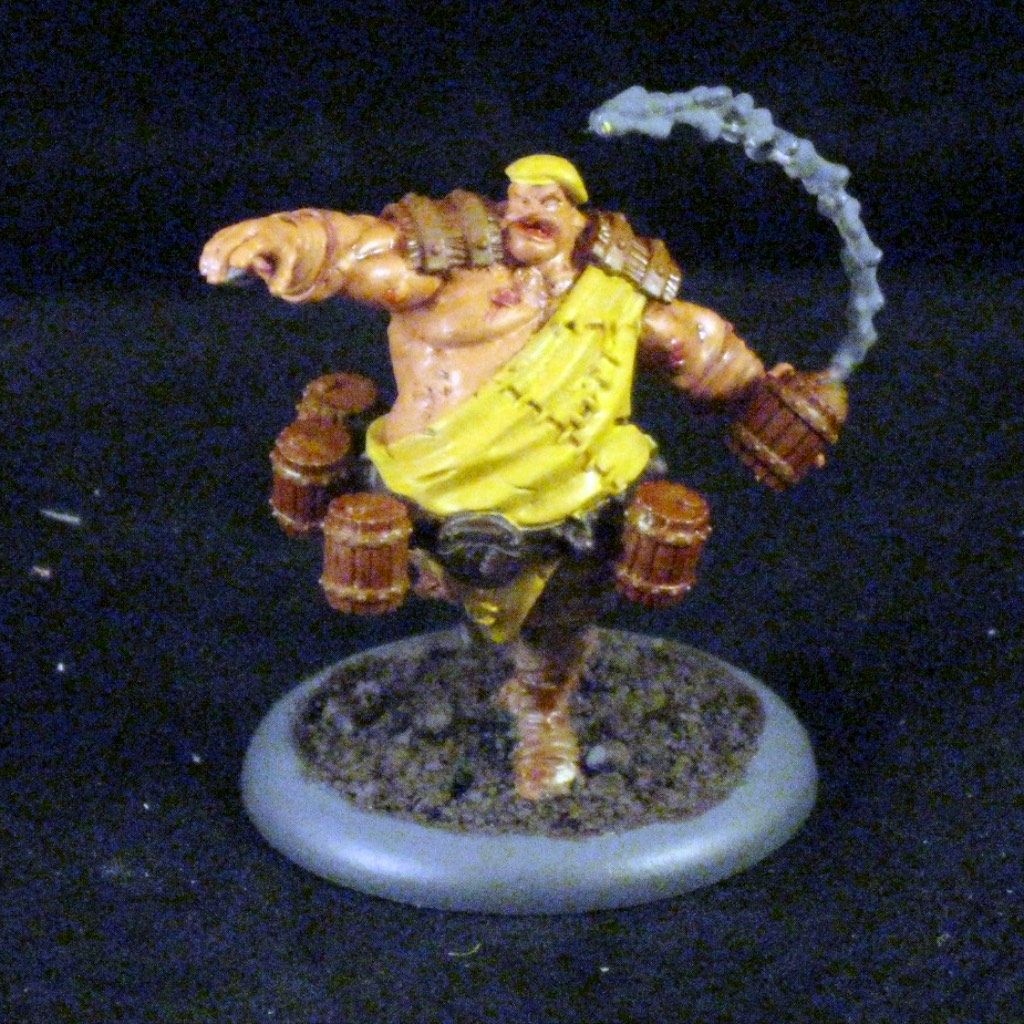
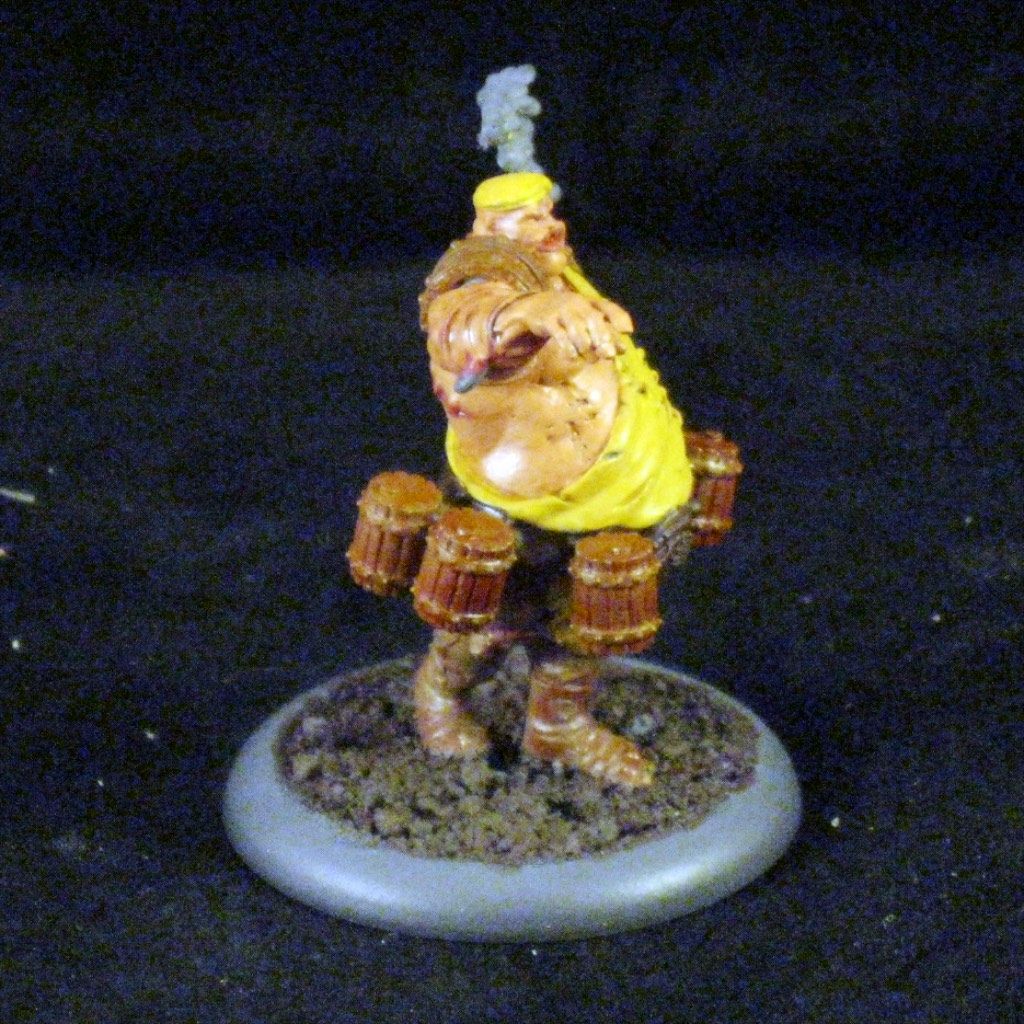
Keeping this in mind I decided to use a similar route for my Brewers. Looking across the Brewers team there is a fair bit of skin with lots of bruises and bandages on the players arms, chests, and backs. Keeping in mind the theme of the team, I thought it would also be a good choice to stray a bit more toward purple, hoping to provide a deeper bruise coloring but also reflect the ruddy "I'm a drunk" look the Brewers deserve. The only model I will refrain from starting with a base red is Friday, where I plan to stick to my typical darker skin/lighter skin theme.
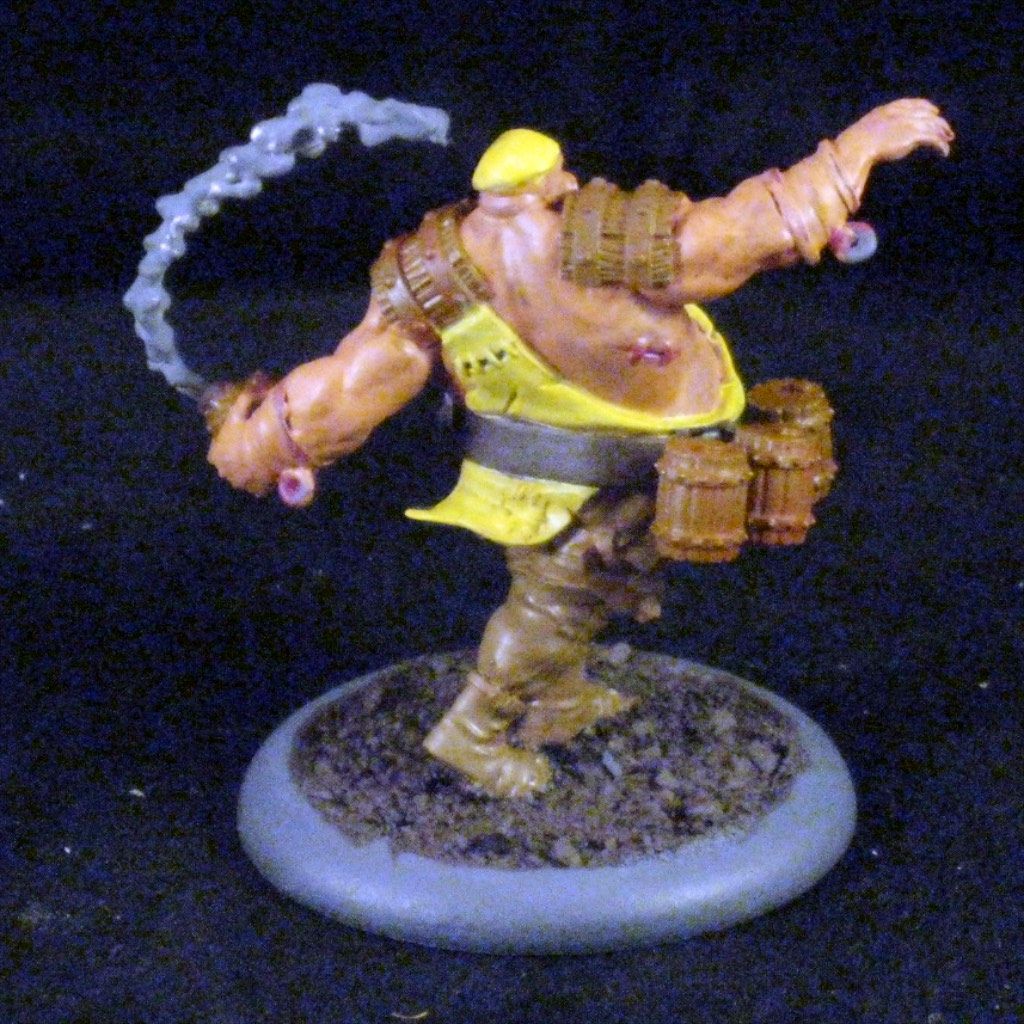
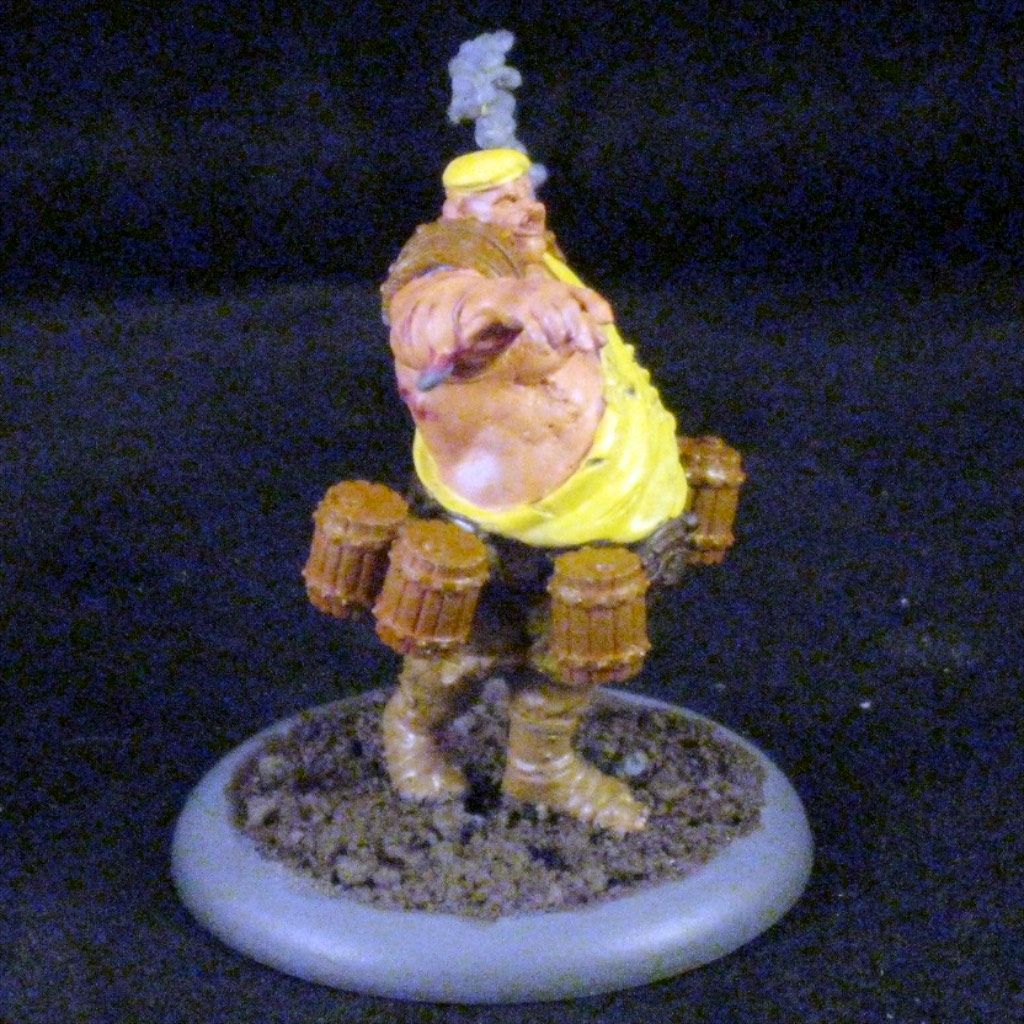
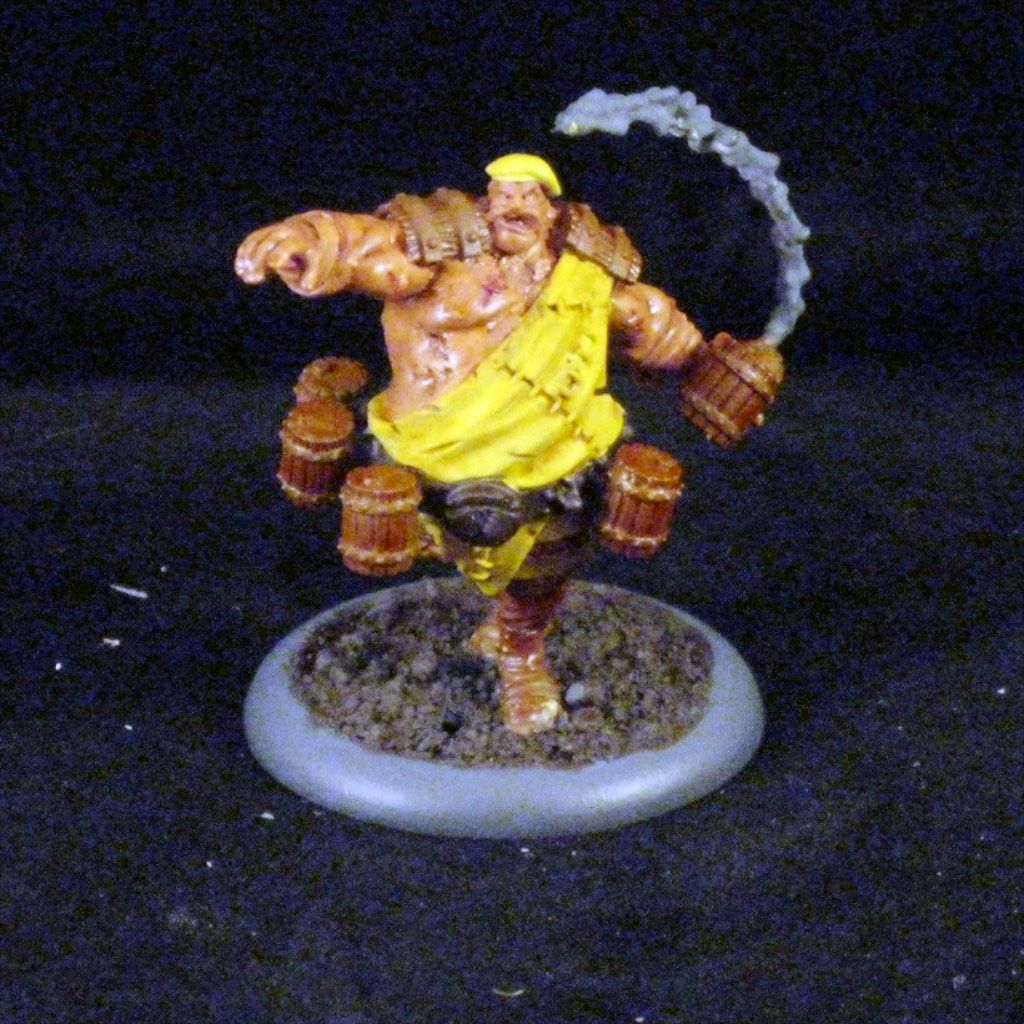
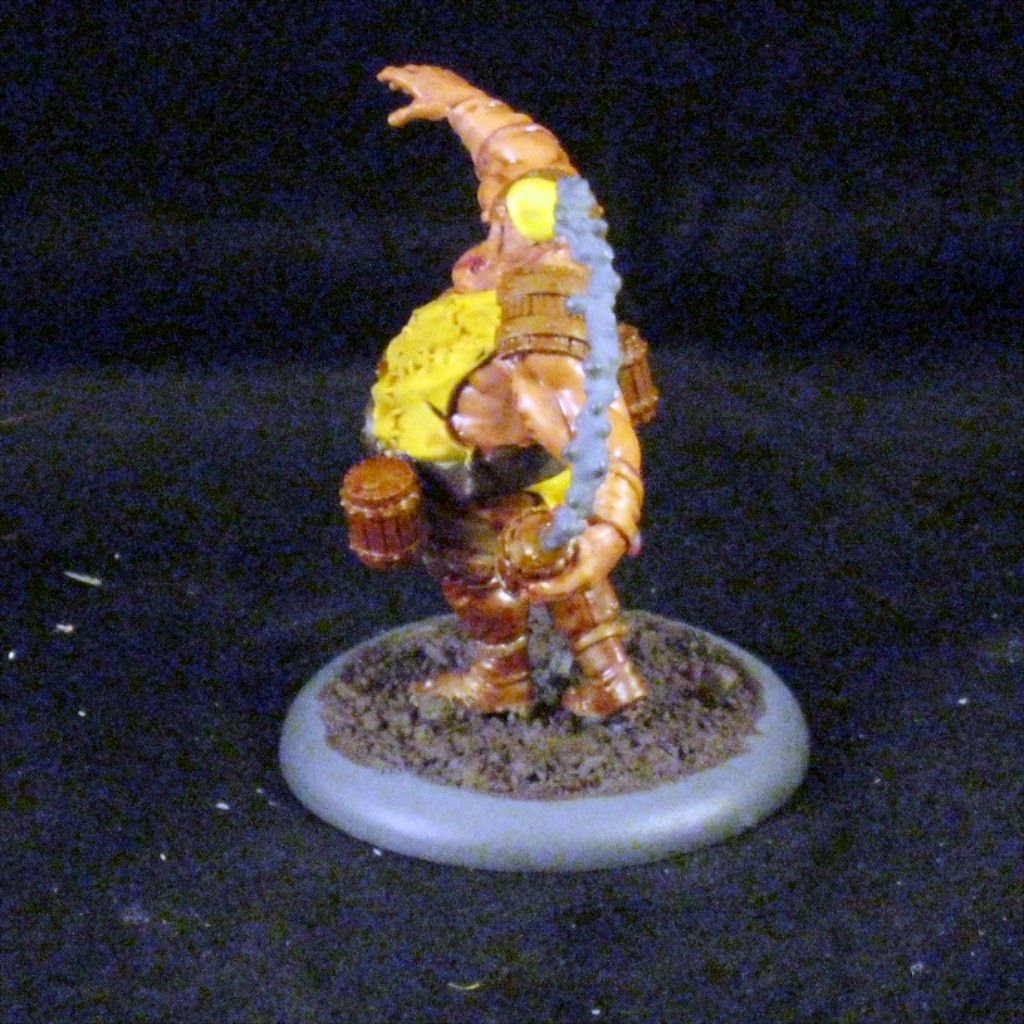
I decided to go ahead and put together a little photo-essay of my painting on the big guy, Stave, for the blog. All my paints for this (with one exception) are P3 paints for anyone trying to reference them. On the primer, I use a matte grey automotive primer to prime my models as I find it's very cost effective ($6 a can), has great spray control, and is actually fairly thin so I don't lose detail.
Step 1 - Base Coats
I start out by applying the base coats for all of my colors. I am a bit of an inconsistent painter overall, not always following through with each stage/layer together, but often putting down multiple layers on an area before moving to another. (i.e. I'll finish up the cloth before moving to the skin, etc) In almost all situations I tend to put down my base coats together to block out what colors I'll use while painting a model.
On Stave you can see that I left a couple areas primer grey and did not paint those up until I did the final details on the model. Specifically the bandages/cloth wrapping Stave's wrists and the eye-bolts on his wrists. I ended up painting those on my final detail pass (as you'll see below.
Base Coat paints
Cloth = Rucksack Tan
Skin = Sanquine Highlight
Wood = Bloodstone
Leather = Boostrap Leather
Belt = Umbral Umber
Step 2 - Mid-tones
I let the base coats dry on the model before moving onto laying down the mid-tones. This step is where I begin to apply a lighter/brighter color of paint to the model to create shadows and depth by applying over the base coats. While painting the skin I tried to paint around the cuts, leaving the purple/red showing so that it would come through as a bruise or cut. I left a bit of a wider area than I wanted to end with, then used a clean brush to "push" the edges of the paint I just applied toward the center of the bruise, "feathering" the edges a bit. The effect is a bit hard to see in the pictures, and I'm honestly not sure how well it comes out at the end. I went back and reapplied sanguine highlight to any bruises or cuts that I inadvertently painted over during this step.
Mid Coat
Cloth = Moldy Ochre
Skin = Khardic Flesh
Wood = Blood Tracker Brown
Leather = Gun Corp Brown
Step 3 - Washes
I discovered washes years ago when GW brought out their initial line of Citidel washes. I have to admit that washes are one of the tricks I learned ot use early, not only to make my model look better with only a little effort (by bathing the model in a wash) but also as a technique to strengthen and provide depth to my colors. I apply washes after my mid tones to help blend together the base (shadow) and mid, and also to provide a bit more depth to the shadow. This also changes the mid-tone color a bit, sometimes allowing me to go back and highlight with the same mid-tone color, causing an easier transition.
Washes
Cloth = (Citadel) Seraphim Sepia
Skin = Flesh Wash
Wood = Brown Ink
Leather = Brown Ink
Step 4 - Highlights
Applying the highlights is where I start to get a bit frustrated when I'm painting a model. Typically my process is to apply my base coats and then go do something with another model while I wait for the base coats to dry. This happens fairly quickly and I can then move onto mid-tones and washes. Applying the washes while the mid-tones are not completely dry is not a bad thing, as it provides a bit of blending if you do it carefully. This actually helps the overall look of the model so I can move through those two steps fairly quickly. I have not had the same results applying my highlights while the wash is still wet. This means I have to wait longer for my washes to dry (frustrating) before applying my highlights. Then, the highlight step is where the model really starts moving to being finished, but I want to rush to get to the final detail step and be done.
Considering that, you can see where I've gone through and painted the high points of the models. I'm really looking for the top edge of creases on the cloth and muscle ridges on the skin. I blend a bit closer to the depth's on the skin to even out the overall skin tone along with covering most of the flat areas of the leather pants, leaving the depths and stitching colored by the wash, mid, and base coats.
Highlight
Cloth = Rucksack Tan
Skin = Khardic Flesh
Leather = Gun Corp Brown
Step 5 - Final details
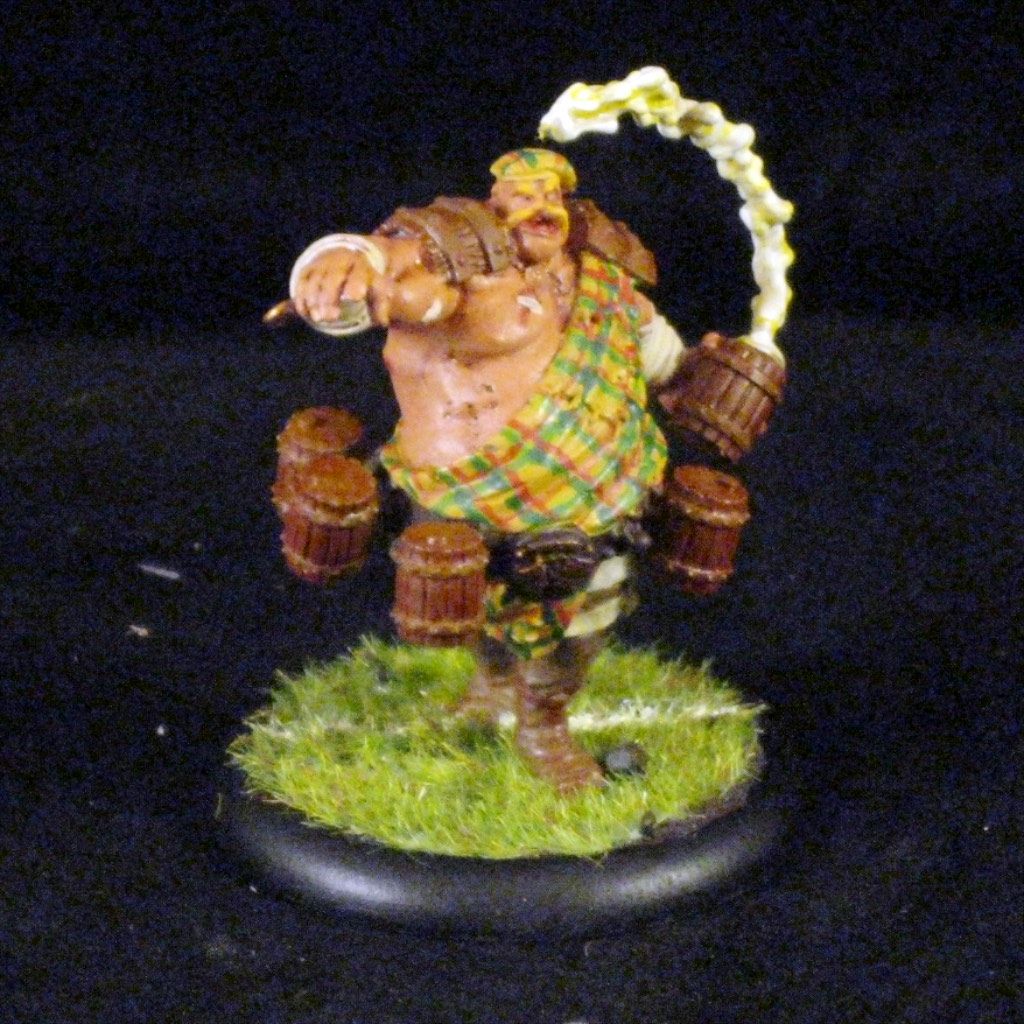
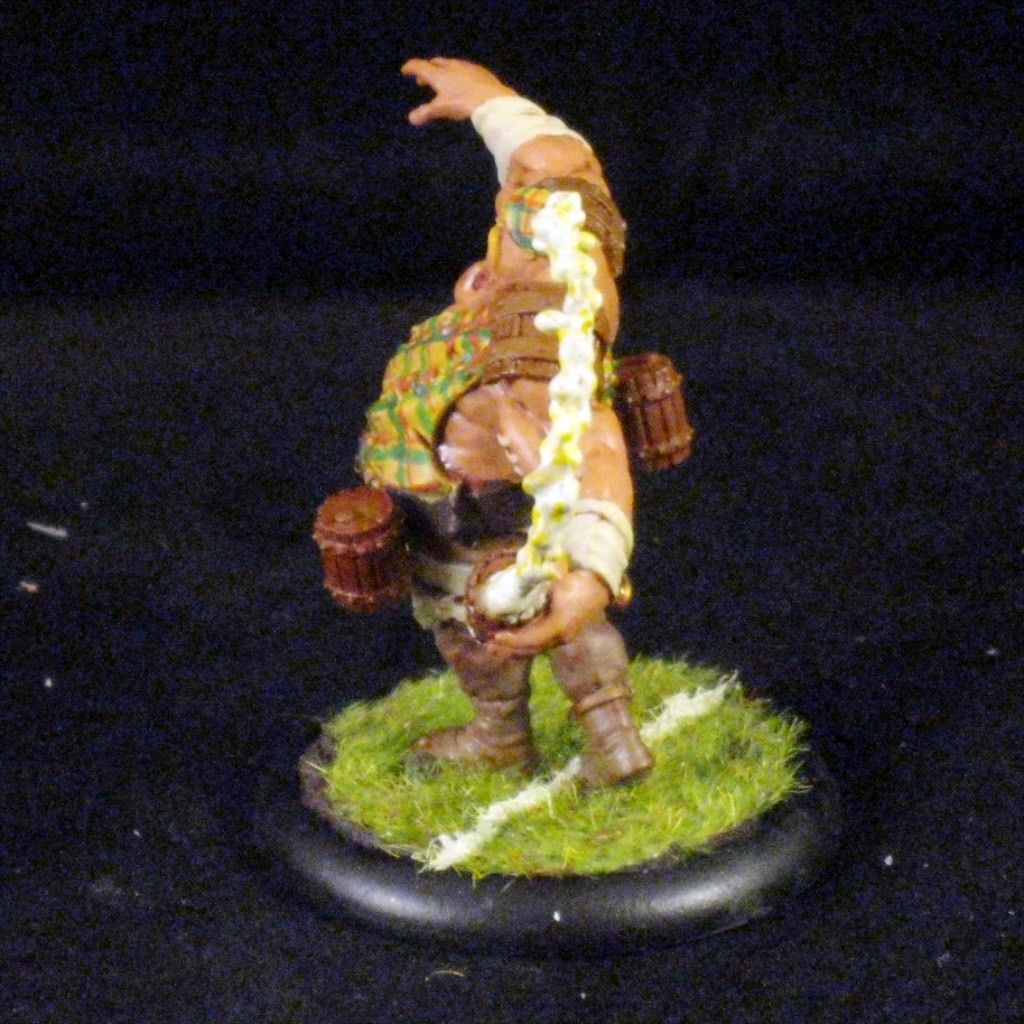
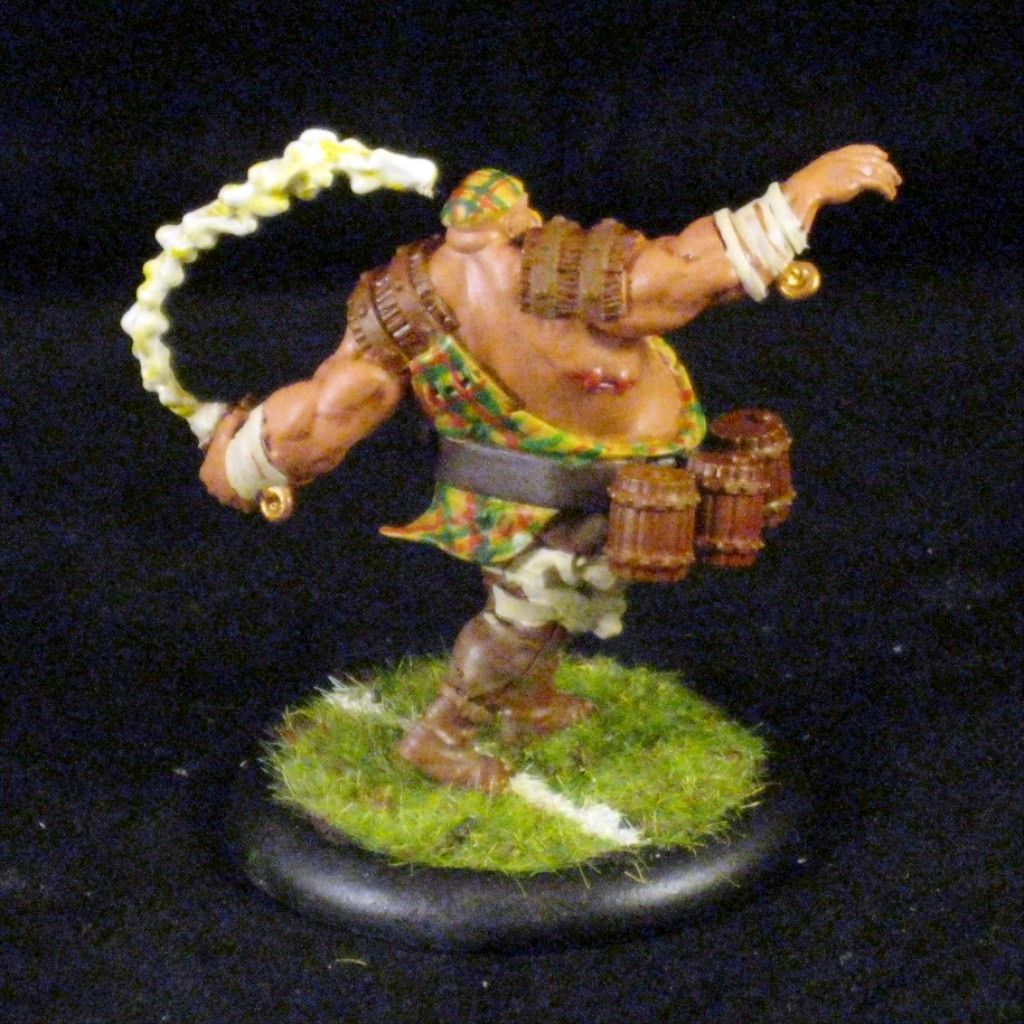
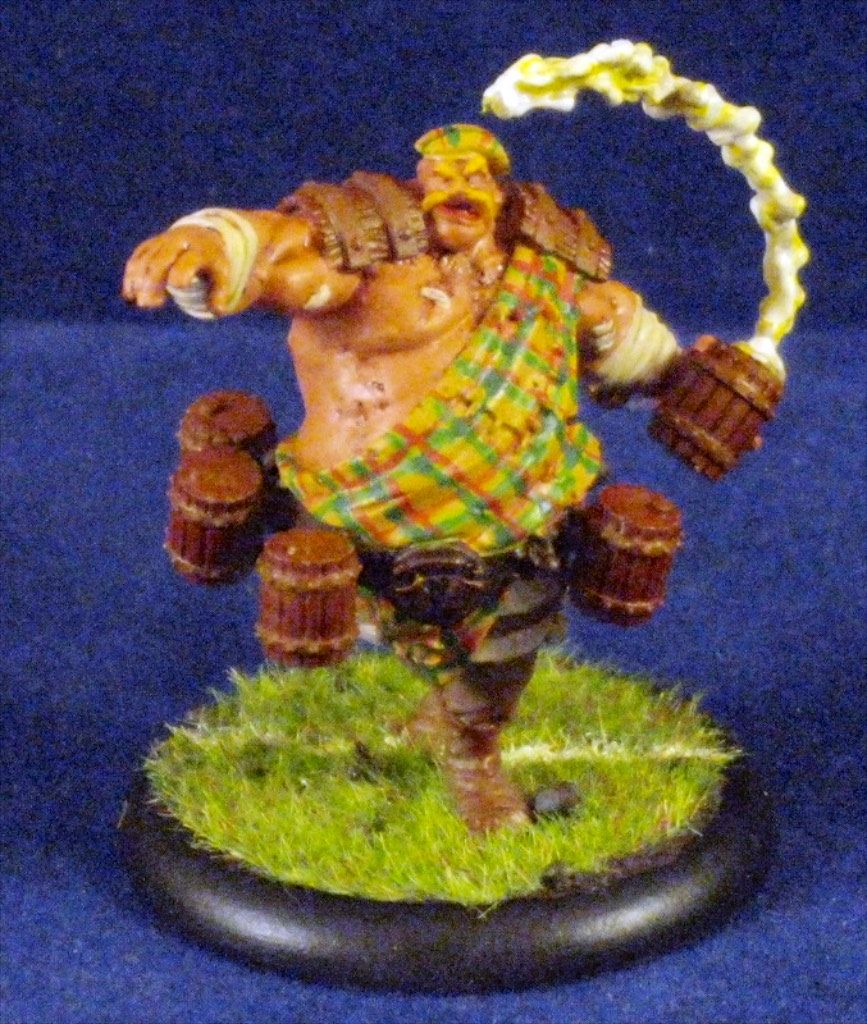
During this step I go back and give the model all the final details I have not yet covered. In the case of Stave I add in the Tartan, cloth bandages, metal eye-hooks, beer foam, and facial hair. I also give it a once over and touch up any areas I may have caused a mess on while painting the highlights. I did notice after completing and photographing this step that I had missed his patches and the stitching on his tartan, which I went back afterwards and touched up.
I want to also thank my Guild Ball Tonight cohost Phil for providing a great video on painting Tartan on these models. The Tartan pattern I used follows his technique in the following video.
I hope that you've enjoyed this tutorial and that it inspires some ideas for you to go and paint up your own models.



















 Posts
Posts


