Wednesday, September 30, 2015

Rise of the Kage - Initial thoughts

This past weekend I received a game which I had backed on Kickstarter nearly a year ago on October 5, 2014. The game I'm referring to is Rise of the Kage by GCT Studios. I've unpacked the game, sorted the boxes, and played through one initial game with my wife at this point. This article is simply my initial thoughts, not a full review of the game. At this point I want to play more games to get a solid feel for the game before writing an official review.

Unboxing

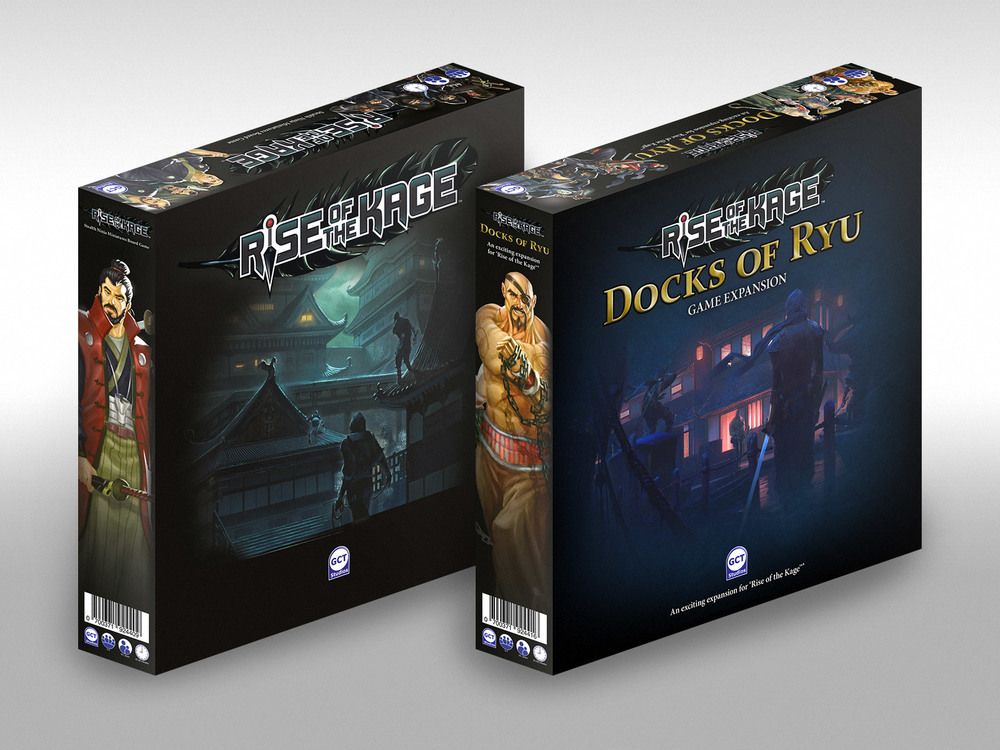
I knew that there were 2 game boxes plus an unknown number of kickstarter bonus boxes coming my way. I was surprised with the size of the box that showed up on my step, initially believing that it was not the game I was waiting for. GCT did a fantastic job of fitting the shipping box very closely to the game boxes. I received 2 game boxes, one for the main game and one for the Docs of Ryu expansion, plus 1 large and 3 small boxes for the Kickstarter expansion models.

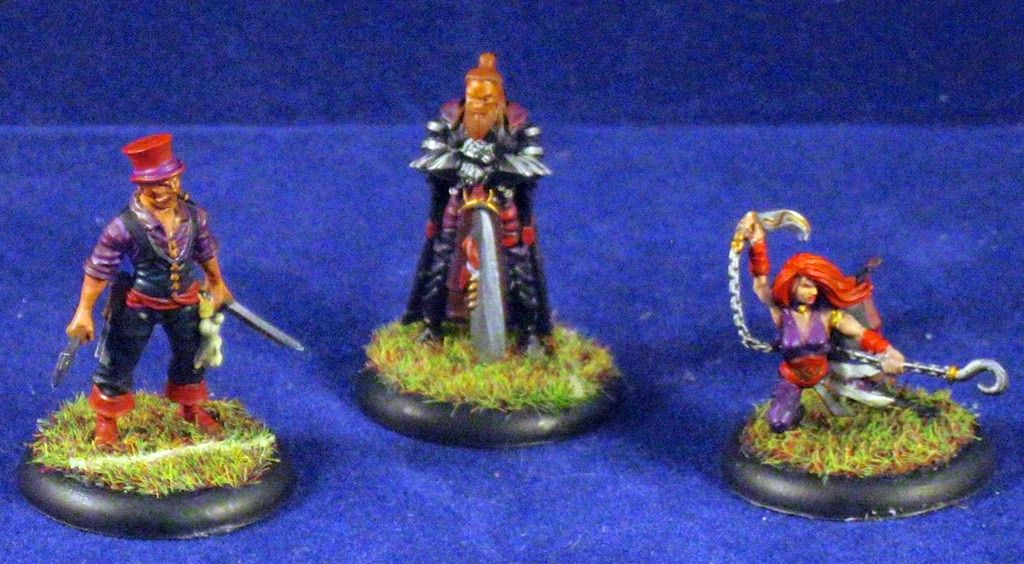
Each of the game boxes included a double sided game board, a set of character cards for both the Ninja's and the Bosses, and a series of smaller cards for other parts of the game. The boxes (both game box and kickstarter boxes) were also full of models for all the guards (9 different guards), Bosses (3 different bosses), Ninjas (7 Ninjas), and a single dog and single princess objective. Overall I felt very satisfied with quantity of contents in the game.

Quality

The double sided game boards are beautiful and of excellent quality. The boards are set up as four quadrants which fold up nicely to fit within the box. The art on the boards is nice, although it tends to be a little dark. There are some really nice details in the art that can be hard to pick out, but the darker style fits with the stealth/ninja theme of the game.

There are a lot of cards in this game. The stack of non-sleaved cards for the guard deck alone sits 2 inches tall once you add in the extra boss cards. Overall there is 4 decks:
  • Guard deck - includes cards for the guards and boss to use
  • Ninja Deck - includes 3 different types of cards to help the Ninja's out
  • Mission deck - includes 2 board specific missions plus 8 other missions
  • Escape Deck - includes cards that tell the ninja's where they need to go to escape the board
There are also enough tokens to punch out that I needed a Plano box to sort them all. These tokens include a range of necessary markers including Ninja Movement, Guard order tokens, Noise tokens, Doors, Objectives, wounds, and other assorted items. These are printed on a good quality and thick cardboard.

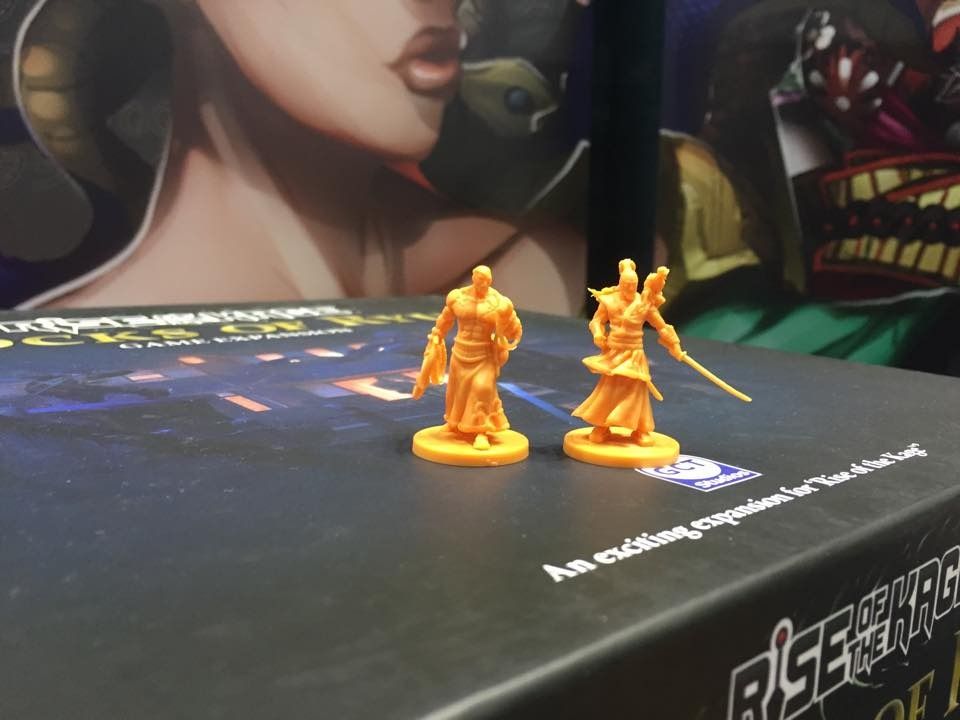
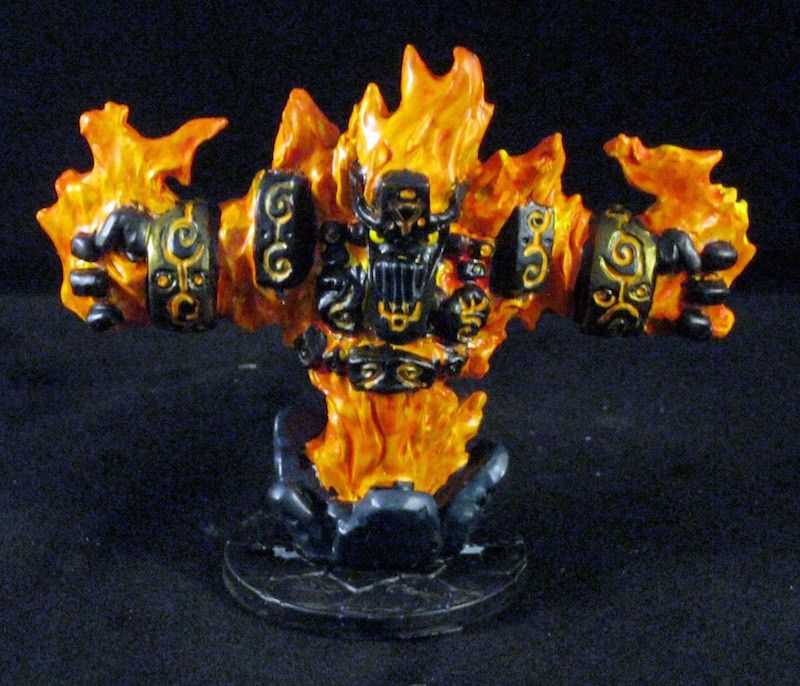
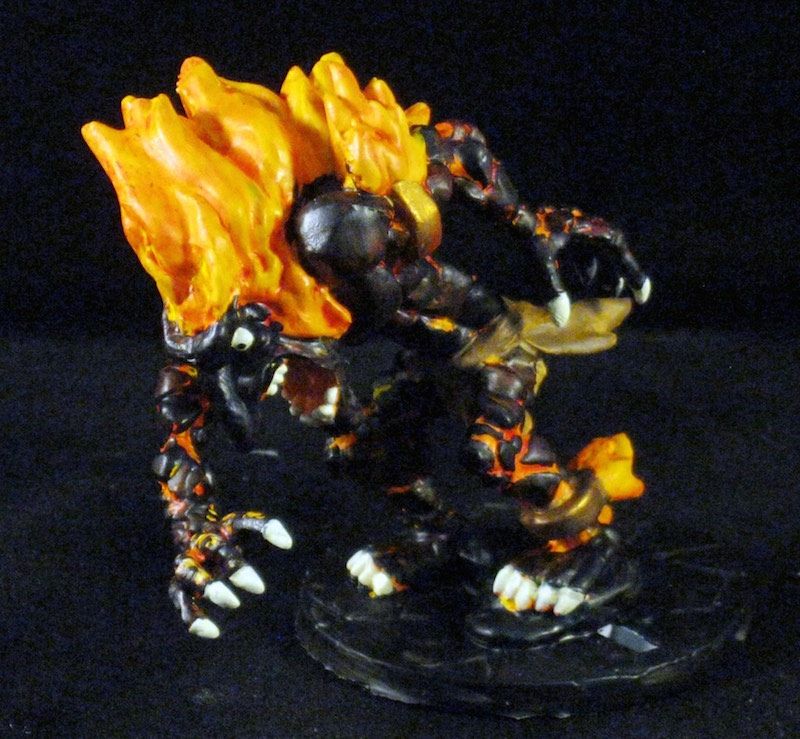
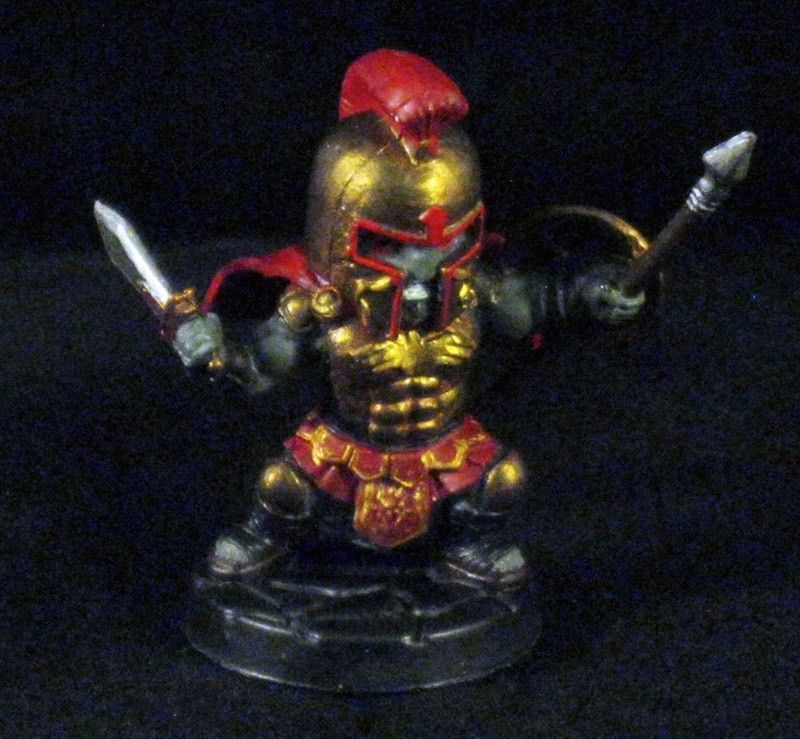
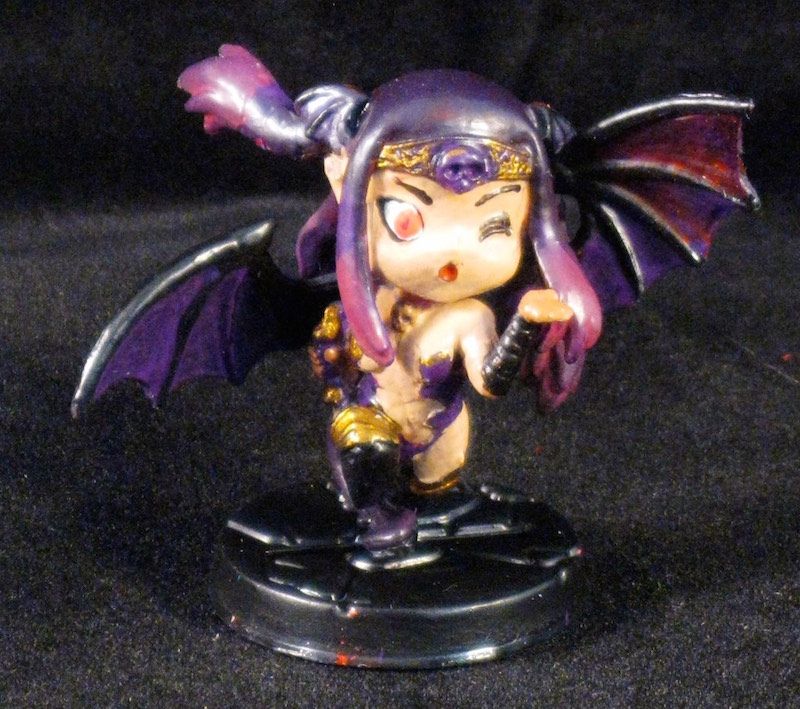
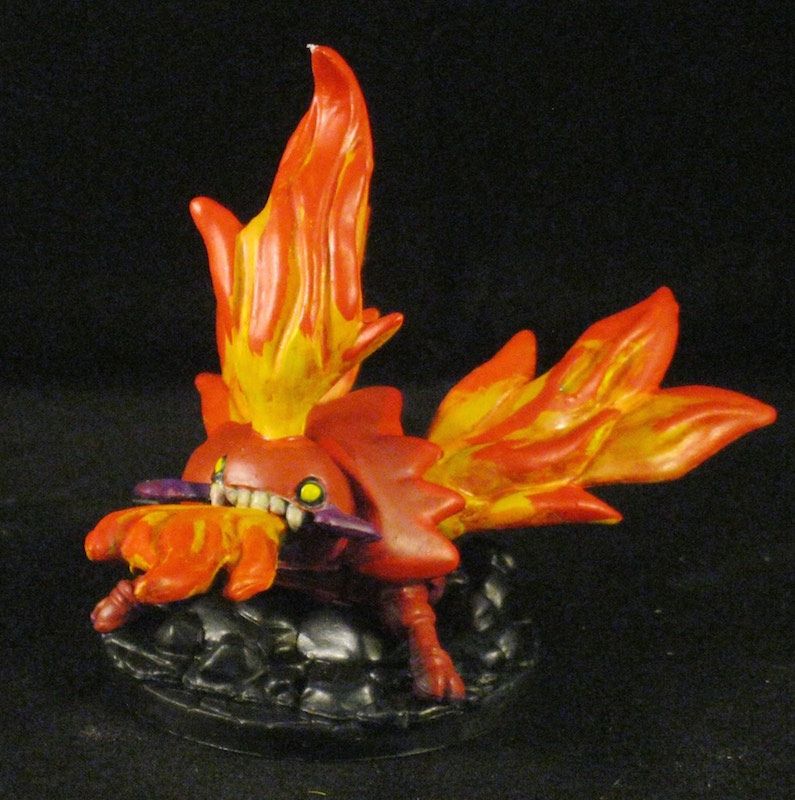
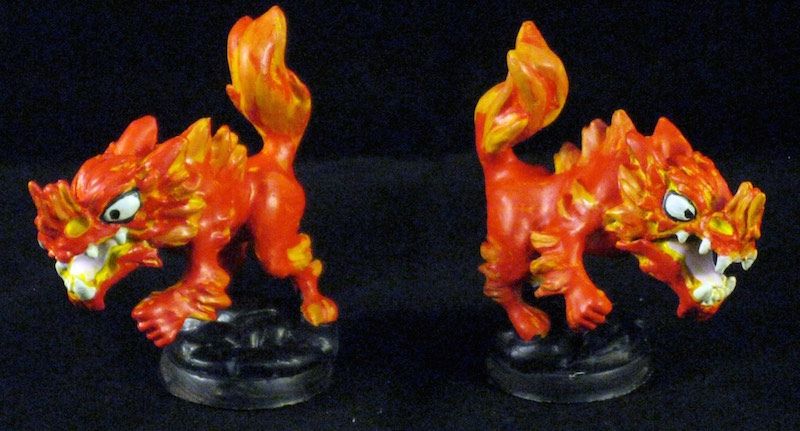
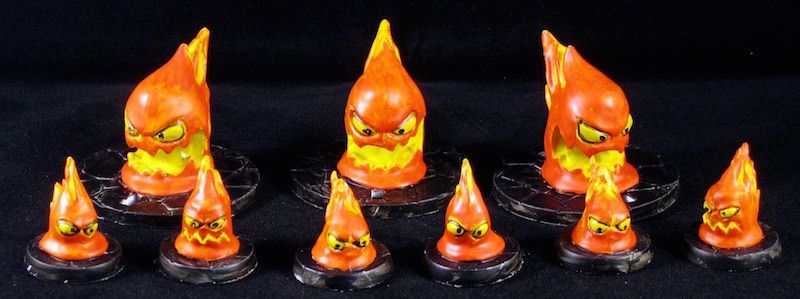
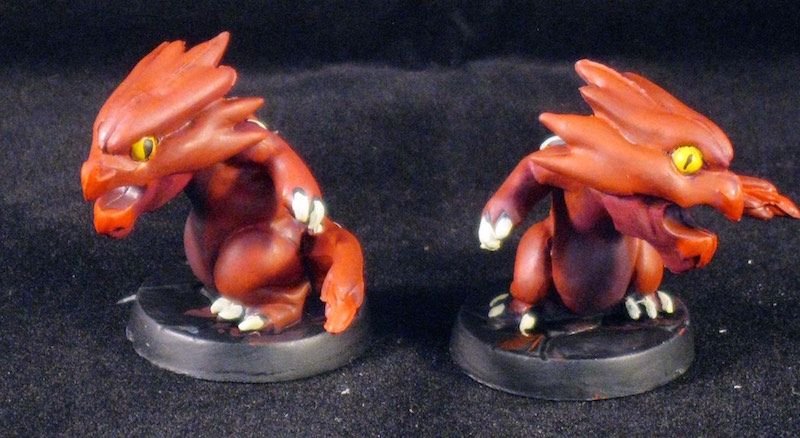
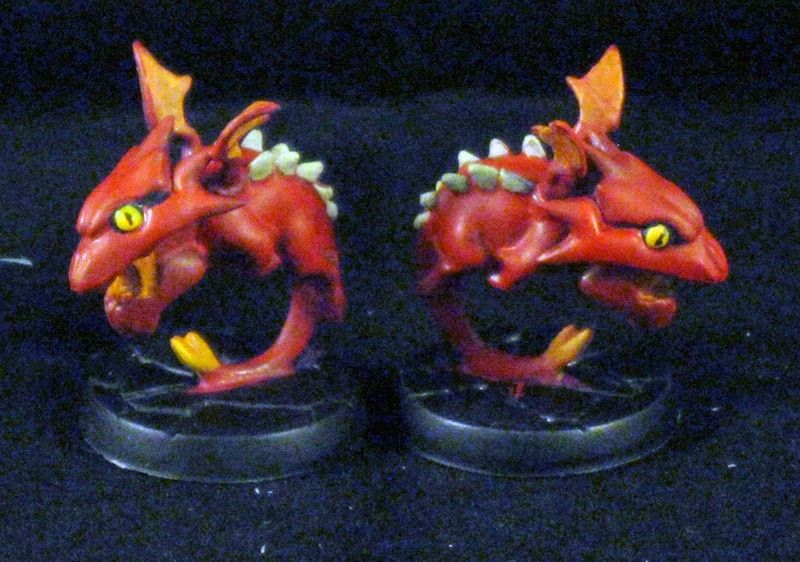
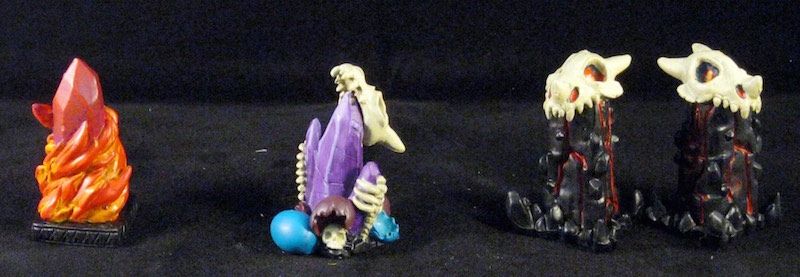
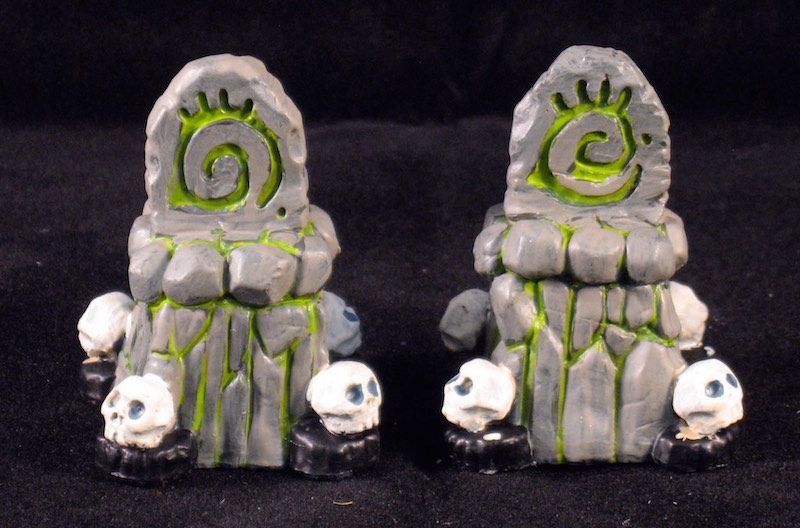
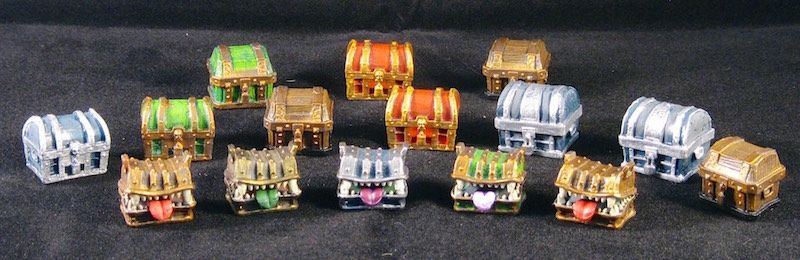
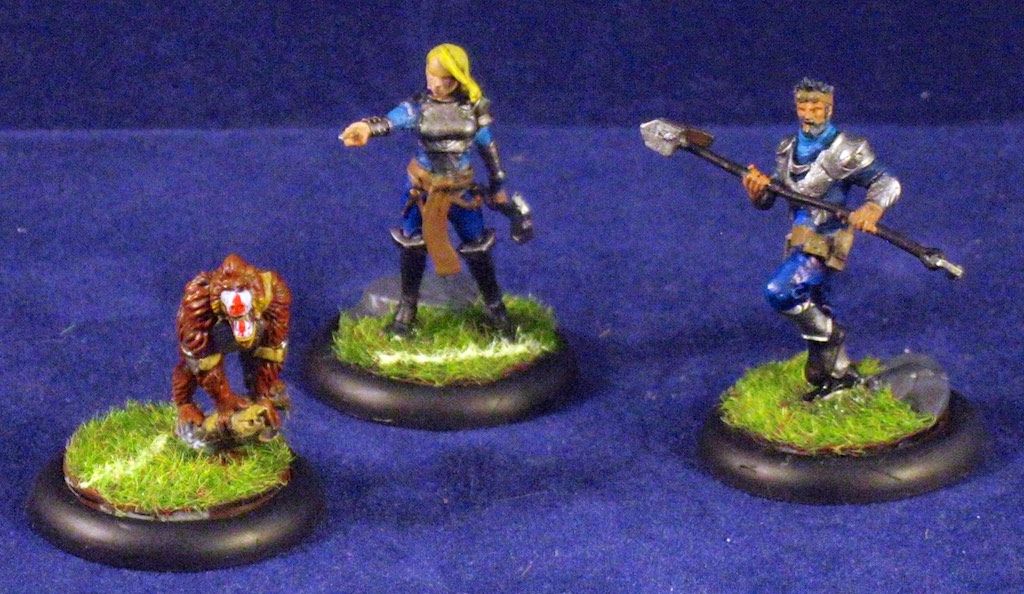
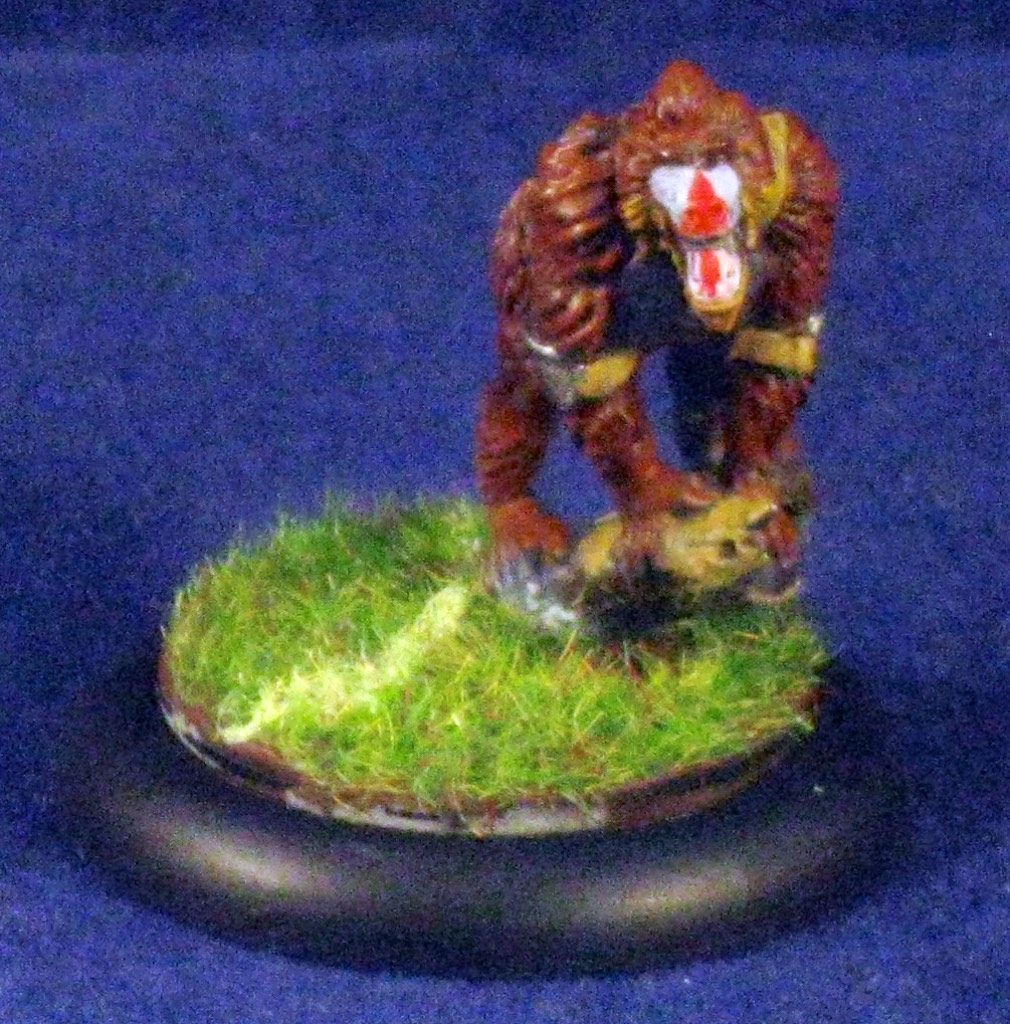
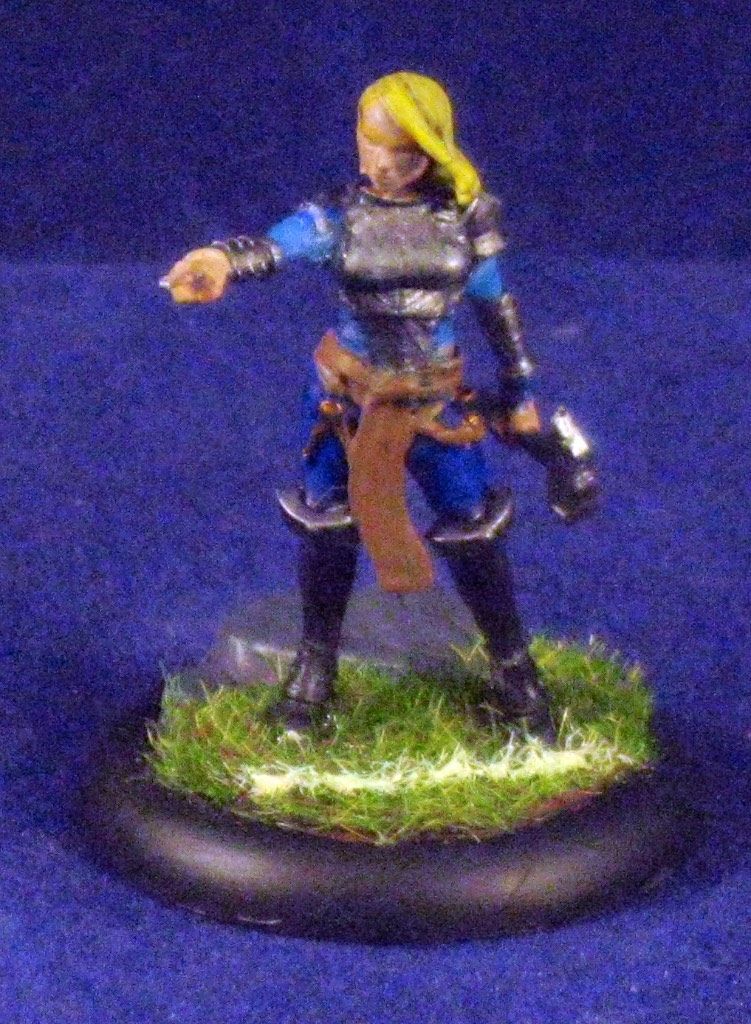
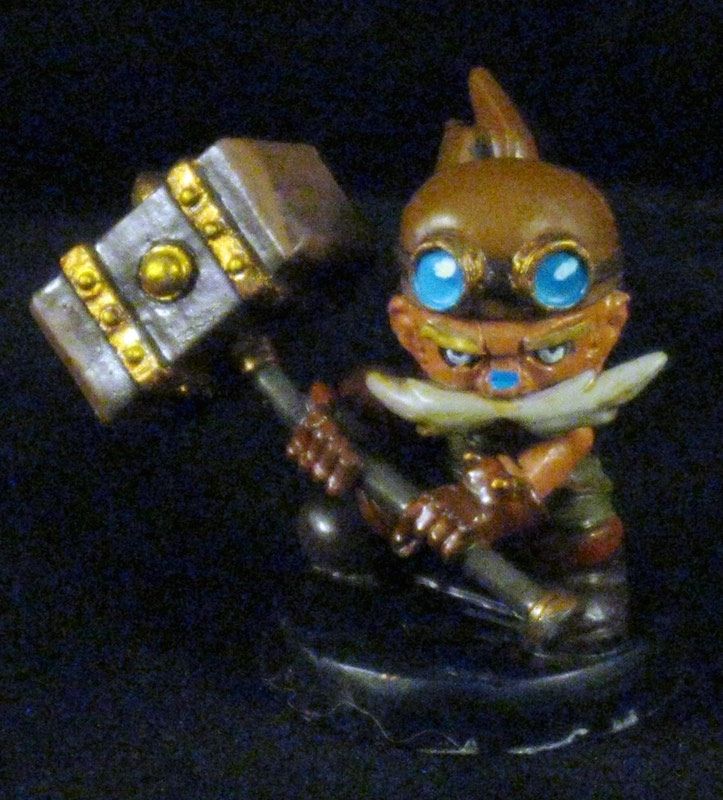
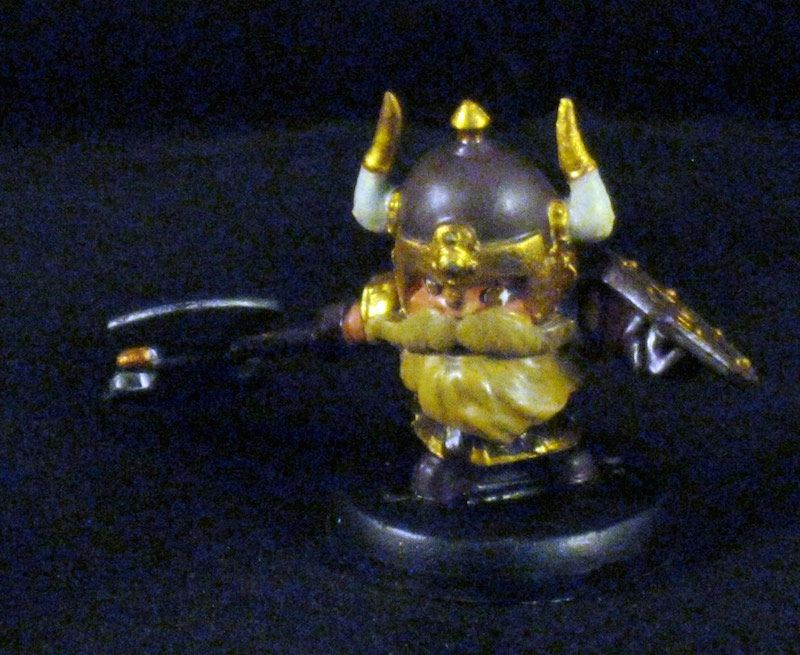
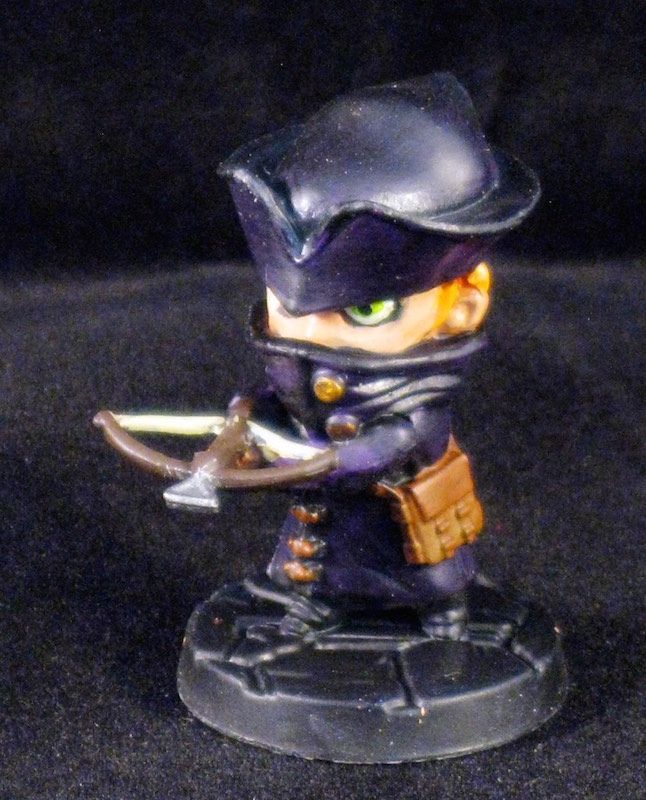
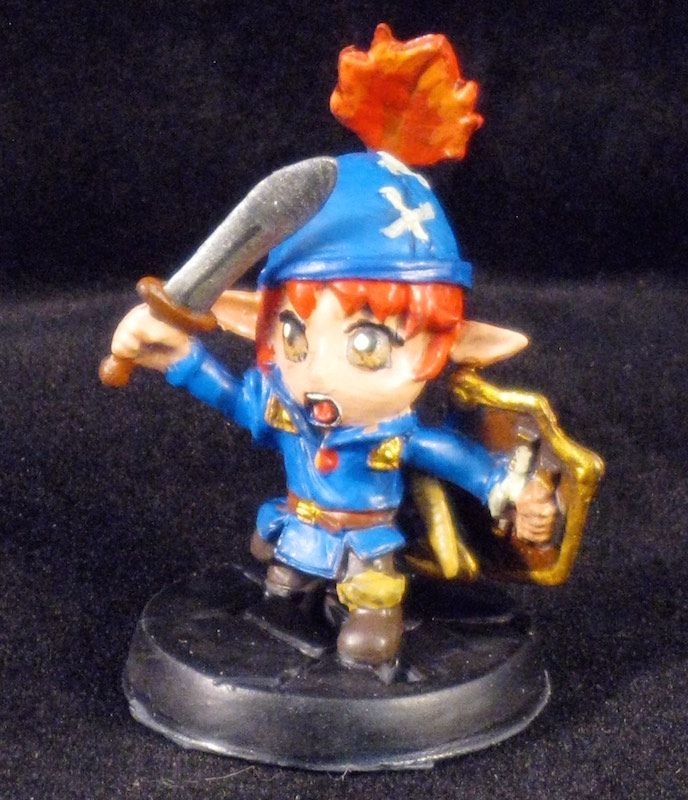
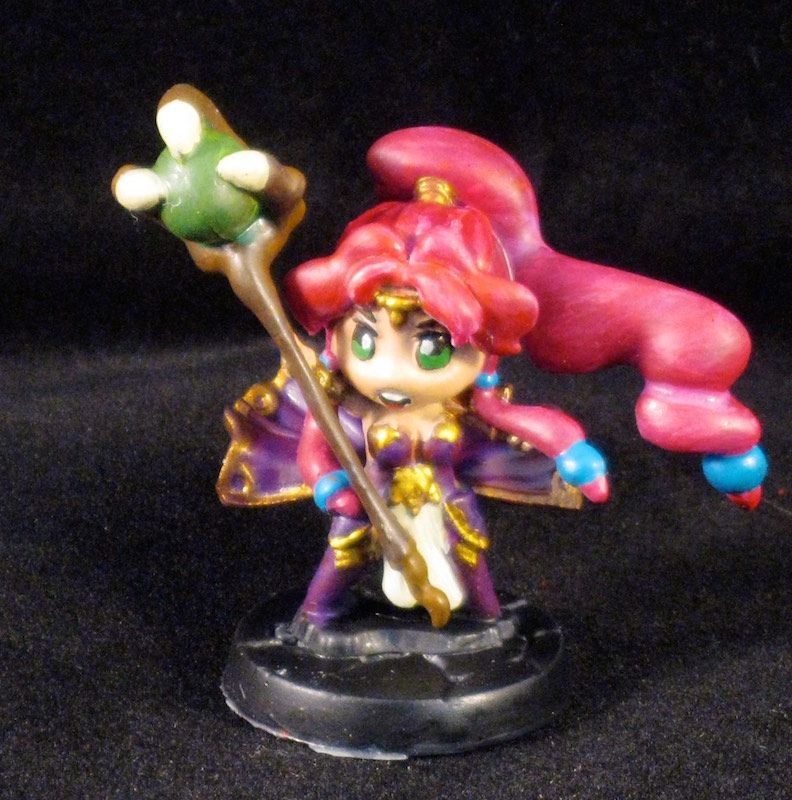
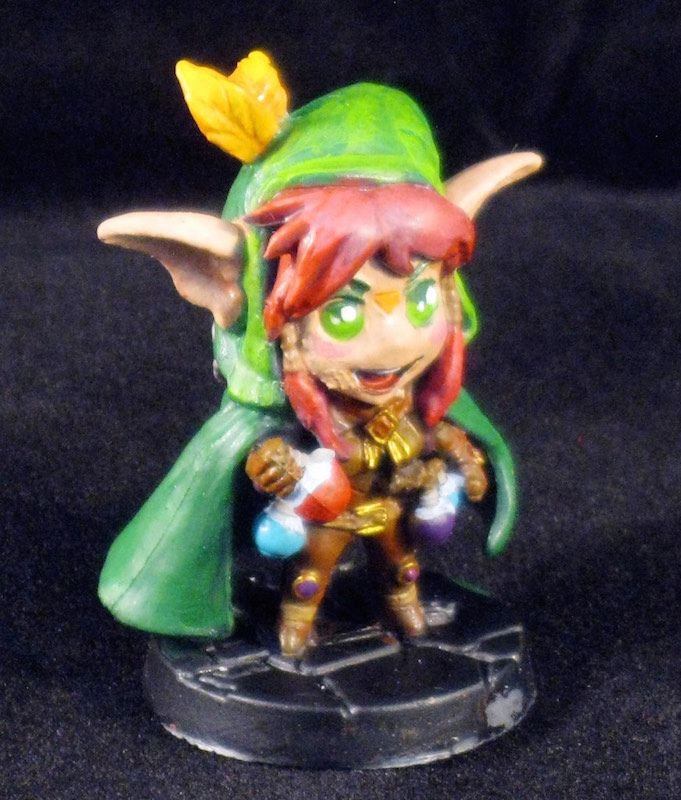
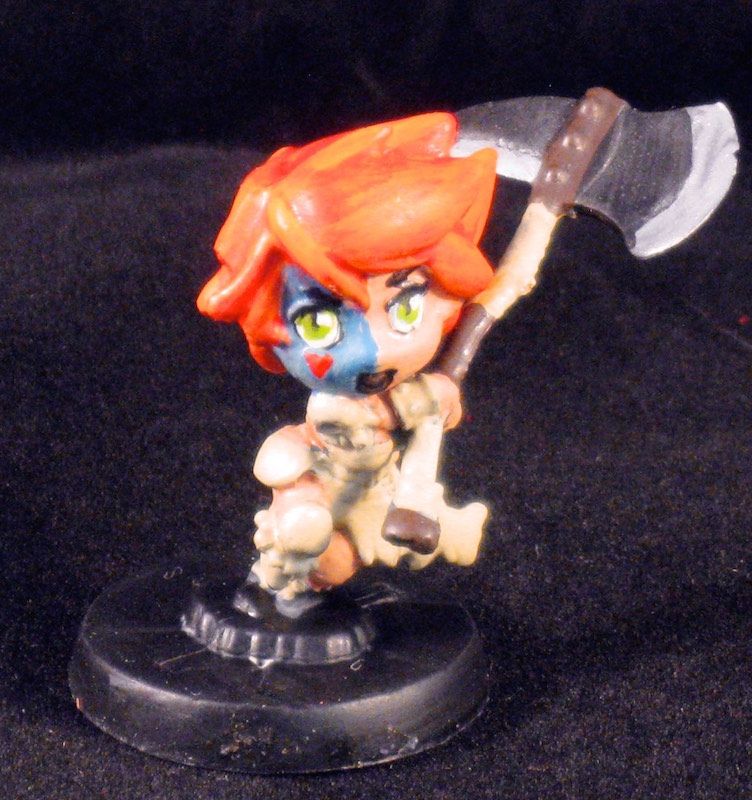
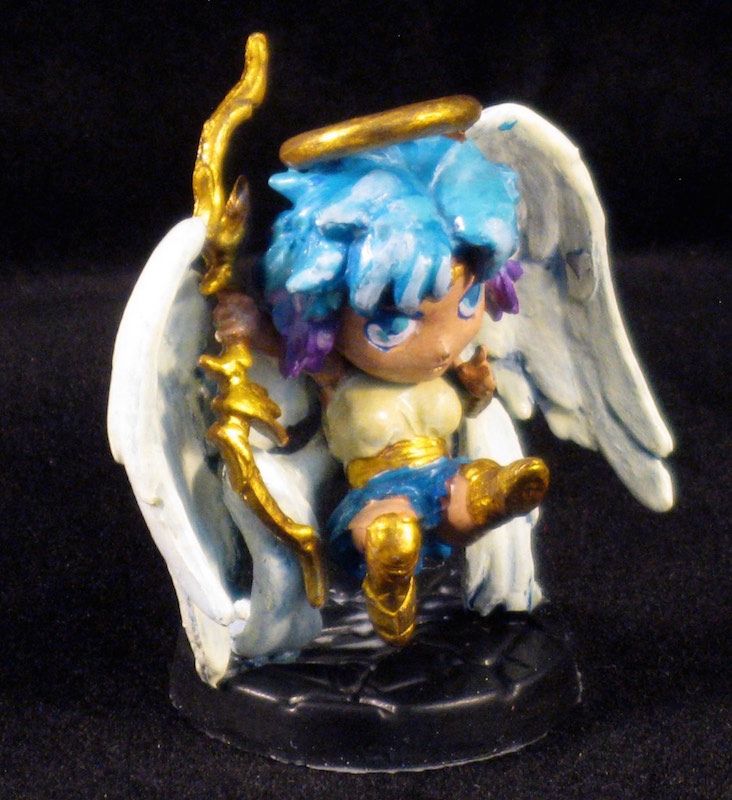
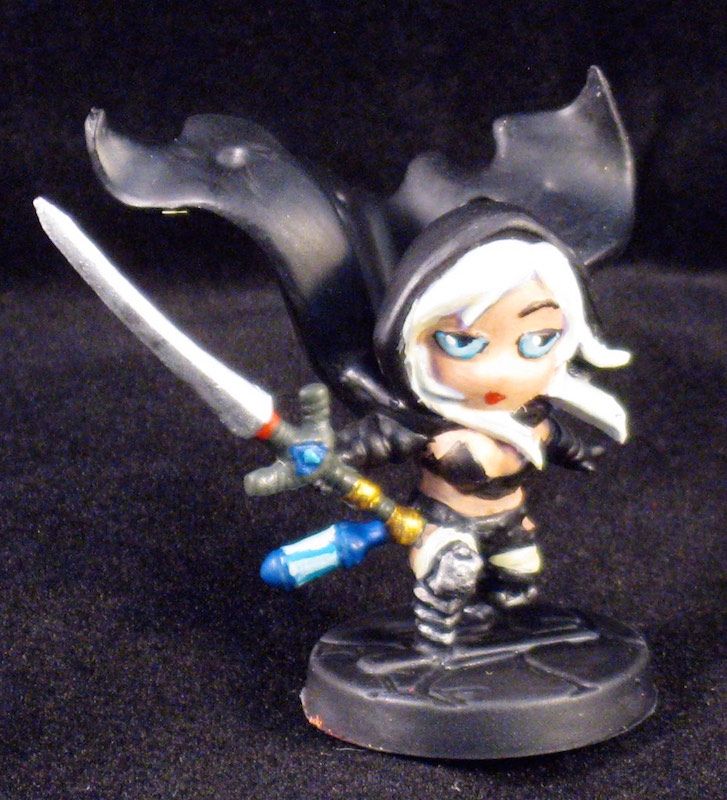
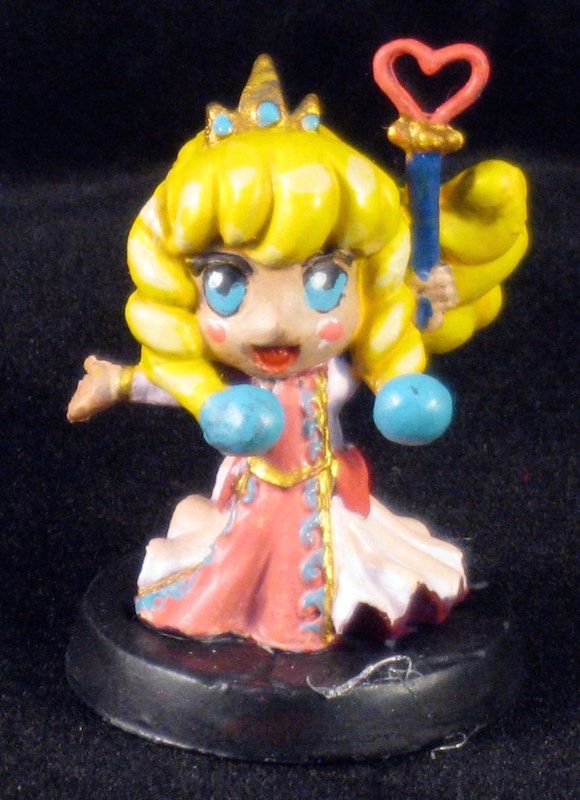
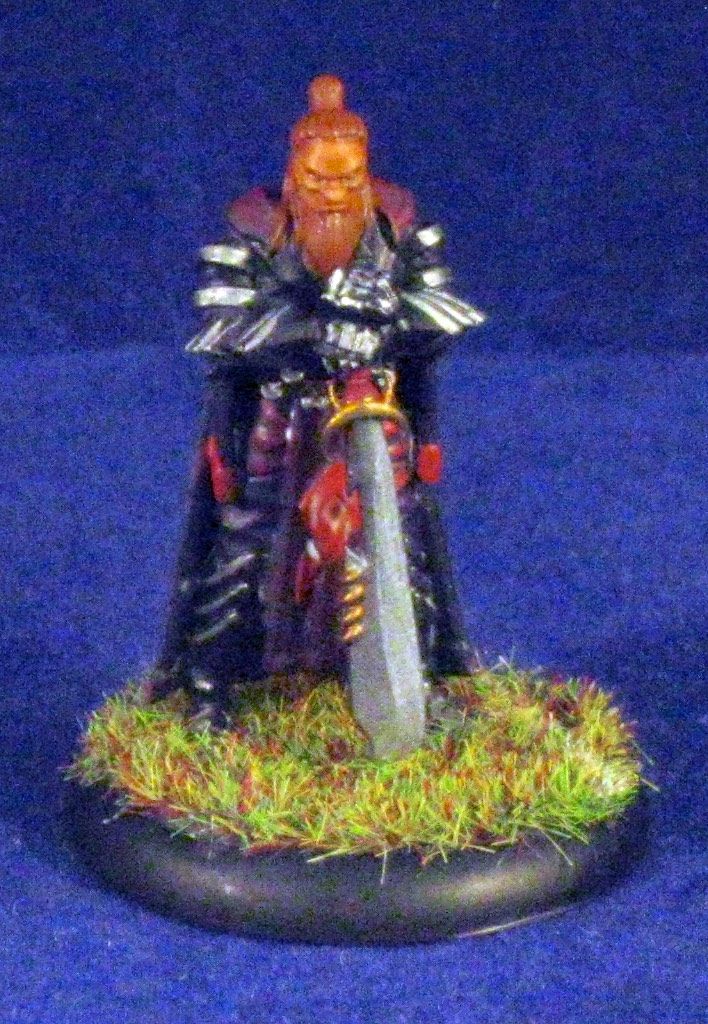
Lastly are the models, which are very much board game quality models. They are a softer plastic than wargaming models, which will make them more resilient for scooping back into a game box. There was a fair amount of bending on the weapons and general models, which should be able to be fixed with a hot/cold water dip. I was pleasantly surprised by the amount of detail each of the models has on them, which should really come out with painting. The models come in two different colors (red and orange / Grey and Green) to indicate guards who are alert and ninjas who are detected. There was some mismatch on some of the guard models with an uneven amount of red/orange models being shipped. This is limited to 6 models total, which means that once painted it will be easy to fix with a matching set of alert and non-alert models.


Initial Overall Thoughts

Starting with the game components, I am overall fairly pleased. I received a lot of models with this game, spending approximately $150 for what I got. I do not feel like I "got a deal", but that overall I spent the appropriate amount for what I received. The second most disappointing part of the contents was the choice GCT made to print the 7th Ninja character on the back of the core box cards. Considering this is printed on 3 different cards and the game is built to use 3 ninjas, it should not be an issue for game play.

The most disappointing part of the game was the rule book. The rule book simply sucks. It's extremely difficult for figuring out how to play the game the first time, with a confusing layout and inadequate references. Determining specific rules and answering questions is very difficult, despite the rules index on the back of the rule book. The majority of the rules assume a basic level of knowledge with the rules, and rarely provide page references for finding that "pre-knowledge" the player is assumed to have. This made the first play through a very difficult thing for my wife and I. That disappoints me, as an experienced gamer I should not have such a difficult time learning a game.

Considering the game play I was able to figure out, I think there is a solid game here. I continue to have high hopes for this game, as I see some really intriguing mechanics. There are some key questions I have, which I'll need to get answered or assume house rules to keep the game play smooth. One such question occurs when a unalert guard moves to place a detected Ninja in his Sphere of Influence. Does the unalert guard automatically become alert or do they have to try and detect the Ninja? Further, if a detected Ninja is in the unalert guards sphere of influence, attacks the guard and fails, do they become detected or not? It's questions like these which are very difficult to answer in the rule book, but are key's to game play.

I'm looking forward to playing more games with the hope that once I learn the game I can piece together the game play and things will become smoother.

Monday, September 28, 2015

Super Dungeon Explore Villian Showcase

Last Monday I shared my Super Dungeon Explore (SDE) hero models that I've painted up. I realized while writing the brief commentary and laying out the article that I had far more pictures of the combined SDE collection than would fit nicely on a single blog post. Here we are with taking a look at the villains (mini-bosses & bosses) and monsters. As I mentioned previously, all of these pictures have shown up on the Soda Pop forums as well, so you may have seen them there.

Let's jump in looking at the single boss that I have painted up. This is Roxxor, the fire and rock Boss from the set named after him.  He's the only dungeon boss I have currently painted, although I have the Dragon primed and ready to be painted. Due to Halloween coming up and a potential SDE Halloween party in the planning, I will have to push the Dragon to the back of my painting tray and move Von Drakk, the shape changing vampire boss, up to the front of the queue.


I've had a great deal of fun painting the mini-bosses for SDE. They are a fun mix between monsters and characters, with many being similar to the hero models in overall size and style. Here we have the mini-bosses I've painted so far.
Beyond these four I also have 2 Rex ogre mini-bosses painted up, although I did not paint those. Prior to getting motivated to paint these myself I had 13th hour miniatures paint up my kobolds and ogres as a quickie project.

That brings us down to the monsters that I've painted to be deployed into the dungeons. Monsters in SDE are divided into 3 categories, Elites, Minions, and Creeps. I've not yet started work on my variety of creeps, but here are the other monsters I have painted (plus the kobolds). First up are the Fire Beasties:


Then come the dragon beasties:


And lastly are the spawning points and treasure chests for the game:


Wednesday, September 23, 2015

Guild Ball - Masons Brute Squad

Recently I wrote up a bit of a description on my Union Brute Squad portion of the Union team. The idea behind this was a grouping of players within the Union line-up who operated as a highly effective combat team. This team, when working at peak effectiveness, was highly efficient on it's influence cost to take out an opposing player in a single turn. This left a fair bit of influence to be assigned elsewhere in the team, allowing alternate threat's during a turn and forcing tough choices onto an opponent.

I wanted to take some time to write up the mirror of the union brute squad as it plays out for the Masons team. I like this look at the Masons vs the Union to demonstrate how the Mason's work together as a "whole greater than the sum of the parts" style team. The Union Brute Squad has synergy, but each model is playing their own part and delivering an individual contribution to the overall result. The Masons build together and then bring the foundation of the play pummeling down onto the heads of the opposing player to deliver the same result.

The Brute Squad

The Masons Brute Squad consists of three players, with the difference of one of those players is the mascot. This group combines character plays and positioning in order to buff a single player and then that player attacks to remove an opposing player from the field. The masons are able to accomplish this for an influence spend of 7-10 influence. This is a higher spend than the Union uses, but is in line with how the Mason's operate overall. One challenge to the Union Brute Squad is there is not the option for a "half measure" in the overall play. The lynch pin of the play is Honour, so if she is tied up during the preparation of the play the entire play can be weakened or stopped.

The Mason's brute squad has limited capability to reposition a particularly uncooperative target, but it's more a minor adjustment than a true reposition. Due to this, I prefer to target models who have already activated and are fairly fixed in their final position for the turn.  Brick can provide a useful push when this is not possible, although he then uses some additional influence to line up the brute squad play sequence.

Roles

Marbles is the opener for the Masons Brute squad with a fairly simple job. One nicety of the opening play is that it appears fairly innocuous unless the opponent is familiar with your end goal. Marbles will be given 1 influence at the start of the turn and use that influence for his "Tooled Up" character play targeting Honour. After this he will move his base movement to engage the target player. That's all he does, no attack or other actions on the play. Marbles role is to provide a buff to Mallet through ganging up, along with his varied buff's to Honour. Honour receives +1 damage to her playbook results fro "Tooled Up" and an additional +1 damage to playbook from Honour's [Assist] character trait. Additionally he provides +1 TAC for ganging up and +1 TAC from the same [Assist] trait.

Mallet lines up second on the squad, preferring to charge the target. In a perfect situation Mallet will end his charge in base contact with the model on the opposite side from where I want to push the model 2 inches to end up. The end goal, regardless of where Mallet actually ends his activation, is to have the target model engaged by Marbles (within 1 inch), Mallet (within 2 inches) and 7 inches away from Honour. Mallet will charge in and is looking to deliver a single success from the charge to trigger his "Singled Out" character play plus a momentum. Where possible, Mallet would prefer to use his 10 TAC (TAC 5 + Charging 4 + Ganging Up 1) to deliver 6 success, which he would then choose the Knock Down and "Singled Out" results for 2 momentum. In the event he absolutely must push the target around, swap the knock down for 4 damage, losing a momentum but delivering a total of 6 damage and pushing the target due to his "Forceful Blow" character trait.

It's time to bring in Honour, who will be doing the bulk of the work in this combined play. Honour should walk into combat where possible and start swinging, aiming to use all 5 of her TAC to take out the target player. On each Influence spent Honour should be rolling 11 dice (TAC 6 + Assist 1 + Singled Out 2 + Ganing Up 2) and averaging 4 damage and a momentum per influence spent. If there is less need for momentum in the turn, she should be able to easily deliver 5 damage per influence on the play.

The Play

Plan to spend a minimum of 7 influence on this series of plays, potentially spiraling up to 10 influence to get it to work just right. Unfortunately this tends to tie up the majority of linfluence in the team, but that's the cost of using the Masons. On those 7 influence you should end up delivering 20 points of damage and netting 7 momentum or 25 damage and 2 momentum while taking out a player. All of this damage is dealt during the activation, which is a bit different from how the Union plays. 

The ganging up component combined with the synergy between Marbles and Honour are key to the success of this play series. As previously mentioned, be careful of how the opponent reacts or deals with Honour, as she is the linchpin for the entire series of plays.


Monday, September 21, 2015

Super Dungeon Explore Heroes Showcase

It's picture time on DTP, and today we're taking a look at some Super Dungeon Explore (SDE) models. I've mentioned in previous articles that I've been painting again, and that I've been enjoying painting up chibi models from SDE. I set-up the light box and grabbed some pictures of most of the models I've painted. These have been previously posted to the Soda Pop forums as well, so anyone who looks there will have seen these.

Those who have followed DTP for any amount of time, or have a keen eye on recent pictures, will notice a difference in my backdrop for these pictures. On looking over some of the photos I've taken my wife recommended a change for the SDE models. She felt that a black backdrop (opposed to blue) would allow the colors on these models to pop more than the blue background. Overall I've been happy with the results, although the camera can be a bit finicky. I'm still setting up my point and shoot camera on auto for these pictures, and it sometimes decides the black backdrop means it should be a nighttime picture. Apparently there were too many dark colors between the black backdrop and the brown colors on the dwarves, and that's what happened here.


Having now started with the heroes, let's continue on to look at the other heroes I've painted up.


This gives us 13 choices of painted heroes we can play during our SDE games. I'm continuing to add more as I move along, having already painted up the models both my daughter and wife liked most. I'll come back with another post later that shows the monsters and Mini-bosses I have painted.

Wednesday, September 16, 2015

Guild Ball - The Union Brute Squad

I wanted to take a little bit of time today to discuss some Guild Ball tactics I've been playing around with. At the point of this writing I've gotten a fair number of games in with both the Masons and the Union teams, with a minor number of games with the Brewers and Morticians. As I mentioned in an earlier post, I started out playing the released version of Guild Ball with the Masons. I moved to the Union as my second team and really enjoy the variety of play styles that the Union brings to the table.

I've noticed that the Union has a number of players who are particularly suited to a combat oriented play style, pushing for victory through taking out the opposing player. This can be valuable when facing a team which is more fragile or does not hold up to or in combat well. Union has some key players that can dish out a fair bit of damage and work fairly well together. I find it intriguing that the union delivers on this synergy in a very different way than other teams. This is especially apparent when compared to playing a similar style game as the Masons, who build up a single player to deliver damage. The Union delivers damage across multiple players ganging up on a single target to take that target out. This is the reasons, among a couple others, that I find one of my opponents terms for this part of my team appropriate:

The Brute Squad

The Brute Squad on the union team consists of three players, Blackheart, Gutter, and Rage. As a group these three players are reliable and efficient at picking an opponents player and then removing that play from the board, typically in a single turn. This is typically accomplished for an average expenditure of 5-7 influence overall. This may seem like a fair amount of influence, but when you consider that this is typically only half the influence your team brings to the table, it's not that bad. This leaves enough influence available to keep the rest of the team fairly nimble, or really load up a single player such as Mist for a goal shot during the same turn.

All three members of the Brute Squad are resilient as well. Opponents will not be able to easily pick apart this squad, and will dread ending an activation within the squads sphere of pain and risk being their next target. Additionally this squad is fairly flexible and maneuverable on the table, only being slowed by Rage overall.

Roles

Gutter is the lead for the brute squad, typically activating first and acting as the key to positioning the target on the table. It is best to target models which have already activated, but is not entirely necessary if the target has limited influence. Gutter will typically be loaded up with 3 influence in order to cover some risk of missing your first character play. The idea is to have Gutter move up the table so that she ends within 6 inches of the target, but will be able to pull the target into a position ending 8 inches from Rage. This may require a chain throw, and 2 attacks to push the target. If the pushes are not necessary then this is better, as a chain grab or two plus an attack is sufficient to get the damage building. Remember that Gutter will heal up damage every time she hits an opponent and does damage. This is useful as Gutter will be targeted by opponent combat models due to her being the more important portion of the squad by positioning the target.

Rage is the crazy man who rushes in and really delivers on the brutal damage the target is going to take. Rage will be the limiter of the squad as well, as he has the smallest threat range of 8 inches and wants to get a charge. When positioned correctly, Rage will charge in (for free) and take his first attack, dealing damage to the target. He will then deliver his second attack aiming for 3 successes and a knockdown to make it easier to hit the target. He then will spend the single influence you placed on him to deliver more damage, repeating with his second free berserk attack for yet more damage. Overall, Rage should deliver 4 attacks totaling at least 8 points of damage, 3 points of momentum, and knocking the target down in the process. It's important to remember that this will also leave the target with the bleed condition to process during the maintenance phase.

Blackheart is the closer on the squad, and can deliver his punches from 11 inches away. Blackheart is going to use Shadowlike to shift toward the target, then move (charging if necessary) to deliver at enough damage to bring the target down, or close to it. Blackheart will typically be loaded up with 3 influence to deliver on this play, often in a better position to walk and attack up to 3 times than to charge and attack twice. The target should be knocked down when Blackheart is headed in to clean up, along with being hurt and bleeding. If things have gone according to plan they will already have 10 points of damage on them, with Blackheart expecting to deliver 7 - 9 points of damage with his 2-3 attacks.

The Play

Much of the individual portions of the play are explained above as I discussed the role each player in the squad takes on the table. I want to discuss the particulars overall in this section, along with some things to keep in mind. First, you'll be spending a minimum of 7 influence and if successful will be dealing 22 points of damage and generating at least 5 momentum. 3 points of damage from that 22 may be dealt during the following maintenance phase as bleed processes.

As each of the members of the brute squad engages the target, you'll be adding a dice to the attacks from ganging up. This makes the subsequent attacks particularly effective, making it very likely that by the time Blackheart comes in to clean up he is fairly effective at landing the 5 or 6 hits he wants for max damage.

I prefer Rage over other potential members of the squad such as Decimate or Snakeskin due to his efficiency with influence. He only requires 1 influence to operate at peak efficiency, which is important. This leaves enough influence to create a second threat by loading up a striker, or multiple diversions by spreading out your influence across the other 3 players. This allows you to cover the field while the Brute Squad is delivering a beating as ordered by the Union.


Monday, September 14, 2015

Chibi Painting

I mentioned in a previous post that I was energized for painting, having pushed through the doldrums and becoming more productive. Part of what reinvigorated me and raised my excitement was I found enjoyment painting Chibi style miniatures. After doing a little research I discovered that Chibi is a Japanese slang word that means "short person" or "small child". In all cases I could find it was primarily used by anime fans and more often than not indicated an art style that was "cute". The word also appears to indicate an art style which over exaggerates the heads and eyes of the art subject while leaving the body in "normal" proportions.

The only game in my collection which currently uses models of this style is Super Dungeon Explore (SDE) by  Soda Pop Miniatures. SDE is a dungeon crawling game I've had in my collection for a couple years which I enjoy a great deal. Over the years I've made some soft inquiries to different painters about costs to have my rather large (and regularly growing) SDE collection commission painted, but had never come across the best arrangement. I did convince friend and amazing commission artist Convy or 13th hour miniatures to squeeze a couple of my SDE stuff in between some of his other commissions and these looked great.

There were a couple challenges that kept me from diving into painting up my SDE. The Chibi style is fairly clean and cartoony, which is not a style that I had practiced or been taught to paint. The style tended toward brighter colors and extreme highlights, which are both fairly different from how I am comfortable painting. Lastly was the emphasis on faces and especially on eyes, which are painted in a fairly specific style that is very recognizable. This style with the eyes includes some bright colors, multiple layers to show a pupil, iris, and the rest of the eye, and a fairly specific use of Object Source Lighting. All of this built up a barrier in my mind that convinced me I would not be able to paint my SDE models in a way I'd be pleased with.

Wow, was I wrong.

Clean Painting Style with Bright Colors

The first thing I came across was trying to get bright colors painted in a "clean" painting style. Comparing the Chibi style to my typical painting technique shows a marked difference overall. Specifically this comes down to blending and the lines on the model itself. My typical painting  style uses a three layer approach laying down a darker shadow color, then a mid-tone, then a highlight. I then use washes and another mid-tone or highlight layer to blend the model back to where I'm happy with it. This style specifically tries to blend away some of the hard lines on the model, causing the different shades of color to gradually fade into each other. I do this in an attempt to avoid a cartoon like look where the colors are solid and blocked out on the model.

One of the challenges I faced for painting Chibi models was that the cartoon blocked out look is what I was aiming for. At the same time, I've seen some fantastic chibi style models that incorporate beautiful levels of blending far beyond even my typical blending skills. I was not sure how to incorporate both of those and get the desired result on my models. I ended up jumping in to start with Fire, as I feel most comfortable painting fire. I started painting the fire in the same was I would on any other model, blending up each of the colors and trying to fade through the hard lines on the model. After doing this and reaching a point I was comfortable with, I went back and painted in hard edges to my colors, emphasizing the harder lines and covering over (with a thinner layer of paint) my blending. In the end I was surprised and pleased with how the models turned out.


Painting Chibi Eyes

Once I had completed my flame monsters I felt far more confident that I could achieve my objectives with the other models. I could be fairly confident in painting up the variety of SDE critters that would be attacking our intrepid heroes and make them look fairly good. Now I had the bigger challenge, Chibi Style eyes. Monsters do not typically have the Chibi eyes painted on them, but these eyes are a prominent feature in the Chibi heroes. I searched around a variety of different sites until I found a brief tutorial that I was comfortable with. Tutorial loaded up on my tablet, I primed my first hero and set out to see what I could accomplish. I set out with a quick reference from Calico Kate's character card to guide my color choices for the model and painted out all the colors and extreme highlights, leaving the eye until last. Then I grabbed my tutorial, my small brush (citidel fine detail, approximately the same size as a 3/0 brush), and a couple pots of paint. I cheated a little, picking a model with only a single eye to paint, but it still made me nervous. Once I completed following the tutorial I was happy with the results.

I had discovered that painting Chibi Eyes was not as tough as I had expected. Additionally I was able to achieve some pretty good results and then go back to focus on cleaning up the model and really working on the extreme highlights. Overall I am very happy with my progress painting my SDE models and have begun to experiment with other colors and styles on the eyes. The ranger (Blue to the right), Hexcast Sorceress (ping hair below) and Paladin (Yellow hair below) are three of my recent models with some of the best eye work I've done so far.


After all that I would be remiss to not give a reference to the fantastic tutorial that I followed for the Chibi Eyes. I found a tutorial by Queen of Cute on deviant art which is what I use and recommend to others. It's a very simple tutorial to follow and Queen of Cute did a fantastic job laying it out. Thanks to her (him?) for posting this online.
Queen of Cute http://queen-of-cute.deviantart.com/art/Chibi-Eyes-Tutorial-332755117