I wanted to take a little bit of time today to discuss some Guild Ball tactics I've been playing around with. At the point of this writing I've gotten a fair number of games in with both the Masons and the Union teams, with a minor number of games with the Brewers and Morticians. As I mentioned in an earlier post, I started out playing the released version of Guild Ball with the Masons. I moved to the Union as my second team and really enjoy the variety of play styles that the Union brings to the table.
I've noticed that the Union has a number of players who are particularly suited to a combat oriented play style, pushing for victory through taking out the opposing player. This can be valuable when facing a team which is more fragile or does not hold up to or in combat well. Union has some key players that can dish out a fair bit of damage and work fairly well together. I find it intriguing that the union delivers on this synergy in a very different way than other teams. This is especially apparent when compared to playing a similar style game as the Masons, who build up a single player to deliver damage. The Union delivers damage across multiple players ganging up on a single target to take that target out. This is the reasons, among a couple others, that I find one of my opponents terms for this part of my team appropriate:
The Brute Squad
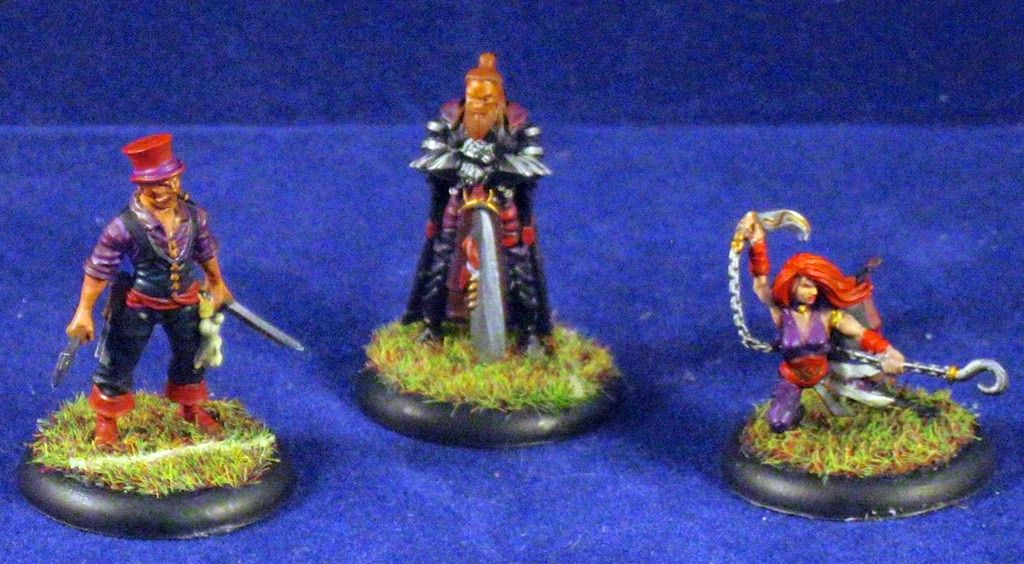
The Brute Squad on the union team consists of three players, Blackheart, Gutter, and Rage. As a group these three players are reliable and efficient at picking an opponents player and then removing that play from the board, typically in a single turn. This is typically accomplished for an average expenditure of 5-7 influence overall. This may seem like a fair amount of influence, but when you consider that this is typically only half the influence your team brings to the table, it's not that bad. This leaves enough influence available to keep the rest of the team fairly nimble, or really load up a single player such as Mist for a goal shot during the same turn.
All three members of the Brute Squad are resilient as well. Opponents will not be able to easily pick apart this squad, and will dread ending an activation within the squads sphere of pain and risk being their next target. Additionally this squad is fairly flexible and maneuverable on the table, only being slowed by Rage overall.
Roles
Gutter is the lead for the brute squad, typically activating first and acting as the key to positioning the target on the table. It is best to target models which have already activated, but is not entirely necessary if the target has limited influence. Gutter will typically be loaded up with 3 influence in order to cover some risk of missing your first character play. The idea is to have Gutter move up the table so that she ends within 6 inches of the target, but will be able to pull the target into a position ending 8 inches from Rage. This may require a chain throw, and 2 attacks to push the target. If the pushes are not necessary then this is better, as a chain grab or two plus an attack is sufficient to get the damage building. Remember that Gutter will heal up damage every time she hits an opponent and does damage. This is useful as Gutter will be targeted by opponent combat models due to her being the more important portion of the squad by positioning the target.

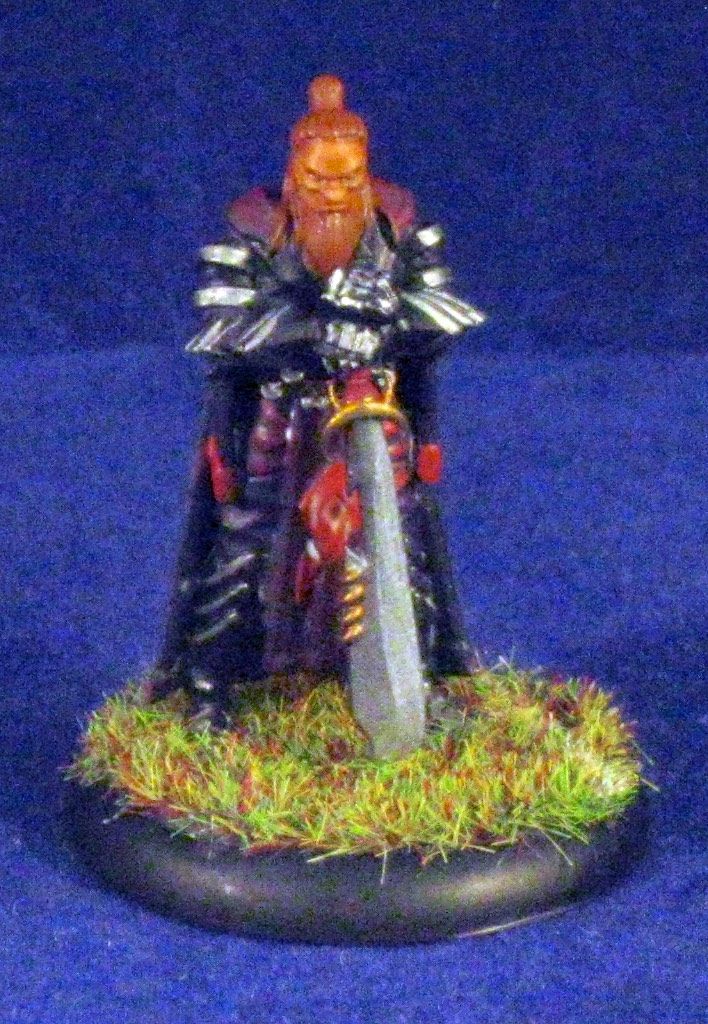
Rage is the crazy man who rushes in and really delivers on the brutal damage the target is going to take. Rage will be the limiter of the squad as well, as he has the smallest threat range of 8 inches and wants to get a charge. When positioned correctly, Rage will charge in (for free) and take his first attack, dealing damage to the target. He will then deliver his second attack aiming for 3 successes and a knockdown to make it easier to hit the target. He then will spend the single influence you placed on him to deliver more damage, repeating with his second free berserk attack for yet more damage. Overall, Rage should deliver 4 attacks totaling at least 8 points of damage, 3 points of momentum, and knocking the target down in the process. It's important to remember that this will also leave the target with the bleed condition to process during the maintenance phase.
Blackheart is the closer on the squad, and can deliver his punches from 11 inches away. Blackheart is going to use Shadowlike to shift toward the target, then move (charging if necessary) to deliver at enough damage to bring the target down, or close to it. Blackheart will typically be loaded up with 3 influence to deliver on this play, often in a better position to walk and attack up to 3 times than to charge and attack twice. The target should be knocked down when Blackheart is headed in to clean up, along with being hurt and bleeding. If things have gone according to plan they will already have 10 points of damage on them, with Blackheart expecting to deliver 7 - 9 points of damage with his 2-3 attacks.
The Play
Much of the individual portions of the play are explained above as I discussed the role each player in the squad takes on the table. I want to discuss the particulars overall in this section, along with some things to keep in mind. First, you'll be spending a minimum of 7 influence and if successful will be dealing 22 points of damage and generating at least 5 momentum. 3 points of damage from that 22 may be dealt during the following maintenance phase as bleed processes.
As each of the members of the brute squad engages the target, you'll be adding a dice to the attacks from ganging up. This makes the subsequent attacks particularly effective, making it very likely that by the time Blackheart comes in to clean up he is fairly effective at landing the 5 or 6 hits he wants for max damage.
I prefer Rage over other potential members of the squad such as Decimate or Snakeskin due to his efficiency with influence. He only requires 1 influence to operate at peak efficiency, which is important. This leaves enough influence to create a second threat by loading up a striker, or multiple diversions by spreading out your influence across the other 3 players. This allows you to cover the field while the Brute Squad is delivering a beating as ordered by the Union.