So, with a week break and no pictures from my games in Raleigh NC, I made sure to grab the camera on my way out to game night last night. It was a smaller turn-out than normal as there was the start of a blood bowl league kicking off and several Malifaux players were learning how to play that. Even still, I was able to get in a game with one of my normal opponents, Mike. Mike has been bringing his Ten Thunders out, and even though I am aiming to get more Misaki games in, I really prefer to not play same faction on same faction. I remember a couple weeks ago there was discussion about how another local, Brian, was having trouble working Hoffman, specifically against Misaki. Even though I figured it would be a loss, I decided to bring out Hoff and see if I could work out something different than Brian's experience had been. I set-up the board and we got the game started.
Set-up
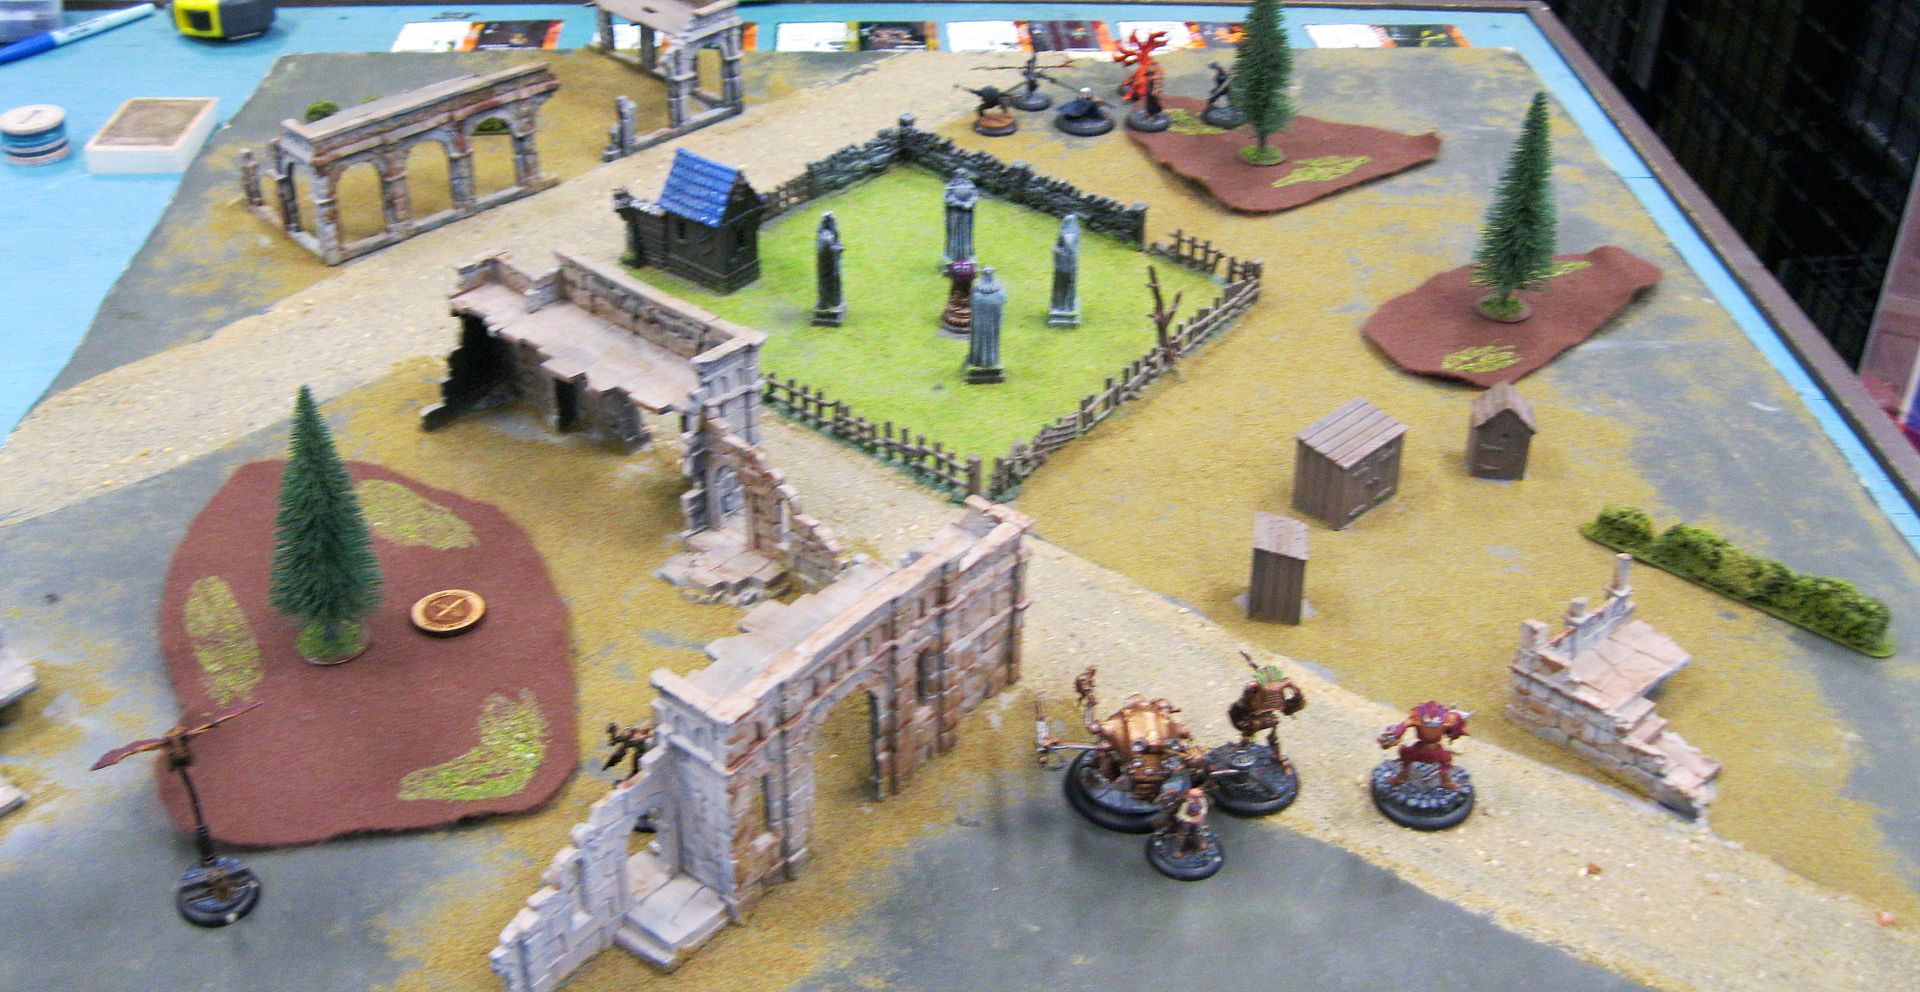
Our crews were:
30SS Scrap
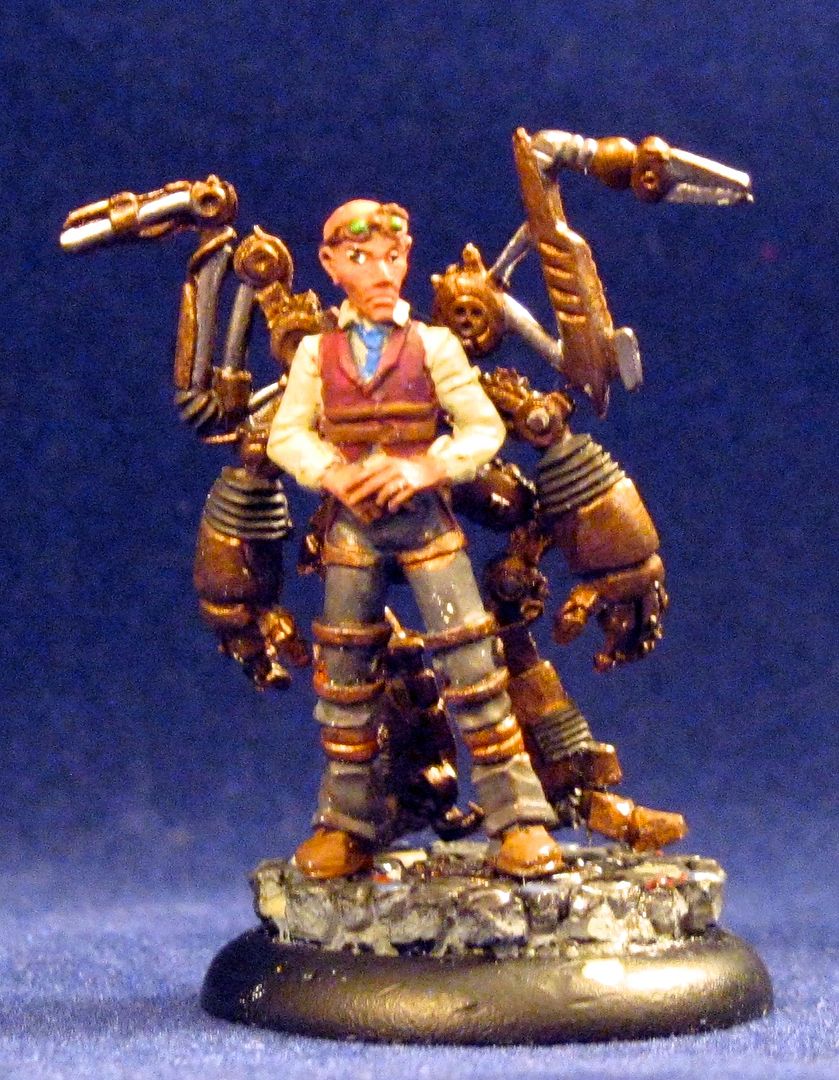
Bill - Hoffman, Mechanical Attendant, Peacekeeper, Warden, Guardian, Watcher, 7 Stones
- Turf War, Grudge (Archer), Kill Protege (Torekage)

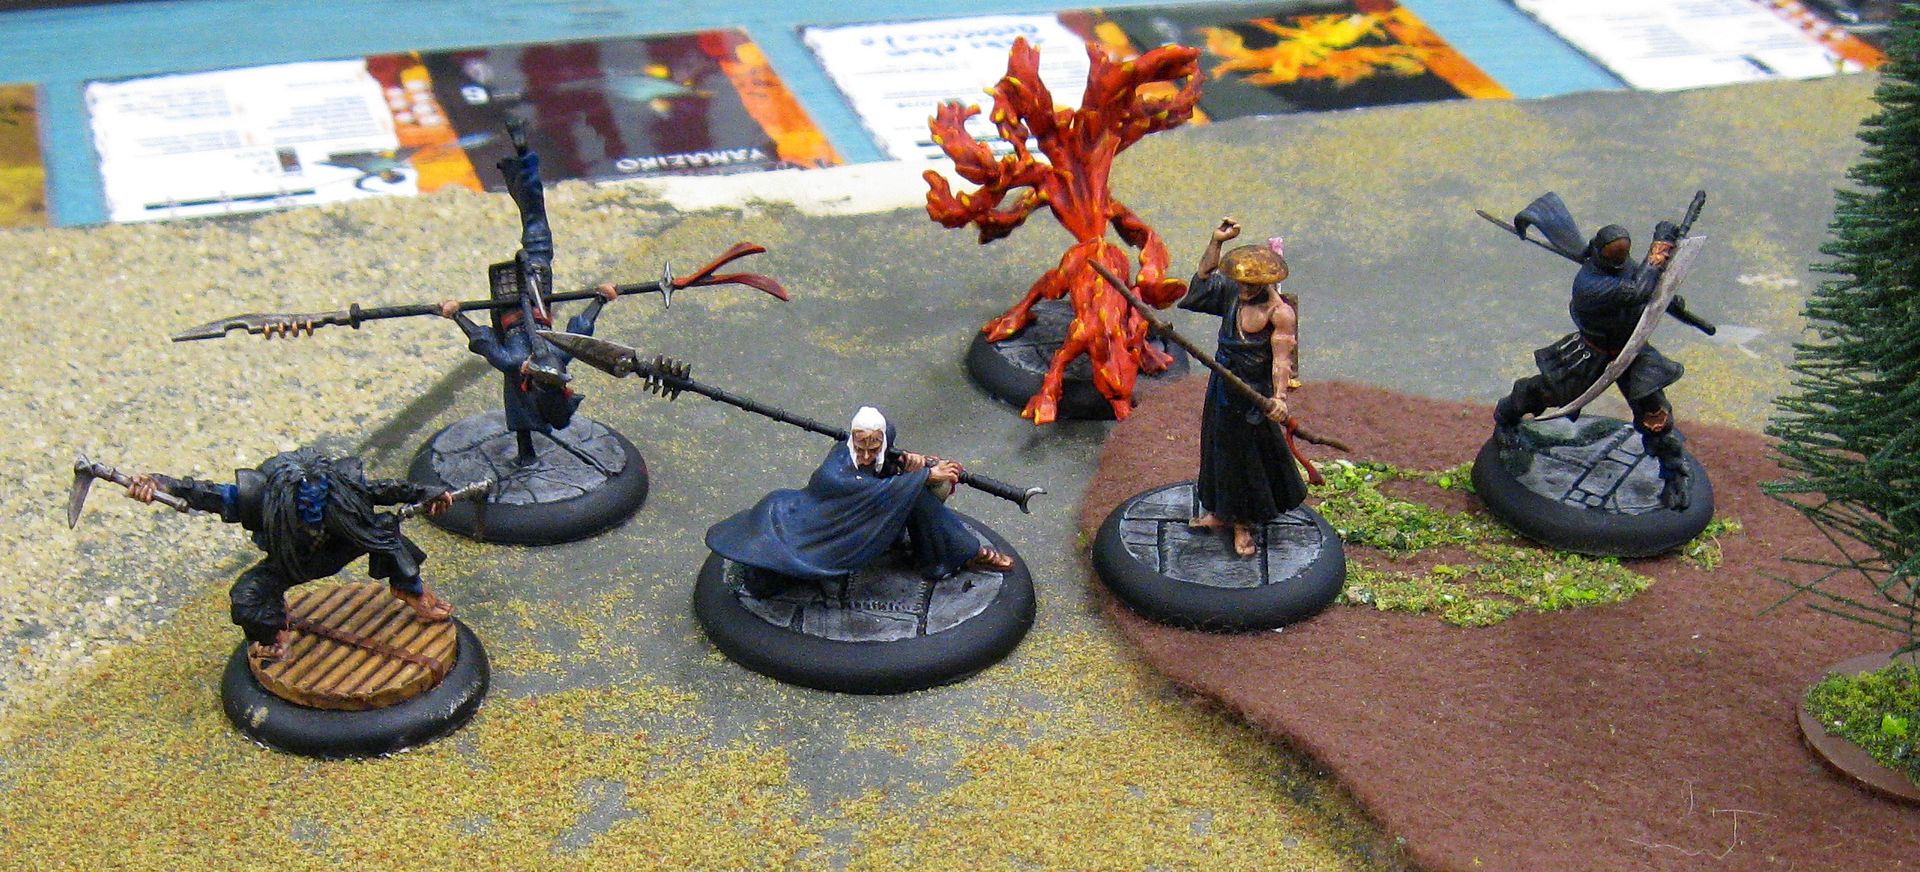
Mike - Misaki, Shang, Toragake, Archers, 10T Brother, Yamaziko, 8 Stones
- Deliver the Message, Assassinate, Stake a Claim (forest in my deployment zone)
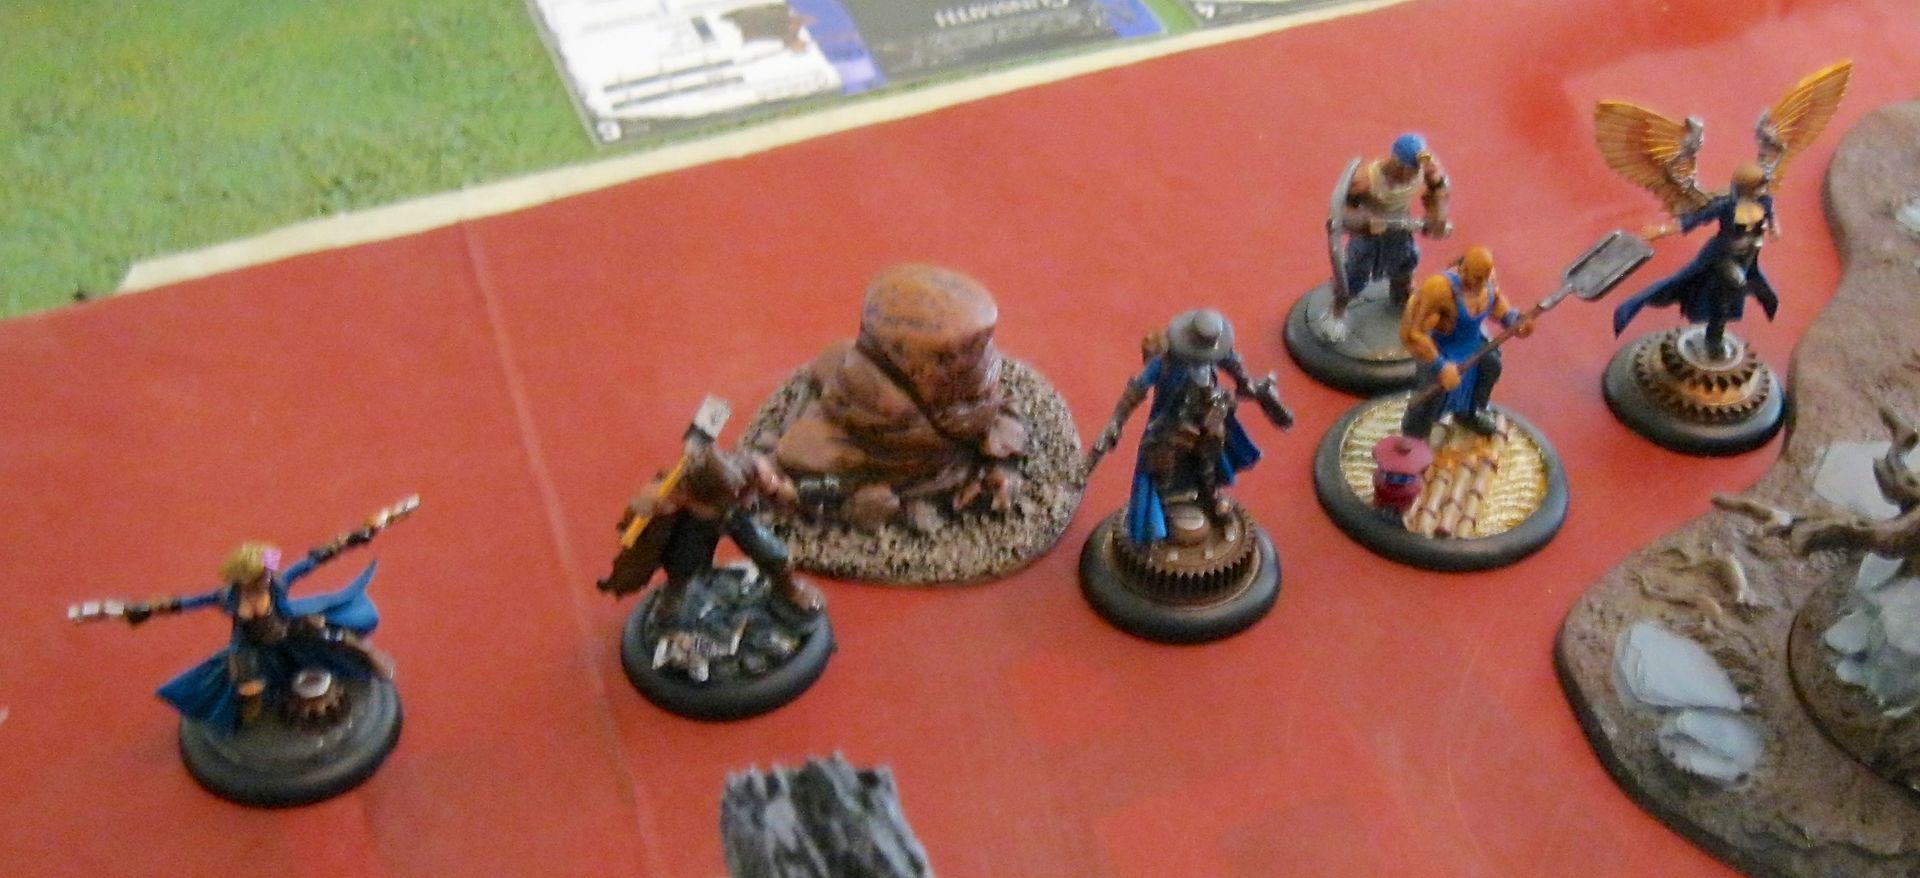
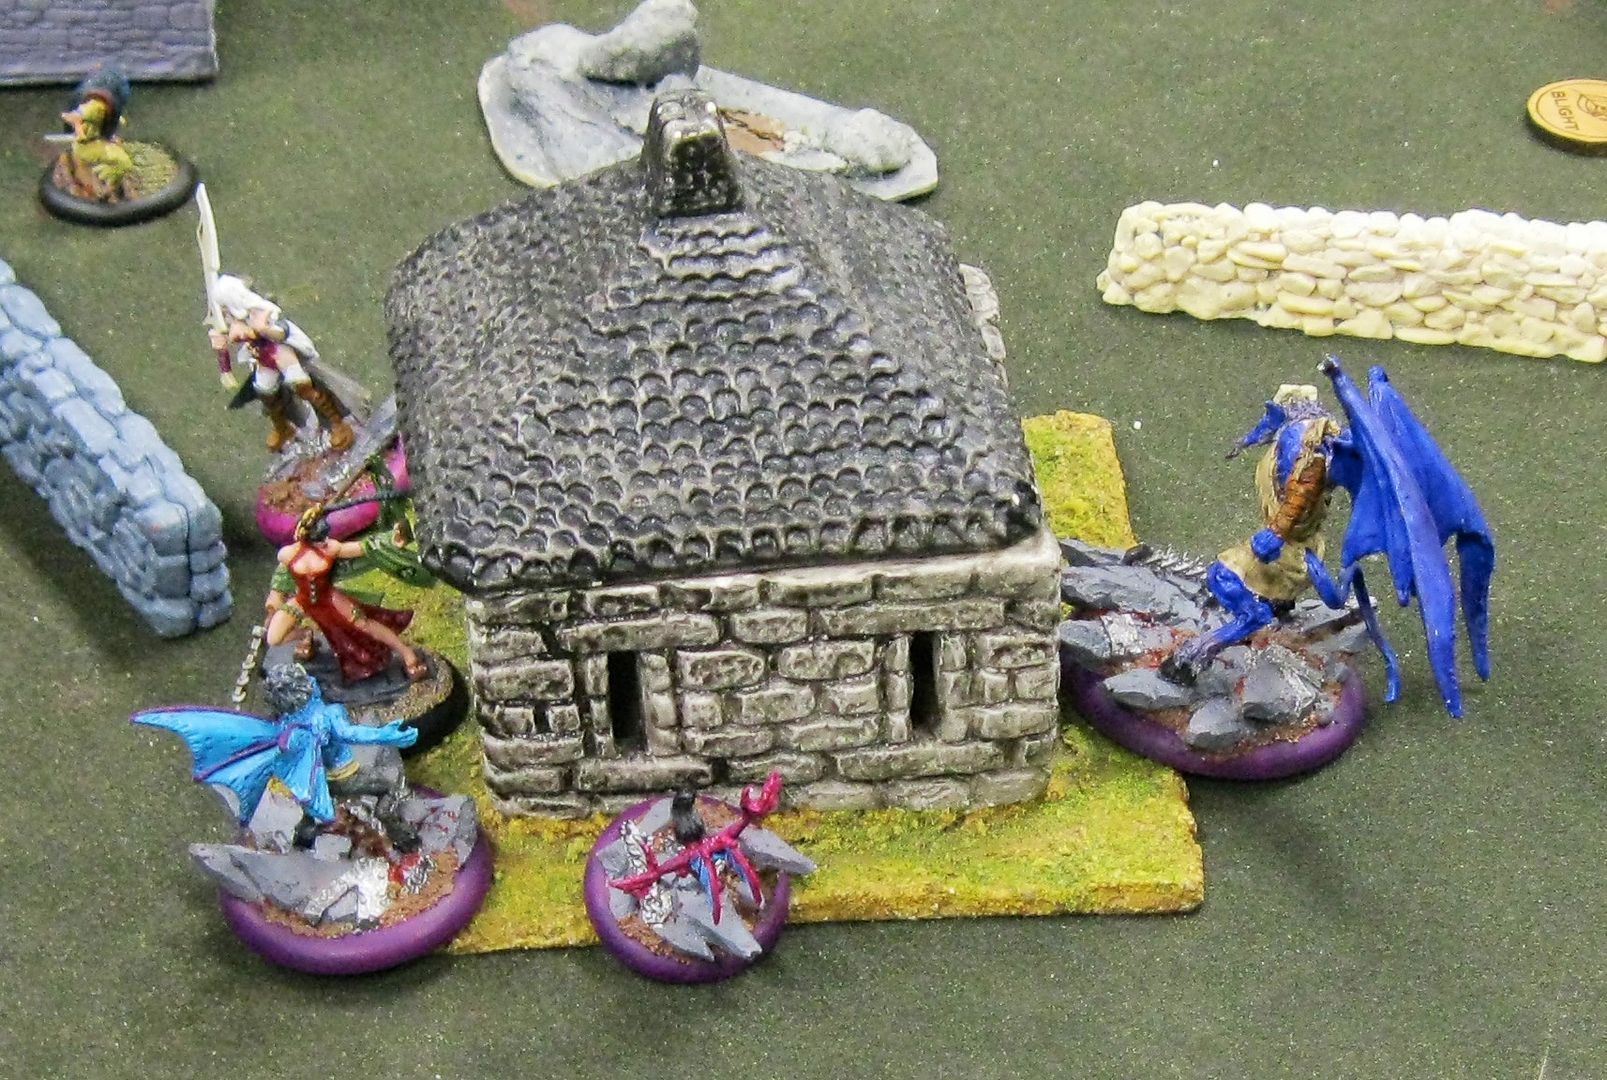
Turn 1
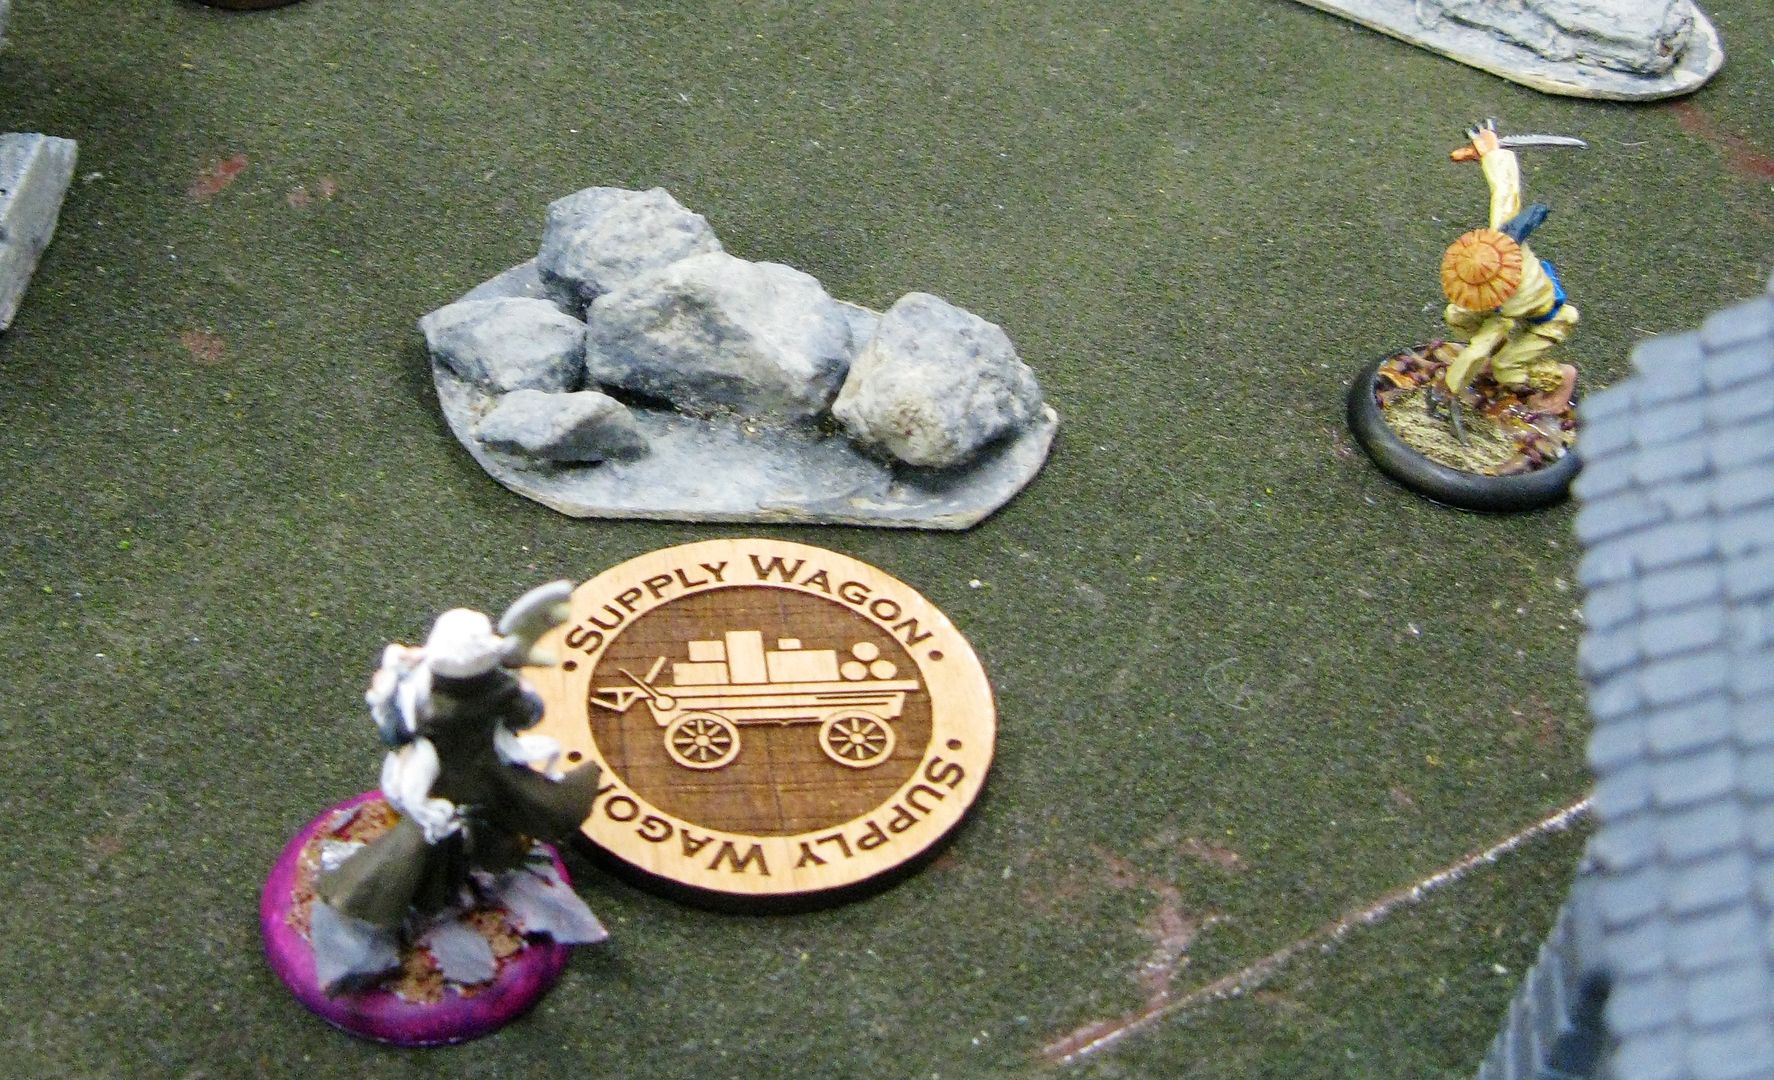
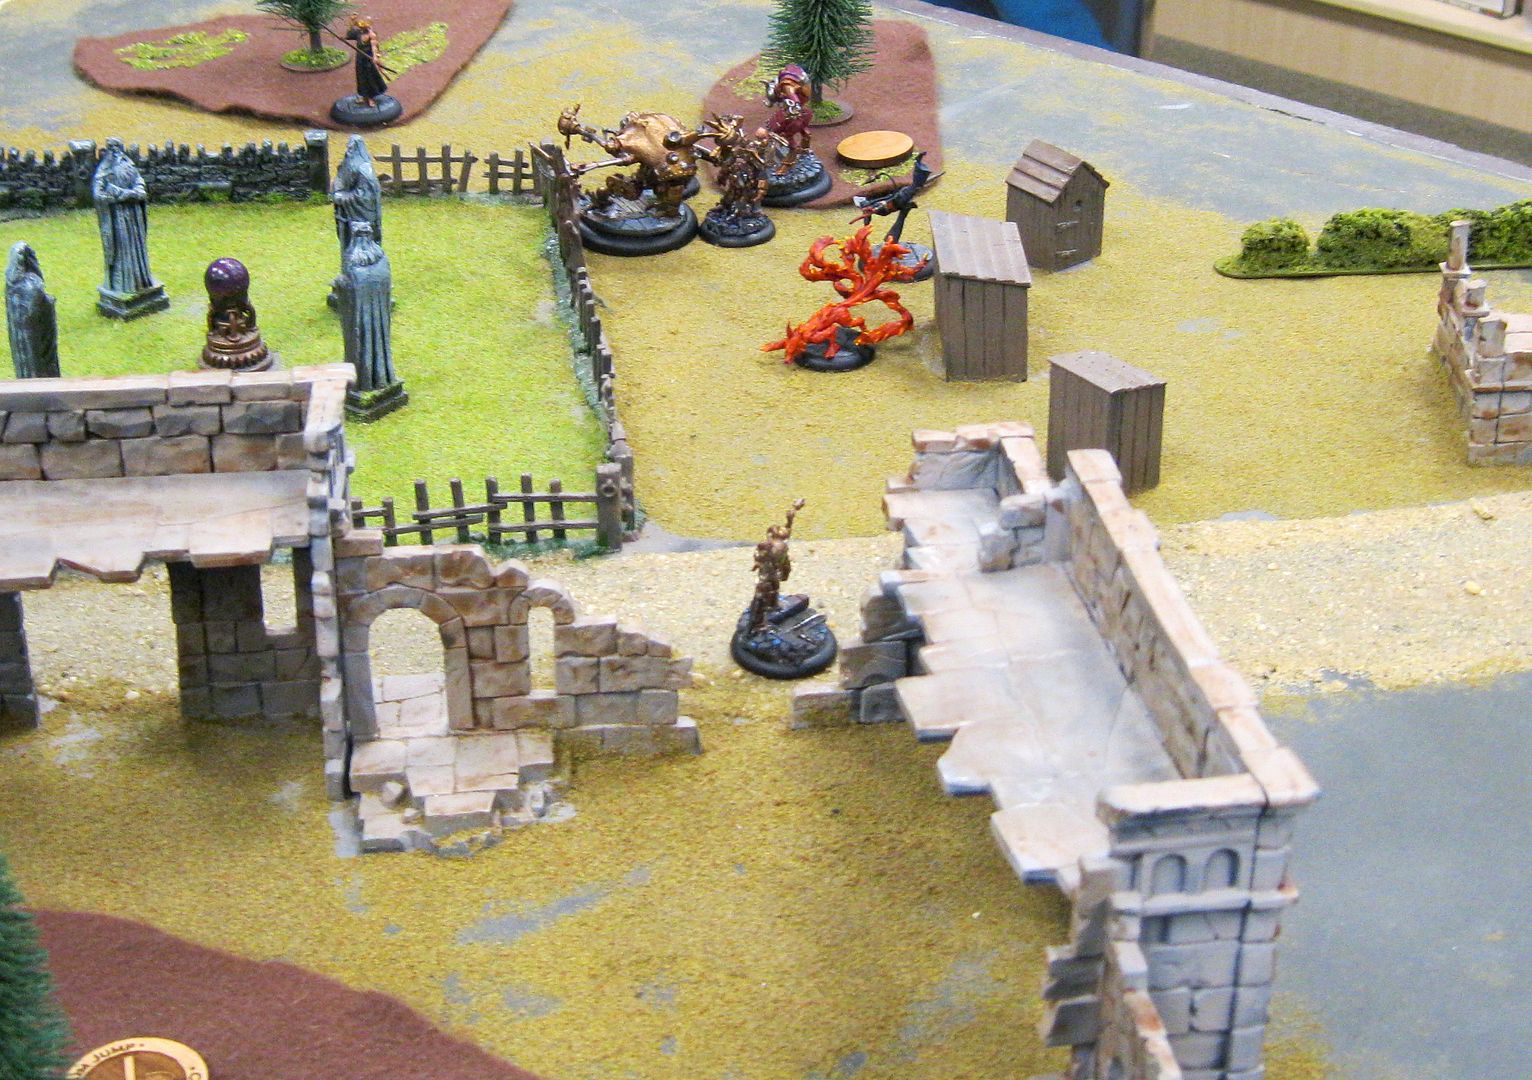
I don't remember who grabbed initiative, but turn 1 ended up being a lot of basic movement. Shang moved forward to hide behind the statues in the center, Yamaziko moved to hide behind the wall, positioned to be near where Misaki would end up. 10T Brother moved around the forest and the Torekage buried himself. On my side, the Guardian protected Hoffman, who in turn assimilated protect and protected the Peacekeeper. That established my chain with Hoff at the top and the Guardian at the bottom. The Watcher looked at the top two cards and camped out behind the forest at the corner of the board, and the Peacekeeper and Warden moved forward. The 10T archer took a shot at the Warden by missed, and Misaki moved up a bit to position for a turn 2 attack run. My attended moved forward to be on the road, just in front of the ruins. At the end of the turn the Torekage popped out behind the buildings far to the left of my crew.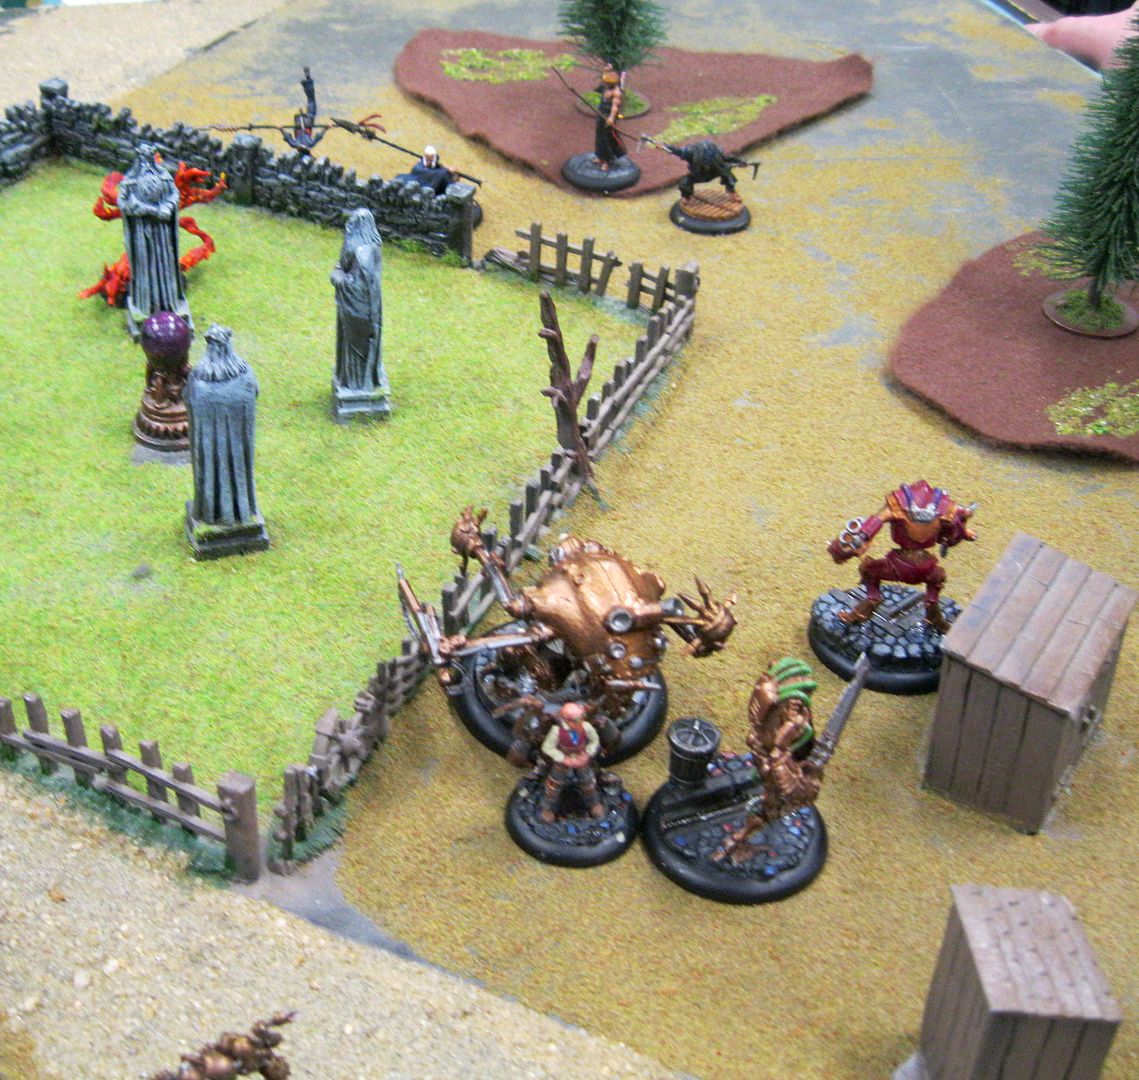
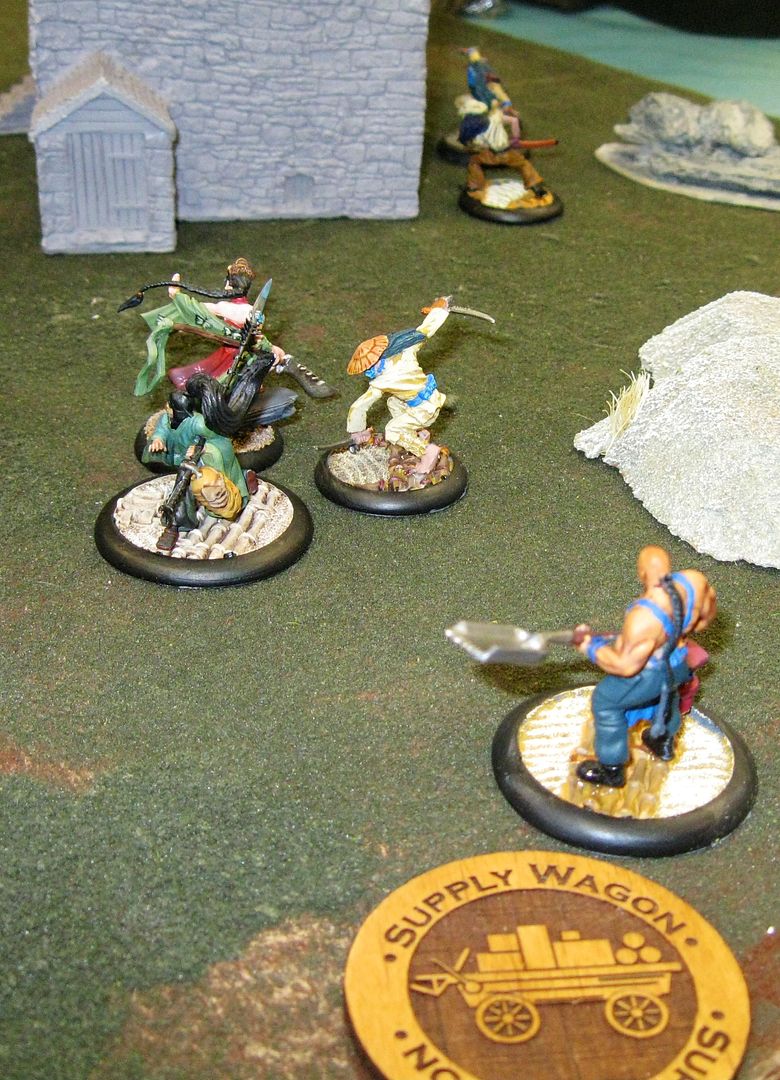
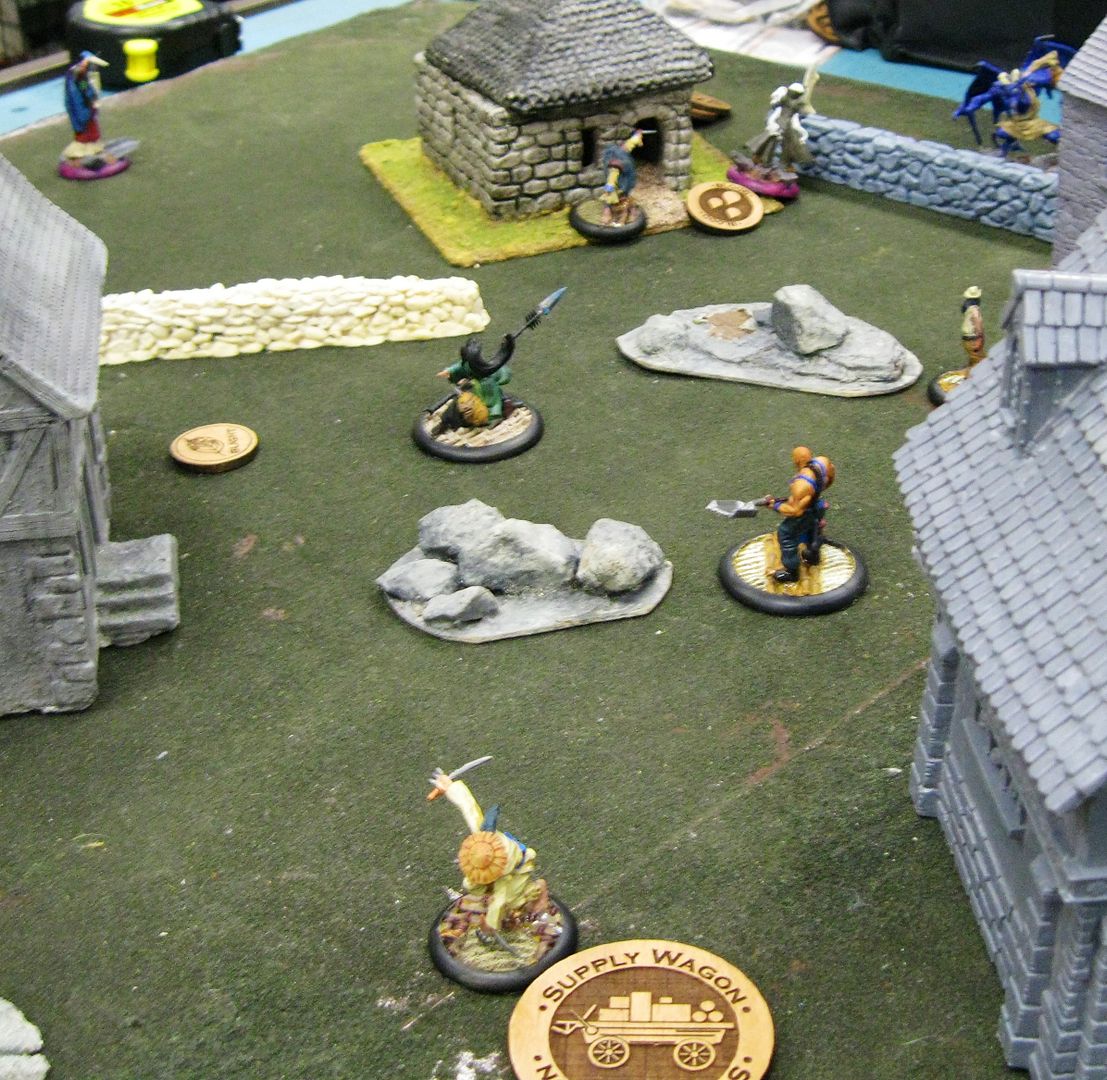
Turn 2
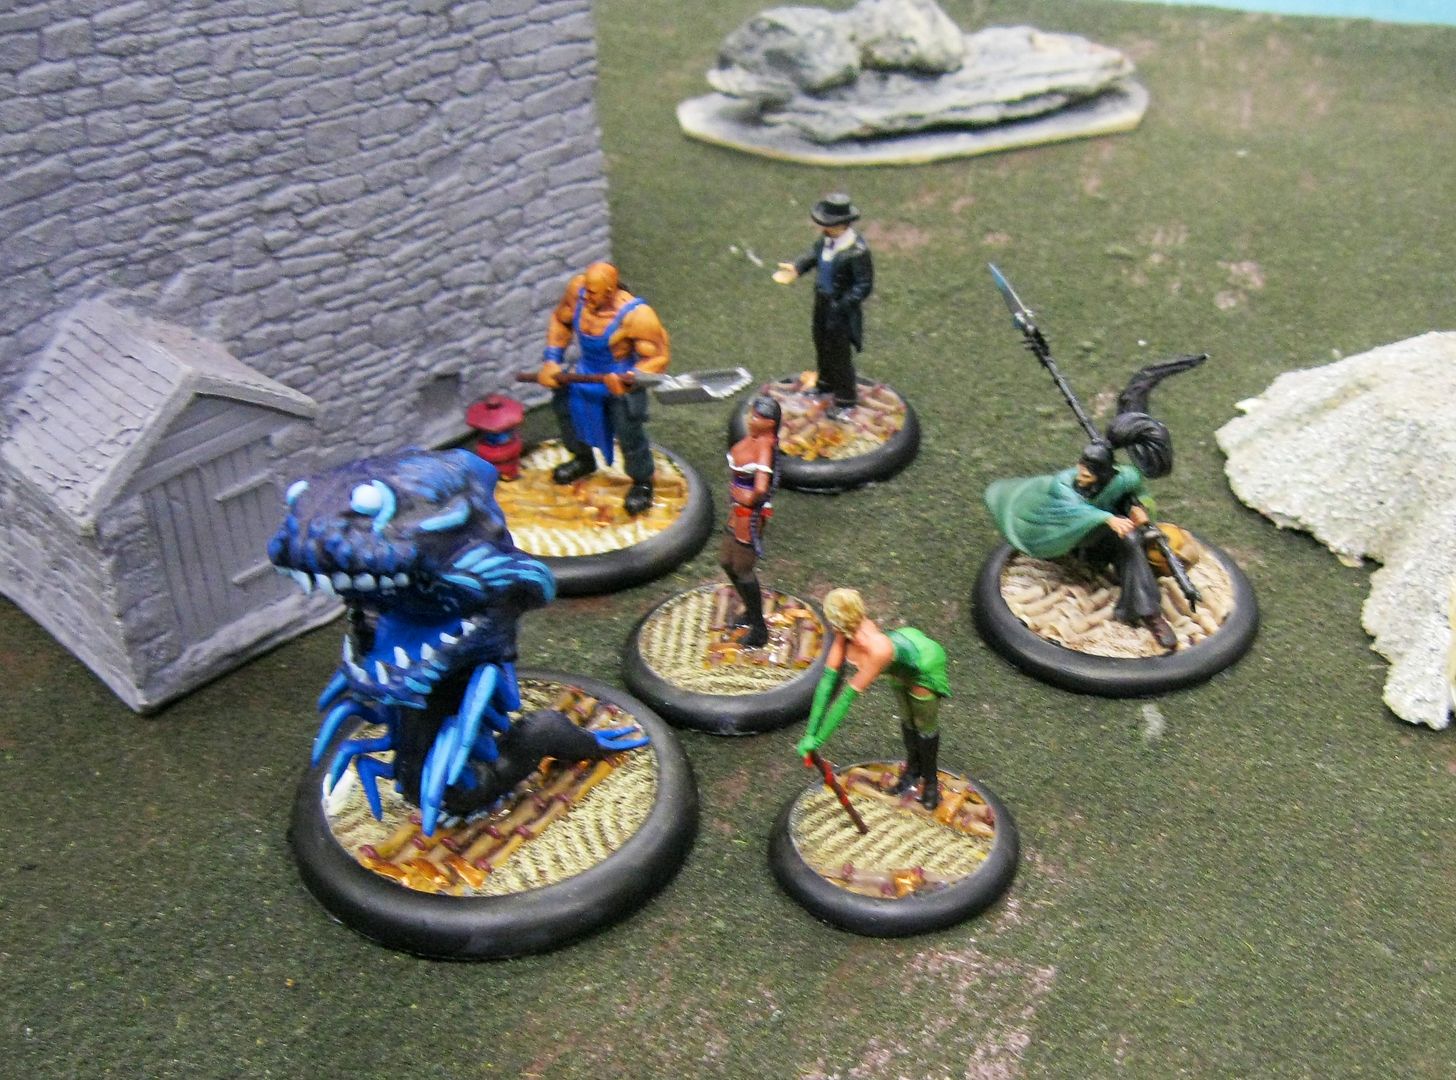
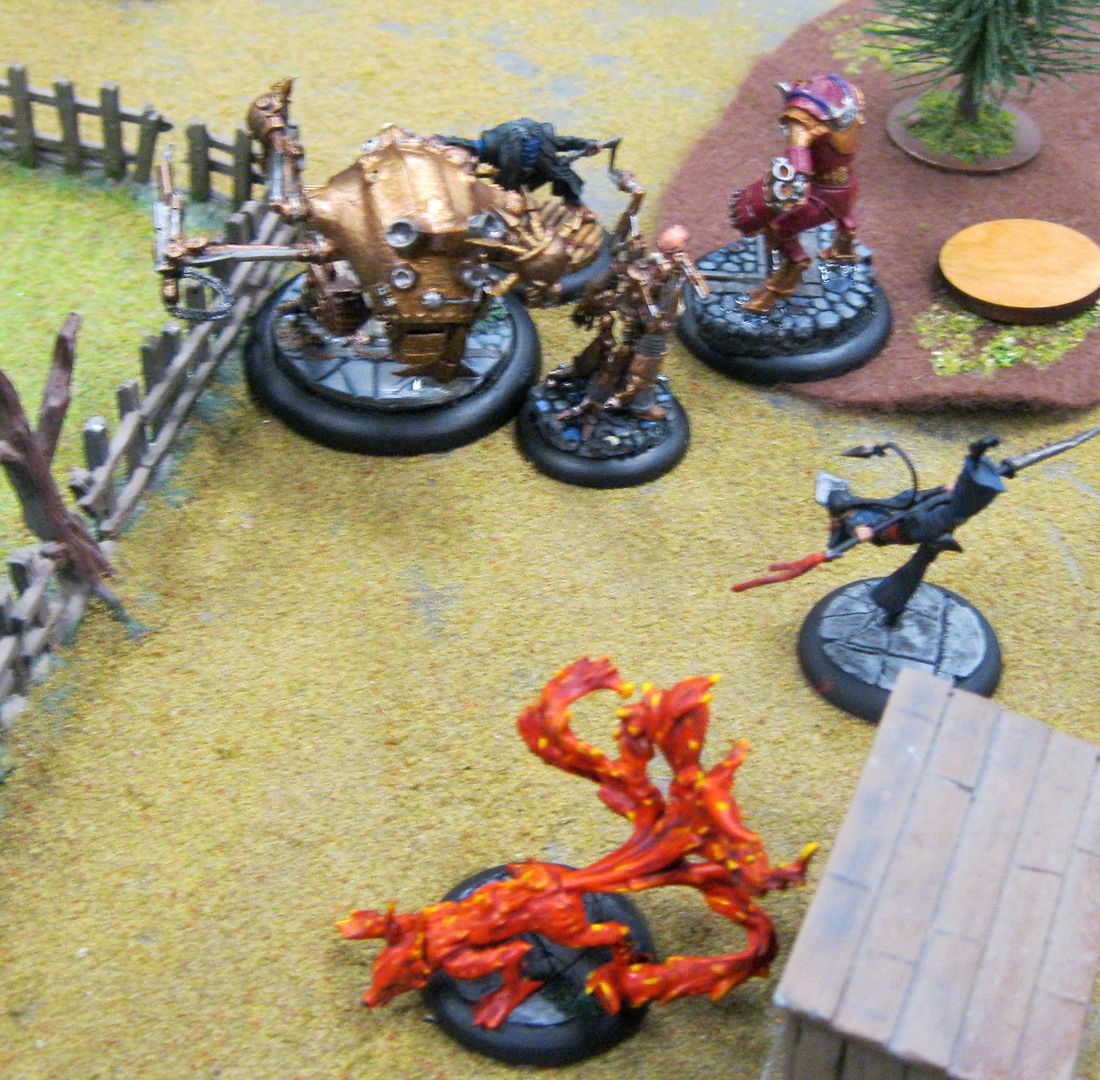
As is becoming common in my recent games, Turn 2 developed quickly into the first skirmish of the game. I knew I needed to move quickly to marginalize the shooting from the Archer and needed to get closer to my grudge and kill protege targets. Mike was looking to get Misaki engaged with my crew to start picking apart the Hoffman ball of protection and start whittling down my crew.My recall of the whole turn is a little fuzzy, but here is approximately what happened. Mike got initiative and started with a 10T shot at the Peacekeeper, trying to give it slow. He missed and took his second shot at the Warden for little damage but made it slow. The Warden walked into the woods, followed by the 10T Brother grabbing defensive stance and moving up to the warden and attacking for 1dg. The guardian charged the 10T brother but missed due to the super defensive flips, followed by Yamaziko showing how its done and using spark of youth to charge the warden for some more damage. After the old lady healed herself, the Peacekeeper relentlessed up to the 10T brother to flurry, but missed his attacks (damn super df stance). Misaki took the opportunity to diving charge over the scrum, getting Hoffman and the Guardian in melee range and killing off the guardian with two decapitates. Hoffman gave the warden slow and cast Override Edict on the Peacekeeper, taking an attack and missing. The Peacekeeper attempted to flurry Misaki but realized at that point he was not in range, so instead sent the flurry at Yamaziko, missing his first attack but hitting a redjoker double crit on the second attack and killing her. Shang jumped over near Misaki followed by the Watcher checking out the top cards and the torekage disappearing. The Attendant finished out the turn by taking some pot-shots at Shang but missing. At the end of the turn, the Torekage unburied off Shang engaged with the Attendant.
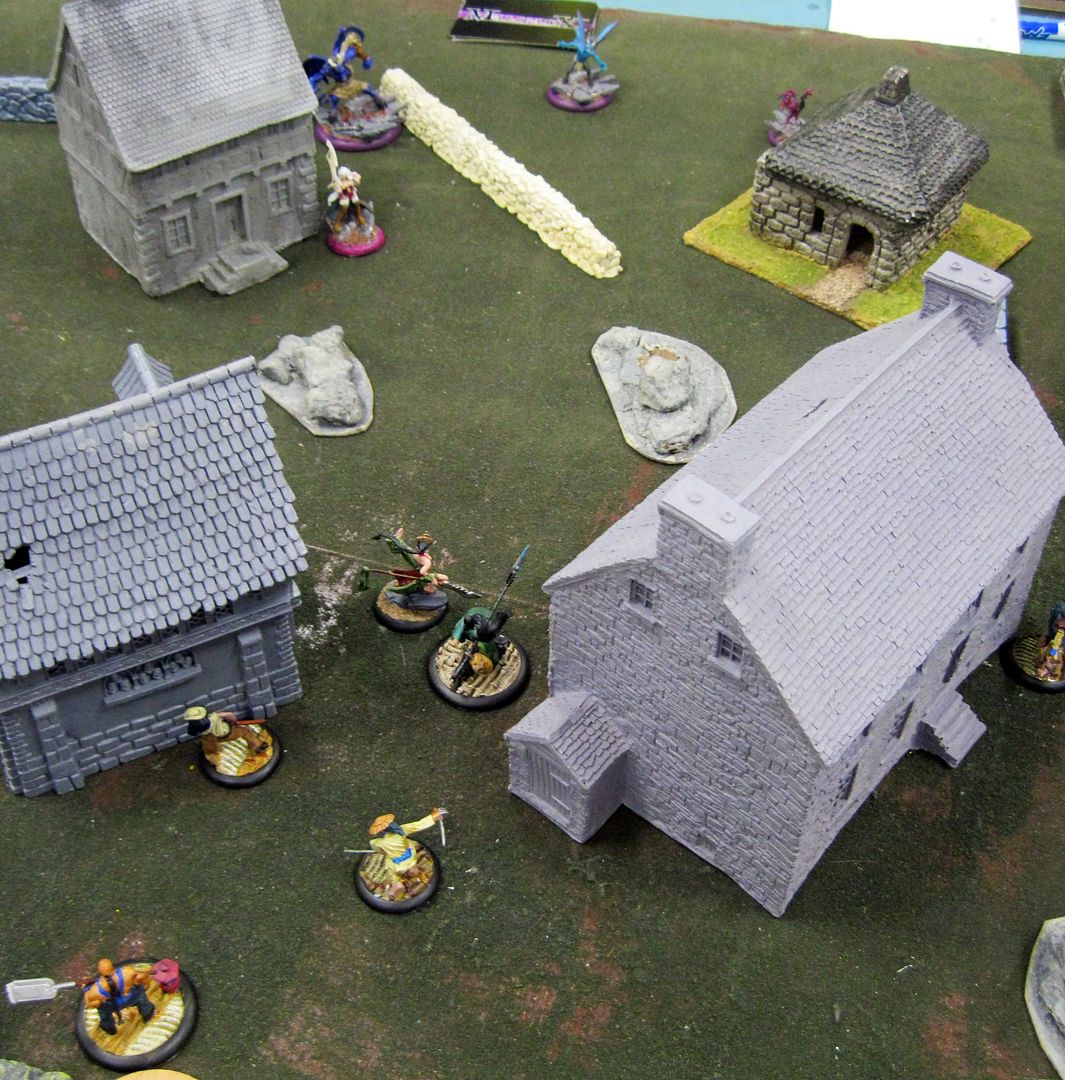
Turn 3
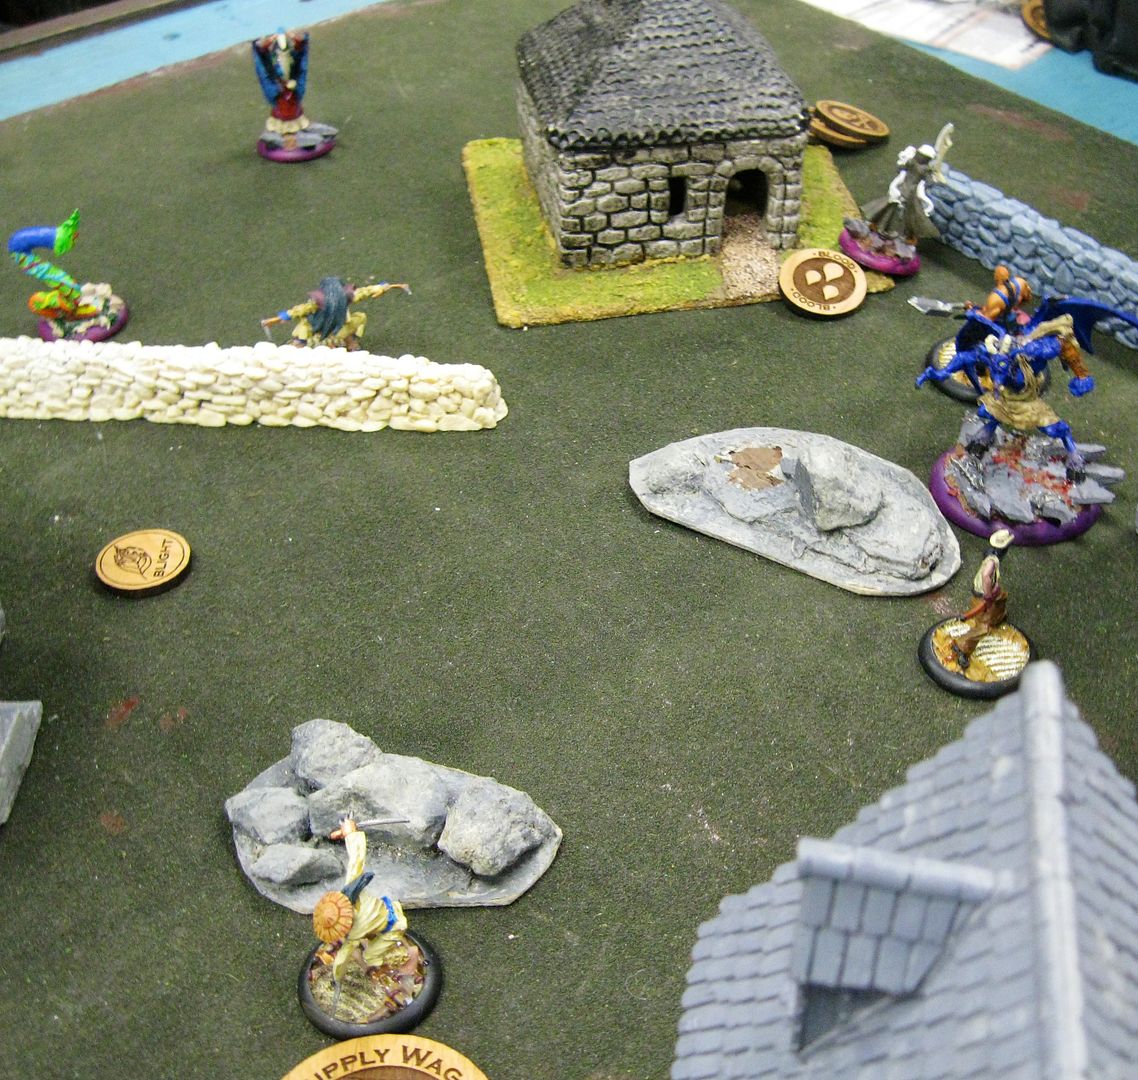
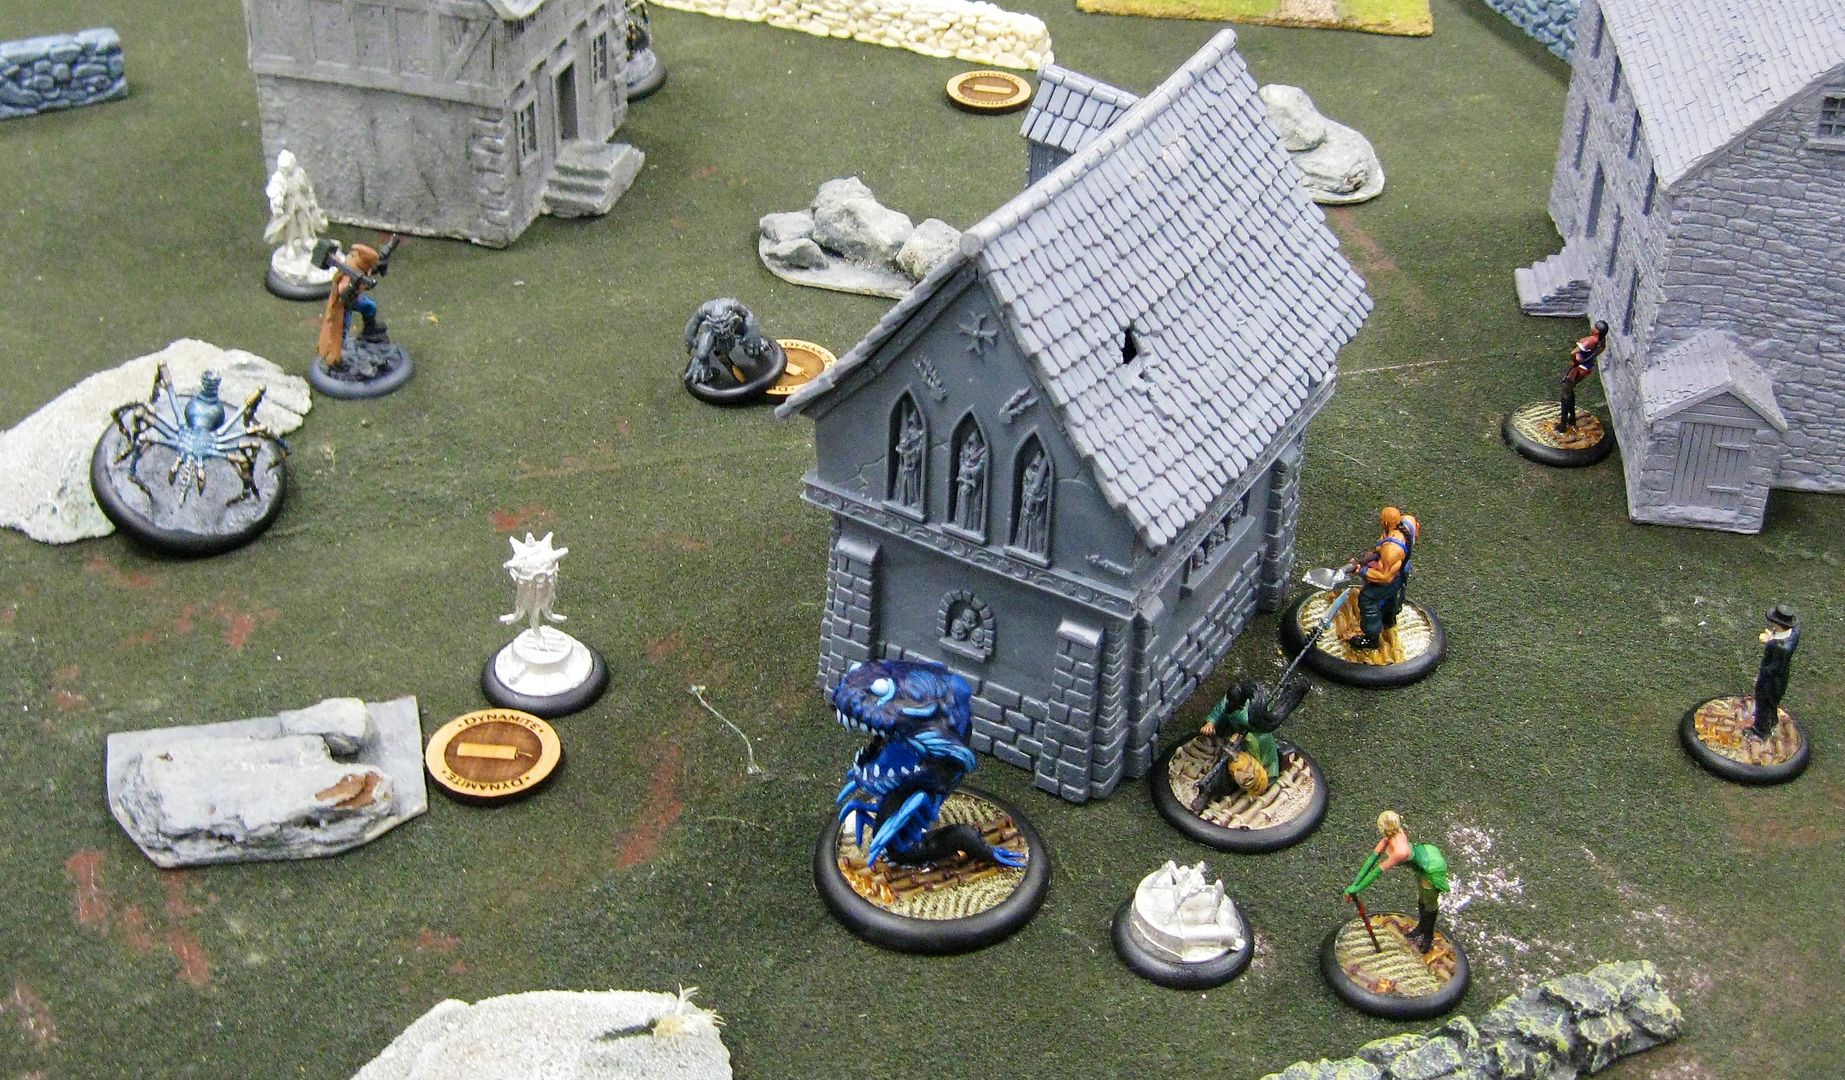
Turn 3 went badly for Mike. Misaki activated, delivered the message, then swung on the Warden. She followed that up with a reckless attack on the Peacekeeper and putting up Your Mine to protect from return attacks. The Peacekeeper activated tossed a card for Relentless to move around and get in range of Misaki while keeping the 10T brother close. Following that it flurried on Misaki but missed his attacks. The Torekage activated and swapped with Misaki, getting her out of the scrum and to safety next to the Attendant. The Warden activated and walked into B2B with Hoffman using his slow action. The 10T Brother activated and failed his terrifying test, getting stopped while fleeing. Hoffman activated, gave the Warden slow, then used his pulse to kill off Shang and put some wounds on the Torekage. He followed up with using Machine puppet twice to kill the Torekage. The archer snapped off two shots at the Warden, killing it, followed by the watcher double moving up the board (Misaki was too close for comfort) and the Attendant magical extensioning the Hoffmans pulse for 2 dg on Misaki.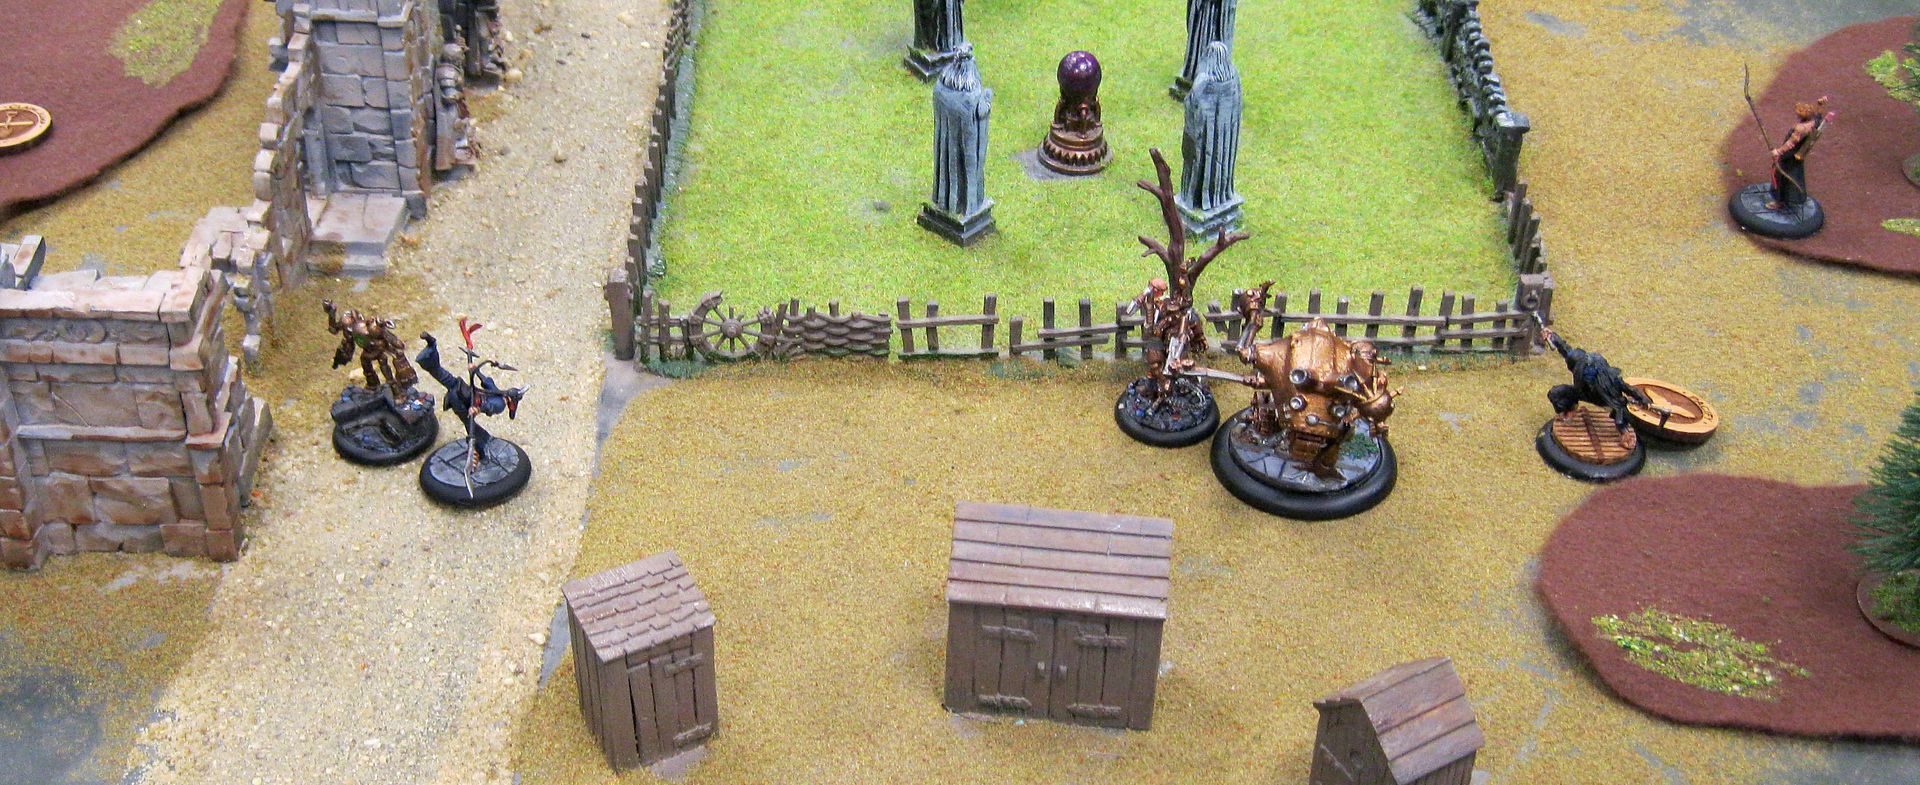 |
| Change in perspective, but the same board. I shifted to the right for this picture. |
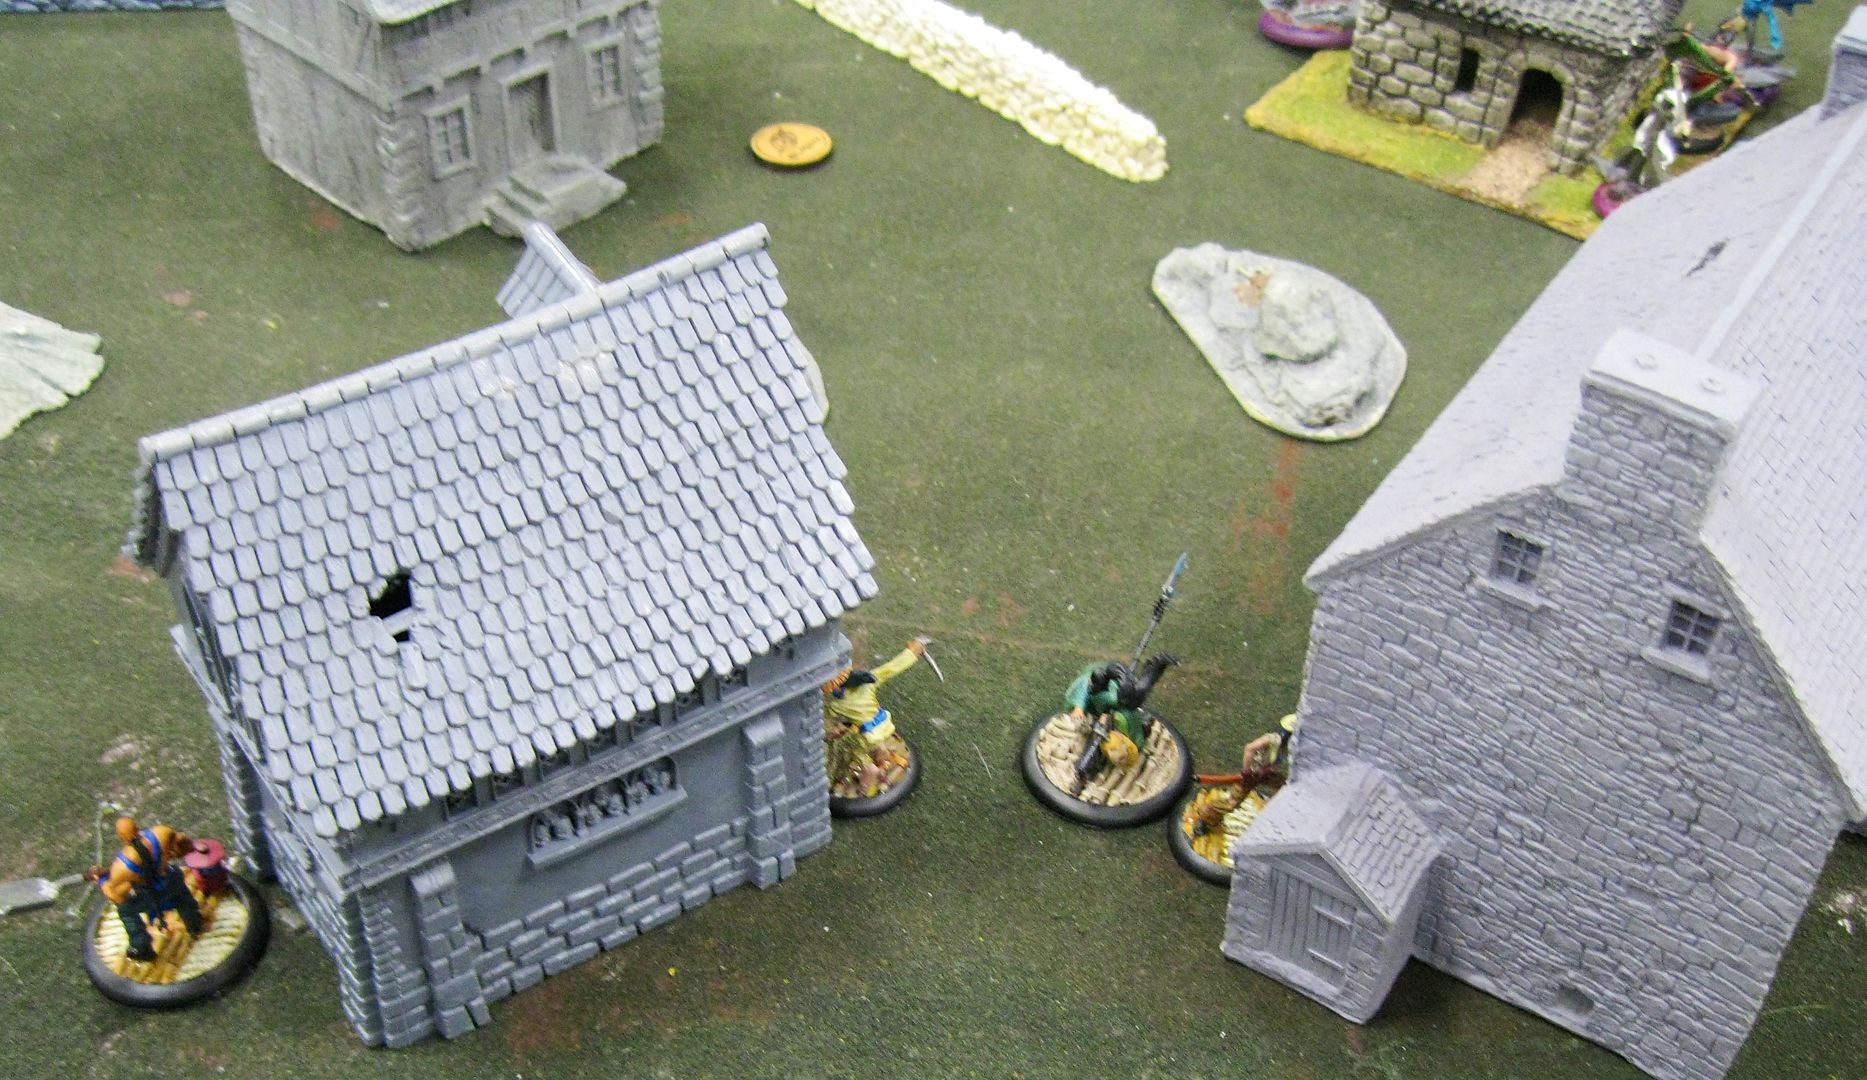
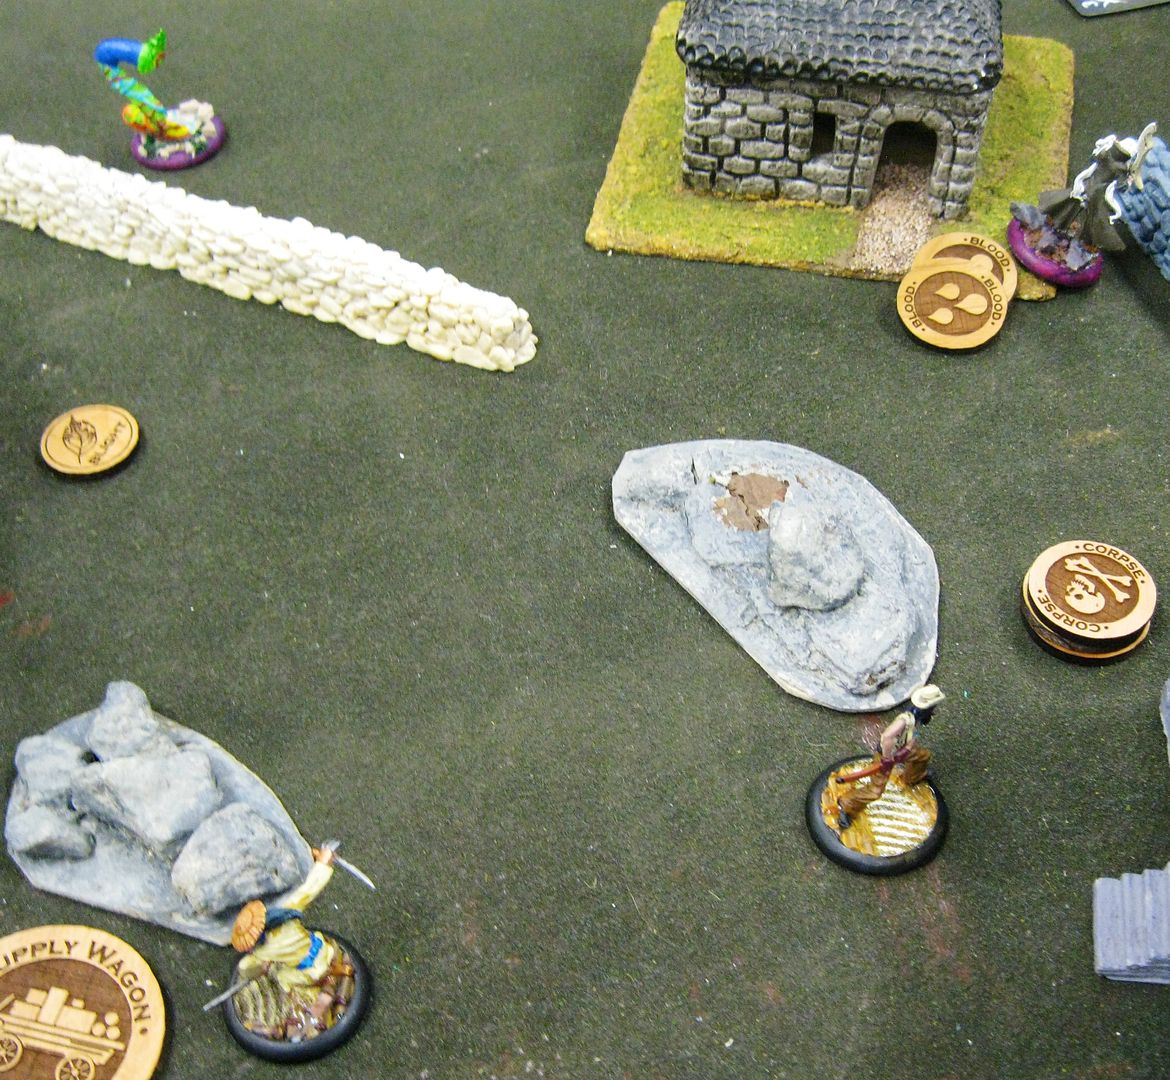
Turn 4
Bouncing around turned out to be a mistake for Misaki, losing Mike his Torekage. Mike activated his 10T brother, passed his terrifying to not keep running, companioned with the 10T Archer, DF stance and swung at the peacekeeper. The Archer double walked around the wall, away from Hoff and the Peacekeeper and toward the Watcher. The Peacekeeper flurried on the 10T brother and killed him, using relentless to walk over the fence toward the Archer. Misaki disengaged from the Attendent with a Diving charge at the Peacekeeper, attacked once, then used her reckless AP to bounce back over the wall out of combat. Hoffman activated and gave the peacekeeper override edit, with the Peacekeeper tossing a severe to relentless over to the Archer. I chose to do this as I could get close enough, but was not absolutely positive I would be able to charge and guarantee a severe hit to cheat my severe. I would have needed a double crit severe to kill the archer, and tossing my last card for the relentless and two attacks was a better way to assure I got the kill. It ended up that the Peacekeeper double ctit-severe on the attack anyways, killing the archer and still getting to walk another 5 inches toward Mike's deployment zone. The watcher checked out the top 2 cards and then the Attendant took some shots Misaki. 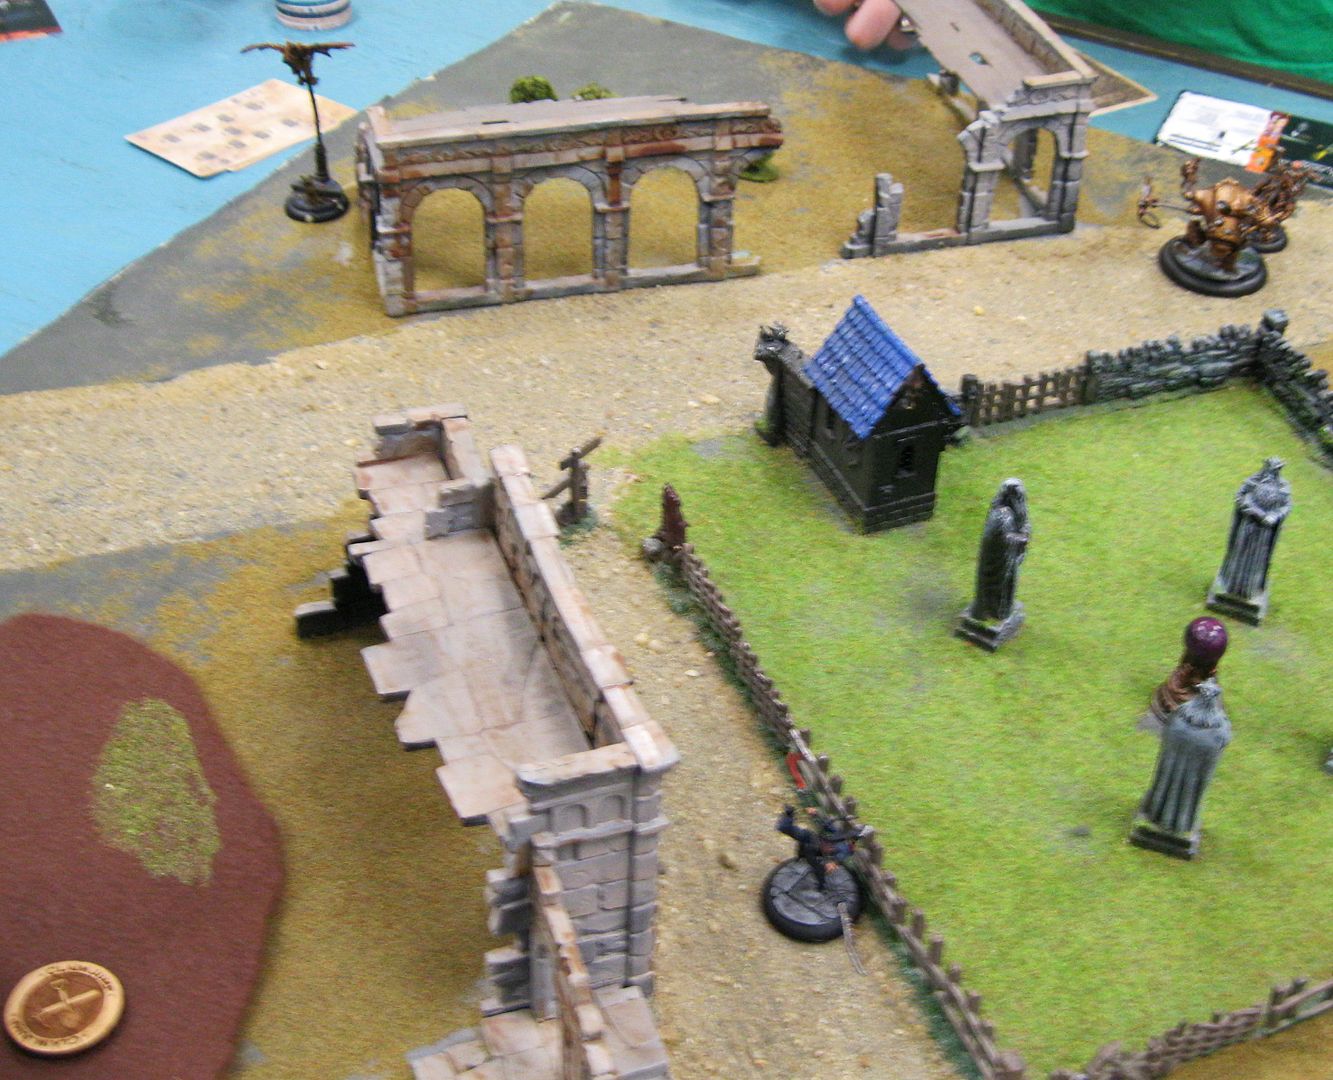
Turn 5
Misaki moved down the board but was only able to get a couple attacks in on the peacekeeper. Her defense paid off as his flurry plus Hoffman's giving him slow to attack 3 times with Machine puppet did not break through on Misaki either. The Watcher moved into Mikes deployment zone and the Attended came forward.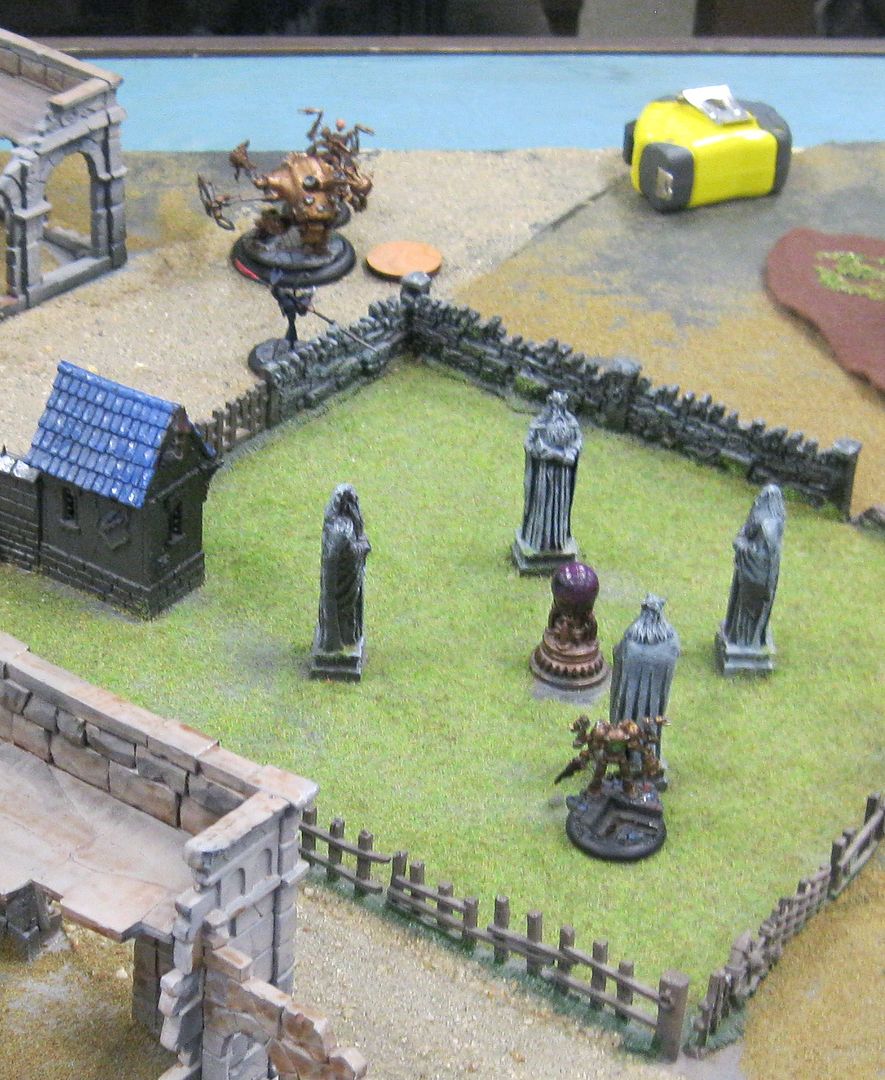
At the end of the game it ended up a win to Hoffman, 8/4.
Hoffman: Turf War - 4, Grudge (Archer) - 2, Kill Protege (Torekage) - 2
Misaki: Deliver the Message - 4, Assassinate - 0, Stake a Claim - 0
Final Thoughts
Mike was cursed with really bad cards throughout the game, rarely pulling anything above a 10 into his hand and then only really dragging out severe cards on his defense flips. Add to that he was trying out something new by swapping Misaki in and out of combat to "keep her safe". (maybe?). We talked briefly after the game and I agree with his idea that Misaki really should use her AP to stay in combat trying to kill things. Having the opportunity to use Hoffman and the Peacekeeper to remove Shang and the Torekage at the same time really hurt Mike's game overall. Forcing him to then chase me down with my movement really hampered what he could accomplish.On the Hoffman side, my opinion has not changed much. Hoffman is not a go-to master for me, and I rate him as one of the bottom masters in Guild. He has some cool tricks and is very support focused, but is not as good in my opinion as Justice or Criid or even Lucius. I think the Wardens did a lot to increase his playability, and its really just his overall playstyle that is counter to my preference. Hoffman can be effective, but as a support crew that typically bunches up, there are some down-sides to his overall playstyle that can weaken him against certain other masters.
Overall, it was a fun game and I always enjoy sneaking in a win vs Mike.