

Ben had picked up the Misaki box set during Gencon and had it together and partially painted. He asked if I minded giving him some pointers on playing Misaki, then settled for the fact I don't know too much more than he does. Knowing he was diving into a new crew, new master, and testing things out I did not want to take anything tournament-ish against him. I also prefer to not play same-faction games, which left me in a fair quandary. The lists I wanted to play most were either tournament-ish hard (I have some new ideas on tournament lists with some of the new models) or are Ten Thunders. After digging around a bit I decided I would bring Kaeris out and throw her against Misaki. I thought I could piece together a nice crew to challenge Ben a bit and still give him an opportunity to play around with Misaki.
Set-up

Our crews were:
30SS Scrap
Bill - Kaeris, 2x Gunsmiths, Johan, Union Miner, Kang, 5 Stones
- Claim Jump, Stake Claim (shard rock marked above), Sabotage (rubble to the right of Claim)
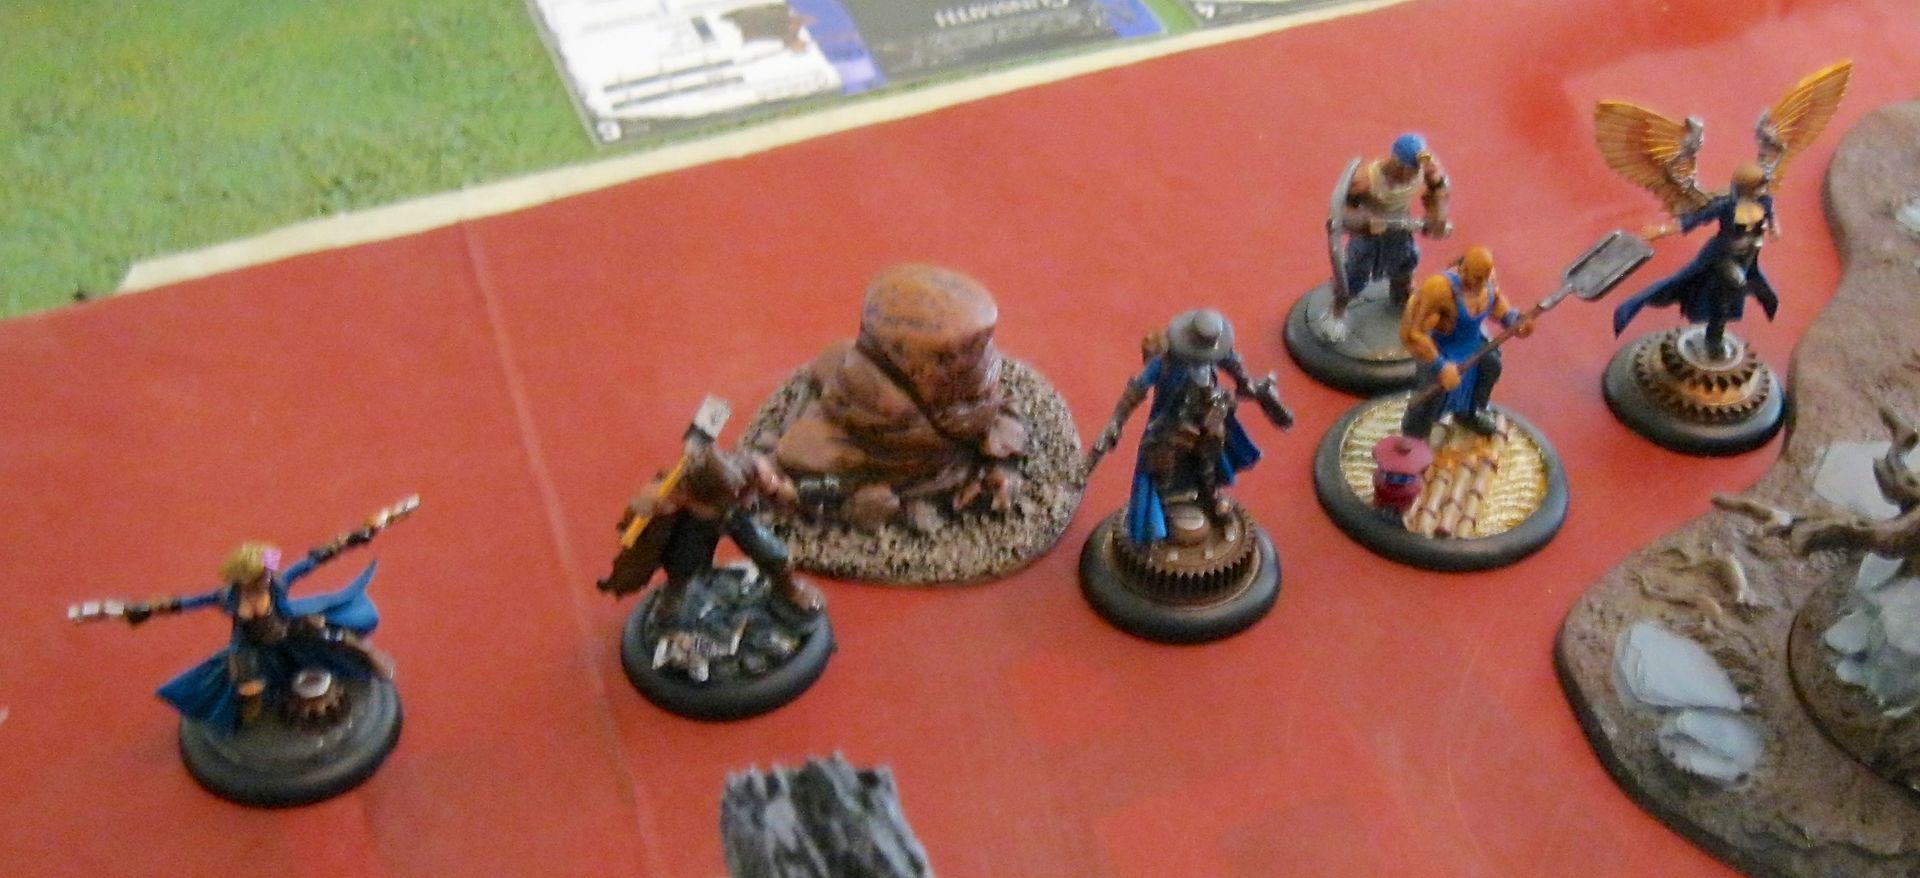 |
| Kaeris's Deployment |
- Slaughter, Assassinate, Stake Claim (plateau in the rear left)
 |
| Misaki crew and deployment - Damn Shang is big |
Turn 1
We started out the game with me grabbing initiative, which I did not really want. As Ben and I were on equal activations, and Misaki had some silly movement while Kaeris had good range, whoever got initiative first turn was at a bit of a disadvantage. I started out simple, tossing a bad card for the Union miner to file false claims and bury himself. I expected Kang and Johan would stay alive through the turn and did not need the miner on the board on turn 1. Ben and I then discussed some activation order for his crew and ideas. We both agreed his best choice would be to start out with Shang and Yamaziko moving forward, as neither would be in danger and he could pull out my activations that way. He activated Yamaziko and walked forward, Moving to where he intended Misaki to end the turn. I moved Johan up behind the ruined wall, hiding him from easy archer shots. Ben activated Shang and brought him forward as well, keeping him around where he wanted Misaki to be. Kang then walked forward to hang out with Johan and grab some cover. Now Ben had to make some choices, so he double walked an archer forward onto the plateau to my right, getting a good LOS on Johan. I activated the Female gunsmith and double walked her brazenly forward into prime position to be a target. Ben activated his Torakage, grabbed the masks and used mistaken identify to swap with the Archer, then used it again to swap with the unactivated archer**. In response, Kaeris activated, drained a wound off everyone (to prime the gun smiths), then jumped forward a bit and popped out some Flame Pillars to kill the LOS lane down the field. This was frustrating for Ben, who was forced to walk the archer down to the field to get LOS around the pillars and snap off a shot at Kaeris, which missed. I then activated my last Gunsmith and bought him forward just a bit, behind Kaeris. Ben activated Misaki last and moved her forward to stand next to Yamaziko, not wanting to over-extend at this point. At the end of the turn the Miner popped out to the right of the female gunsmith (after I took the picture).
Turn 2
It has to be said that the game has moved to be able to fairly easily engage at the middle of the table if both players want to do that. I pulled initiative again on this turn and had some good cards in my hand, so decided to start the tussle. Kaeris jumped forward and took a shot at the Archer, hitting and giving him a burning token then bouncing onto Yamaziko but missing. No worries, I then used Kaeris's casting expert to Immolate the archer (hitting severe) and turn him into a pillar of fire. The pillar happened to fall directly onto Yamaziko, who picked up 3 wounds** but just missing Misaki. Yamaziko moved out of the pillar and healed herself, followed by the Female gunsmith moving forward and taking a pot-shot around the pillar and missing the old lady. The Torekage moved forward then swapped placed with the archer, positioning the archer to shoot at the gunsmith. I thought I could get range so the Male Gunsmith walked around to behind the female gunsmith, but did not have range. The archer let loose with 2 shots, one missing and one hitting and hurting the female gunsmith. I knew he would need to move Misaki to engage eventually, so moved the Miner over to give Johan a bump to his CB, making a mistake and not sabotaging the terrain before moving. Misaki charged the female gunsmith, hitting and dropping her to her hard to kill. She then walked around the gunsmith, staying in the 2 inch range, and attacked Kaeris, hitting and grabbing a burning counter, and putting up Your Mine. Kang responded by walking forward and swinging at Misaki twice, hitting with the last hit but choosing not to trigger. I wanted to get Johan in range to kill misaki off as well. Kang then used "Fight With Me" to boost Johan's CB even more. Ben pulled Shang back toward his deployment zone, pulling him to safety. This ended up being a bad move, as it pulled him outside of 12 inches so he could not be Misaki's lucky charm. The last activation came to Johan, who walked forward and swung his big damn hammer at Misaki, missing despite his boosted CB.
Turn 3
My run of initiative could not last, and Ben grabbed initiative this turn. I was down to 1 stone remaining, so chose not to try and reflip against his 10. Unsurprisingly, Misaki attacked Kaeris, using 2 AP to pull her down and kill her. I burned my stones and cards but could not keep her alive. Ben looked at the board and his hand and we talked about which was better, killing the Gunsmith or Kang. The gunsmith was already at her Hard to Kill and could probably be taken out with a single hit. Kang was essentially at full health, so would need at least 2 hits to take him down (1 being Severe). Ben made the call and attacked Kang, hitting and doing severe to knock him to his Hard to Kill, then following up and taking him out of the game. In return, I activated Johan who had the AP boost from the Miner and proceeded to flurry on Misaki. After burning Ben through his cards, Johan finally took Misaki out on the third swing. The archer let loose with his shots, but missed and was unable to remove the female gunsmith who returned the favor by letting loose with 2 shots and blowing him to pieces. The Torekage threw out some smoke, covering Yamaziko, then started the long walk to Ben's claim jump. I moved my male gunsmith forward and took a shot at Yamaziko, using the Hard Way to punch through the smoke cover and hit her. In return she charged the Gunsmith, just making it into range and pinging him on the attack. The miner walked back over to the pile of rubble where he had to sabotage, and did so to net me 2 VP in the game.
Turn 4
Things were looking grim for Ben as I flipped and won initiative. Johan charged Yamaziko and hit her on a straight damage flip, allowing me to throw a severe and knock her out of the game. Ben was down on Slaughter points with 3 rounds left in the game and only the Torekage left. He took a gamble and walked the Torakage toward my grouping, throwing a shuriken and killing the female gunsmith. He then tried to make a retreat, being just up on points. In return the Male gunsmith walked forward, popped up the hard way and hit the Torakage with a Tome, allowing me to cheat in the Red Joker onto experimental ammunition and kill the Torakage. The Miner buried and popped out next to Johan at the end of the turn, netting me my full set of points. 
At the end of the game it ended up a win to Kaeris 8/2.
Kaeris: Claim Jump - 4, Stake Claim - 2, Sabotage - 2
Misaki: Slaughter - 0, Assassinate - 2, Stake Claim - 0
Final Thoughts
I learned even more about Misaki's crew during this game, and I believe Ben picked up a couple things as well. Misaki performed about how I have seen her perform in my limited non-proxy games with her. This game further reinforces my theory that Misaki is really good at assassinating minions, but is not as good at taking down Masters. While she is capable at killing masters, she ends up at enough of a disadvantage against their soulstones that her low damage comes to bear. A master can slow Misaki down enough to allow the rest of an opponents crew (mine in this case) to focus on her and take her out. Even with this in mind, Misaki is a tough model to take down, and requires a whole lot of resources to do so.Ben's deck really tore him up in this game, with him catching some horrible strings of cards. Even with those cards, his crew was reliably tearing into my Kaeris crew and the only model on my side who was left unscathed was the union miner. I can certainly see the synergy and strength of Torakage and Archers in Ben's list.
Overall, this game really made me look forward to getting Misaki back out on the table and get more games under my belt!!!


One thing I want to try is using Jack Daw and Misaki together to lock down the enemy master and then rip them up.
ReplyDeleteOverall though, sounds like a good game :D