Monday, January 25, 2016

Tournament Report - Guild Ball Snow Ball

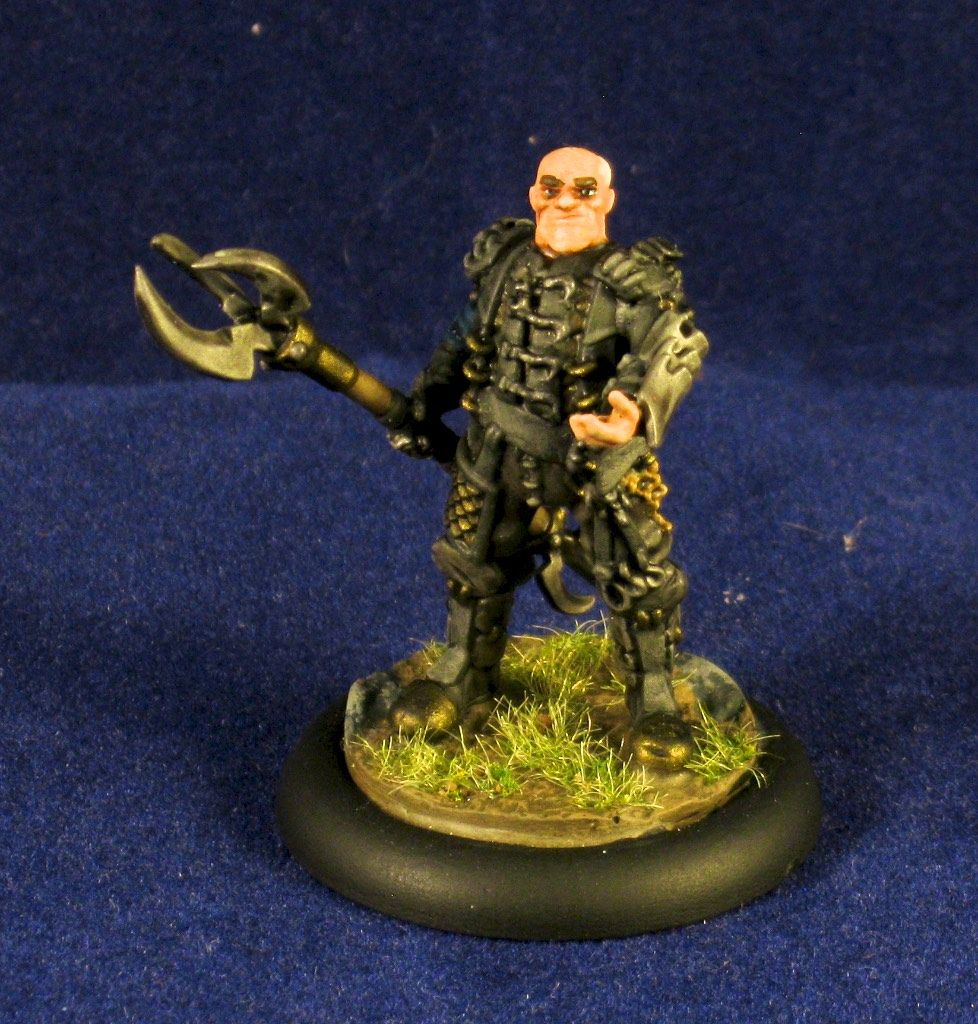
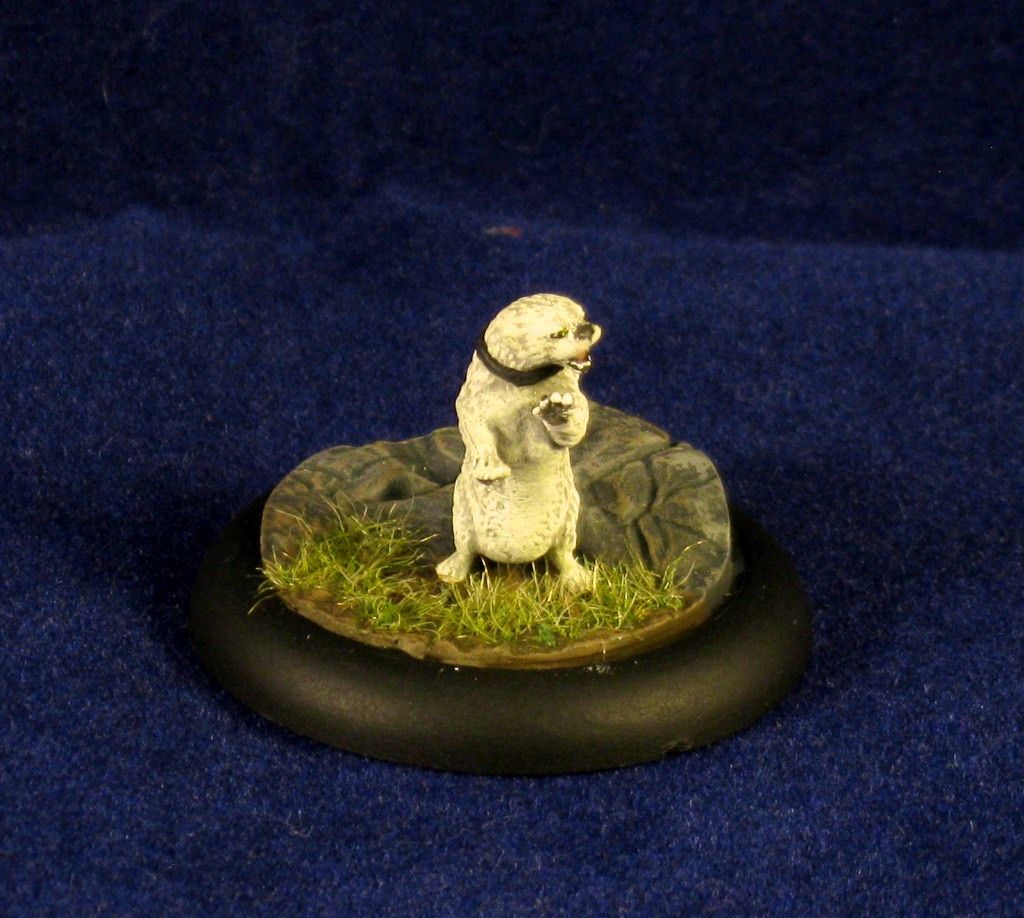
on the weekend of January 16th I attended a Guild Ball tournament in the Philadelphia area, Snow Ball. I was able to pull out 4 wins during the tournament, grabbing first place overall for the day. Overall results and round by round pairings can be found on the Snow Ball Tiebreak page.

I thought I'd take a different approach to writing up a tournament report, I'd love your feedback after reading this article. Please leave me some comments about how this format works for you. I'm going to start with a quick overview of my matches along with some of my thoughts for handling the pairing. Following that I'll go through my tournament 8 list and how each model performed during the day.

Matches

I didn't capture the specific lists that each of my opponents used during my games. It was a pretty long day of games, with an additional 3 hours of driving before and after the tournament. Due to that I'm not going to try and remember the specific teams or plays as I'll likely get them wrong. I want to talk about my thoughts going into the match, knowing only the team I'd be facing, along with any key moments that come to mind. 

Round 1 - David's Fishermen

I've faced some pretty darn good Fishermen players in the past, with local player Maurice among the top of those I've faced. Fish are one of the teams which I worry about facing, they are fast enough to score and win the game before I can gather up my own collection of goals and take-outs.  If they are not ready for the raw brutality Union can dish out then the games will fall in my favor. I decided to go with a fairly classic Union set-up taking Blackheart, Coin, Gutter, Rage, Mist, and Decimate. My thinking was to come on strong and keep the damage dealing up as long as possible. Mist would run as my striker, grabbing goals where possible and looking to use his/her low tackle to regain the ball when the Fish were holding it. Decimate was a swing player, able to move quickly and grab a free ball while being equally effective at tackling other players or dishing out a bucket of damage where needed.

As my first game of the day I don't remember much of the play-by-play at this point. I remember my opponent was a fantastic sport and we had a fun game.

Round 2 - Dixon's Alchemists

I did not want to play this game and, after driving 3 hours together to the tournament, Dixon and I entered ourselves as the same club trying to avoid a match-up. That worked well round 1 but our similar differential round 2 paired us up. We had played two practice games Friday night, and I'm thankful we did. Common Guild Ball thinking is to NEVER NEVER NEVER take Gutter or Fangtooth when facing Midas. I know this but had never experienced it in a game. Friday evening we played 2 games, the first with me taking Gutter and the second with Fangtooth. Each game was a complete mess and illustrated to me why you never take those two when facing Midas.

We headed into our game and I knew what I needed to do. Blackheart, Coin, Hemlocke, Decimate, Rage, Mist was the team I fielded. Dixon flew down the field on turn 1 with Vitriol, scoring early in the turn and popping up to 4 points. I sent the ball over to Mist and then retaliated with Blackheart and Decimate (fueled up by Coin) destroying Vitriol for 2 points and a take out. Dixon began to group up a bit with Midas, Calculus, and Mercury, creating a tempting target for Rage to charge and go crazy. I dropped a poison cloud into that mess with Hemlocke then Dixon chose to move Flask forward and not use his smoke cloud. This put the robot in range of Rage, who took that opportunity to launch himself into the mascot and take him down to bleeding 3 health remaining. Dixons Hemlocke spent time healing Flask and Mist activated last, firing down the field and scoring to bring the score to 6/4 in my favor. Turn 2 had Dixon bringing Vitriol back onto the board and in range of Rage, if he were to become disengaged. We jockeyed on the board a bit giving Dixon the chance to score with Midas and me the opportunity to take out one of his other players. Rage then did his thing, hitting and killing Flask, clearing his burning, then charging Vitriol who was in the cover of a wall. I rolled 9 dice needing at least 4 rolls of 5 and ended up rolling 7 rolls of 6 to deal enough damage and take her out. That ended the game 12/8 in my favor.

This was possibly the quickest game of the tournament, completing the entire game in ~20 minutes combined. Dixon scored the most points during the day against me, a very tight match overall.

Round 3 - Matt's Engineers

Round three had me facing one of the Engineers teams at the tournament. Matt was an excellent player although I feel like he became very frustrated toward the end of the game. I'm hoping he was frustrated with how the game was progressing, not frustrated with me as a player.

Matt fielded Ballista, Mainspring, Salvo, Ratchet, Velocity,  and Compound against my Blackheart, Coin, Rage, Gutter, Fangtooth, and Mist. I chose Fangtooth for this match-up because I know that Engineers hate to face a team who can knock them down. I thought Fangtooth's easy access to knockdown combined with his Gluttonous Mass would give me an edge in this game. I also from experience that the Engineers have a very tough time dealing with a super aggressive damage team being pushed into their lines. That's exactly what I planned to do and what happened during the game. We played the majority of the game within 4 inches of his goal starting on turn 2. This put Matt under a tremendous amount of pressure as my players were a constant damage threat to some significant portion of his team until the final take-down.

A key moment in this game was Velocity breaking free from Mist after 2 rounds of dancing, using second wind from Salvo to make it close to my goal. She was met near my goal by Coin, who proceeded to stay engaged with her for harassment sake. Matt rolled a 3 dice bonus timed kick on the goal and ended up missing, which essentially put him at 0 points for the game. I had enough pressure on him it was unlikely he would win, but this left him with no score at all. Throughout the game Blackheart, Gutter, and Rage were punishing the Engineers for even being on the field. I also used efficient use of engagement from Mist, Gutter, and Rage to tie down Compound and stop any thought of his Rush Keeper counter-charging ability. The final 2 points of the game ended up with Rage charging and killing Compound, who proceeded to blow up and deal the final damage to Ballista to score me 4 points and the win. Overall game 12/0 my favor.

Round 4 - Matt's Butchers   

I headed into the 4th round knowing there were 3 undefeated players in the round. I was one, Maurice with his Fish, and Matt who I'd not played with his Butchers. Matt and I were paired up on table 1 with Maurice facing Dixon on table 2. Matt was a really nice guy and let me know at the start of the game that this was his 10th game of Guild Ball. I have a lot of respect for him making it to the top table in the finals being so new to the game. The field was pretty damn competitive and he had navigated his way through very successfully. I didn't know it until we started, he was using Ox, Princess, Boiler, Shank, Gutter, and Rage.

I have faced Butchers a fair amount and am comfortable playing across the pitch from them. I know they can deal out a disturbing amount of damage, but I also know that I can out-fight them with Union if I need to. That match up is a pretty rough one and I was on the top table, so I decided to go in another direction. I put in Blackheart and Coin then followed up with Mist, Decimate, and Hemlocke. This gave me a strong goal scoring core to my team with Hemlocke available to toss out Blind. Blind can be a real hurdle for Butchers to deal with and I wanted that tool available to me. Gutter rounded out my team as she can act as a quick goal-scoring model when needed along with bringing some real pain and board control to the board.

Matt chose not to commit to the pain-fest and tried to start the first turn avoiding Gutters 14 inch threat range. This let me do some positioning and draw out key models during the turn to gain a position advantage. Butchers playing against Union need to be aggressive without crossing over to being too-aggressive and that can be a tough line to walk. I was able to jump onto the ball fairly quickly, passing and generating momentum to get myself initiative on turn 2. A quick turn 1 score with Mist followed by some turn 2 attacks put me strongly in the game. Matt grouped up a bit with Ox, Princess, and Boiler and gave me a chance to run Gutter forward and deal some scything blow damage to his team. The overall game started to tip over the edge through round 3, ending on turn 4 with Blackheart holding 5 influence choosing to shift to the ball and kick in for a goal. Mist missing a turn 3 goal opened up the opportunity for Matt to clean up 3 heavily wounded players with Shank, bringing in 6 points before the end of the game.

Tournament 8

A typical tournament of Guild Ball has you pick 8 models for your team, of which you end up fielding 6 in each game. This gives some flexibility to deal with opposing teams and change your overall strategy a bit. I really feel Union has an advantage in this area with interchangeable players who bring their own strength to the table. The Union operating as a group of strong individuals opposed to stacking abilities across multiple players means swapping out 1 or 2 players can drastically change the feel of the team. Here are my thoughts on how each of my 8 players performed during the day.

Black heart

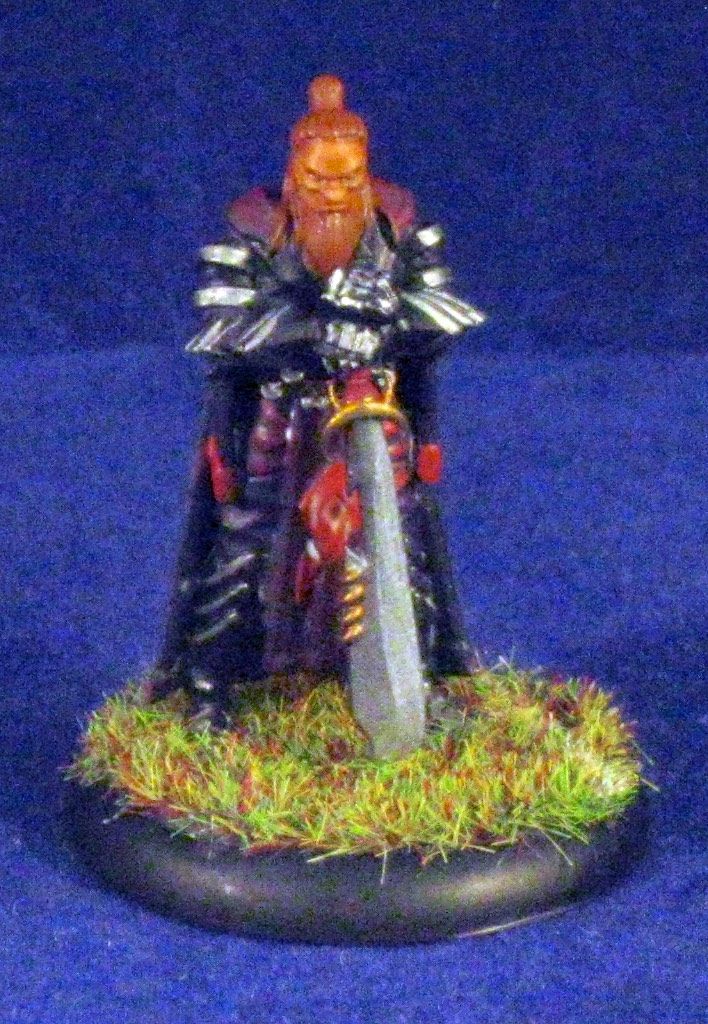
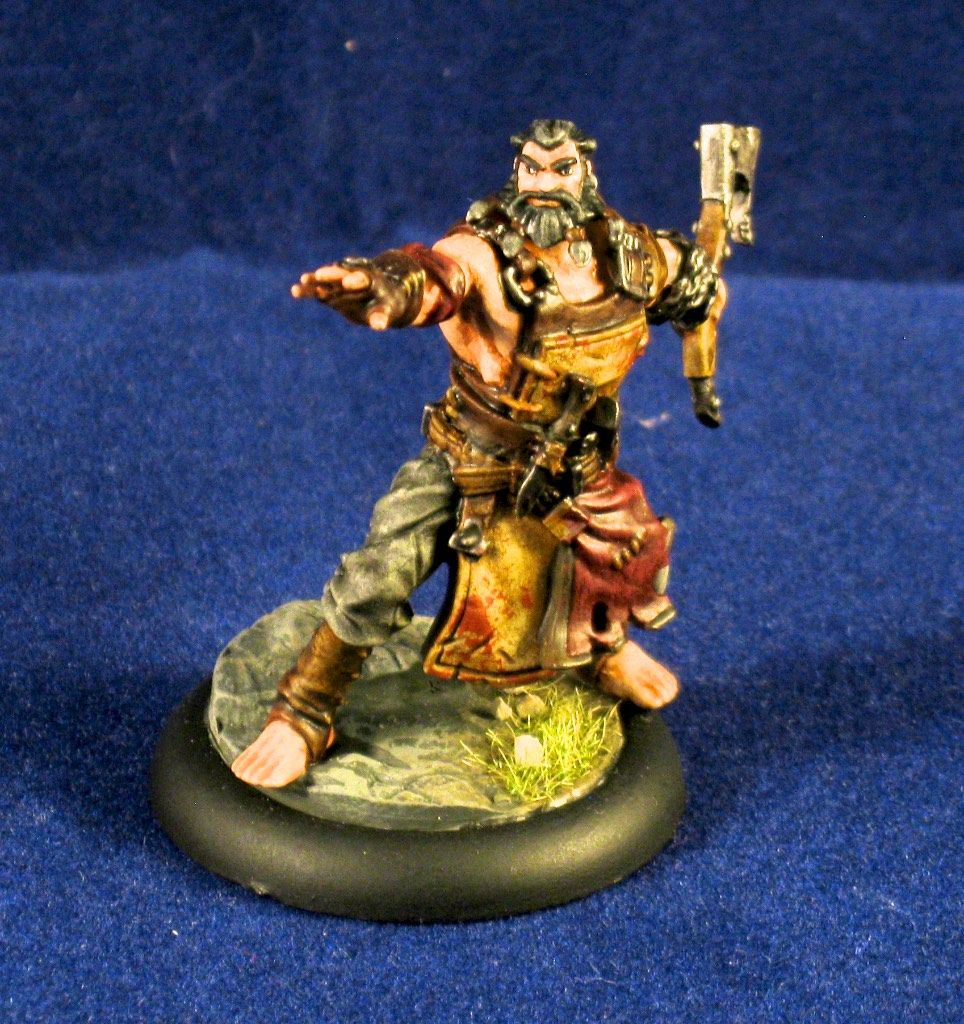
As the only Captain until Season 2 models are released, Blackheart was in every lineup during the day. He is one of my 2 mandatory model choices for the Union. Luckily he is very effective at what he does. Blackheart performed as expected for me during the tournament, filling his role on the Union Brute Squad when necessary and otherwise providing a constant damage threat. He even brought in the winning goal for the day, using his surprising 9 inches of movement and a damn decent 3/6" kick to score a goal. I do not typically pay influence to activate Commanding Aura, preferring to pick it up from an attack on an opponent in combat. During the tournament I found myself paying for it more than not, aiming for a more reliable commanding aura buff than risking not grabbing it on an attack.

Coin

Coin is arguably the best mascot in the game, handing out Bag of Coffers and threatening people with his 2 inch reach. I found myself giving BoC to a different set of players than normal during the day, and even using it on himself more often than expected. I had a number of times during the day, namely in my Engineers game, where Coin dropped back toward my goal to harass an opposing striker or goal scorer.  I was given more opportunities to use Follow-up in these 4 games than I have in the previous 3 months of playing guild ball. Although I'm not positive his presence directly stopped any goals, Coin certainly contributed to some extra brain cycles burned by my opponents. Coin found himself granting coffers most often to Gutter and Fangtooth in these games, opposed to my typical use targeting Gutter, Hemlocke, and Mist.

Gutter

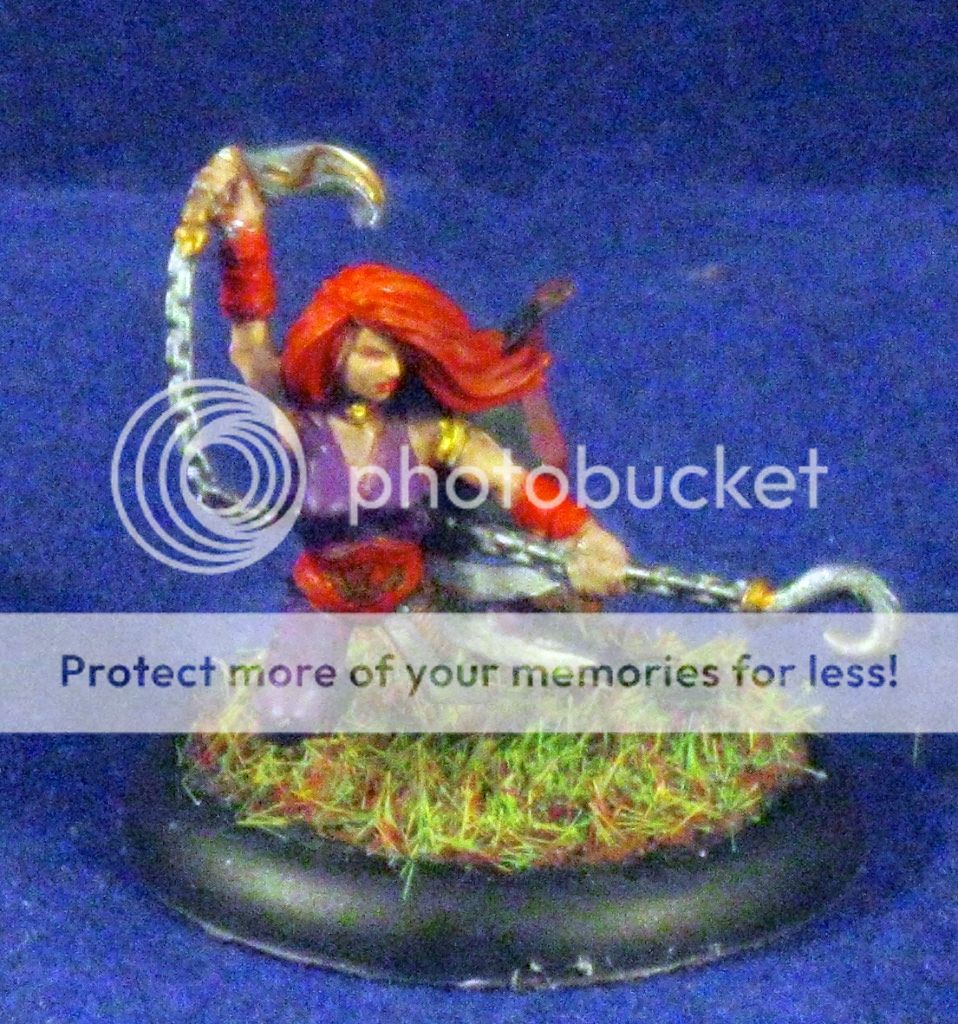
Gutter fills a very specific role for me in the majority of games where I play her. First turn she grabs Coffers from Coin then moves up the table and pull some victim into range of Rage and Blackheart to kill. On a good day she is able to put one or two hits onto the victim to soften them up.  Following that she acts as a threat on the board although rarely a threat that delivers. During this tournament she was the exact opposite of normal. I experienced today why so many people hate Gutter and felt she needed an errata. Gutter did more charging and use Scything Blow more today than I think I've ever done so. Gutter earned me, in 3 games, an easy third of the victory points I earned overall. She was very much my MVP of the day without even showing up for one game at all. I'm only sad there were not any tricks or inside thoughts I can share about using her. She performed every function I needed her to, from combat to board control, to retrieving the ball.

Rage

Rage is my favorite character in Guild Ball and putting him on the table for 4 games today just reinforced that fact. He might as well be considered a mandatory player for me, although I did leave him off in my Butchers game. Considering that and despite the value Gutter brought, I'm wondering if I should have swapped him in instead of her for the final game. Rage was an unholy threat to my opponents in the 3 games where he took the field. He effectively won me the Engineers game, taking advantage of Vitriol's poor positioning.  I even found opportunities in a couple games where Rage sacrificed his influence for a timely tooled up on Gutter and Fangtooth, increasing the scare factor of both those models. Yup, I'm looking forward to Captain Rage. I think the biggest area of under-utilization I saw in Rage was on his Bleed effect. I often killed off my target before Bleed could truly come into play at all. I can only think of 2 times where an opponent survived to the maintenance phase and actually took the bleed damage.

Decimate

Decimate is such a versatile player she earned a solid "must take" role in the Union team. Despite my choice to leave her off the table on round 3 vs the Engineers, I'm wondering if that was the best choice. Decimate works amazingly in conjunction with Commanding Aura and Tooled Up. She is one of the easiest ways to convert Influence into Momentum for the Union team. She also has some of the fastest movement on the team by using Second Wind for 2 influence. This is nice for her to use on herself  but becomes unexpected when you place it on Mist. Mist with Second Wind can start in a cloud (granting him more movement), move down the board, shoot a goal, then re-position 8 inches without needing a guild plot or the "run the length" momentum spend. This is a particularly threatening play and quickly positioning him to grab the ball and score again in the subsequent turn. Decimate brings a desired tool kit to the game and is valuable in all Union lineups.

Hemlocke

Hemlocke makes it into my Union tournament 8 for a very specific reason, which is Butchers. Blind is very effective when used against the fight oriented Butchers, and can often come in handy when facing some other teams who also want to start a brawl. I'll occasionally throw her in when facing Brewers and other Union teams as well, but primarily she is my counter to Ox and Boar. In this tournament she made the field twice, once in my game vs Alchemists and once in my final game versus Butchers. In both games she pulled her own weight but did not really perform above the line or deliver anything spectacular. I do think she is a solid choice when building out my Union 8, but I've been often considering swapping her out for another player such as Mynx or Snakeskin who would strengthen my goal scoring game.

Mist

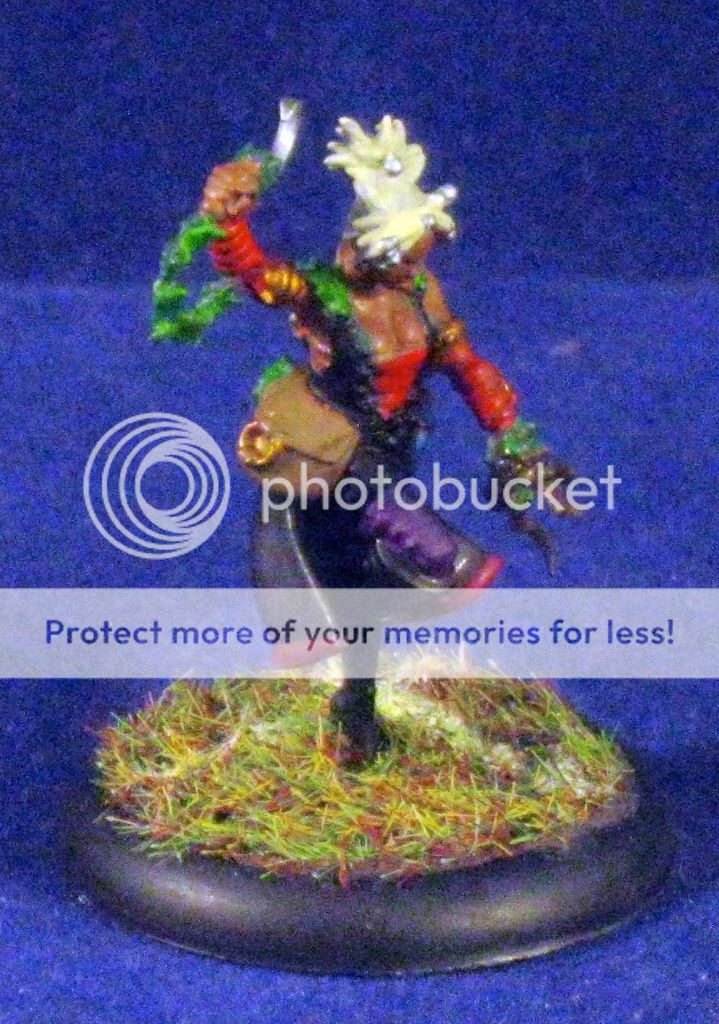
Mist is a must take in the Union 8 as far as I am concerned. He is not only the only Union striker, but is arguably the second best striker in the game. I cannot see fielding a team that does not have an option to go for scoring goals and there is few better to do so than Mist. My Alchemists game was a prime example of where he plays, loading him up with 4 influence after winning the roll to recieve the ball and then scoring on my final activation. His 22 inch threat means he can score from the deployment line unless you mess up where he deploys, and even then he can be readjusted through a "Pass and Move" play. Although Mist did not score in my game vs Engineers, he still played a valuable role threatening Velocity for a couple turns then engaging Compound to stop the Rush Keeper counter charge. I have to admit that missing half his shots on goal through the tournament really frustrated me overall.

Fangtooth 

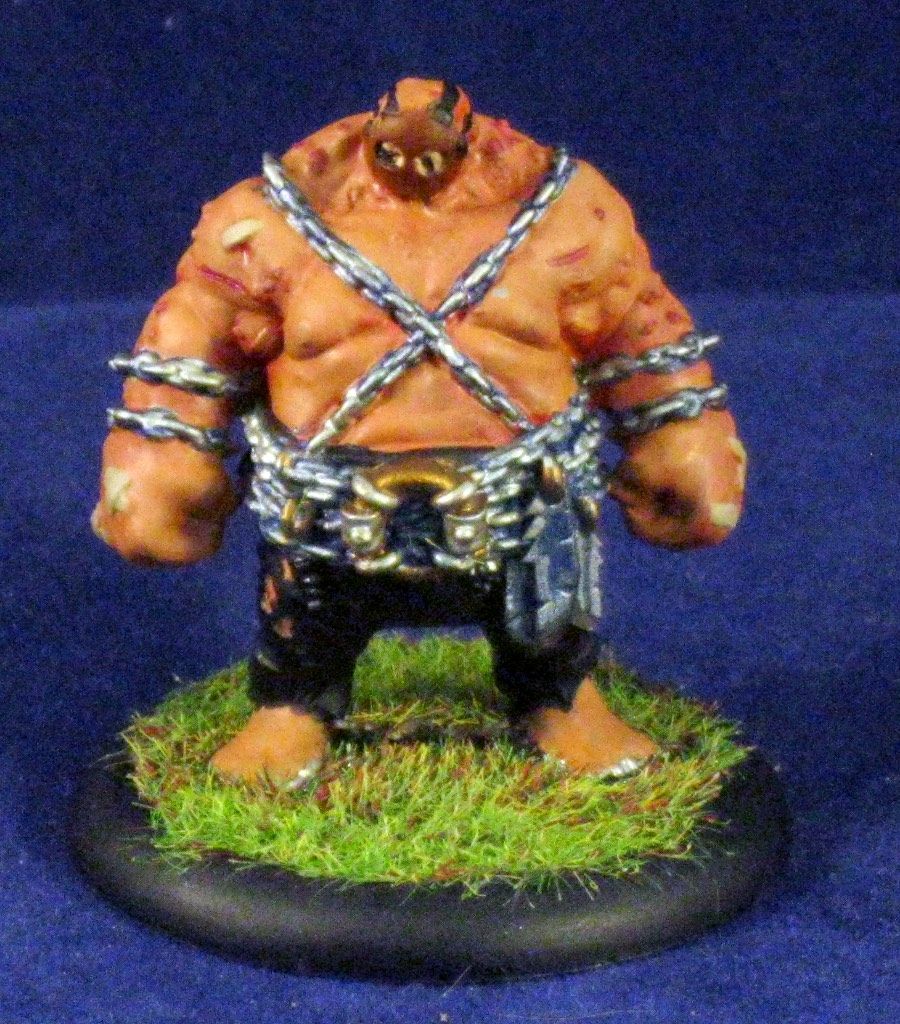
Big, Lumbering, Knocking Down, Gluttonous Mass Fangtooth. I will admit that I've been carrying Fangtooth in my tournament 8 line up for a while now and I can't explain exactly why. He has never truly performed in any of my games, nor has he clearly earned his place on the team.  I think I place him in my lineup for easy access to knockdowns and as a defensive threat with his health and gluttonous mass. If there was an opportunity to launch him into a group of opposing models and use Unmasking multiple times I can see my opponent being punished. I already have Gutter in my list though, and she fills a similar role. I'm hesitant to remove him from my lineup because of the threat and defense he brings along in his playbook. I also am unsure who I would add and what they would bring along. Overall, I suspect Fangtooth will continue in my lineup.

Monday, January 18, 2016

Guild Ball Butchers Pictures

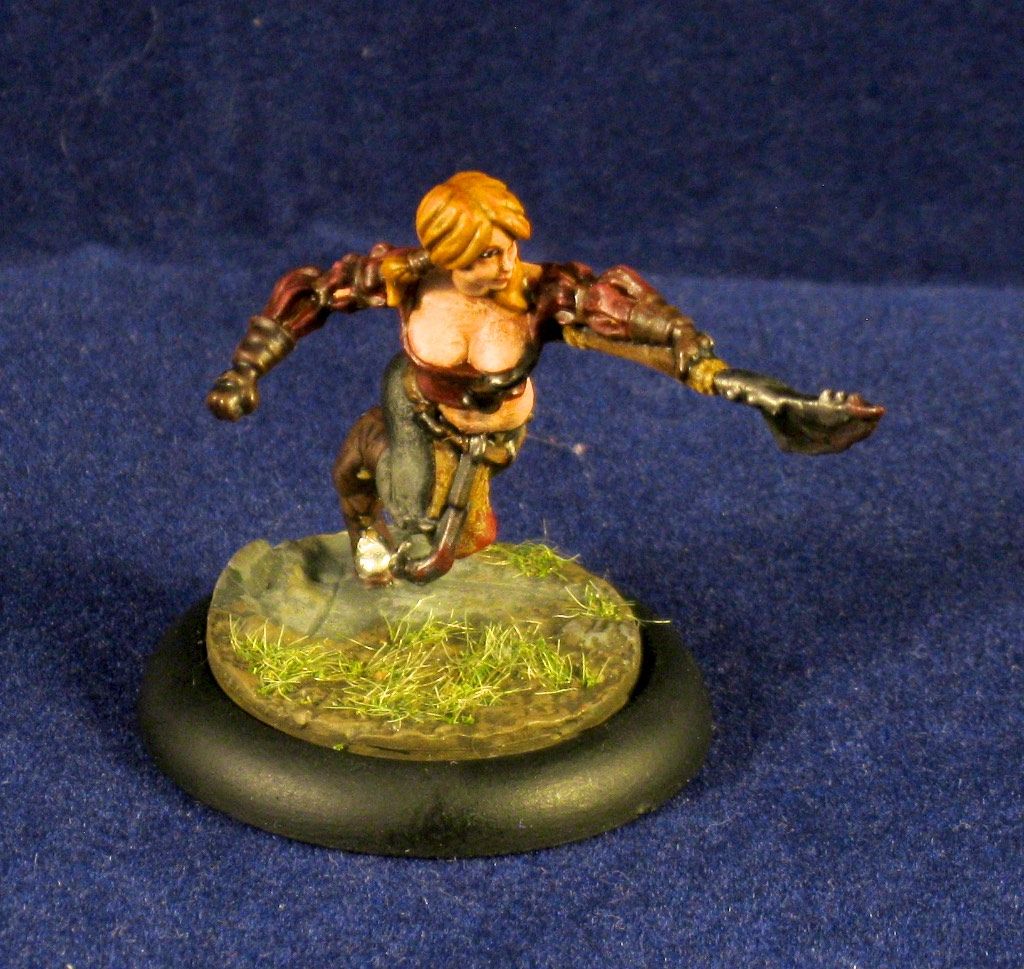
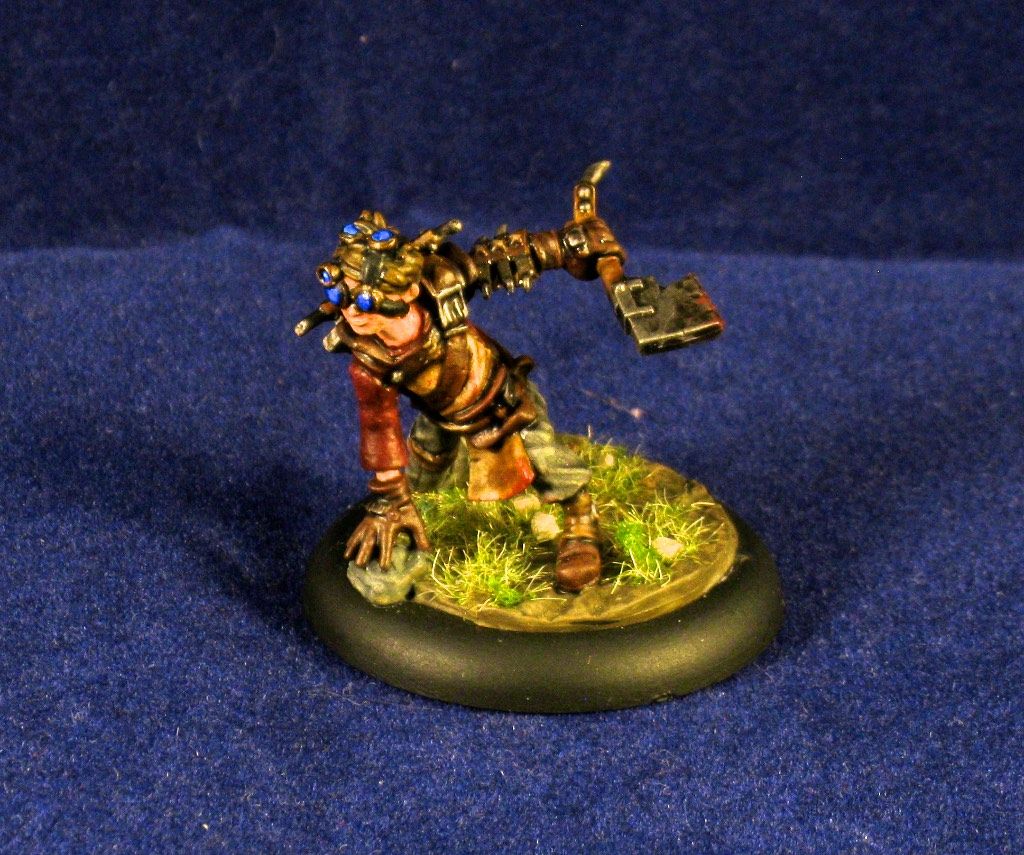
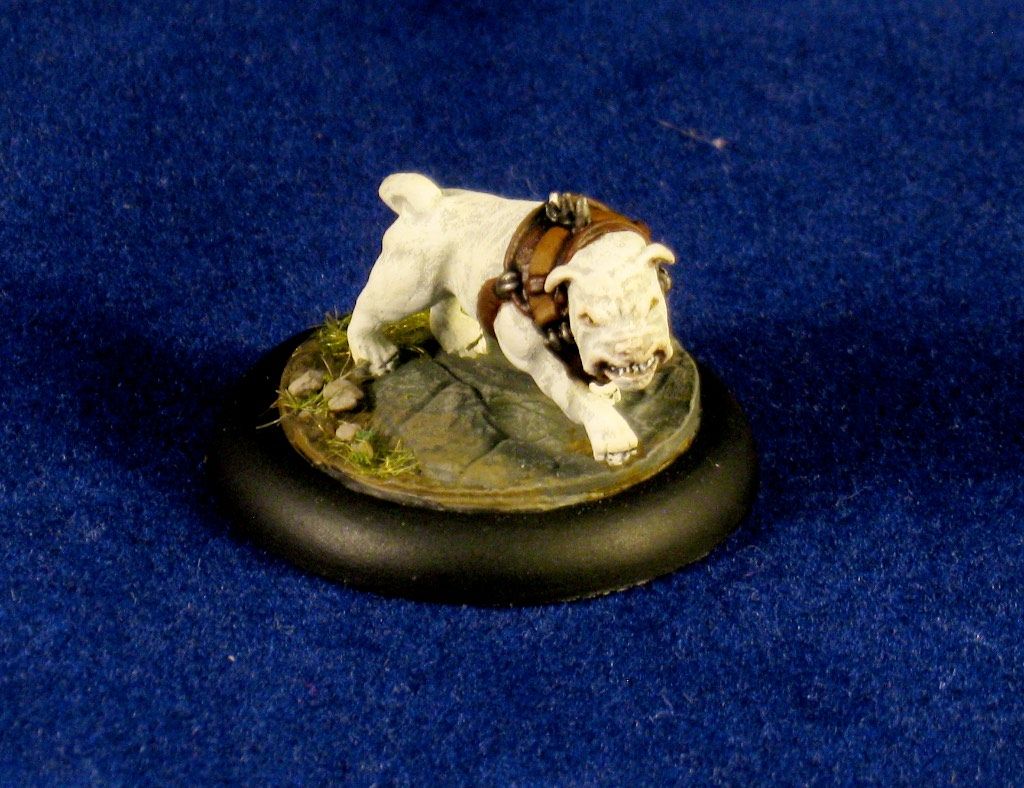
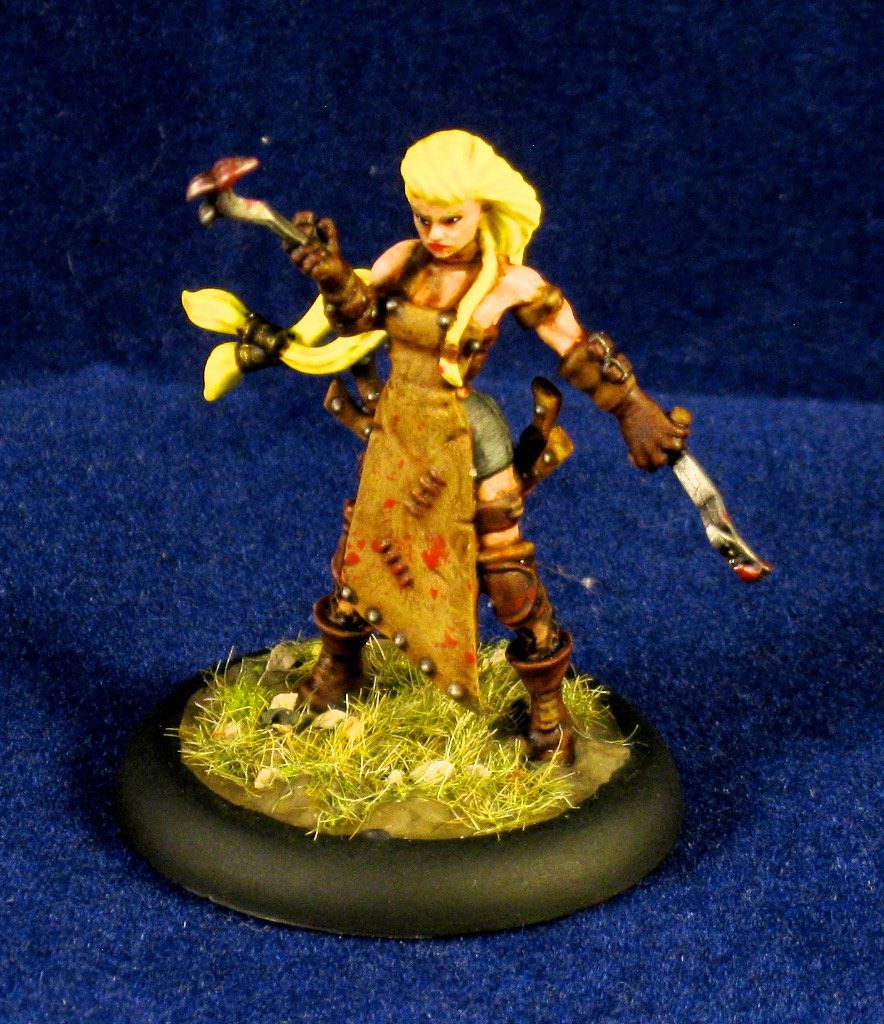
Now it's Monday, and there's a regularly scheduled post on DTP! I had a bit of an advantage, grabbing the following picture set at the same time I grabbed pictures of last weeks team, Fishermen. Now we're going to take a look at the Butchers.

John does a great job painting, and these models show off that skill just as nicely as the Fishermen did last week. There are subtle smears of blood throughout the team, really adding to the brutal combat aspect of the guild. Overall, these are just nice models.

First up let's look at the whole Butchers team.

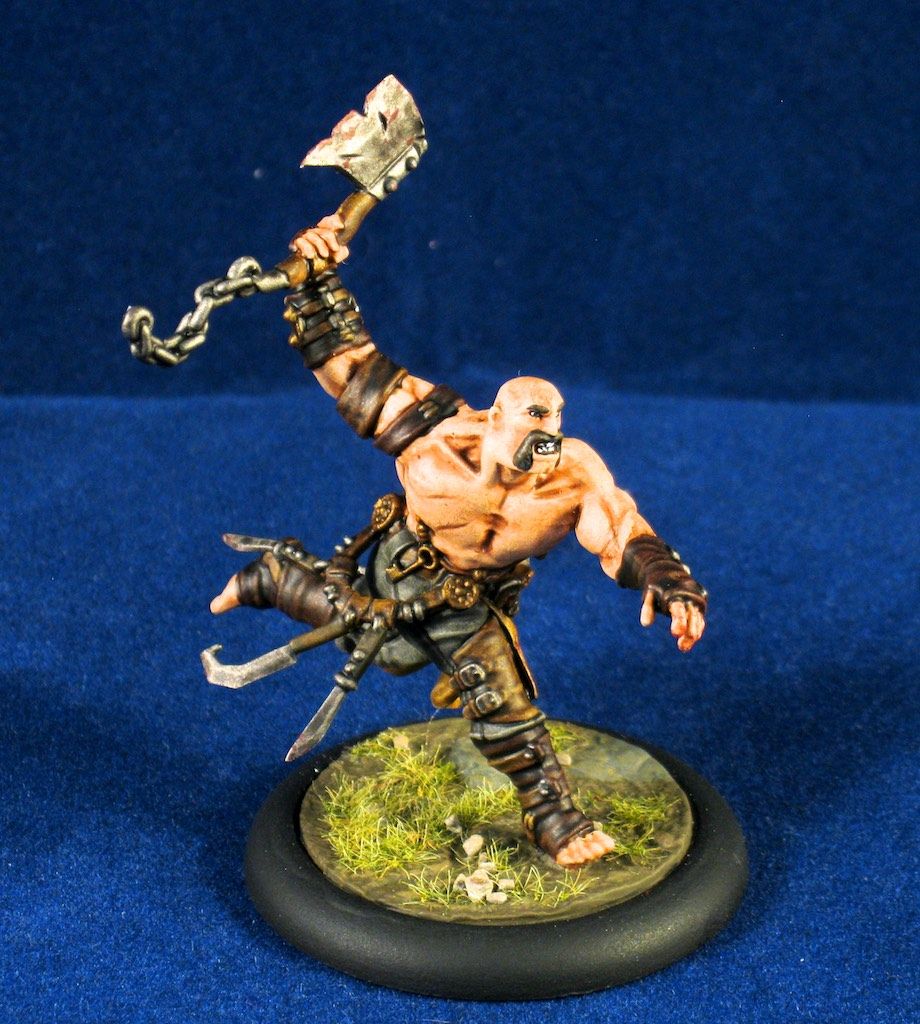
Keeping with last weeks format, we then move onto the Demo 3, the three butchers models used in game demos.

Then we look at the remaining 4 models in the season 1 team.


Tuesday, January 12, 2016

Guild Ball Fishermen pictures

It's Monday isn't it?
No?
Damn, missed the deadline to get this post out. Ironically, I realized I missed the post yesterday morning and headed down to my cave to grab some pictures. I had planned to grab these pictures before, but over the holidays it just did not happen. On arriving at my humble photo set-up I realized I had a dead battery in my camera and needed to recharge. Now it's Tuesday and here we are.

As a little background on the next two picture posts coming up (this and next Monday), we'll be looking at the Fishermen and Butchers team from Guild Ball. During the Guild Ball Kickstarter I joined my pledge with a friends (John) pledge and we ended up getting 7 teams between the two of us. On looking over the teams I liked the look of most of them, but found myself drawn heavily to a set of particular teams. Fishermen and Butchers were not in the group of teams I wanted, and nicely John did like how they looked. John grabbed those teams, I grabbed the others, neither of us grabbed Engineers, and we were good to go. After playing for a couple months John decided that Guild Ball was not to his liking and I offered to buy his teams from him to fill out my collection. John's a great painter and I wanted these two teams for Demo's. Everything fit well.

So let's take a look at the team:


First up we have the Demo 3, the three models that are used for Demoing Guild Ball.

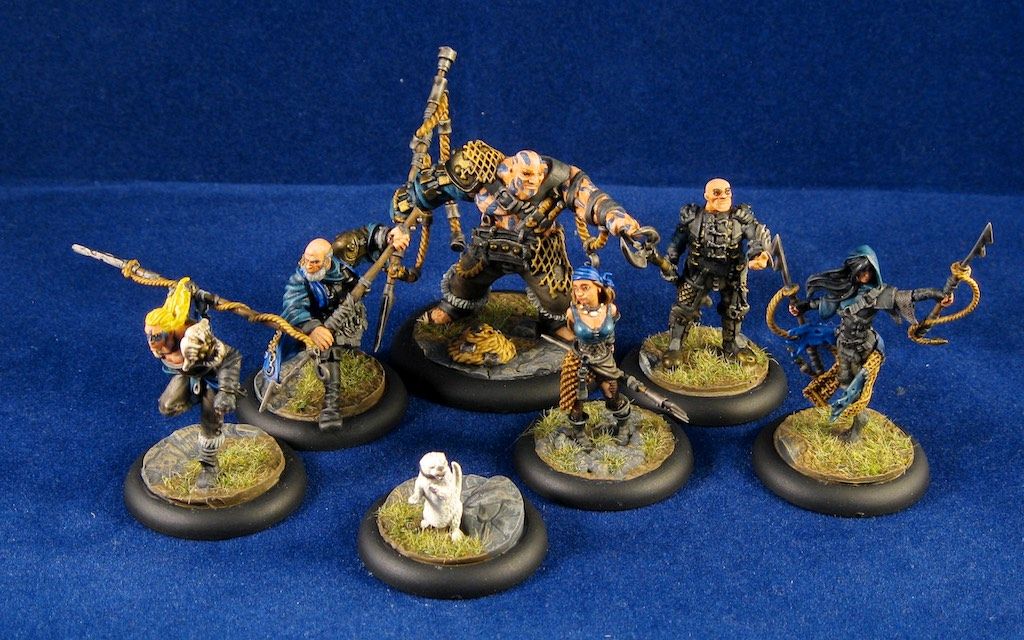
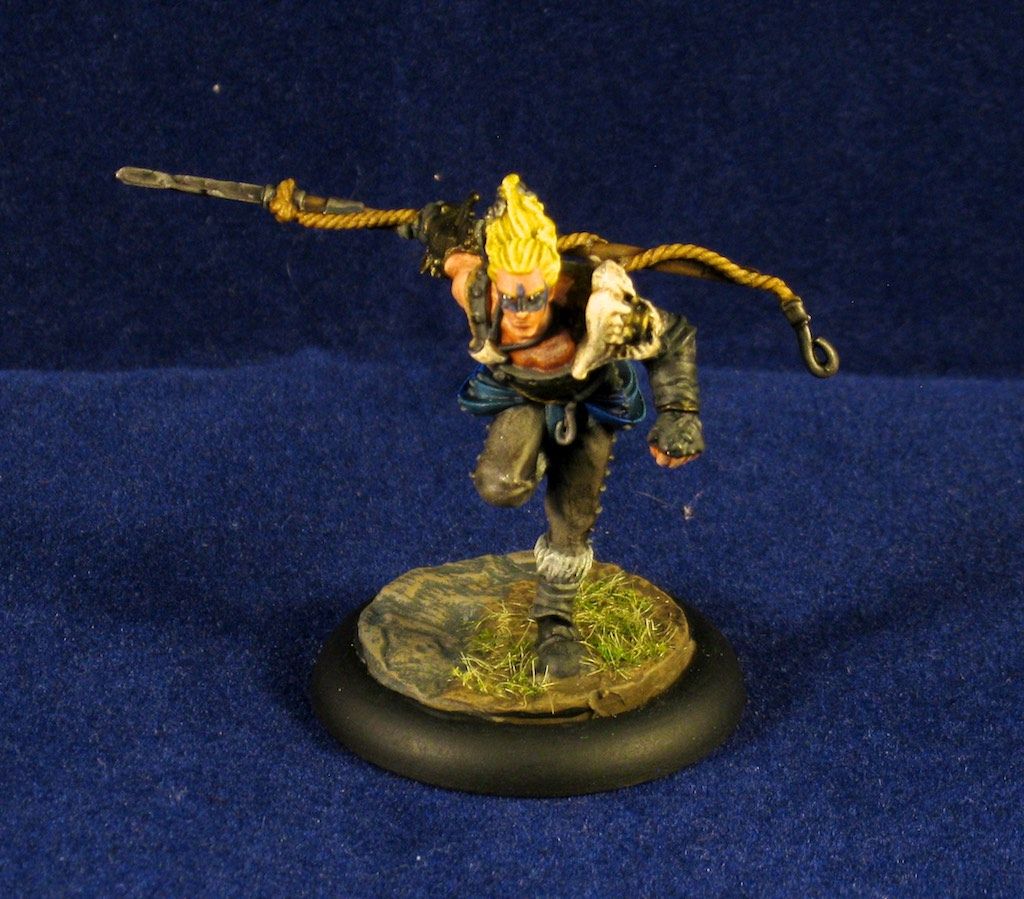
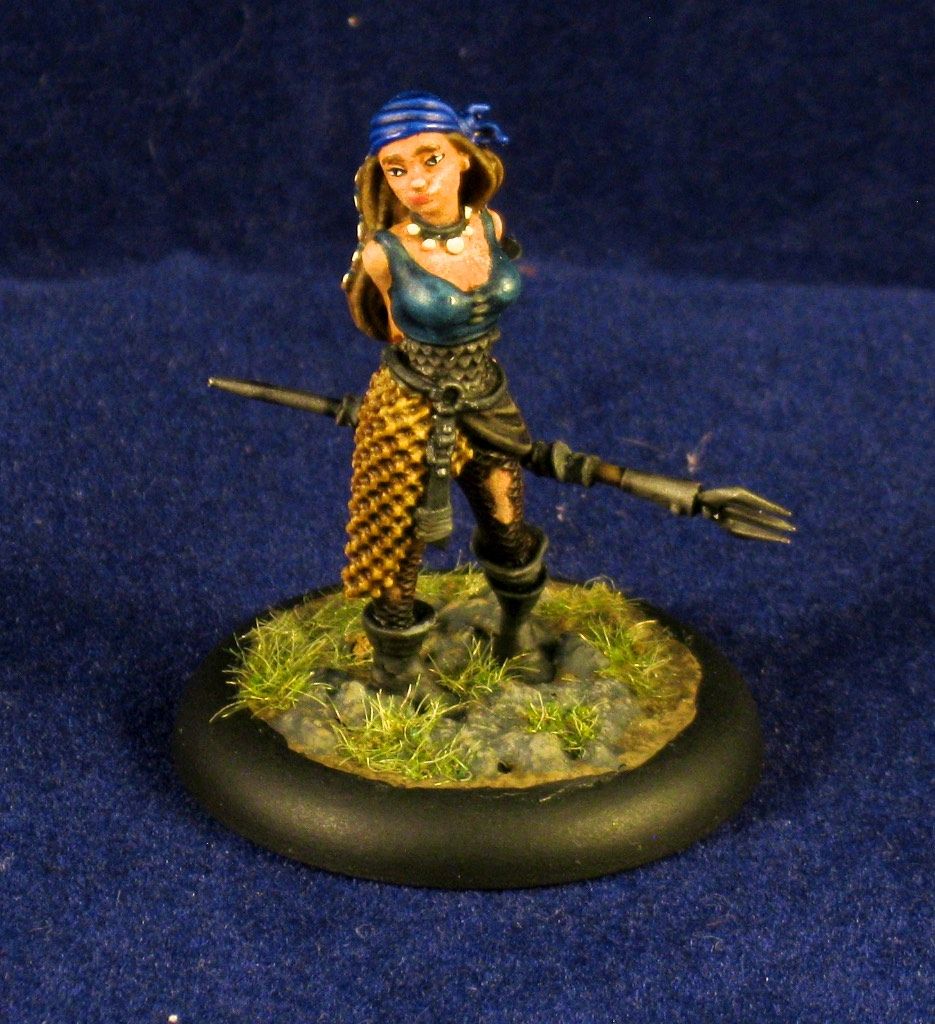
Following those three we have the balance of the team and the mascot.


Monday, January 4, 2016

How to pick Guild Ball Guild Plots

Happy New Year, and welcome to 2016 with a tactics article for Guild Ball. I have not played in a tournament yet, nor have I had the chance to play all the teams. I've only faced Alchemists once and do not even own Engineers. All that said, I have acted as TO for a couple events and have played my fair share of games with the majority of the teams. I'm confident that as season 2 begins to appear on the horizon I've become very comfortable with the Season 1 Guild Plots. I wanted to share some of my thoughts on that for anyone new to Guild Ball and struggling with which plots to choose when. I'm also happy to share my thoughts for any future tournament opponents I face.

Season 1 Guild Plot Overview

Guild Plots are a portion of the game that is typically added once a new player has 3-4 games of experience. These expand the options within the game, adding in reaction plays that will augment a team's strategy while not dictating the overall flow the the game. These are game changing from the perspective of adding some depth while not completing changing the overall game or play strategy. Players will be dealt 5 guild plot cards from a shared 12 plot deck before the start of the game. Each player will then choose 3 of the 5 plots to keep, discarding 2.

The season 1 Guild Plots can be roughly split into four categories:
  • Defensive: Don't Touch the Hair, Keep the Ball, Man Down, Protect Your Balls
  • Responsive: Knee Slider, Make a Game of It, Vengeance, Who Are Ya
  • Offensive: Man Marking
  • Recovery: Miraculous Recovery, Second Wind, Sideline Repairs
You can see that in Season 1 we have only a single offensive plot to use and the majority (7) focused on defense and recovery. Digging into the Guild Plots also uncovers an interesting split with 5 directly related to goal scoring, passing, and tackles while 6 are tied to take outs. It's a fairly even split, a good way for the designers to open up season 1 and guage how players will play the game.

 Defensive Guild Plots

Don't Touch the Hair - Don't Touch the Hair is a universally good guild plot, one that should almost always be picked if it shows up in your selection. In response to an opponent declaring an attack or a charge this plot can be played to allow the target model to make a 2" dodge following the completion of the attack. This plot is useful against both football and damage focused teams, allowing models to shift out of dangerous combats following an attack. It's important to remember that the dodge occurs immediately following the completion of the attack so will often be counterproductive when counter-attacking. This combines particularly well with the defensive stance momentous play.

In the event this is not in your hand you should always assume your opponent has it in theirs. The best (and often only) way to counter this plot is using a character with a 2 inch reach. In this situation the goal is to advance into B2B contact with the target model before making an attack. This will allow you to continue making attacks after the opponent dodges away.

Selection Priority: Tier 0 - always choose

Keep Ball - Keep ball is a guild plot which requires a successful pass play to be performed in order to use it. Upon completion of a successful pass which generates momentum the receiving player gains close control. This is a situational plot which I only choose when playing specific strategies with specific teams. It can be helpful when I'm playing a footballing team that's looking to score goals as the primary win condition of the game. I'll often choose this with Fishermen, a footballing Masons team (Mist plus Flint), or a footballing Union team. I'll likely add this to my selection roster when taking Alchemists as well.
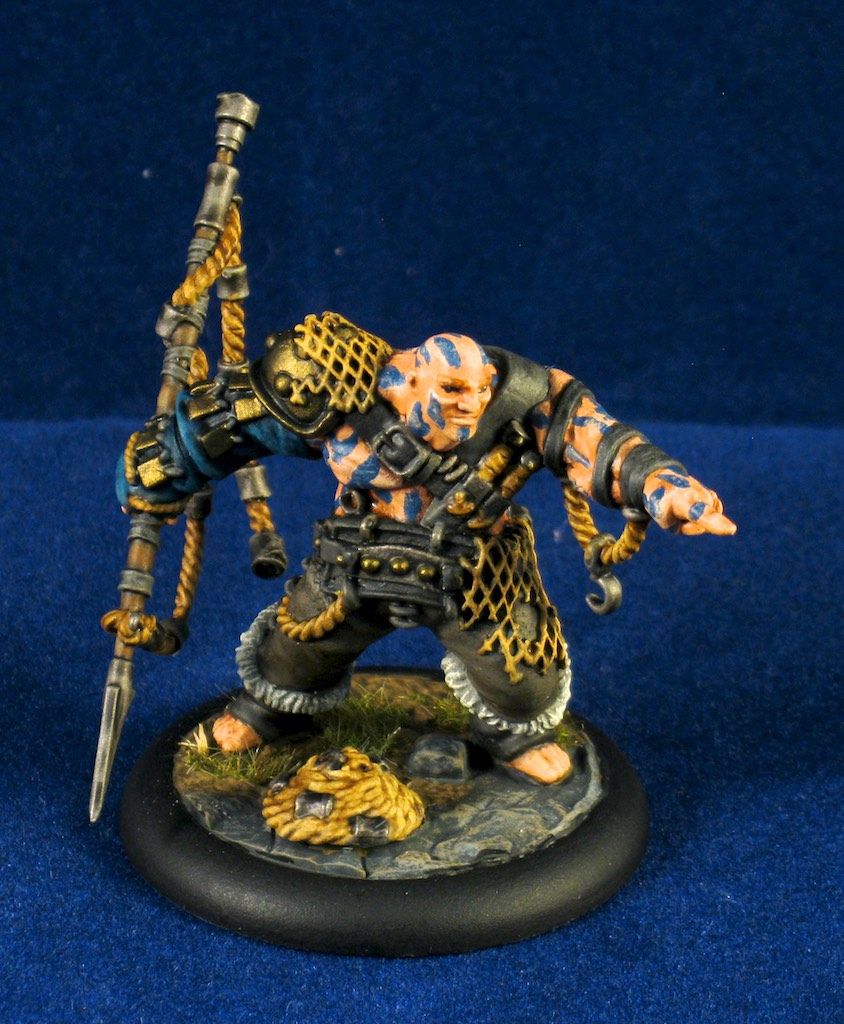
There is a bit of setup required to get the most use from this gild plot. I'll be looking for situations where I can pass the ball to a striker (or back-up striker) who still needs to move up the field and doesn't have an open path to the goal. I'll use this plot to keep possession of the ball while taking parting-blows on my way to a goal-shot position. I've also used this card to frustrate my opponent when facing a footballing team, using close control to force extra influence on the tackles. This plot pairs particularly well with Snakeskin, Hemlock, Friday, and Angel who can all easily reach 5+ defense and threaten the goal.

Selection Priority: Tier 2 - when playing Fishermen, Alchemists, Select Masons, Union, Brewers
                               Tier 3 - in other situations

Man Down - Man Down is a very strong guild plot to select when facing a team that focuses on dealing damage and take-outs as their scoring strategy. In the situation where one of your models has been taken-out resulting from an opponents attack or play Man Down will grant an additional +1 Arm to all other models on your team. This can be particularly nasty for already resilient teams such as Union, Brewers, and Masons. This creates a situation where your team becomes very tough to land attacks on for one turn. It's important to watch when this is played however, as playing it near the end of the turn negates the usefulness of the plot.

This plot is a good choice when facing Union and Butchers, and can be additionally useful against some Brewers lineup's. It will rarely benefit you when facing Fishermen, Engineers, or Alchemists due to either the rarity of a take-out or the lack of benefit from armor.

Selection Priority: Tier 2 - when facing Butchers, Union, Masons
                               Tier 3 - when facing Fishermen, Engineers, Alchemists

Protect Your Balls - Protect Your Balls (PYB) is a plot played after a model is tackled and loses the ball. This plot allows you to make an immediate counter-attack that ignore the 1-counter-attack per model rule and also does not cost momentum. This is an excellent plot to choose if given the option, almost always useful during a game. The rare exception to this plot being useful is when forced to pass the ball by Obulous or Siren, or when losing the ball due to knock-down. Considering most Strikers in the game have access to a low success Tackle in their own playbooks, this plot will often regain control of the ball.

Countering this plot can be fairly difficult as it requires some specific plays. Obulous and Siren can both force an opponents model to pass the ball avoiding the tackle requirement on this plot. Players such as Spigot with access to "Balls Gone" can shuffle the ball to another player, counteracting the benefits to the PYB counter attack. Aside from that your typically relying on high defense and armor to counteract this plot.

Selection Priority: Tier 1 - almost always choose

Responsive Guild Plots

Knee Slider - Knee Slider is an interesting Guild Plot which is very situational but I often choose. Knee Slider is going to be most useful on a team where you're scoring goals. Instead of spending the Goal earned momentum to "run the length" for a 4 inch dodge, Knee Slider allows your scoring model to dodge their max movement. This is very helpful for making a fairly drastic reposition on the board in anticipation of the opponents goal kick.

I often find myself using this with my long-range strikers who are looking to reposition into a threatening position to take the ball back next turn. I'm looking for a position on the board that let's me activate on the following turn and get to my opponents model holding the ball in order to tackle it and then pass to another of my models or shoot on the goal. I've also used this to reposition models such as Mash at the edge of his 6 or 8 inch threat range to receive a snap-shot later in the turn.

This is rarely a card to worry about in order to counter. Keep an eye on where you opponent positions their model after playing this plot then work around the new positioning as best as possible. This is more of a set-up card than a big game swing.

Selection Priority: Tier 2 - when playing a team that's going to score a goal

Make a Game of it -  This plot is an excellent choice when facing a scoring team. The turn after conceding the first goal of the game you will gain +2 influence to your influence pool (only for that turn). These influence can be used to open up a number of options for your team, often super-powering your ability to respond to the first goal. When facing fast scoring teams such as Fishermen, Alchemists, and scoring Masons it's very common that you'll be conceding the first goal anyway. This plot allows you to benefit from it.

I've found use for this plot even when playing a scoring team myself. Adding in an additional 2 influence can often enable a second or third striker on the team, setting me up for making back-to-back same turn goals. This can surprise my opponent, tipping the game heavily in my favor. Part of the trick to using this Guild Plot is to not telegraph that you have it. Play your turns as normal but leave openings for your opponent to swoop in and score. The more like a mistake this looks the better the impact to playing this plot.

Selection Priority: Tier 1 - almost always choose unless playing as Fishermen or facing Butchers

Vengeance - Vengeance is a plot that's played in response to having one of your models taken-out by an attack or character play. This plot applies a Vengeance token to the attacking enemy model that can be spent by any of your friendly models later in the game. Vengeance tokens are particularly dangerous as they generate 4 automatic successful hits during an attack. These hits will combine with other actions your taking, often guaranteeing a nasty response in terms of multiple damage results (due to wrapping) or triggering a desired character play.
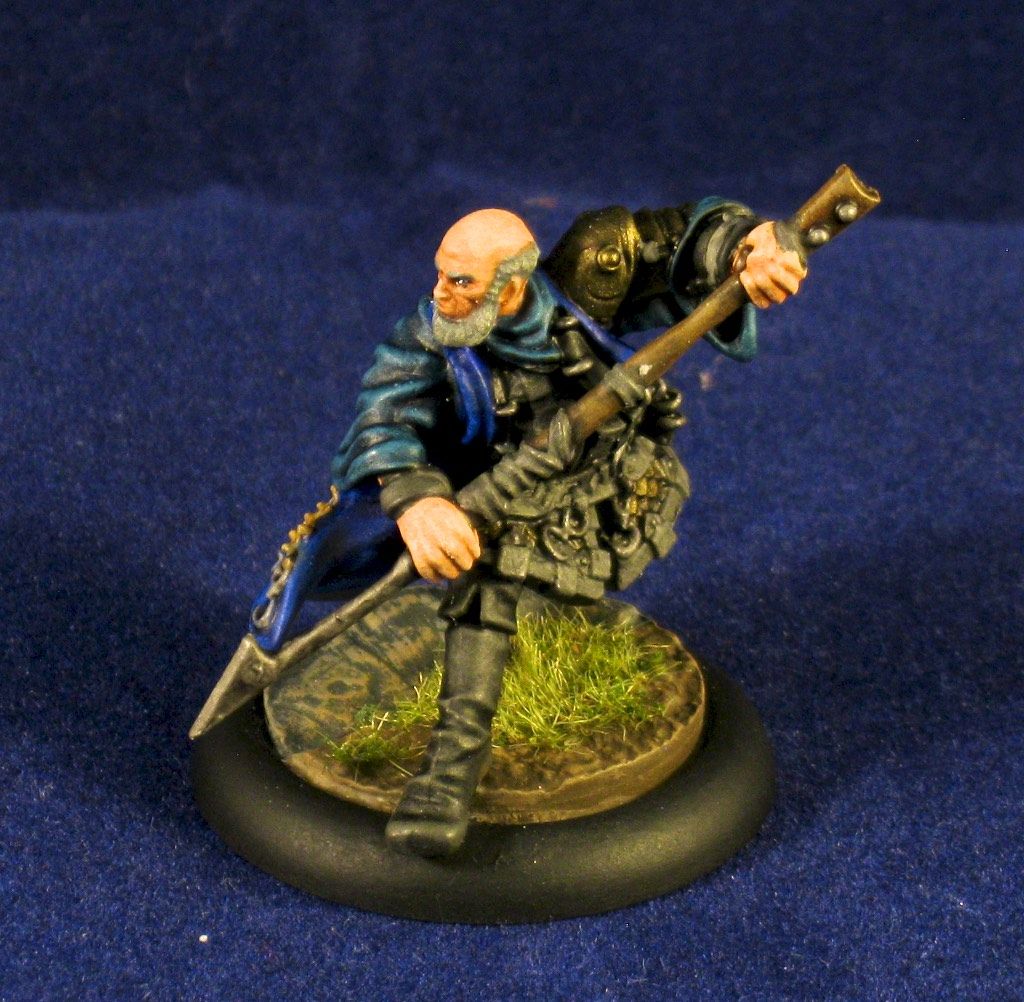
It is important to note that these successful hits can only be used in combination with an attack, and cannot be combined with influence-fueled character plays.

This plot is particularly good when facing any teams that will attack and cause take-outs. The only teams this is rarely a benefit against are Fishermen and Alchemists. Even footballing lineups in Masons, Brewers, and Engineers will often make attacks and take-out players as part of their strategy.

Selection Priority: Tier 1 - almost always choose except when facing Fishermen or Alchemists

Who Are Ya? -  The mirror image to Vengeance is the guild plot Who Are Ya?. In this case a vengeance token is applied to the opponents model after they score a goal. This has all the same benefits as the vengeance token from the vengeance guild plot and is used exactly the same.

This plot is going to be equally beneficial as Vengeance, except when facing Butchers. Even a heavy hitting Union or Brewers team will regularly keep one goal-scoring threat available to grab easy points. Vengeance will assure those hard to hit high defense models are much easier to take down after scoring a goal.

Selection Priority: Tier 1 - almost always choose except when facing Butchers

Offensive Guild Plots

Man Marking - Man Marking is an interesting Guild Plot for a number of reasons. It's the only Guild Plot which I define as an offensive plot to use. This plot grants +2 influence on the turn after you take out the opponents captain with an attack or character play. This forces you to set-up your team to take down a player who is often the most resilient and toughest to target on the opponents team. Taking out the opponents captain has the added effect of weakening the overall effectiveness of your opponents team, often placing the captain out of position on the next turn (due to icy-sponge returns) and potentially hamstringing a team for the turn if the captain is taken out early.

Taking out an opponents captain requires a fair bit of planning along with coming to the pitch with a heavy damage dealing team. Union and Butchers are particularly skilled at delivering the required take-out, with Masons and Brewers coming in closely after. This plot can be particularly hard to achieve with Fishermen, and can be a fair bit of work with the other teams. Morticians can dedicate resources to achieve this fairly well with Obulous, Ghast, and Casket but things need to go their way.

Selection Priority: Tier 1 - Butchers, Union, Masons, some Morticians
                               Tier 3 - Others teams pending build
                               Tier 4 - Fishermen

Recovery Guild Plots

Miraculous Recovery - Miraculous Recovery is the first of the the three recovery focused guild plots. This plot comes into play when a friendly model is taken-out and immediately gains maximum icy sponge tokens. This allows the model come back to the field on the following turn at a higher health level than normal.

This plot appears to be helpful when facing teams that focus on damage and take-outs as their primary scoring strategy. You should count on models being taken out when facing Butchers and damage focused Union, so this plot should be good in those cases. In those situations I do not rate this highly, placing it well behind a general purpose plot such as Don't Touch the Hair, Protect Your Balls, or one of the vengeance plots.

If the overall choices in guild plots are all lower priority, this plot can be useful. There is a strategy playing a fast goal-scoring team counting on the opponent taking out the scoring model following the goal. The scoring model then returns to the board on the following turn aiming for another fast goal. Playing this strategy can benefit from this plot.

Selection Priority: Tier 4 - rarely helpful unless playing a score/take-out/return strategy.


Second Wind - The second of the Recovery Guild Plots is Second Wind, allowing a model returned to the table via the Icy Sponge rule to advance up to their max movement stat. This can be useful for a goal scoring team that's facing a highly focused damage dealing team. Picking up an the additional movement can be critical for placement of a returning striker, especially in the situation where the striker is starting from the forward corners of the deployment area. This is marginally less helpful in a combat oriented team due to the comparatively lower movement statistics on combat oriented models.

Overall I rate this plot the highest of the Recovery Guild Plots. This still places it less favorably than they key priority 0 and 1 guild plots that are more useful.

Selection Priority: Tier 3 - Useful for a goal-scoring team

Sideline Repairs -Sideline Repairs is the third and final of the Recovery focused Guild Plots. This plot allows a model which is returning to play via the Icy Sponge rule to return to the table an additional 8 inches up the pitch. This nearly doubles the reach for the returning model, increasing the threat for return scoring or returning to support a combat.

Overall this does not increase the value of the recovery plot for me. I find that there are some corner case situations where this plot could be useful, but not as useful as others. It's important to keep in mind while using this plot that the returning model is still vulnerable and not at full health. Returning vulnerable models so far up the field could as dangerous as it is helpful.

Selection Priority: Tier 4 - marginally useful but not as much as other plots

Final Standings

That concludes my review of Guild Plots and how or why to choose them. My ratings start at Tier 0 rating for an always choose to a Tier 4 rating, with the lower rating being more desirable. As a quick summary, here is how the ratings came out:
  • Tier 0 - Don't Touch the Hair
  • Tier 1 - Protect Your Balls, Make a Game of it, Vengeance, Who Are Ya?, Man Marking*
  • Tier 2 - Keep Ball, Knee Slider, Man Down*
  • Tier 3 - Man Down*, Man Marking*, Second Wind, 
  • Tier 4 - Man Marking*, Miraculous Recovery, Sideline Repairs