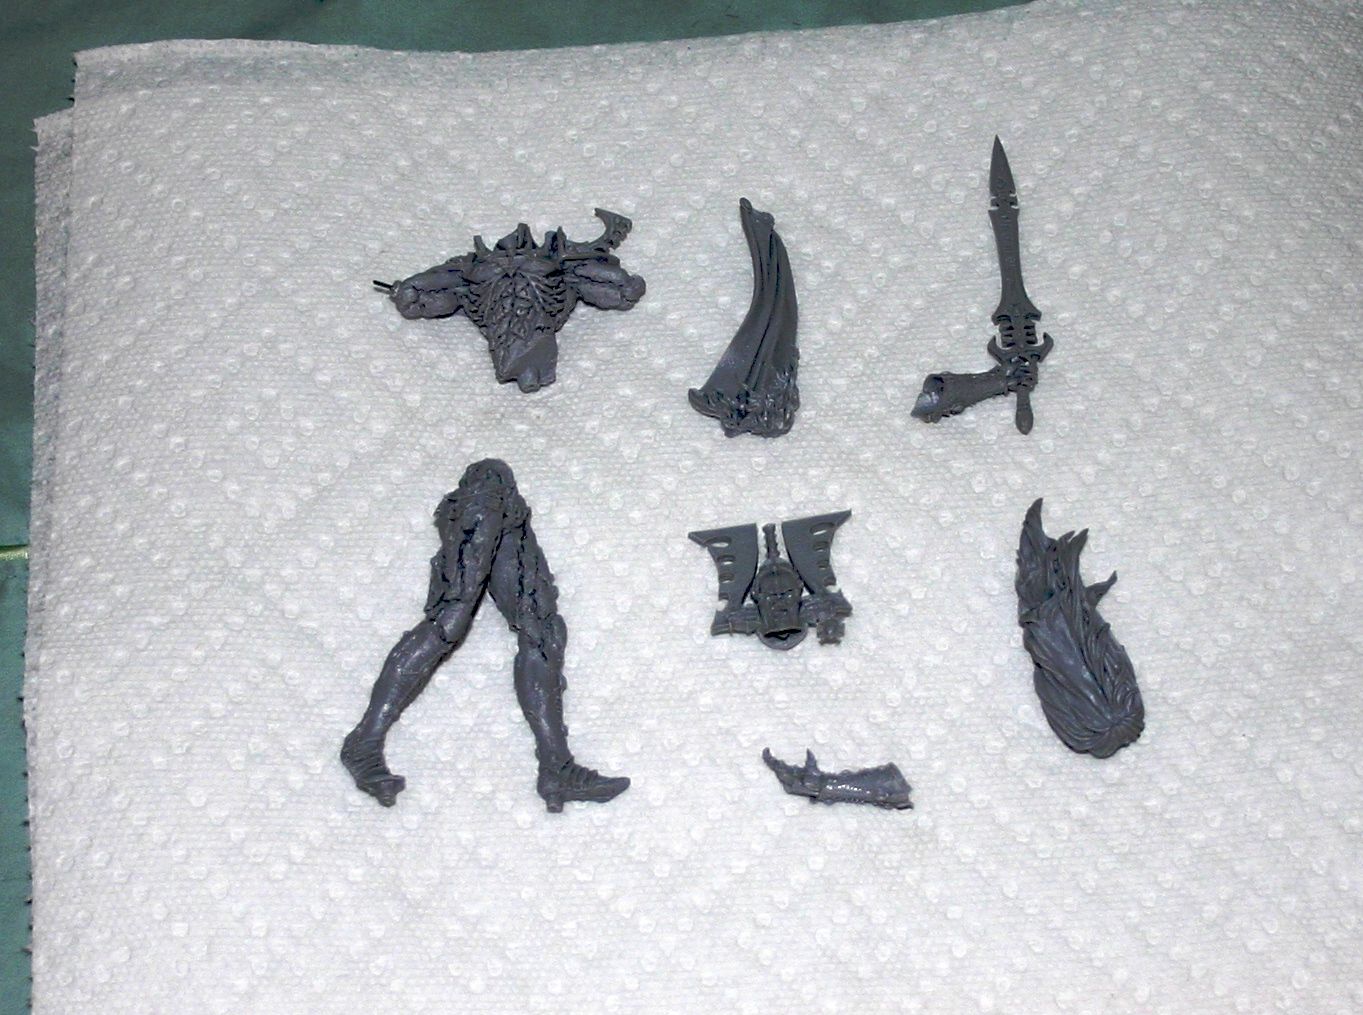
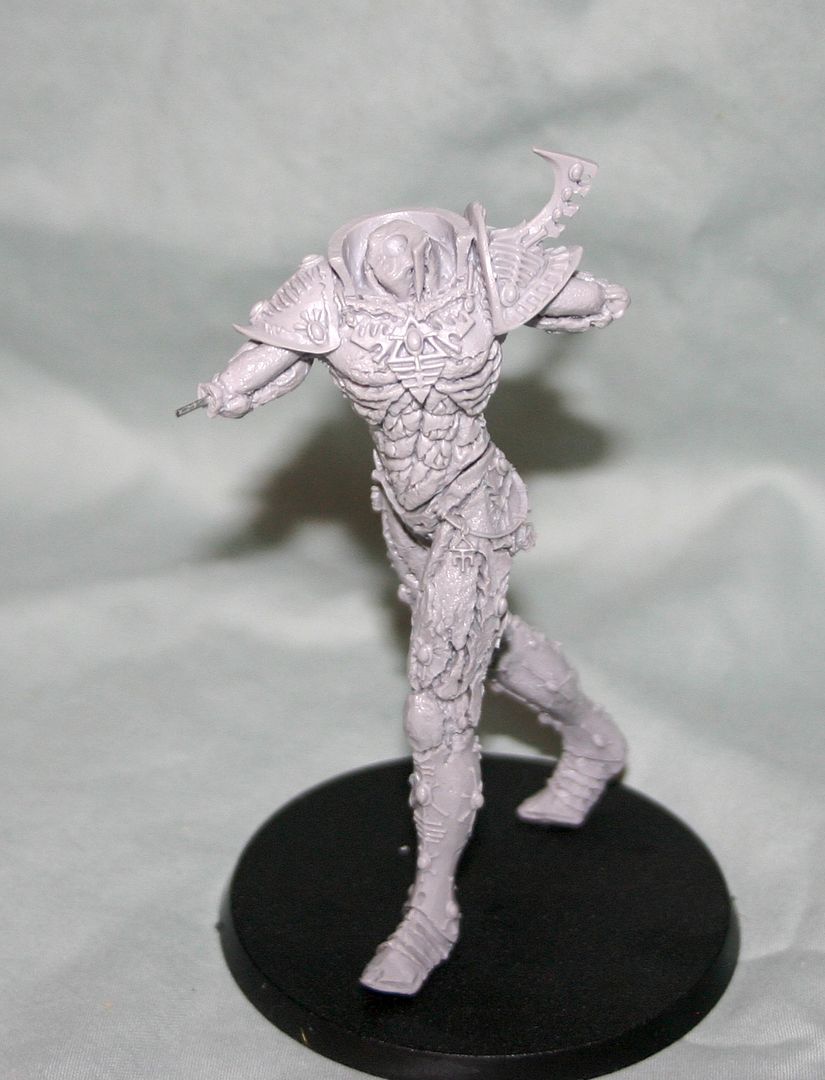
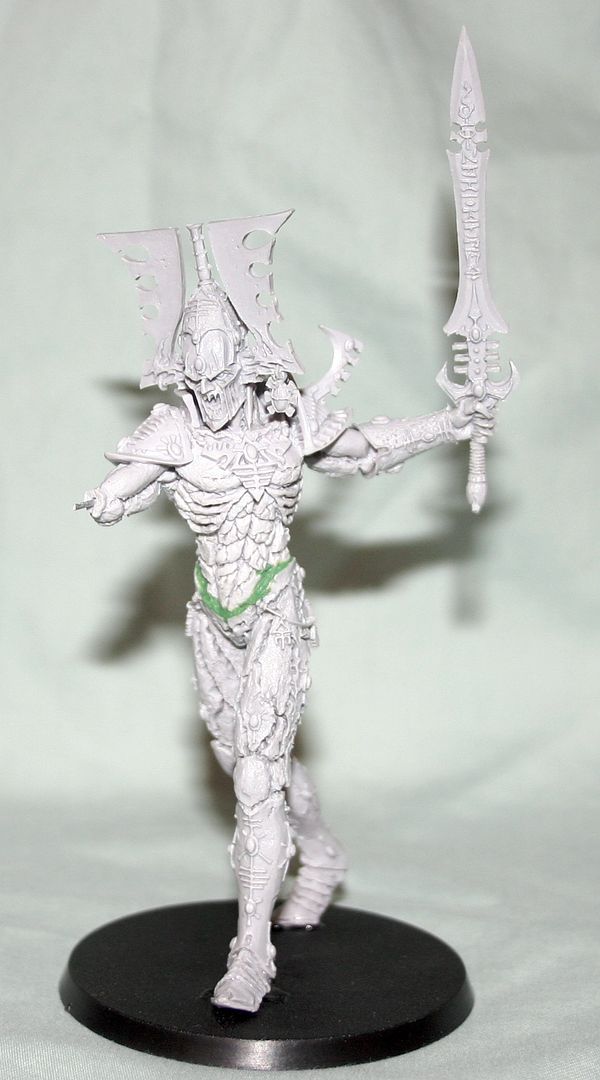
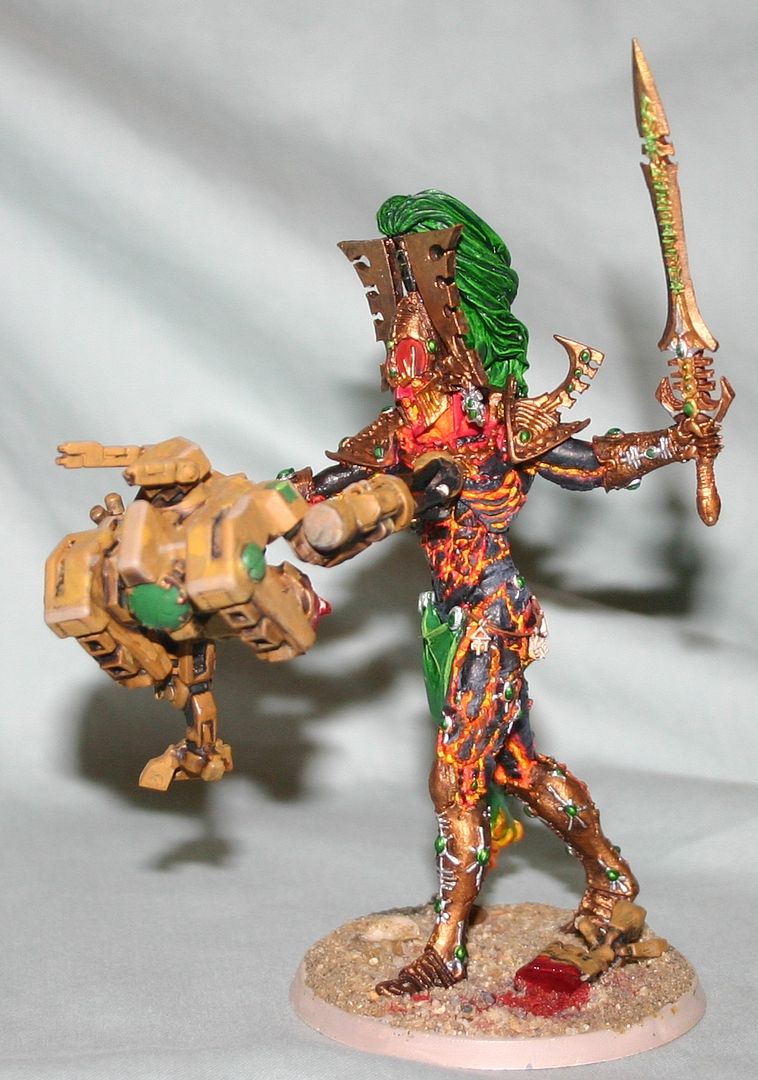
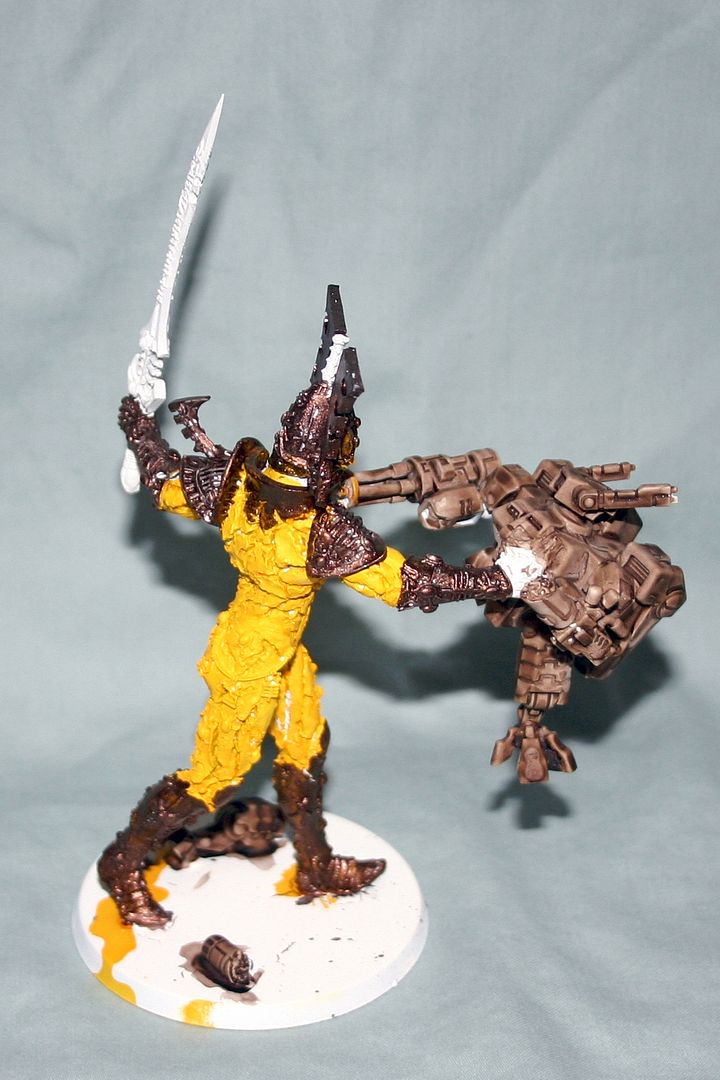
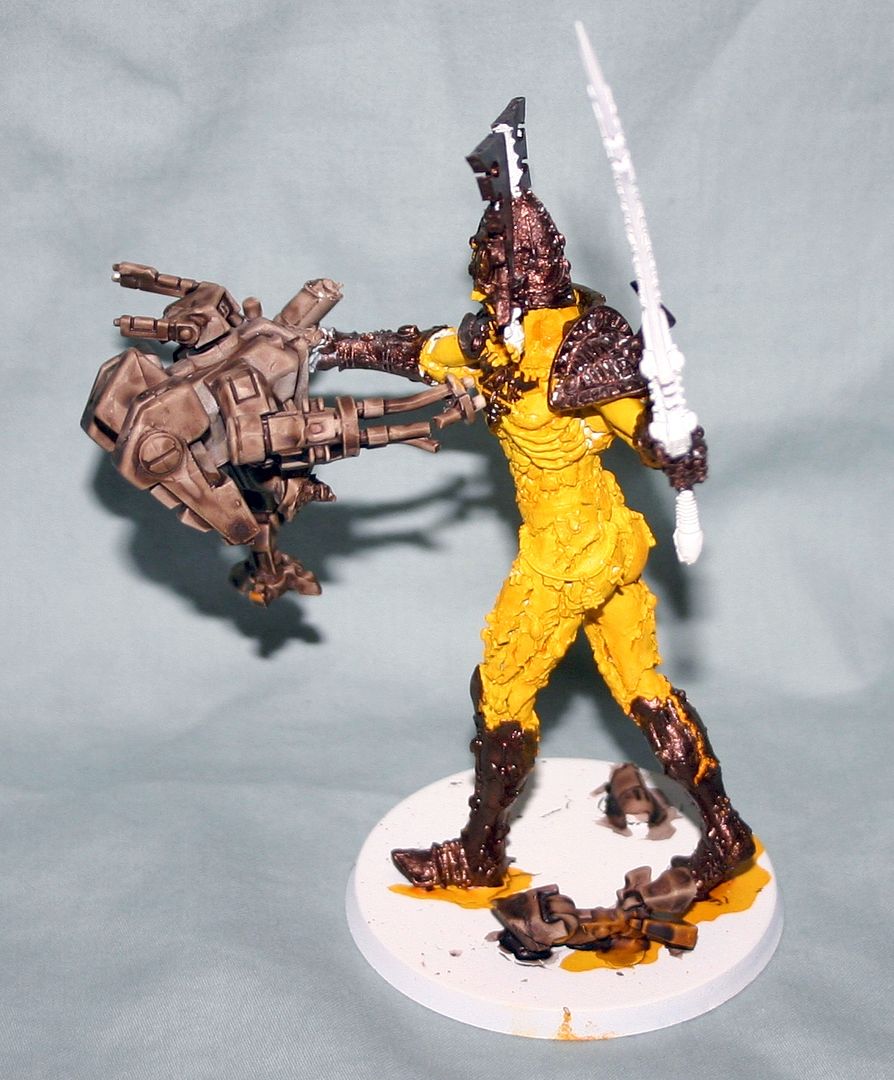
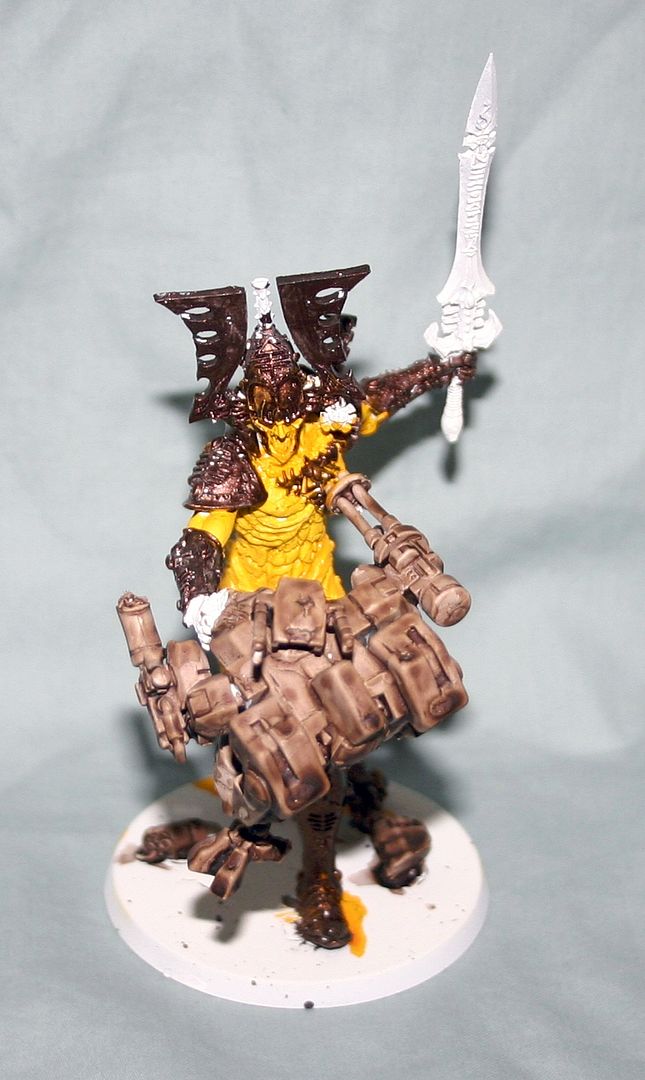
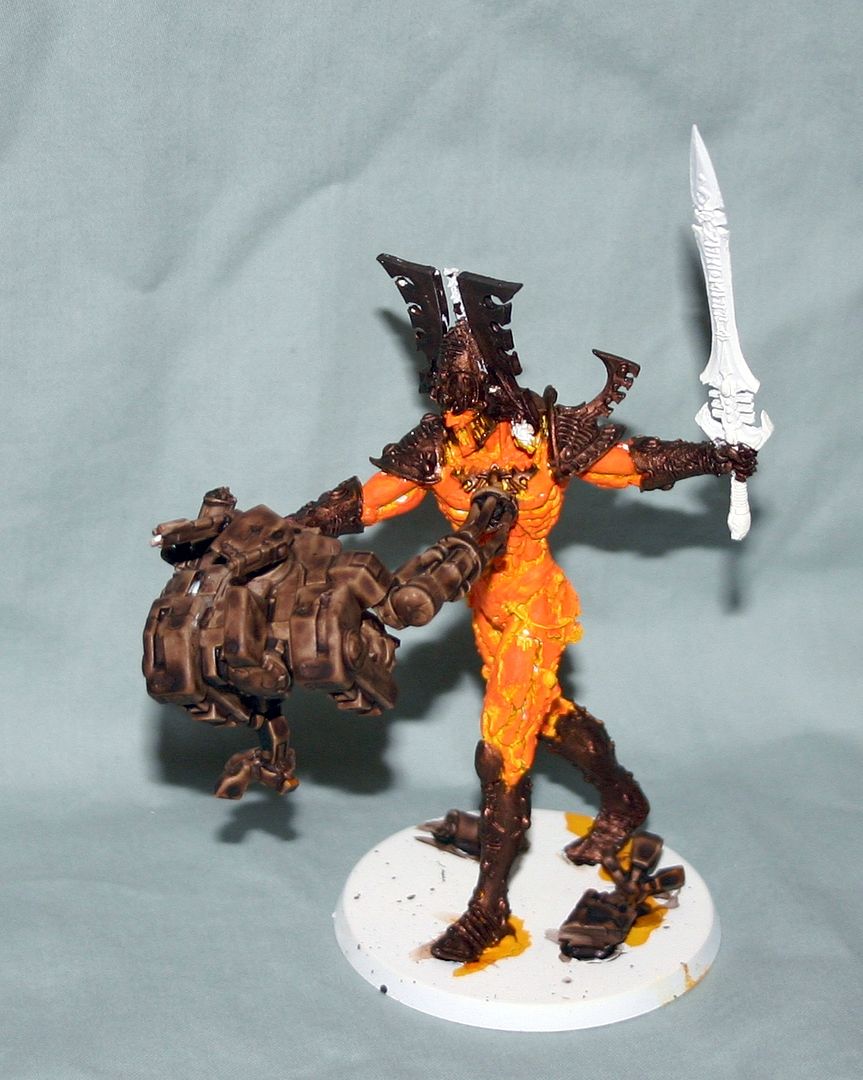
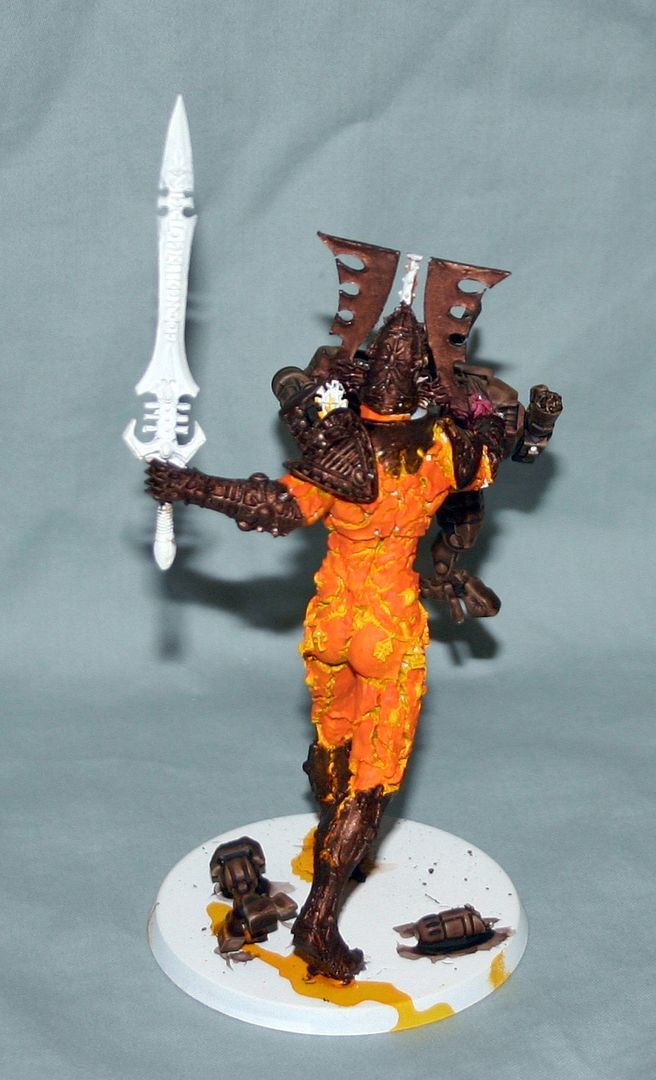
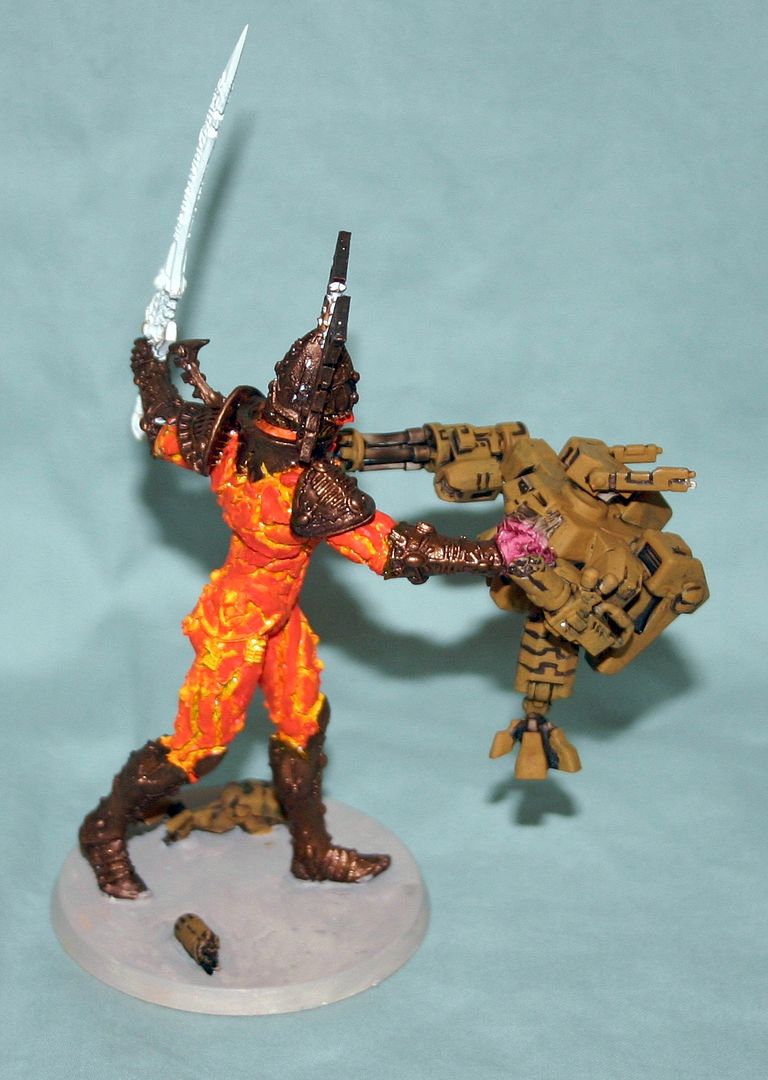
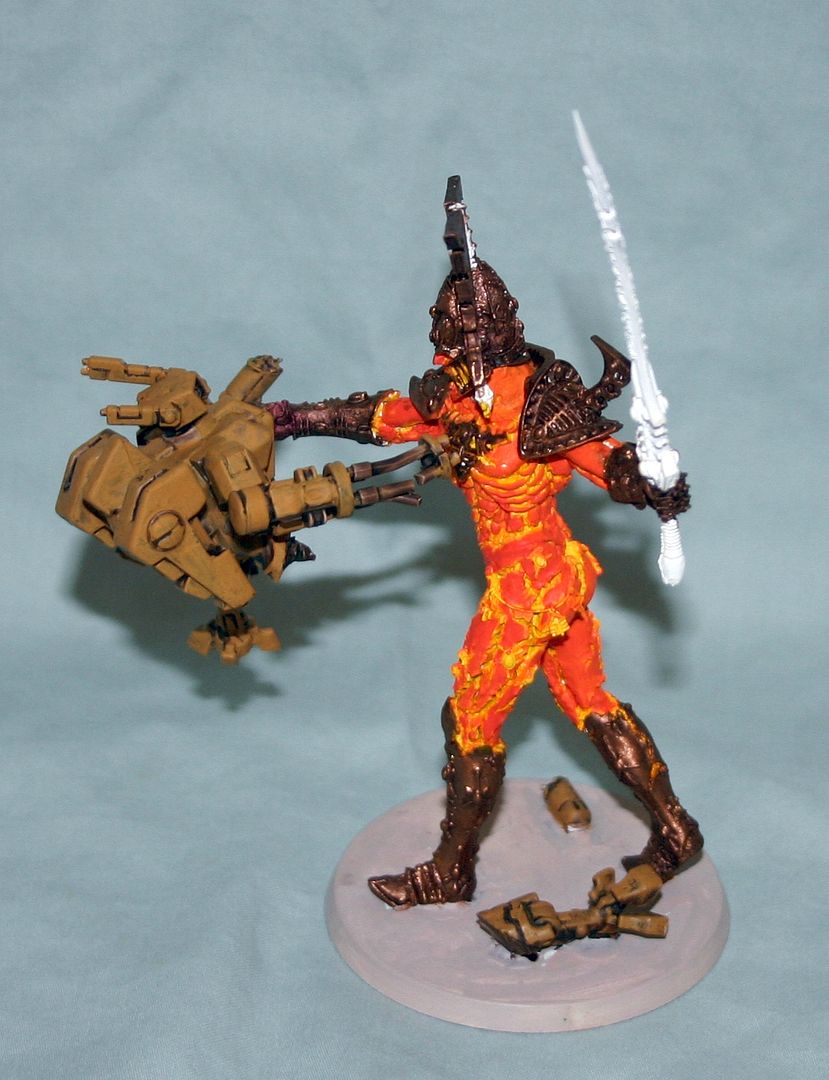
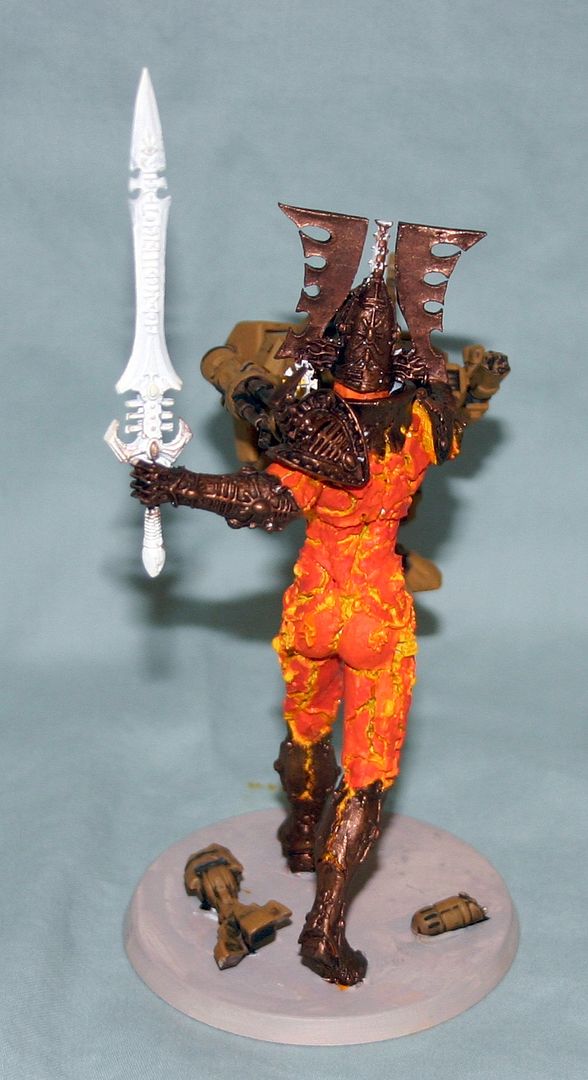
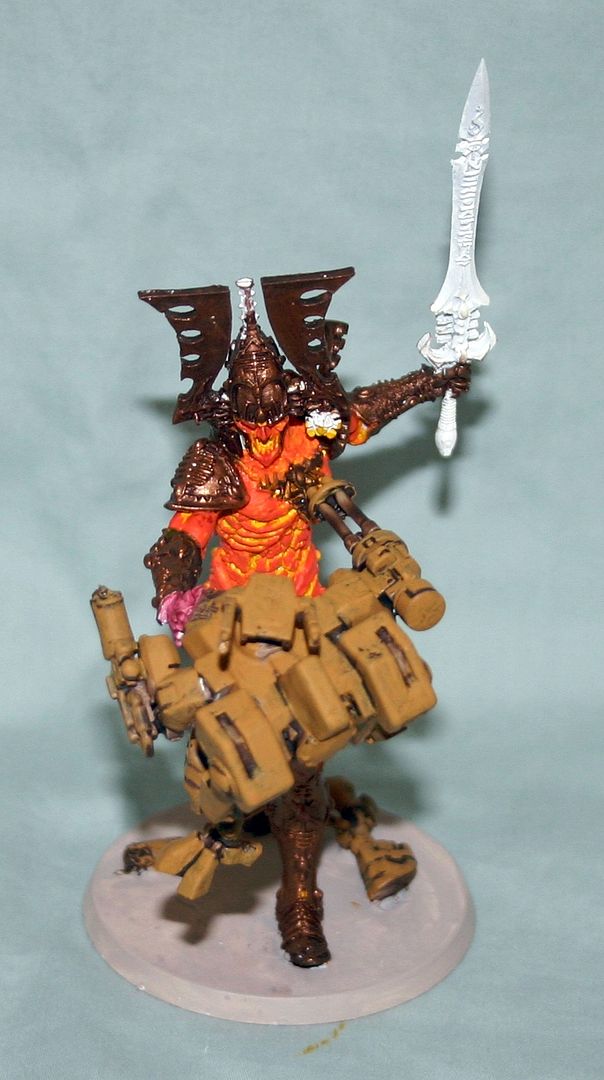
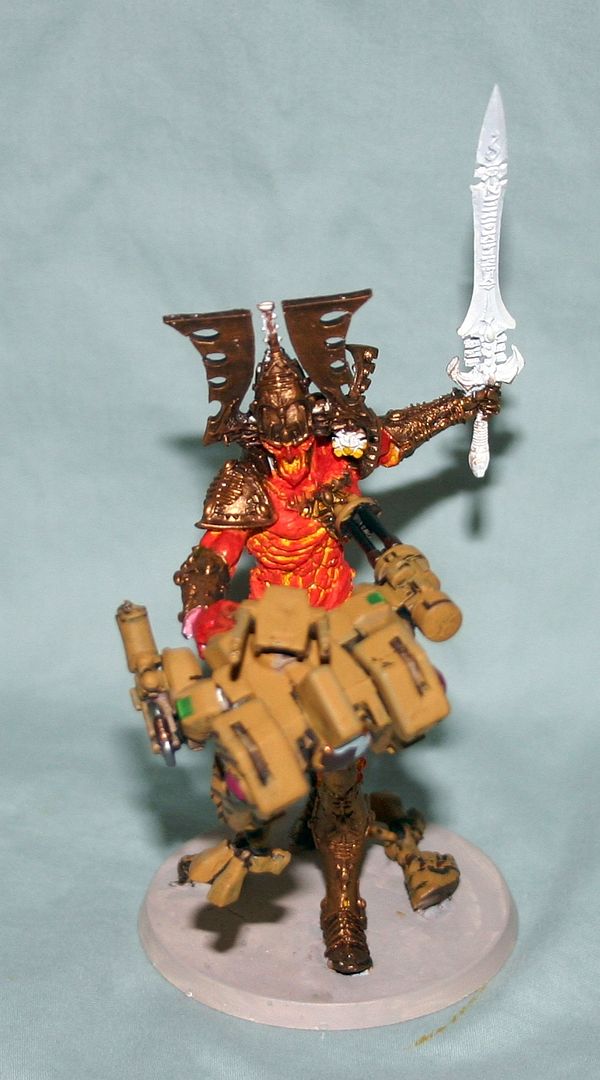
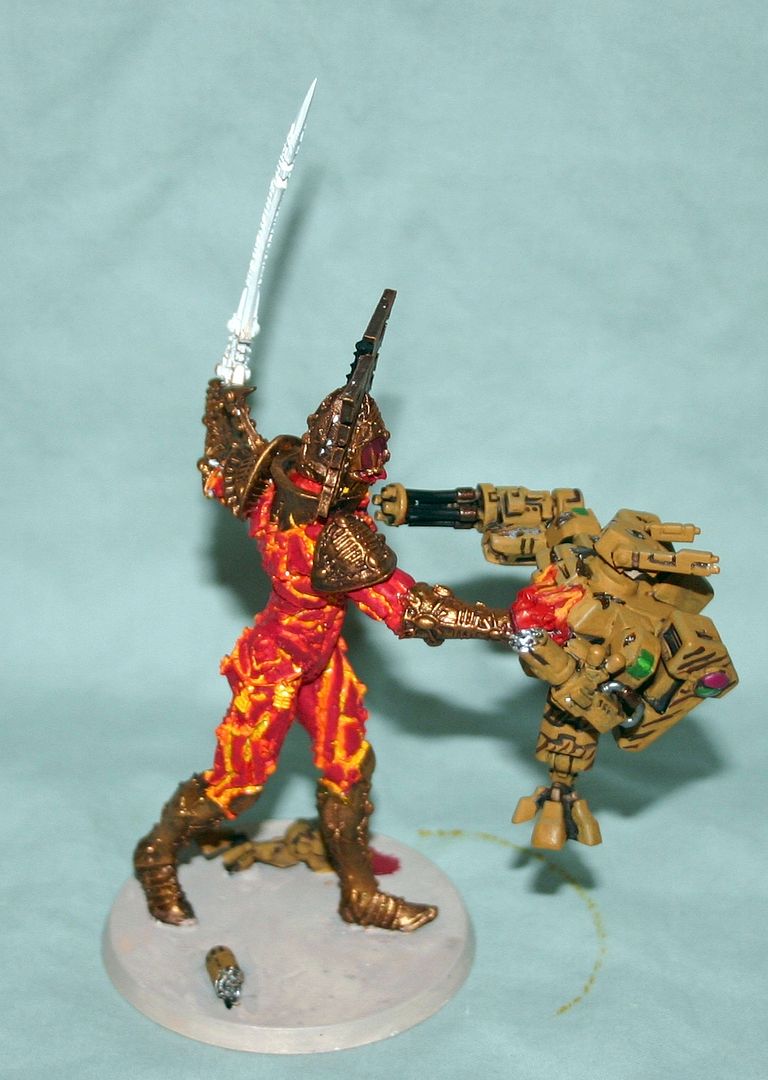
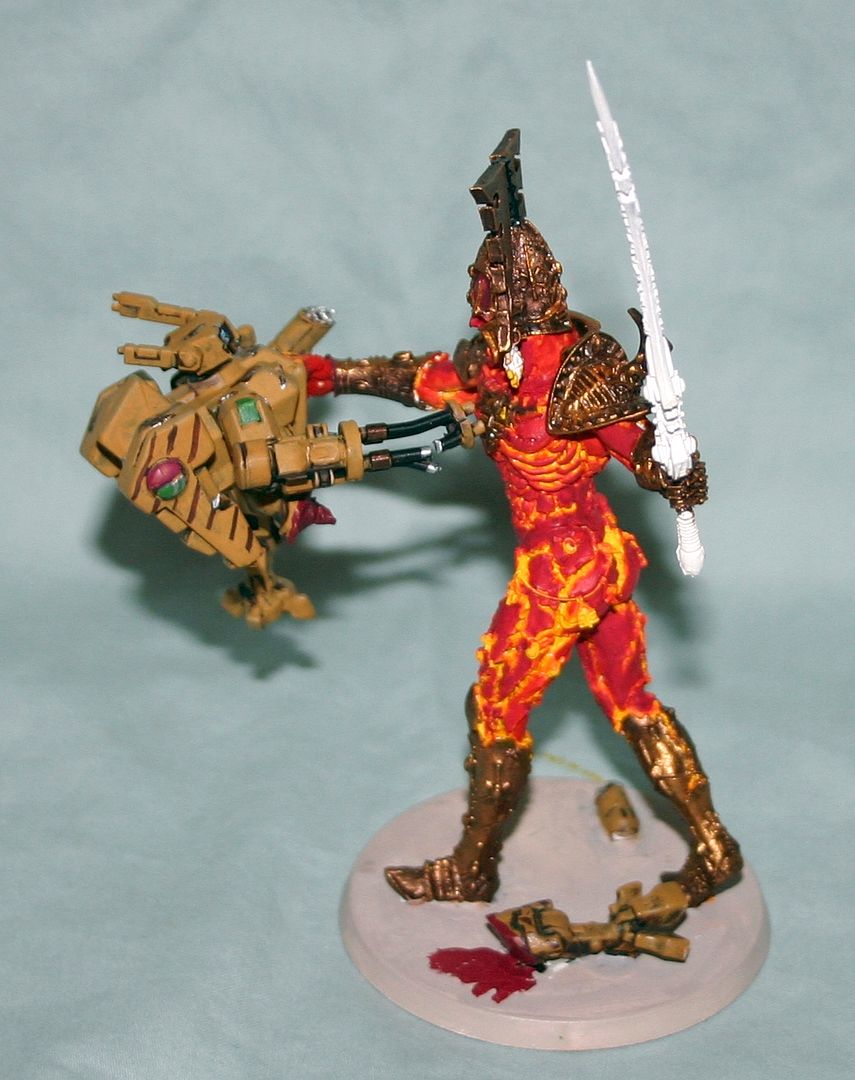
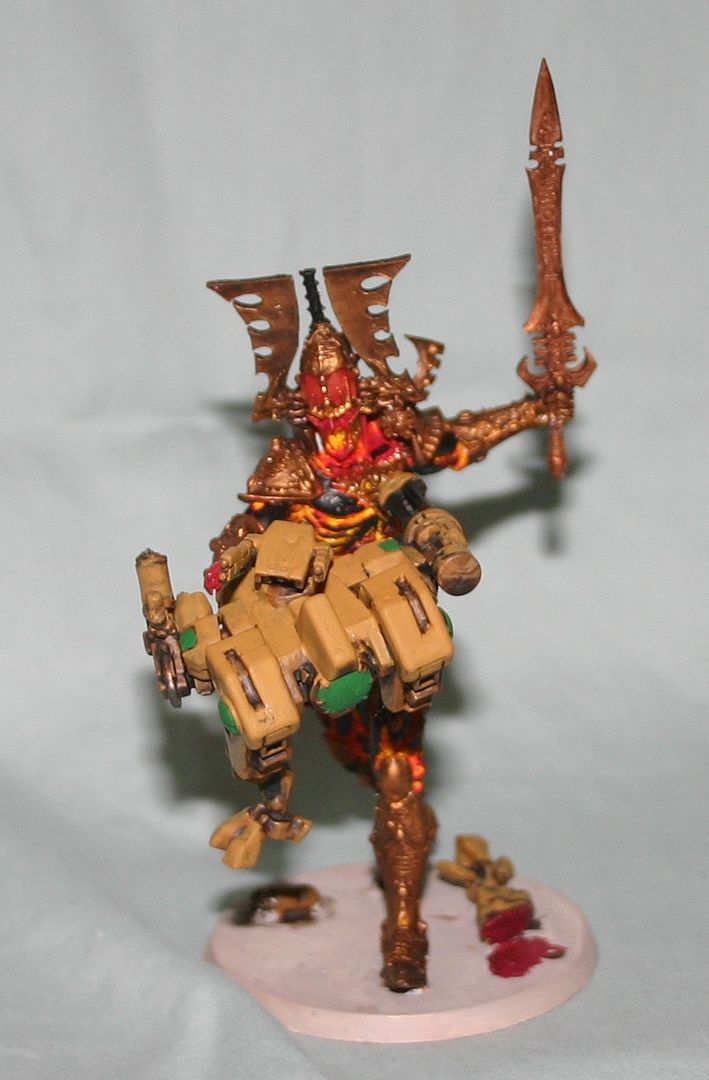
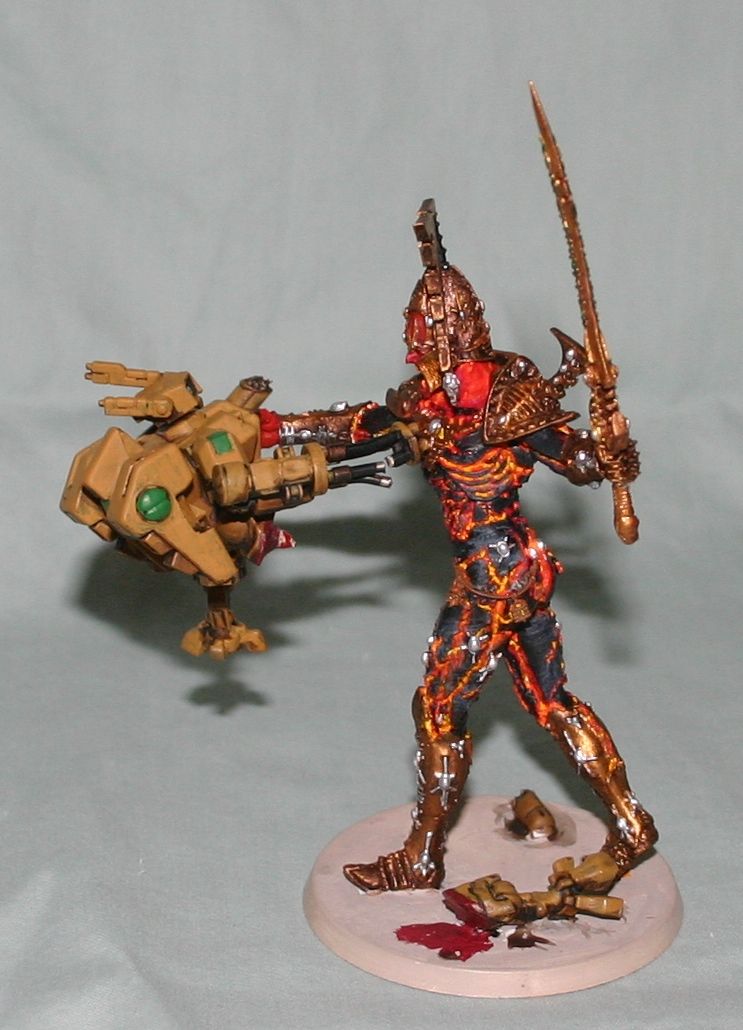
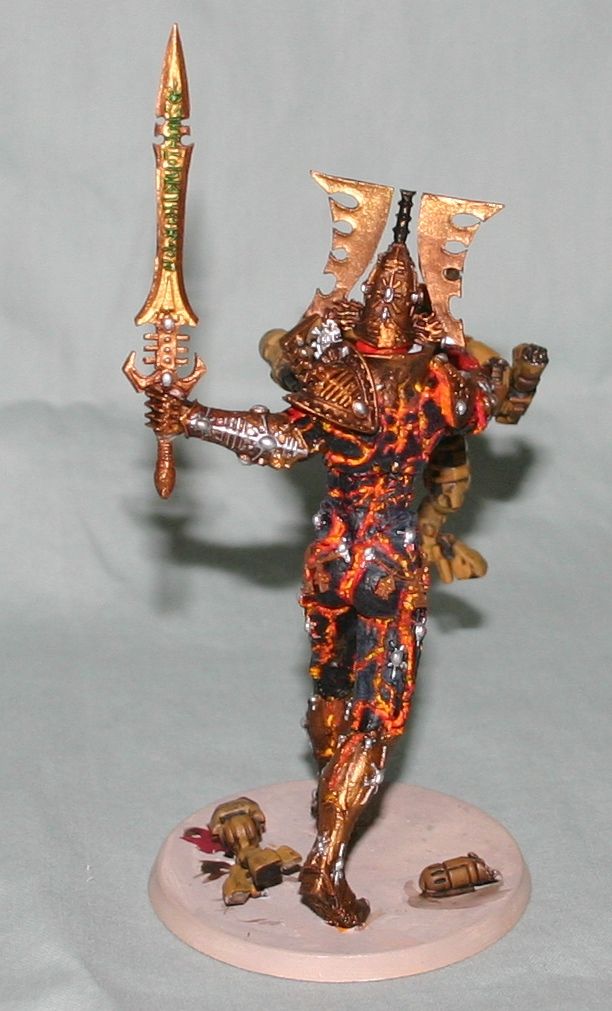
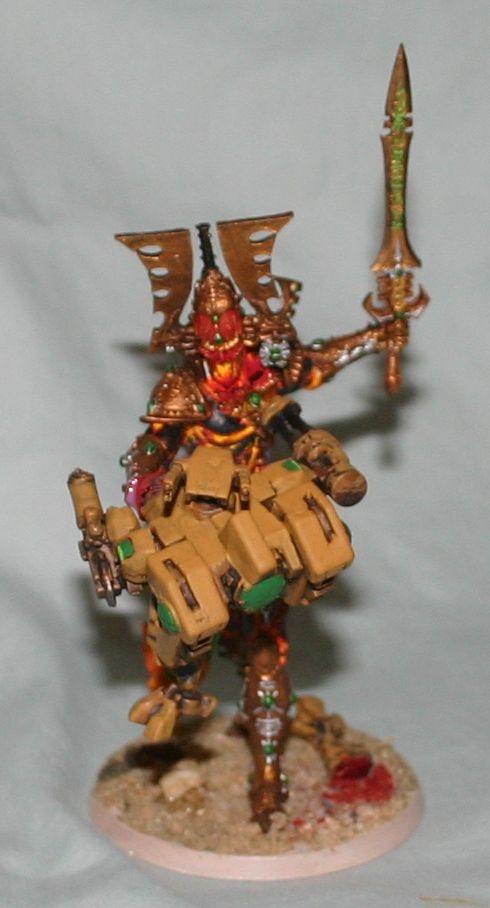
Welcome back to our regularly scheduled posts. As promised, here is the follow-up to the recent Forgeworld Avatar of Khaine - Assembly Tutorial article. When starting this project I decided that I would work through in stages, taking pictures in between each stage. This would eventually be turned into the tutorial you have and are now reading. Many online tutorials I have seen give very brief glimpses of intermediate stages and explanations of colors used to achieve the end result. This is something that has frustrated me, as I am never sure if my intermediate stages are on track. I hope this tutorial helps with that process for the incredible Forge World model. Let me state, however, that a better result can be achieved by blending each of the intermediate color steps instead of following the step-by-step process I used to provide a gradient of color. At the end of the day, I am happy with the results I achieved, and the model will fit nicely into my collection. With only a quick stop to look at our final goal, lets get started:

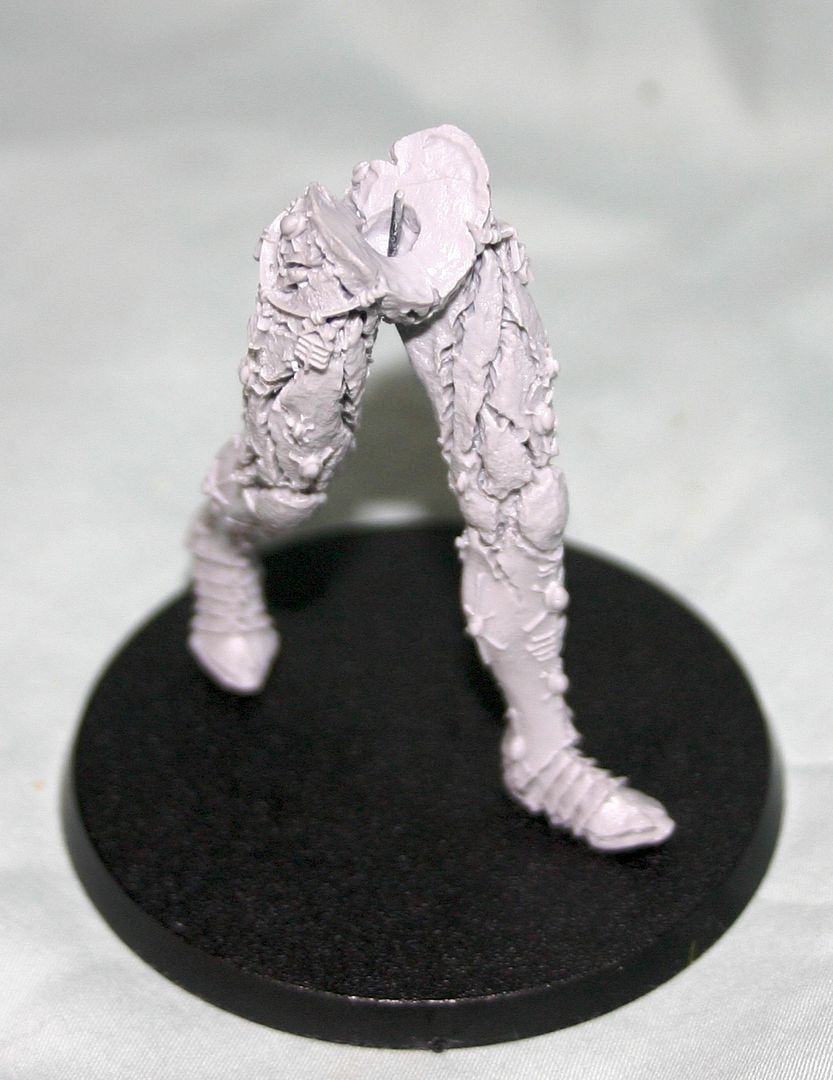
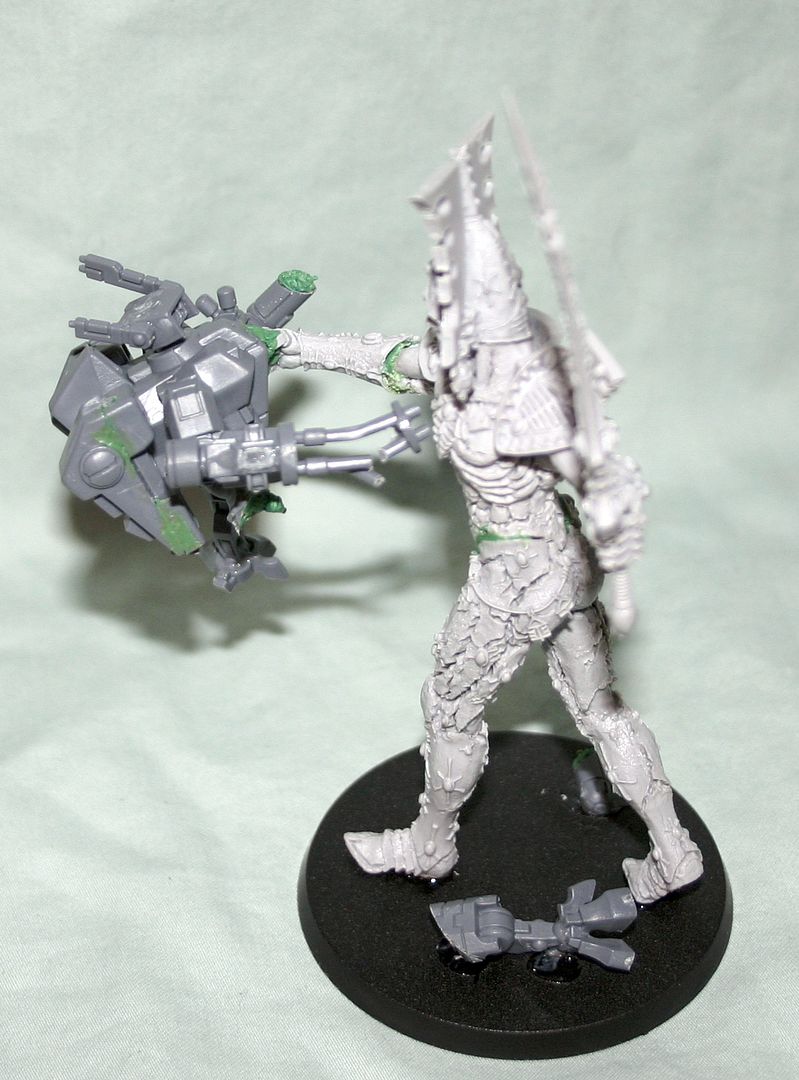
Now lets get going with the initial steps. I started the project by priming the entire model with white primer. This allows for the bright yellow to push through from underneath and makes it easier to work up to the dark colors. After the primer dried I started with a heavy coat of Yellow Ink from the old GW paint set. I still have pots of ink around and this provides a vibrant yellow to start with. For those without access to the old inks, this affect should be achievable through 2-3 coats of heavily thinned Golden Yellow from the GW paint range. Pay special attention to get the yellow into each of the cracks and crevasse, as this is where the yellow will live in the final model. Note in the pictures that I have not touched many of the metal pieces outside of the feet and legs.
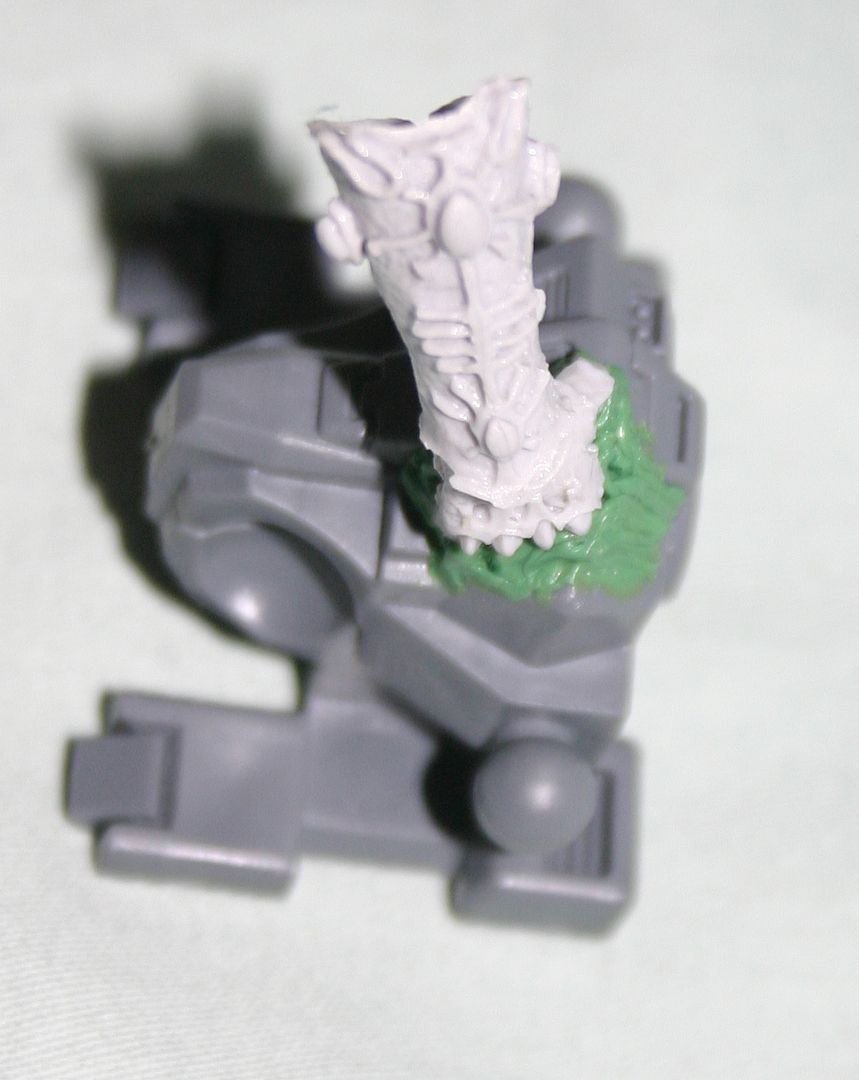
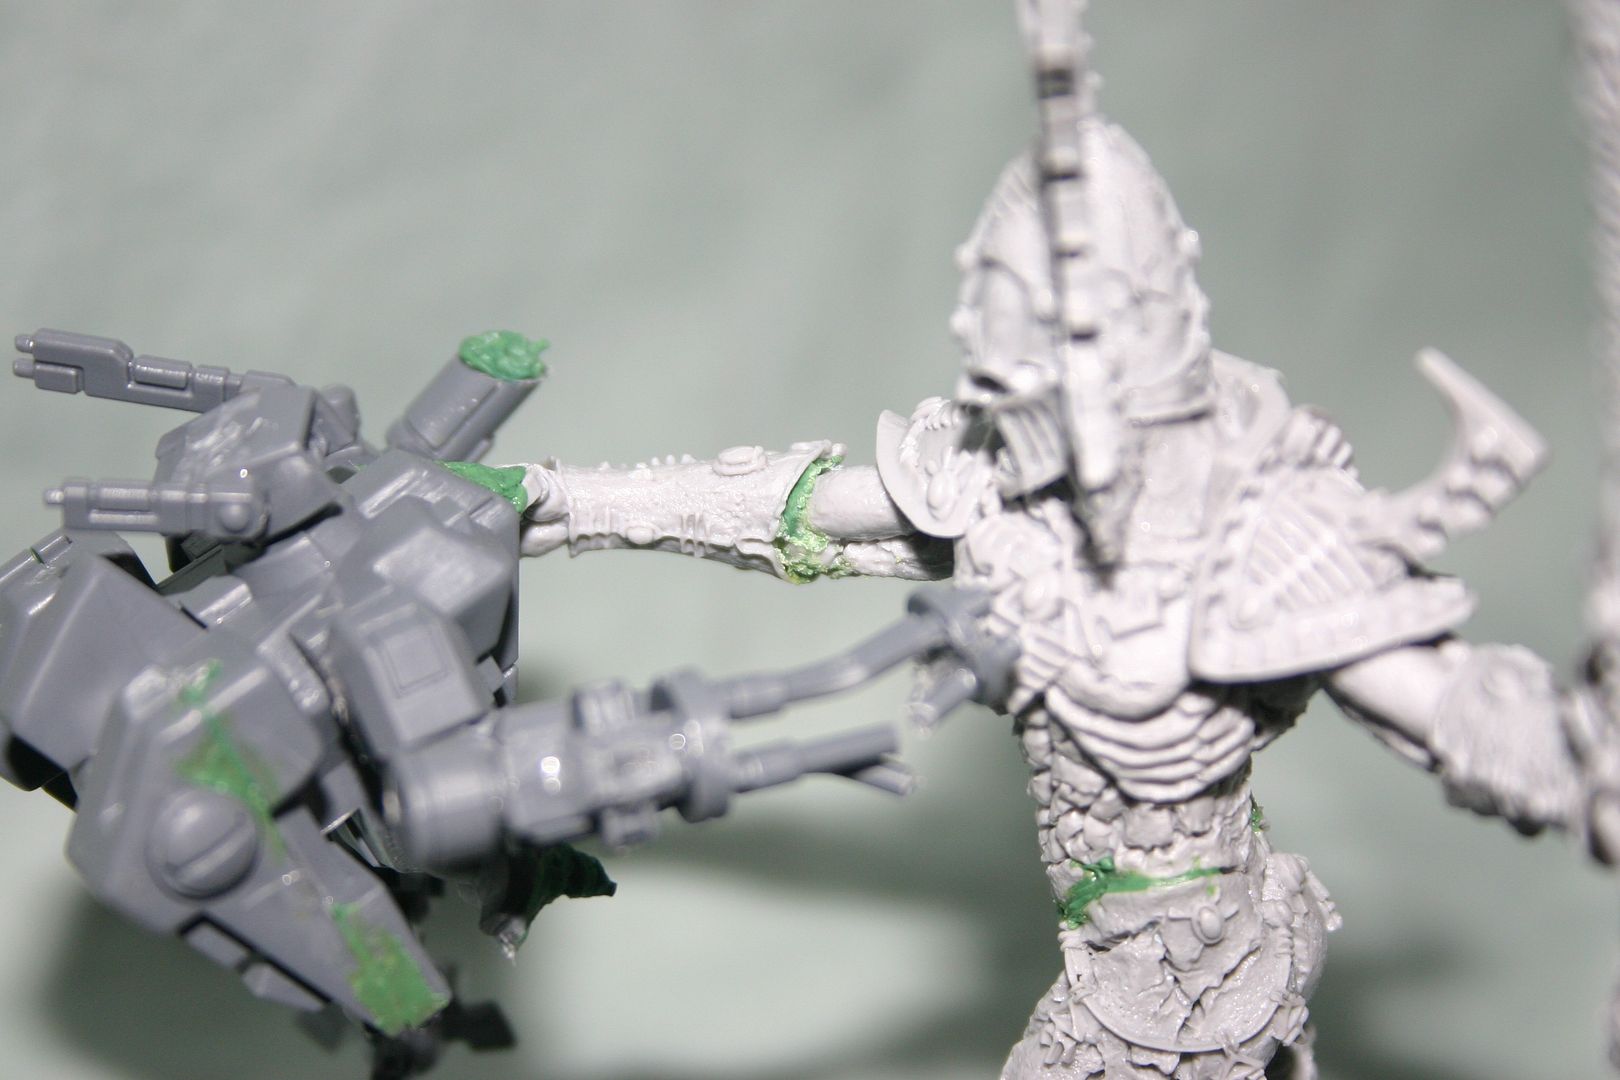
Once the yellow has dried we have what I referred to as our "Pissed on" avatar to start working our pallet up from. Next we need to put down a layer of color on the metal parts, along with the Tau Crisis suit. For the initial color on the metal, I chose Tin Bitz, as these will eventually be brought up to a bronze finish. Tin Bitz is a great dark base color for this. I make a choice here to leave the "stem" on the helmet, the Sword, and the "Bloody Hand" thrust into the crisis suit white, as these will eventually take on different colors. For the Crisis suit, I apply a heavy wash of Devlan mud. This will begin the process to darken the model. Make sure you do not forget the Tau pieces on the base.
The next step starts to work up the color spectrum on the Avatar. On the Yellow sections I applied Citidel paint color Fiery Orange, leaving the yellow showing through in the depths of the cracks and especially within the mouth. Over the metal sections I apply a wash of Gryphon Sepia, and I apply a second heavy Devlen Mud wash on the crisis suit. This will darken the suit dramatically, creating a "dirty" base and providing very deep shadows. The last step was to use a Baal Red wash on the "Bloody Hand".


Now we start working up the scale of orange by applying Blazing Orange over the body. It is key to apply this next level of orange carefully, leaving an edge of the lighter orange to create a transition from the yellow. For the metal at this stage I started dry-brushing Dwarf Bronze carefully on all the metal areas. The effect will not be dramatic, but it will begin to create a shade gradient to brighten the metals. The most dramatic change at this stage will be the application of Tausept Ochre to the crisis suit. I do this covering the majority of the model, but still leaving the dark color of the wash in the crevasse and recesses for shading.
Its time to let our Avatar emerge from his "Prison Jumpsuit Orange" stage and start picking up that bloody and violent red he is known for. We will start our red stages with the next step up the Citidel color line by applying Blood Red to the body. This is done in the same manner as the previous colors, painting the large spaces but leaving a "trim" of previous oranges around the model. Following this stage you should begin to notice the "inner fiery glow" of the model with the transition from yellow to red. For the crisis suit, I begin to pick out details and tried my hand at some designs on the suit. As you will see on the final model, the designs did not survive through to the end, but are cleaned up at a later stage. The fine details on the guns and suit markings do push through to the end. For the metal parts of the armor, I apply a very fine dry-brush of Shining Gold to bring up the metal color.
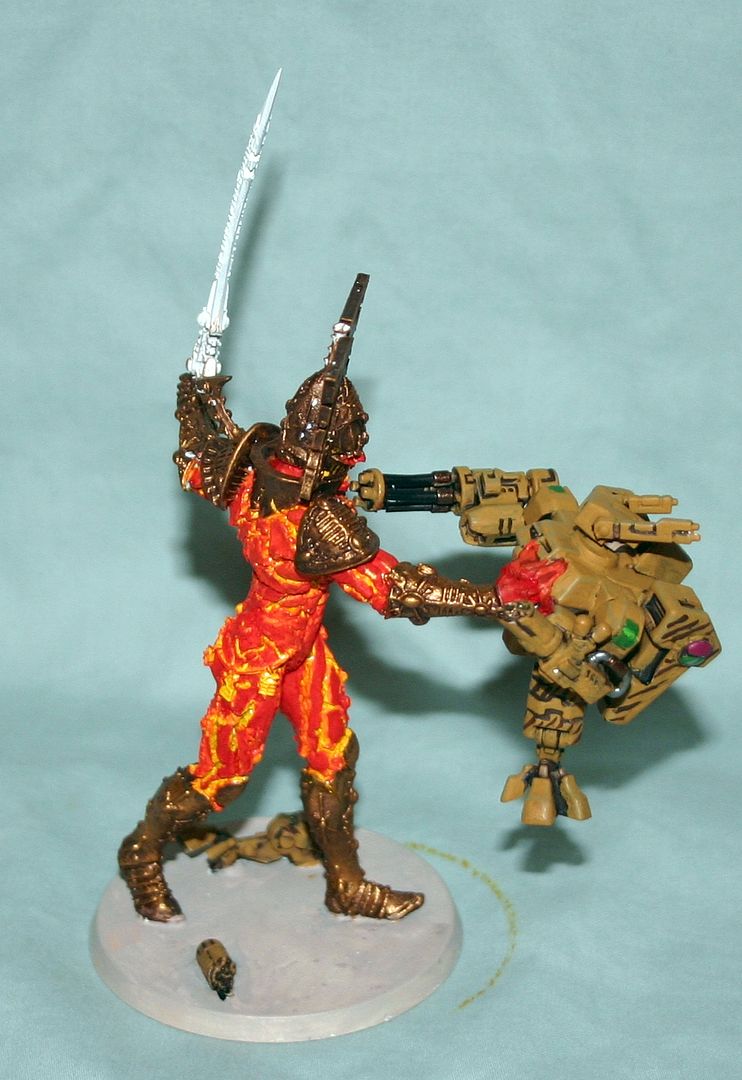
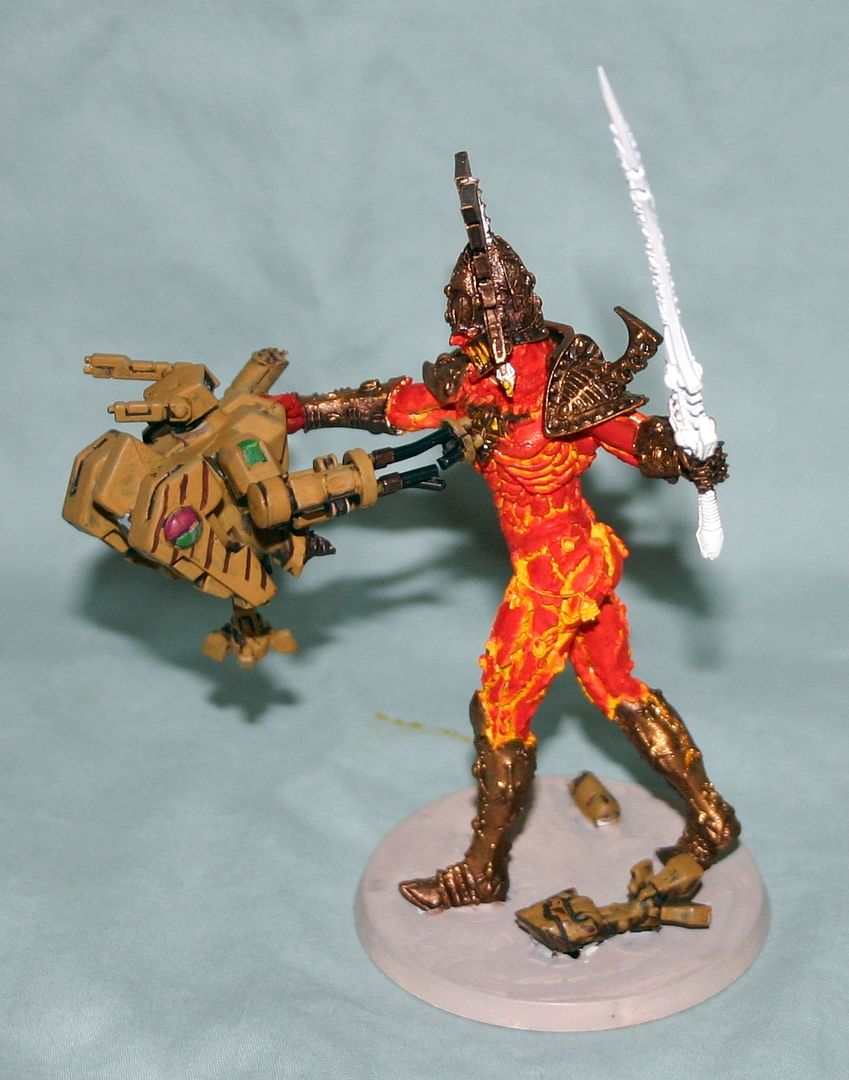

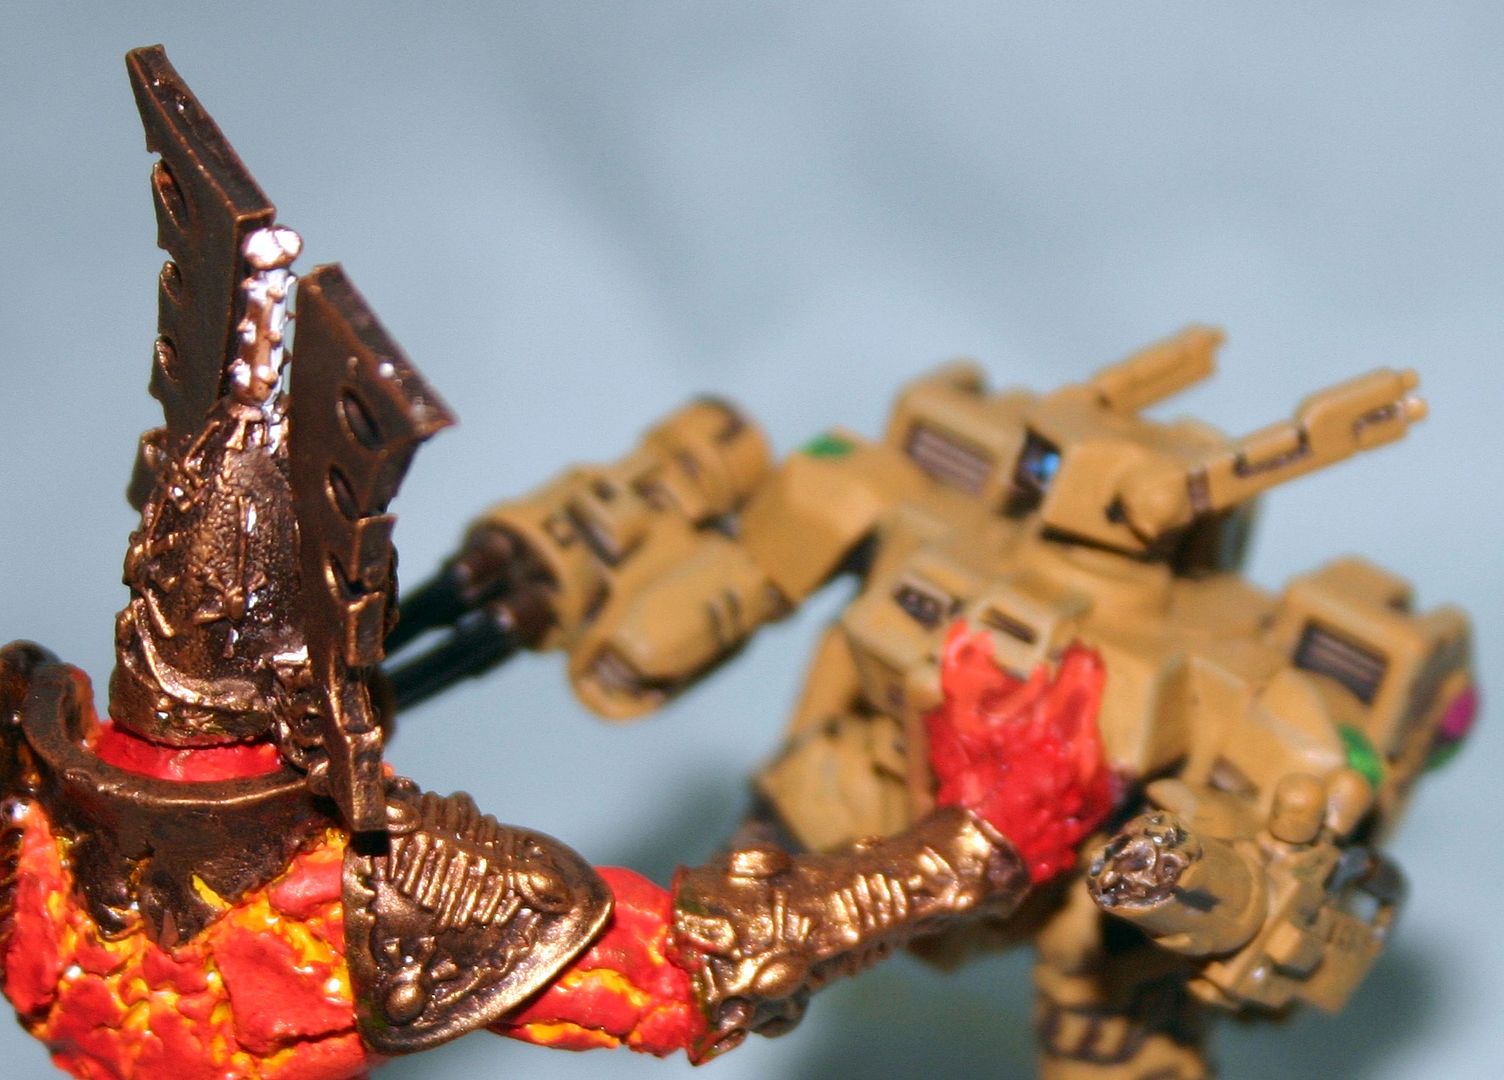
Below is a close look at the "bloody hand" and its progresss. Blood red is still used here to solidify the color of the hand and I begin to pick out the melted portions of the suit around the hand.
Our red phase is coming to a conclusion as we apply the next and final red gradient to the model. For this stage, we go through and use Red Gore to bring the color of the body up. Red gore is also used on the hand with a more drastic transition from orange to red. The metal is dry-brushed (liberal dry brush) with Burnished gold. I find that with my burnished gold, it is useful to do 2 dry-brush steps to get the right level of "brightness" for my eye. I also apply some additional light highlights of watered down Tausept Ochre to smooth out the painting on the flat areas of the crisis suit. Based on your tastes, if you wish to leave your Avatar with red shades this would be where you would stop painting on the body and move to completing the neglected areas of the model. Toward that end, I also apply chaos black to the "helmet stem" at this point, touch up the "leg bone" of the crisis suit with some red gore. For the "Bloody hand" I apply a layer of red ink to the hand itself, and then mark out on the base where the blood will be leaking from the leg.
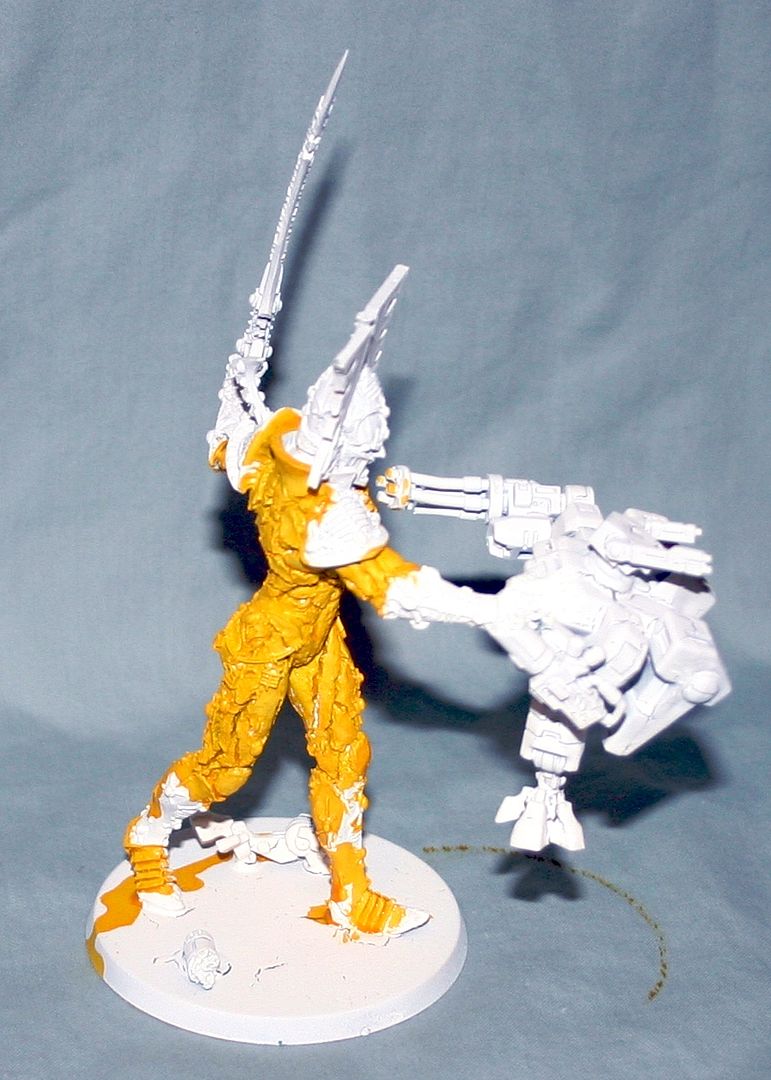
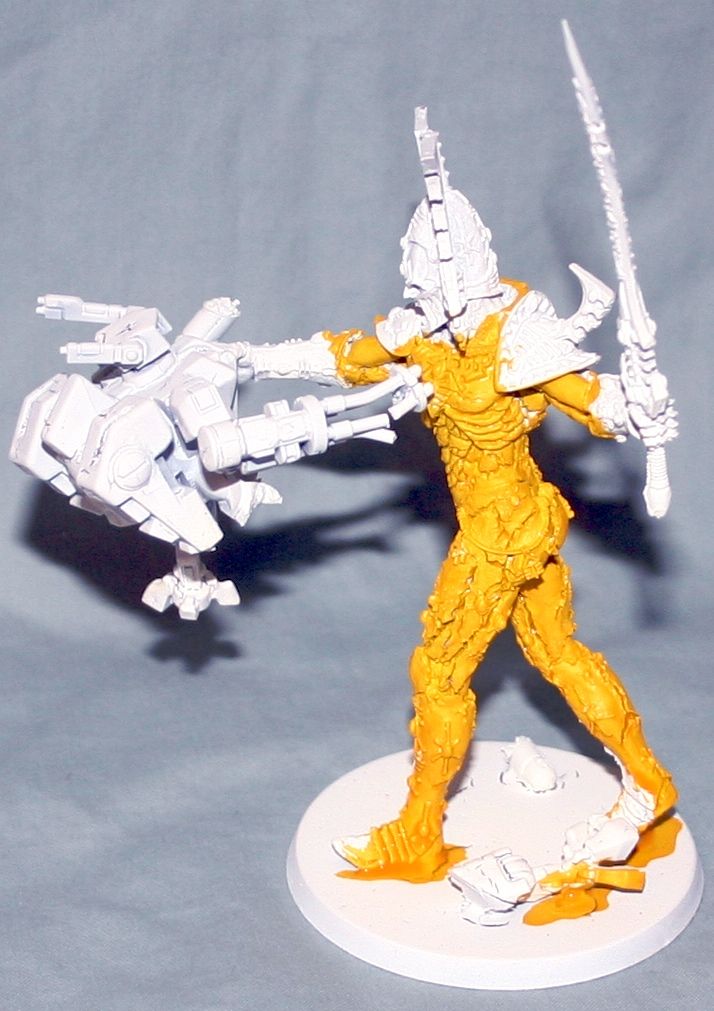
This next stage made me the most nervous of all the stages painting this model. It also took the longest to get used to, as I had been working on gradient colors to this point. At this stage I applied the most drastic color jump, painting Chaos Black on all the plates. I still leave the gradient colors on the edges but there is very little transition to black. Taking this step will likely show places where you will need to go back into the crevasse of the model and apply some blazing orange where the yellow is a bit to bright. Do not cover up all the yellow, but its helpful to "dim it down" some. This is also the stage where we go address those areas we have been neglecting, such as the sword and jewelry bits around the body. I start on the sword with Dwarf Bronze, as my intention is to have the sword be a "level" brighter than the rest of the body. I also touch-up the bone on the crisis suit leg, along with going over the entire crisis suit to remove the designs I placed there. Using thinned down Tausept Ochre works well, just hitting the "top" areas of the model and leaving the darker shadows underneath. I also clean up the crisis suit markings with green, as green will be the accent color for the model.

Now the progress is speeding up and we are in the home stretch. Other than little areas of touch-up, we have nothing really to do to the body of the model at this stage. Go through with Mithril Silver and line out all the runes and soul-stones on the model. The silver on the soul-stones will provide a good base for the green we will apply to the stones in our final steps. Apply a Gryphon Sepia wash to the sword, then once that dries apply a liberal dry-brush (2 layers) of shining gold on the sword. Address the edges of the crisis suit and then let the paint dry, stepping back and preparing for your final step. This is also an excellent time to begin applying paint to the tabard and "hair" we have ignored until now. Once the sword has dried, go and apply the final double drybrush of Burnished Gold, then outline the runes. For my runes on the sword I used 3 green layers (Dark Angels Green, Snot Green, Scorpion Green). This is the same I use for highlighting my tabard and my gems.

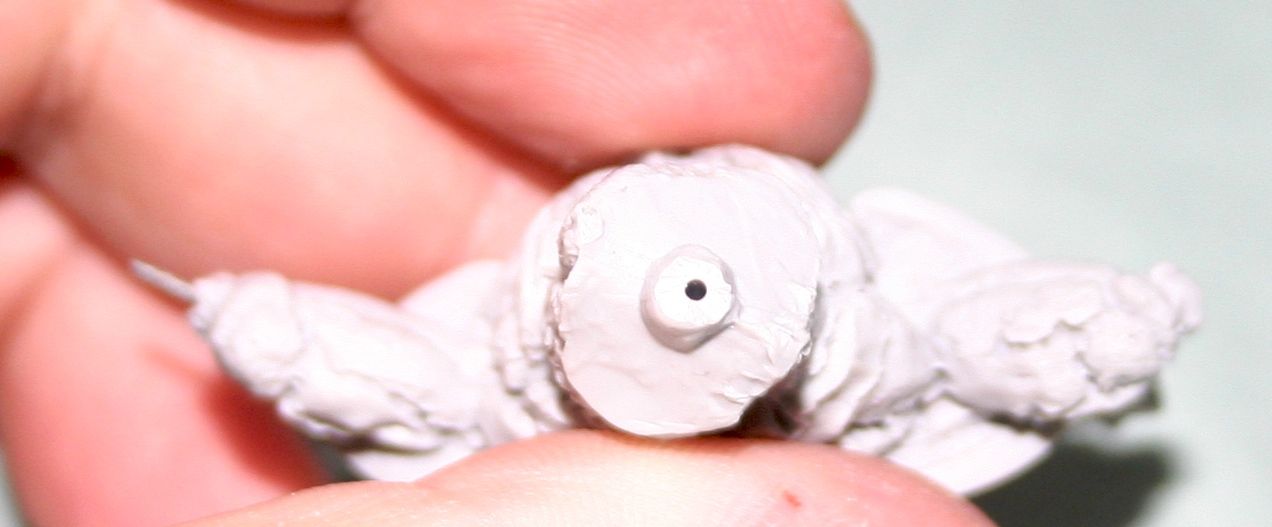
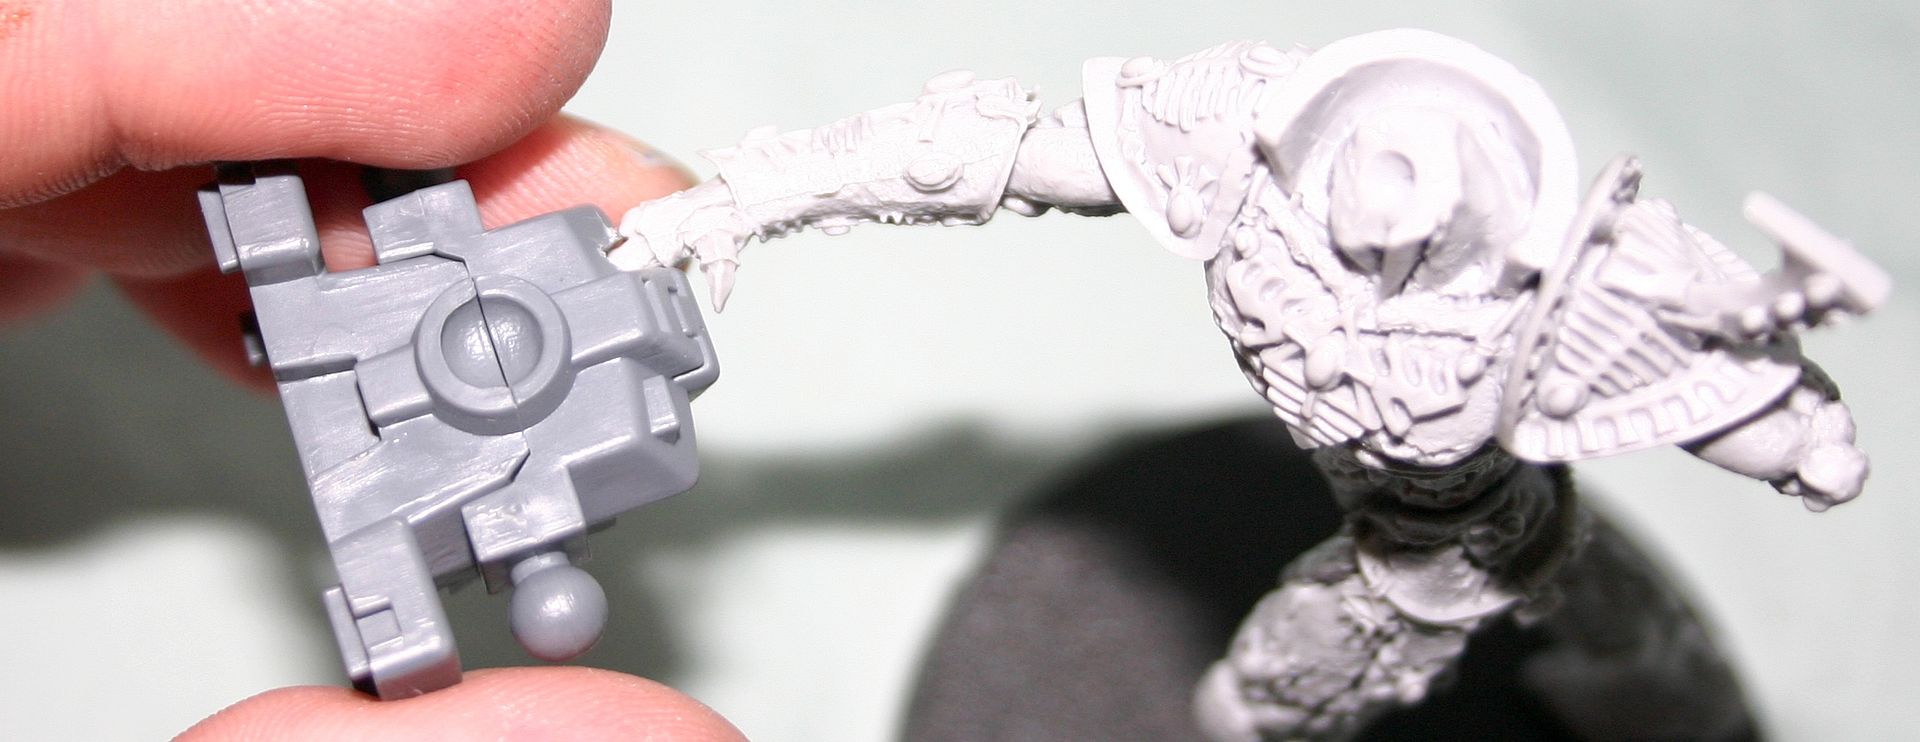
The last steps is final assembly of the model. I recommend using a pin-vice and placing a pin in the middle of the helmet stem to provide an anchor for the hair flowing from the top of the helmet. I used tausept ochre followed by bleached bone and then skull white to paint the hanging runes around the avatars waist and the green colors listed above to paint my gems. I also made the choice to not seal my model yet, as I will wait 2 or 3 weeks and go back to touch-up anything I missed.
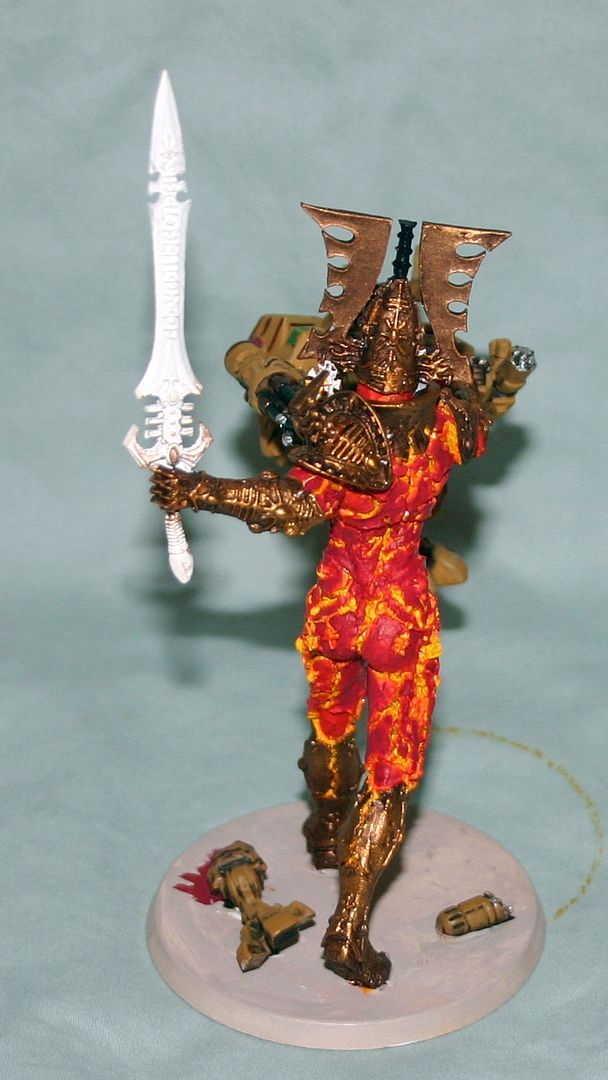
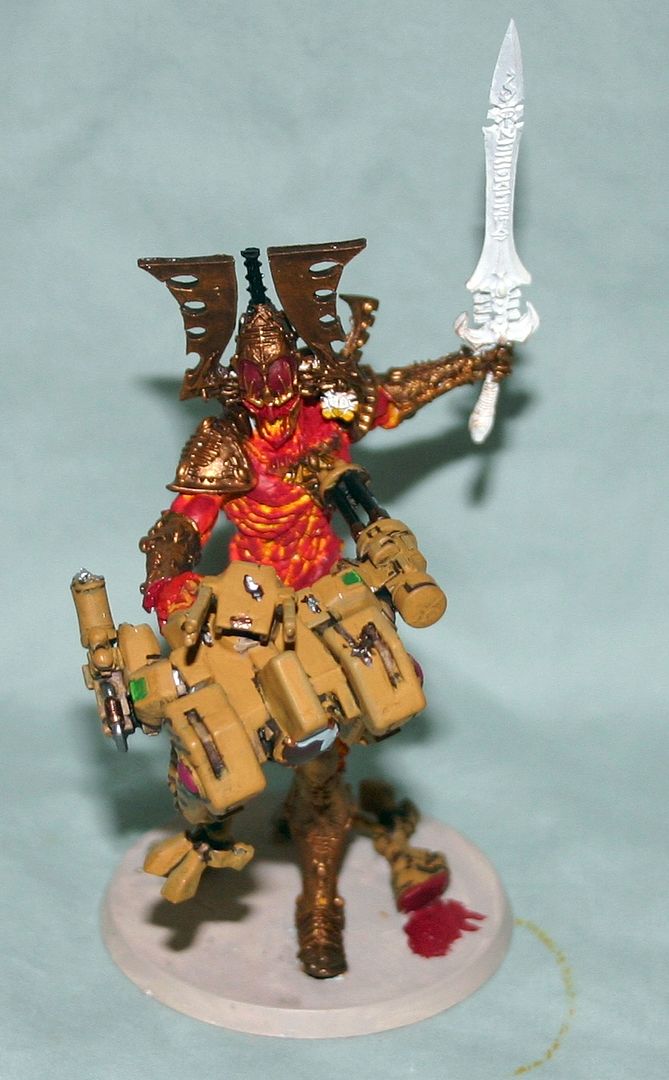
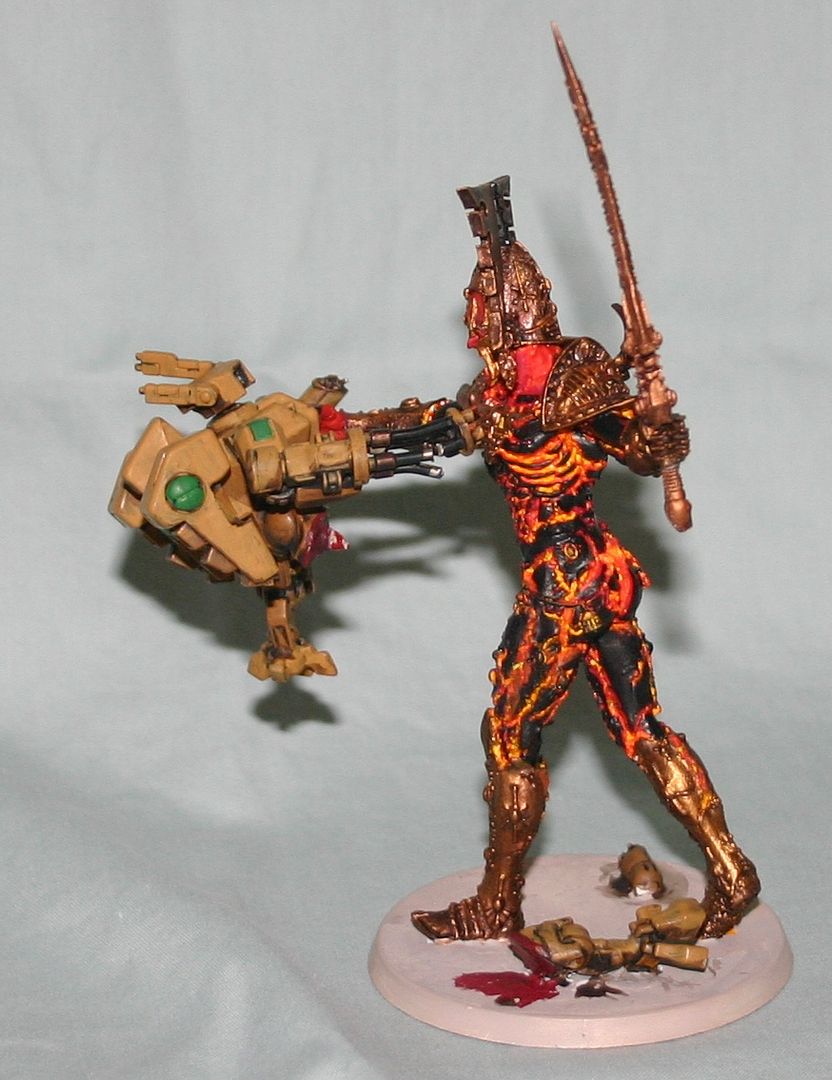
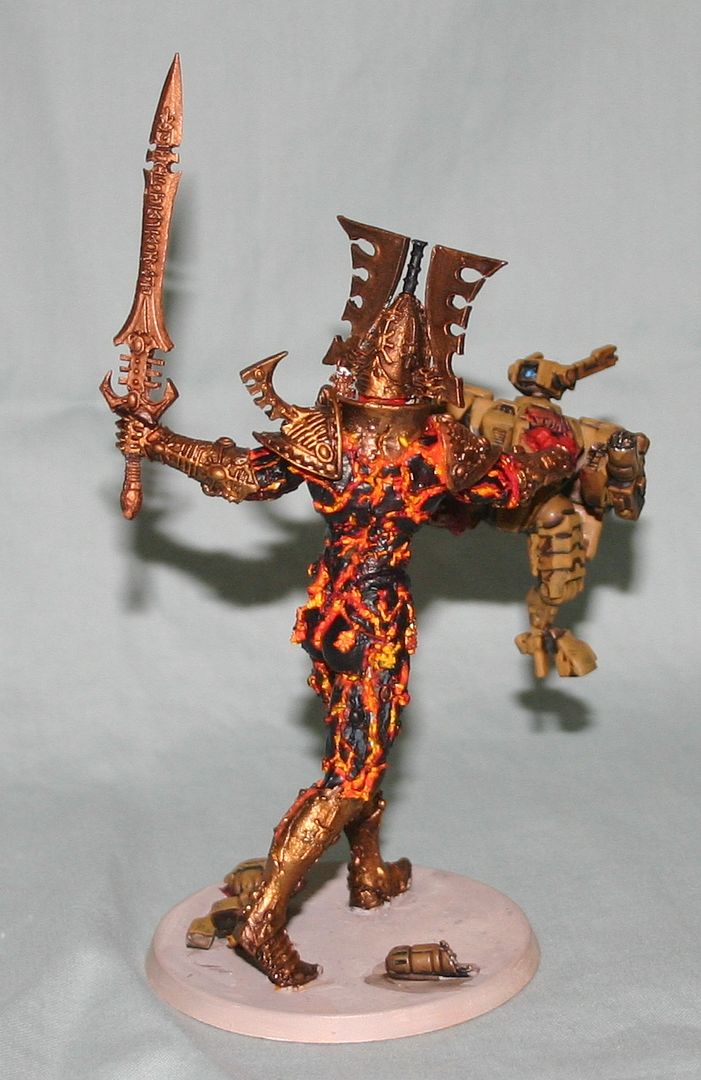
I hope this tutorial is helpful to anyone in the community who takes on a similar project. I know I have already received some great compliments for my model, which is nice to hear after putting the work in on it. While it is certainly not golden daemon quality, it delivers a fantastic table-top quality model, and works as a great "Center piece" for a table-top quality army such as mine.