

Welcome to the Dead Tau Project tutorial on assembling the Forgeworld Avatar. The DTP Avatar, like the rest of the army, is in conflict with the Tau. Specifically he is in the middle of killing a Tau Crisis suit. What follows is the steps I used when assembling this model.
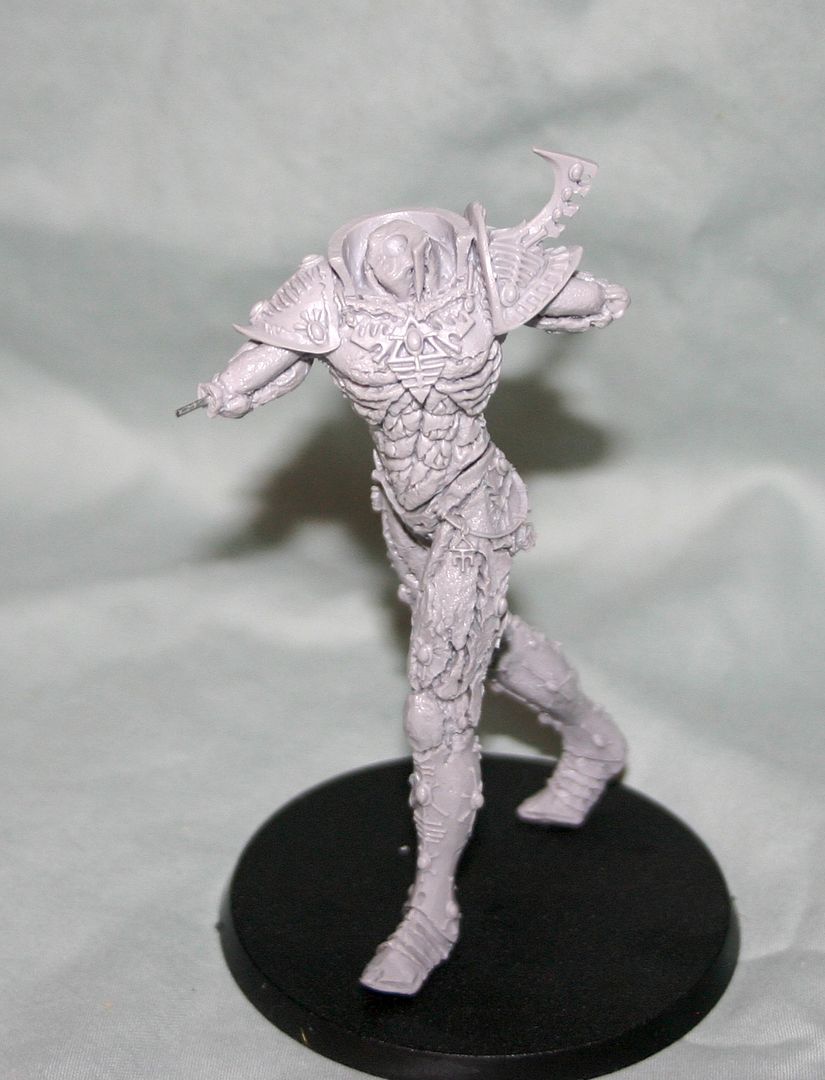
First lets look at what the completed model will look like, as this tells us where we are going:

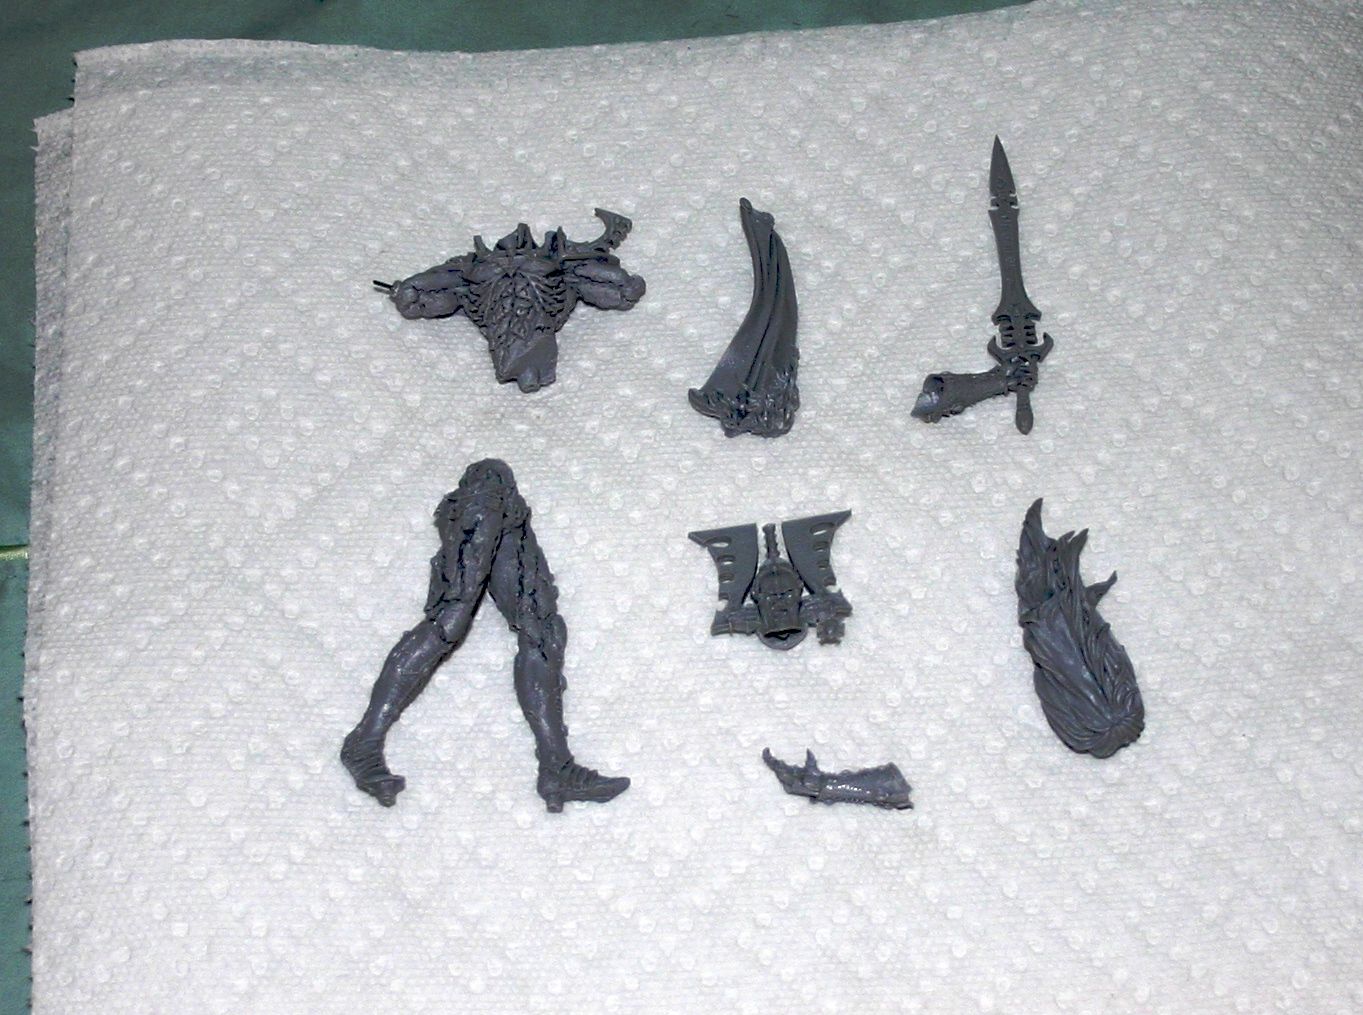
Ok, that sets the stage, lets start at the beginning. The first step will be to wash all the pieces of the model. This is key as you want to make sure you get any mold release agent scrubbed off before you assemble and start painting. I grabbed a small tupperware tub of water with a little bit of dish soap and an old toothbrush to scrub mine. Do not use hot water for this, as the resin starts to soften at a very low point of heat. Following this, leave the pieces to dry. This is also a great time to check your model pieces for bubbles or flaws in the resin.
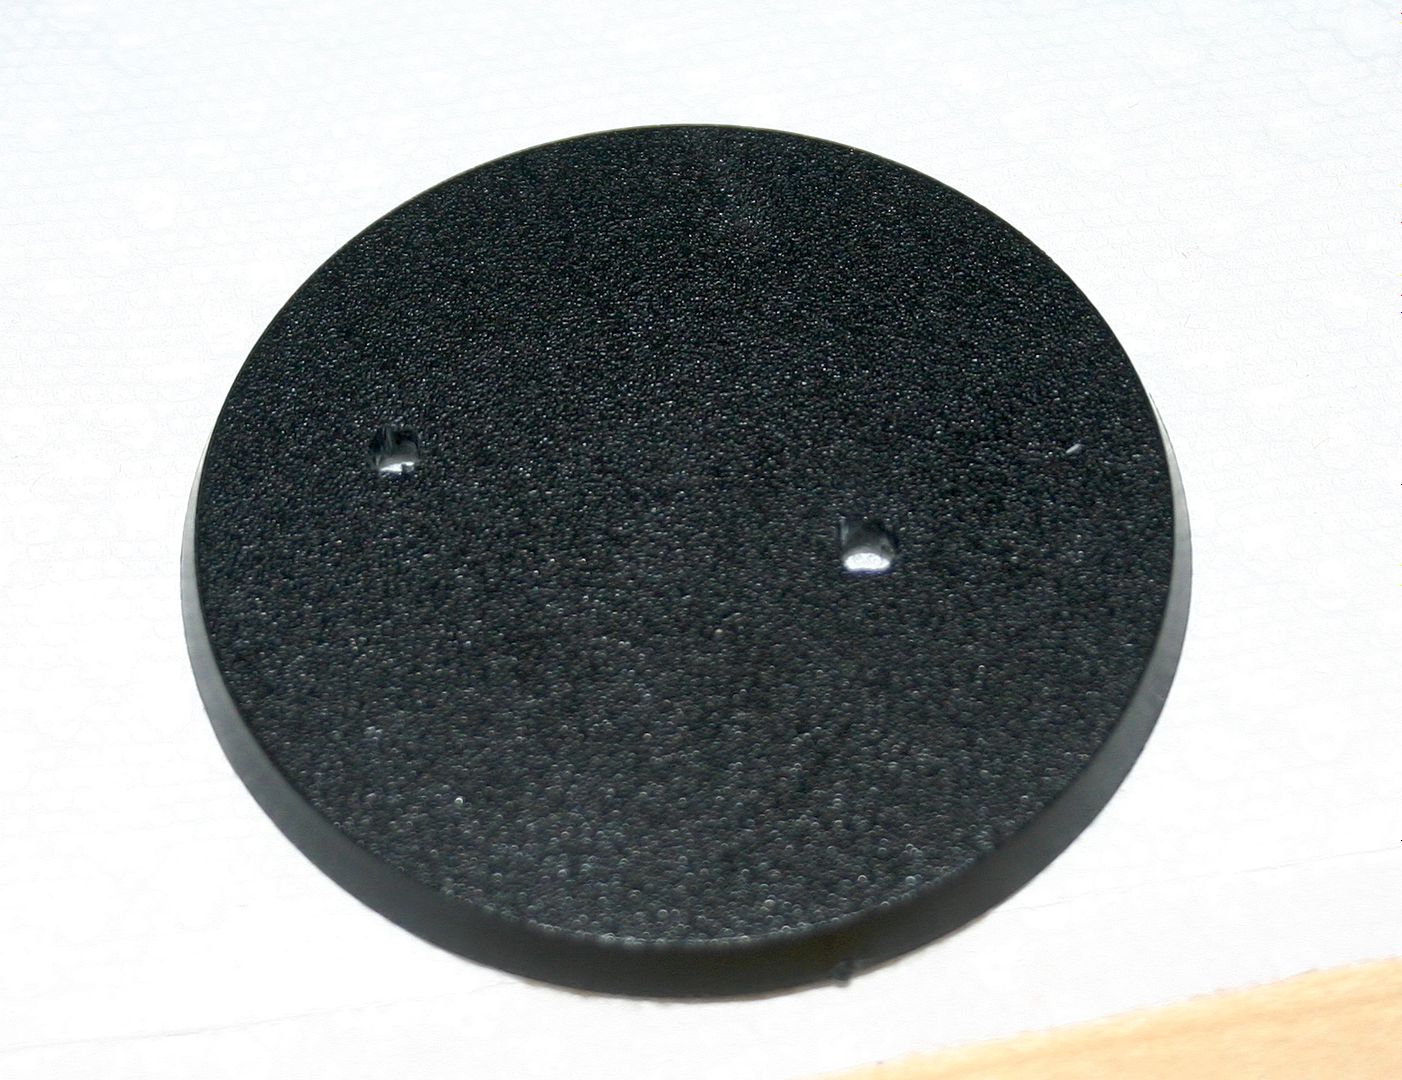
Once your model is dry you can start assembling the model. I started with placing the legs on the base to get an idea where to drill out holes for the tabs on the bottom of the feet. Once these were drilled out I glued the legs down and started placing and pinning the model.
I wanted to make sure the model was secure and stable once it was all together. Toward this end I pinned multiple places including the base of the legs to the torso. Here are quick pics of the pinning and where I drilled.
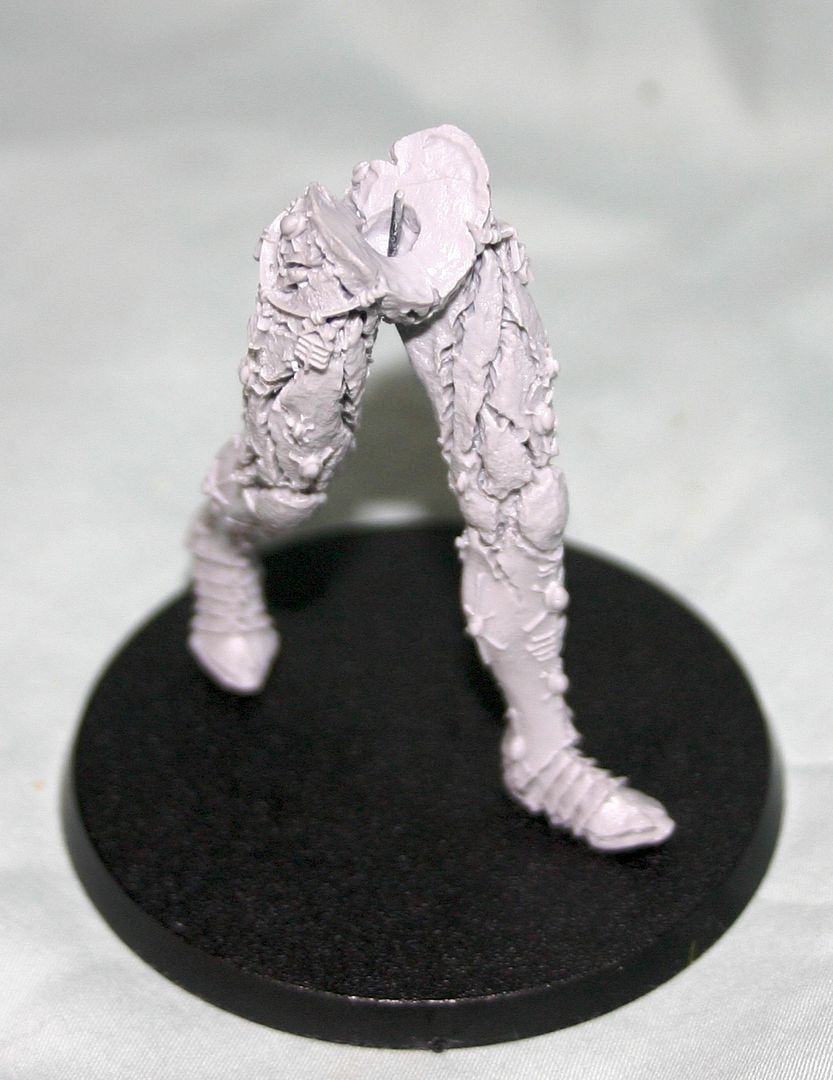
After placing the pins, I assembled the body and legs, leaving the arms and head for a later step. I used Super Glue to glue the model together on both the pins and the flat surfaces between the torso and legs.
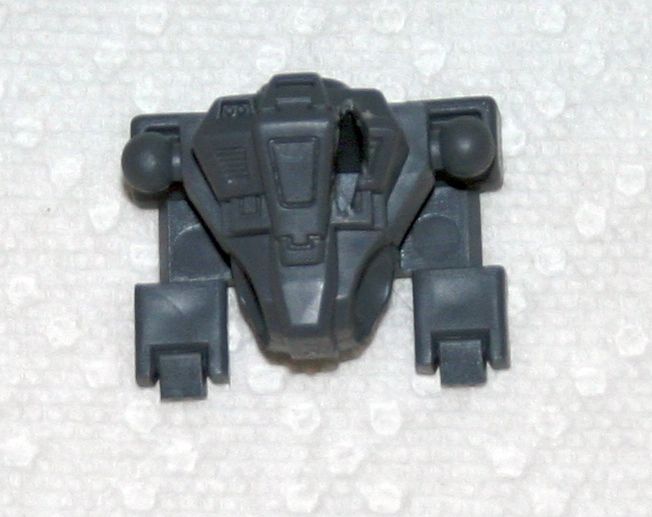
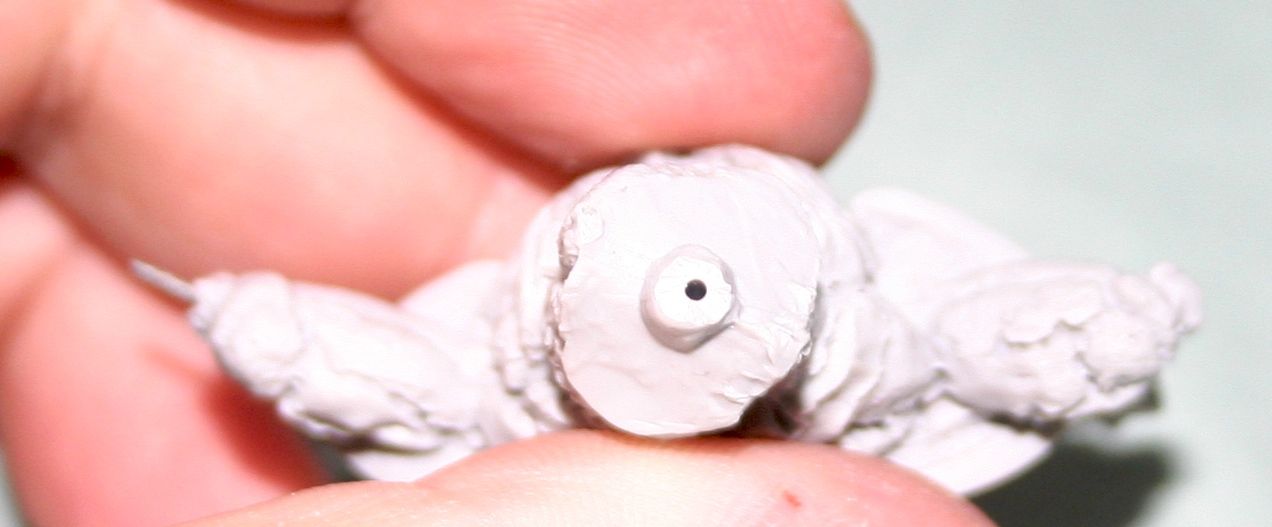
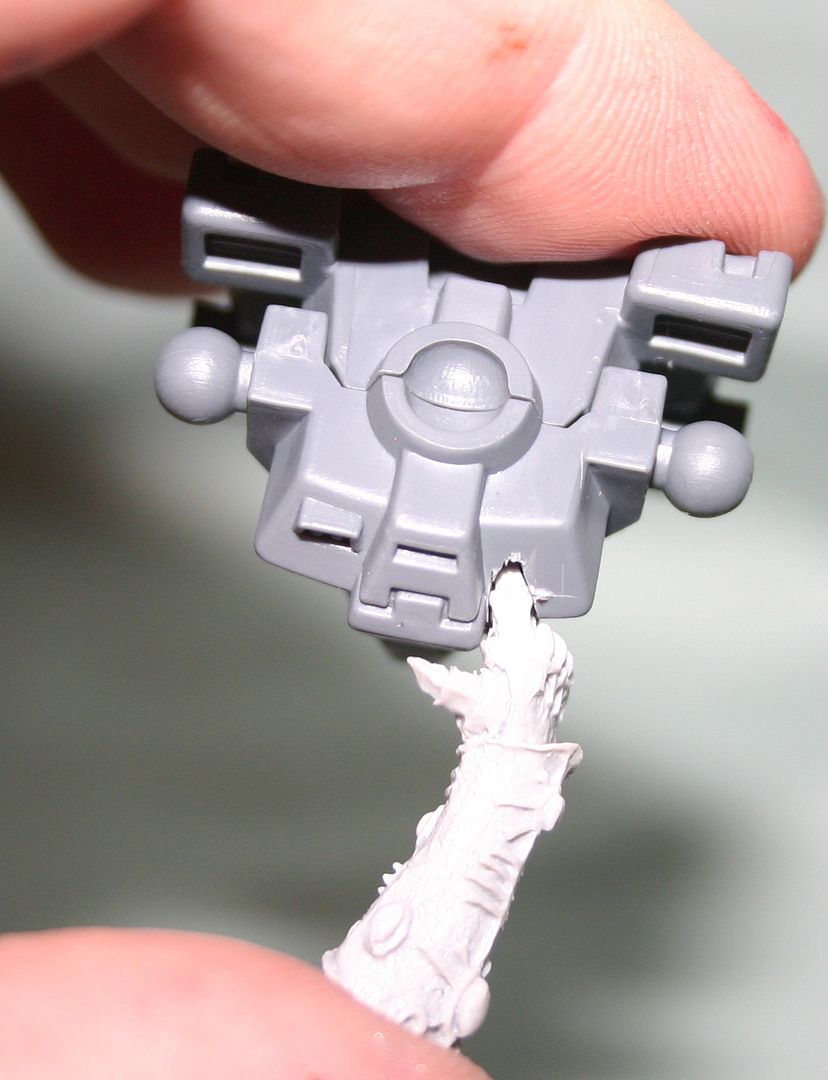
This is a great time to side-track to our Tau torso. The first step is to carve out the place for the Avatar hand to go into the chest. Using a hobby knife I cut the following opening in the front of the suit.
You can see here that the hand will fit in, while leaving the thumb outside the suit. I ran the model under hot water from the faucet to bend the fingers in order to straighten them out.
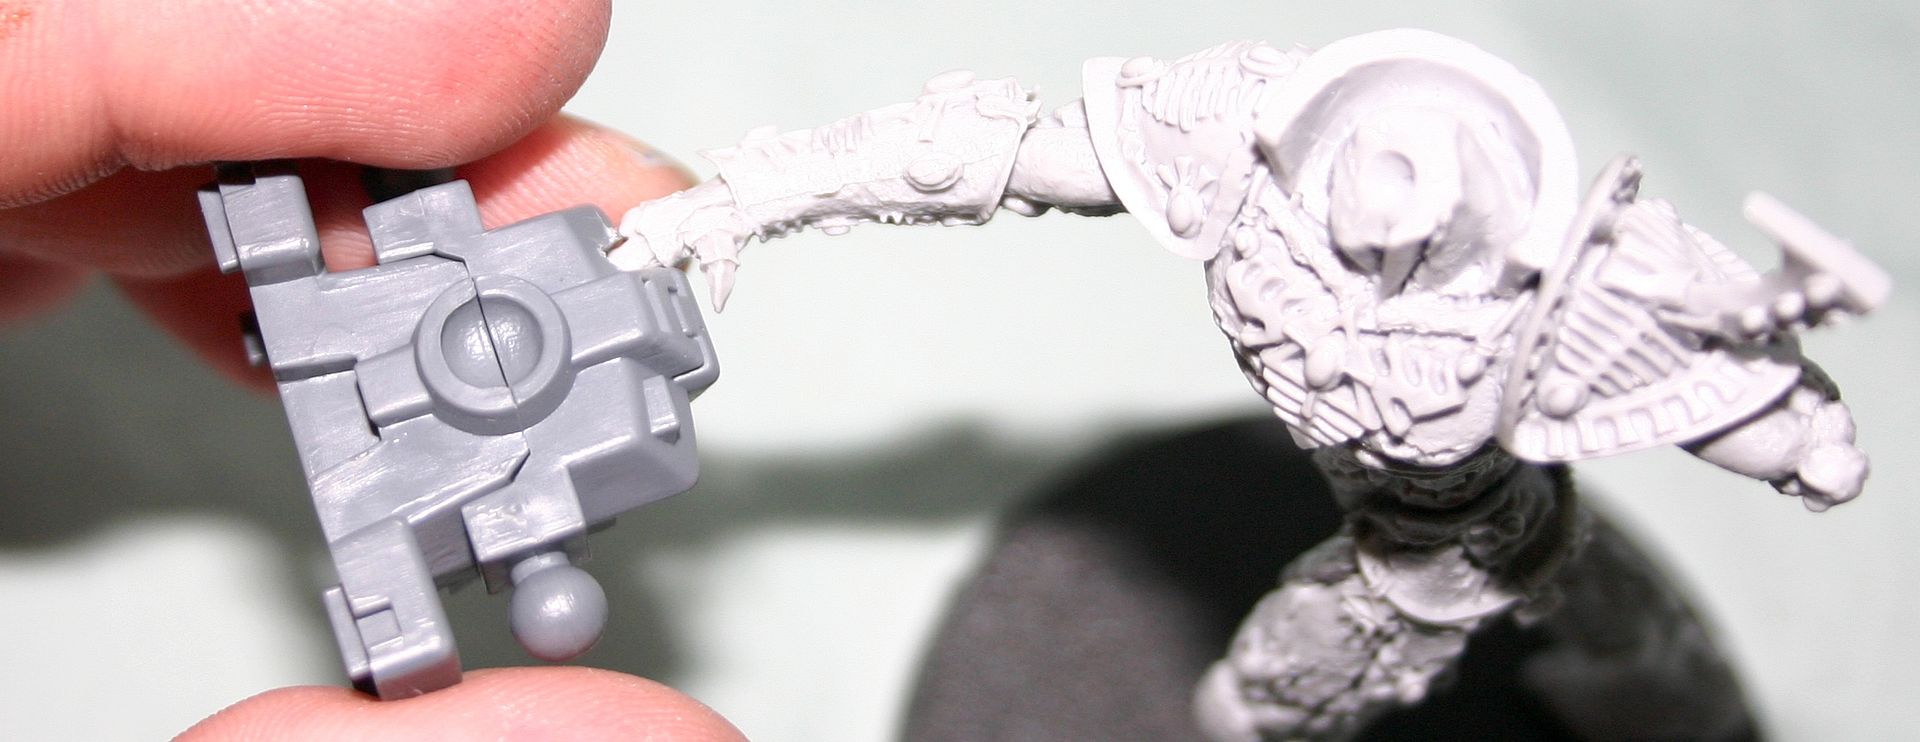
Once the hand is in place, its good to dry-fit the arm to make sure the posing will be correct.

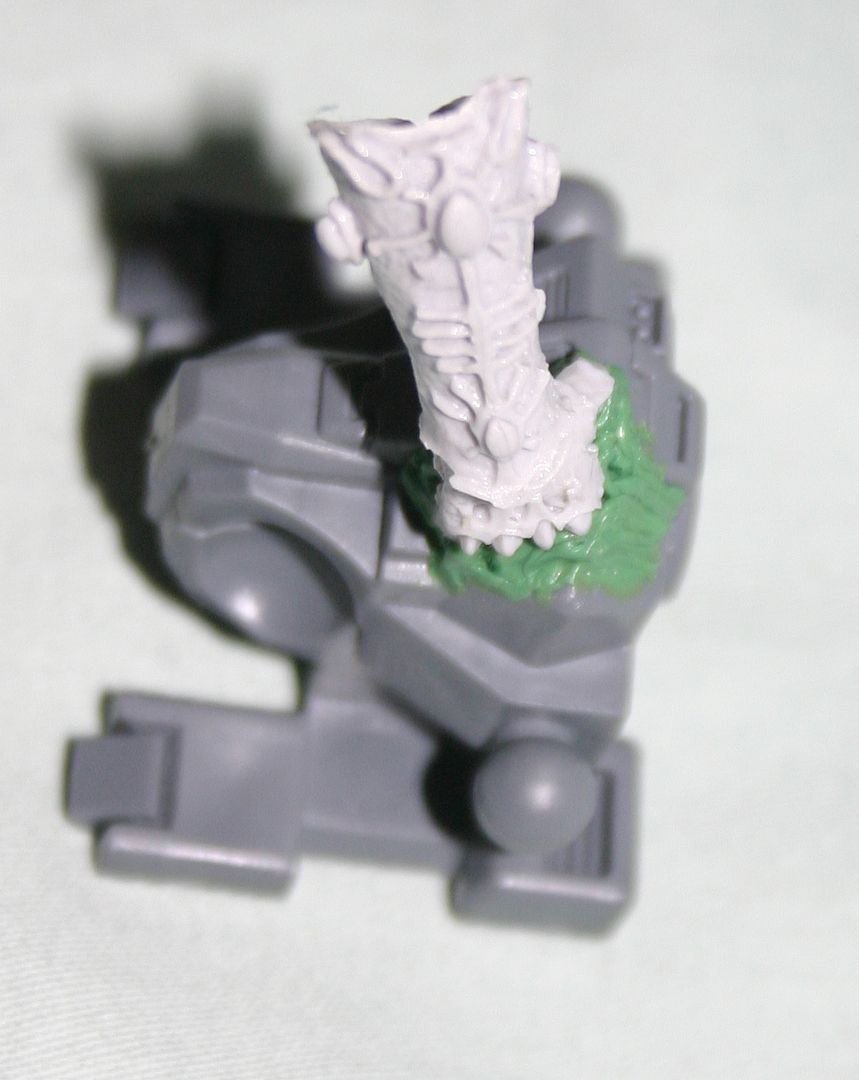
Now comes the Greenstuff step. You can see here the greenstuff molded on the outside of the suit around the hand. The end goal is to create a blob of greenstuff textured around the hand to represent the molten suit bubbling away from the heat of the hand.
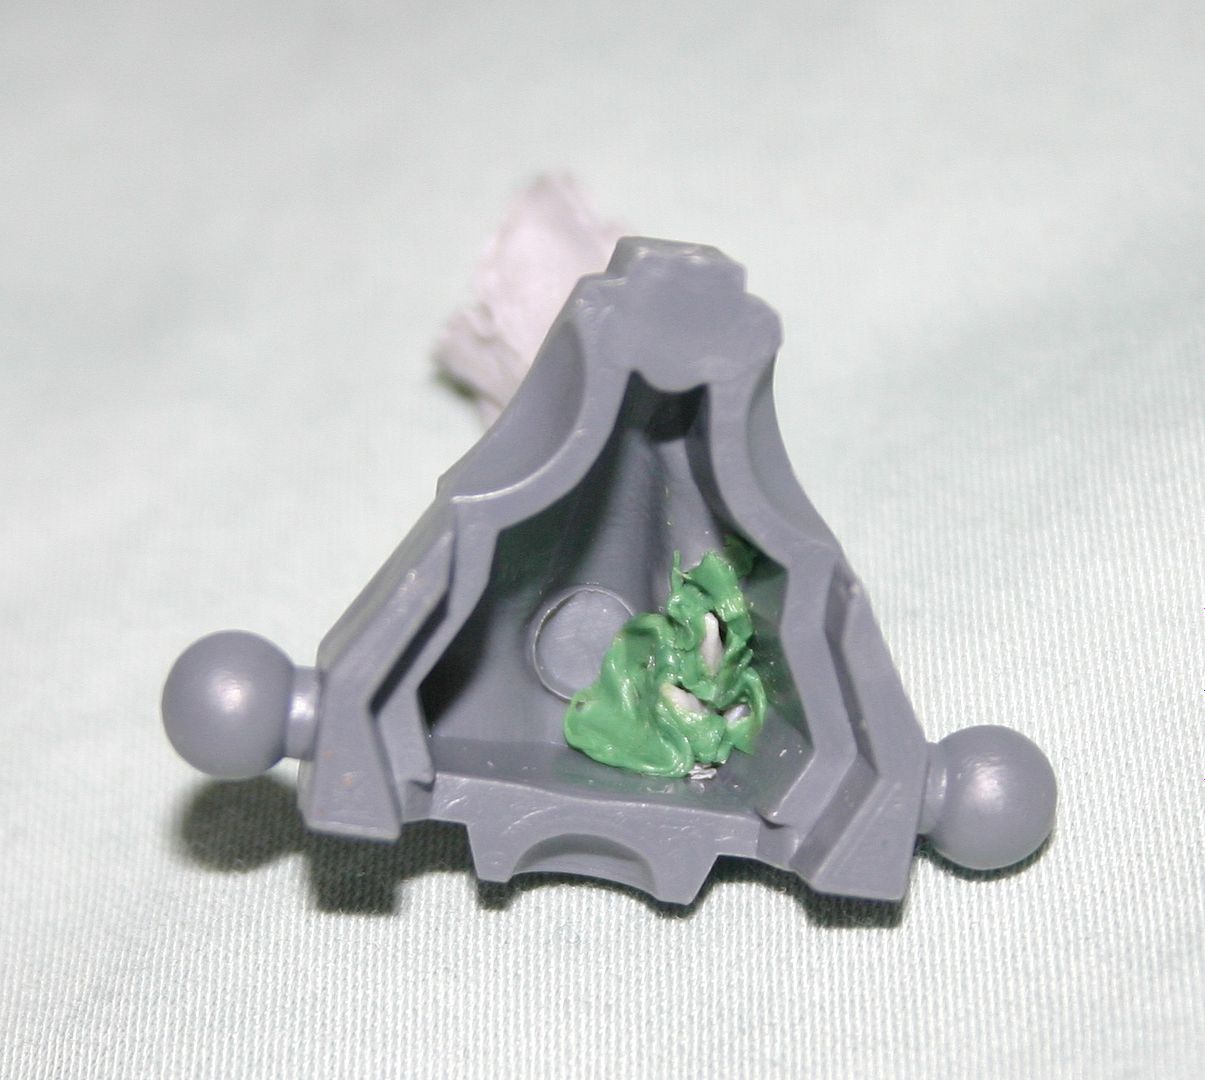
Its also important to greenstuff on the inside of the suit chest in order to provide additional support. This is the only area the suit will be supported by, so you want to make sure you have a solid fit.
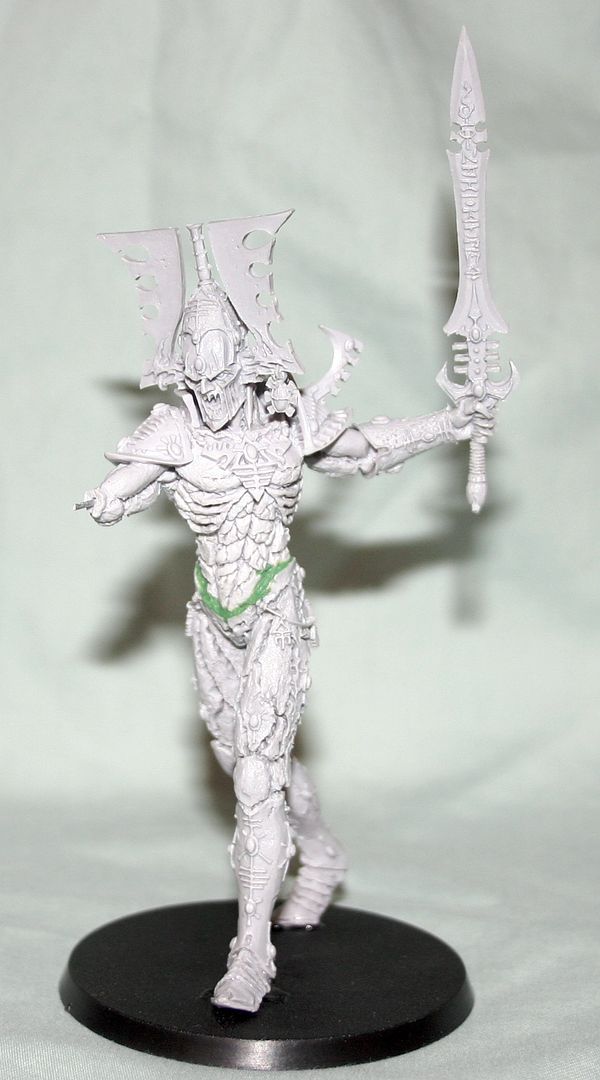
While you have your greenstuff out, also go through and fill the gaps on the Avatar body as well. I found there were very few gaps to fill, but there were a couple. Specifically the gap around the waist should be filled even though this will be covered by the tabard. This will provide additional model stability along with just providing a cleaner area for painting.
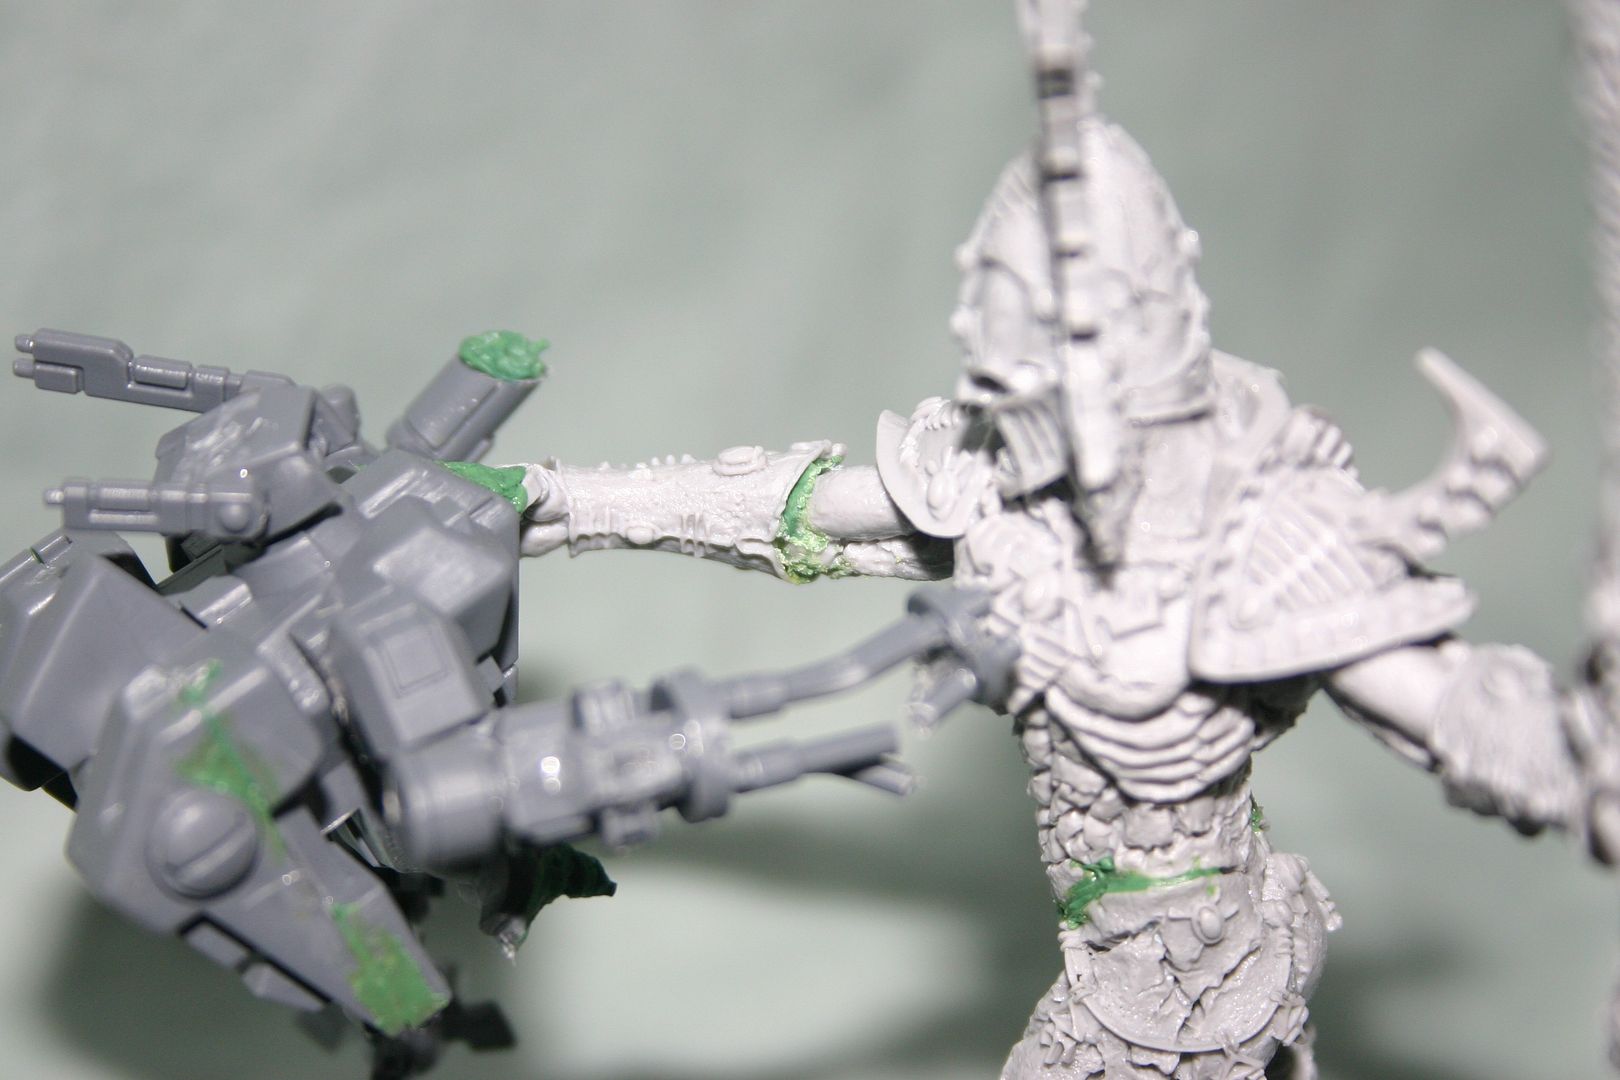
When placing the arm holding the Tau onto the model, I strongly suggest gluing the arm then going back with greenstuff to fill in and support the hand. This helps the the stability of the model, and you will need to do some gap filling and smoothing out on the crisis suit as well.
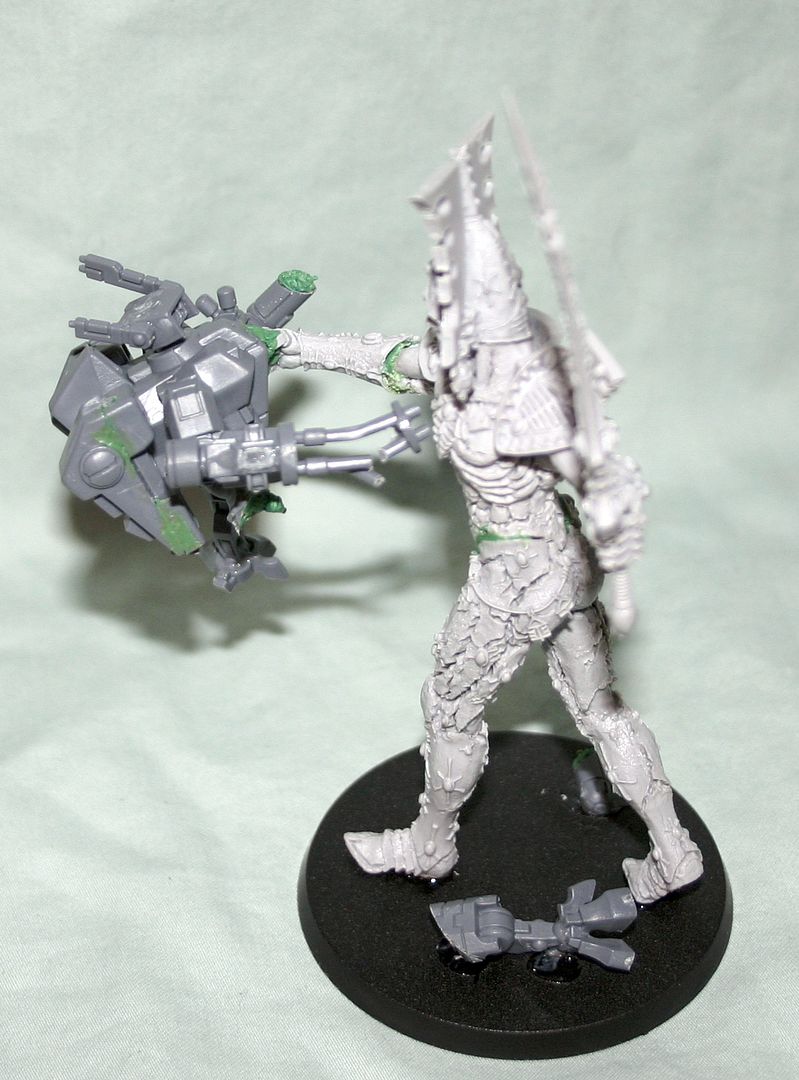
Lastly I made a couple modifications to the Crisis suit to represent the battle underway, along with placing debris on the base itself. At this point you should leave the model for a day or so to make sure all the greenstuff has set. Once that's complete your ready to start painting. Take a look at my next tutorial to see how I painted my avatar.


I ORDERED MY TAU EXTRA CRISPY!!!!!!!!!!!!!!!!!!
ReplyDelete