
Ok, onto my Avengers and Stage 2. My intention was to use the airbrush to lay down a solid base then a wash on all 18 avengers. The goal here would be to get good definition, be able to quickly go back and do some highlighting, and get some great looking models. Unfortunately, the shortcut did not work all that well. After looking over the dried result, there was no true definition between the depths and the ridges, it just looked like the air-brushed wash stained the entire model darker.
Overall, the darker color is not a bad thing. I chose to paint on a brighter blue to the armor plates, leaving the darker blue plus wash as a shadow.
So, I have now completed the bases (painted, highlighted, flocked), mounted teh Avengers, and painted the armor and armor plates. Still to do:
Helmets
Crests
Tabards
Gems and decoration
Add Arms and Guns
Paint Arms and Guns
Build Exarchs
Now to the pictures!
Here are the Avengers from a "Table Top" Distance.
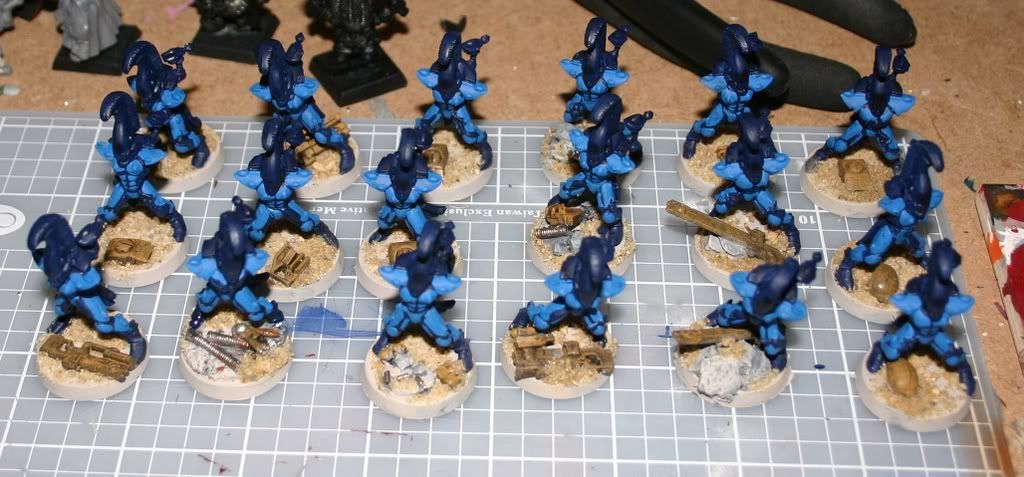
Now a closer look at the 18. First picture is 12 from the left, while the second picture overlaps and shows 9 from the right.


And a quick look at some of the bases in the rear.
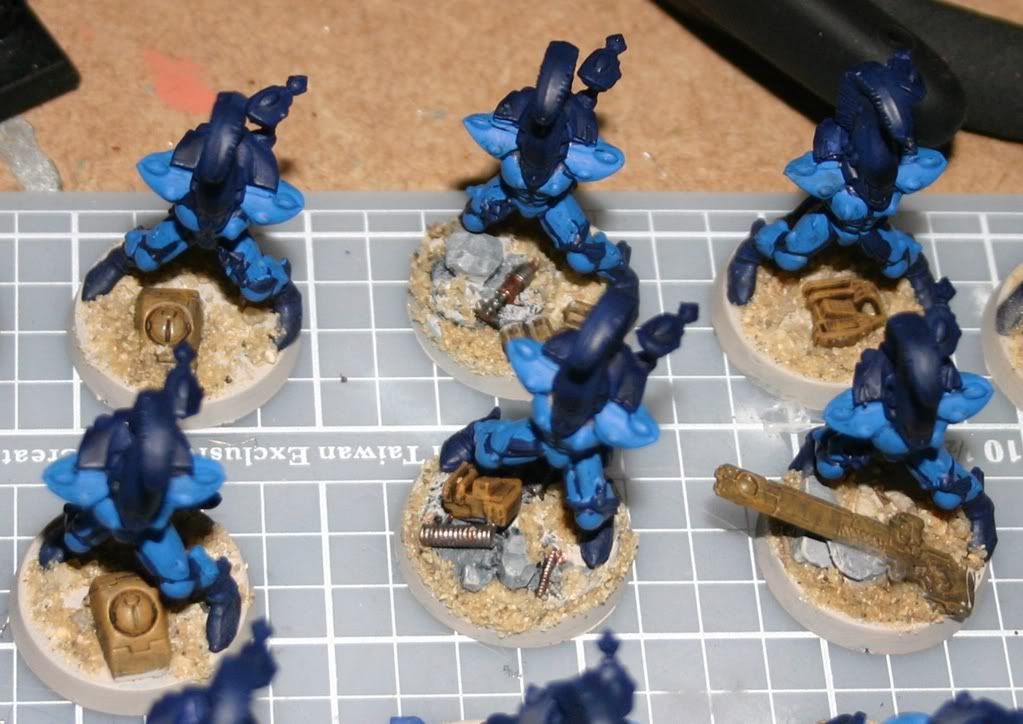 I am using some of the pieces from the 40K basing kit and I think they have come out looking fairly good.


It is really interesting that the wash didn't work quite right. With the older Games Workshop inks I always had to dilute them with water (alot) to make them work like a wash. The new washes are supposed to work out of the pot, though. Huh.
ReplyDeleteI do like how they turned out, though. That bright blue armor really seems to pop.