

I mentioned writing this article and my thoughts for it to my wife a couple days ago. She agreed it was likely an interesting article to write, but warned that I should not sabotage myself by publishing it prior to the US Championships. I am taking her advice, scheduling this for release on the Monday following Gencon. I'm not sure if there's anything here that would make a difference for my opponents or not, but there it is.
The idea's that I espouse in this writing are applicable to real military maneuvers along with the full range of tabletop miniature war games. In this article I'm going to focus on Guild Ball specifically and how to achieve these tactics using the Guild Ball rules, models, and typical situations.
Shock and Awe

Shock and Awe in Guild Ball is often achieved through a surprising play (or series of plays) during the first turn of the game. Successfully executing this tactic results in your opponent being put on their "back foot", scrambling to string together a series of plays to recover their perceived position in the game. Many times (but not always), this results in generating a large amount of the in-game currency "Momentum" in addition to gaining play momentum in the game.
Shock and Awe within Guild Ball is characterized by a couple key factors:
- It's Fast
- It results in a scoring lead over your opponent
- It's difficult to counter
Opponents on the receiving end of this tactic shift their plans to a focus on how to recover from your play. They become responsive opposed to pushing their own game plan and agenda. This shift to responsive play surrenders control of the game to you, opening an opportunity to push your own plan forward. It does this in a way that's not entirely conscious for your opponent, generating the feeling that they are "starting the game behind" or "starting out losing". It's important to be aware of this and capitalize on it by executing your plan for generating victory points, not returning control of the game to your opponent. Basically, don't get comfortable thinking you have an unassailable lead, your opponent will recover. What you need to do is capitalize on the time before they recover to cement your lead in the game.
Turn 1 Goal Scoring
Many teams will delivery a Shock and Awe tactic via successfully scoring on turn 1 from their deployment line. Every team has the capability to do this, however Fishermen, Masons, Alchemists, and Engineers do it most often. There are three keys to successfully delivering a turn-1 goal score from your deployment line and you should aim to understand all of them.First, is distance to your opponents goal. There is a minimum of 20 inches between the your deployment line and your opponents goal. This is if you set-up your goal-scorer (striker) directly across from the goal on the front edge of your deployment line and there is clear path for you to get there. Modifications need to be made to your plan based on rough ground, obstacles, and opponents models placement during the opening turn. It's key to understand your chosen strikers threat distance on the goal and the positioning you'll have to use to get there.
Second, momentum is going to be required to make a shot on goal. You're going to have to generate momentum during your turn prior to making the final shot on goal. Additionally you should make sure to consider the requirement for an influence when making the shot, as this is sometimes forgotten. Returning to momentum, you'll likely want a second momentum available to bonus time the goal shot. Missing your first turn goal shot is unlikely to create a sense of Shock and Awe in your opponent.
Third, you'll need the ball in order to make a shot on goal. This may seem like a small thing to mention, but its important. If you did not receive the ball and retrieve it on the kick-off you're going to need a way to take the ball back from the opponent. The kicking player often has a difficult time retrieving the ball after kick-off, with only their kicker positioned properly to reach the ball once the opponent has taken possession.
Let's take a look at a typical Shock and Awe 1st turn Goal for the fishermen. Assume that the Fishermen team has received the ball and allocated influence. We've places at least 1 influence on each model and plan to pass the ball twice before getting it to Shark. Shark will be loaded up with 5 influence on turn 1 to accomplish the tactic. We'll also position Shark to the left side of the field, half-way between the board edge and the middle of the field to avoid some obstructions near the midfield. We're going to make sure he's 24 inches from the opponents goal. We draw out the passing the ball until the second to last activation.
Capitalizing on this and winning initiative on turn 2 can create severe problems for your opponent. You're up 4 victory points from your first goal plus your starting turn 2 with an additional influence to allocate. You're striker is typically very good at tackling the ball away from opponents and is in a prime position to take the ball away from where ever the goal kick landed. Load your striker with max influence and look for a way to retrieve the ball, generate a momentum, and make a second shot on goal. Even if you cannot bonus time this second shot, it's worth the attempt. If you cannot get into position to shoot on goal after retrieving the ball, send it toward your own team and aim for another model picking it up and getting in a turn 2 goal.
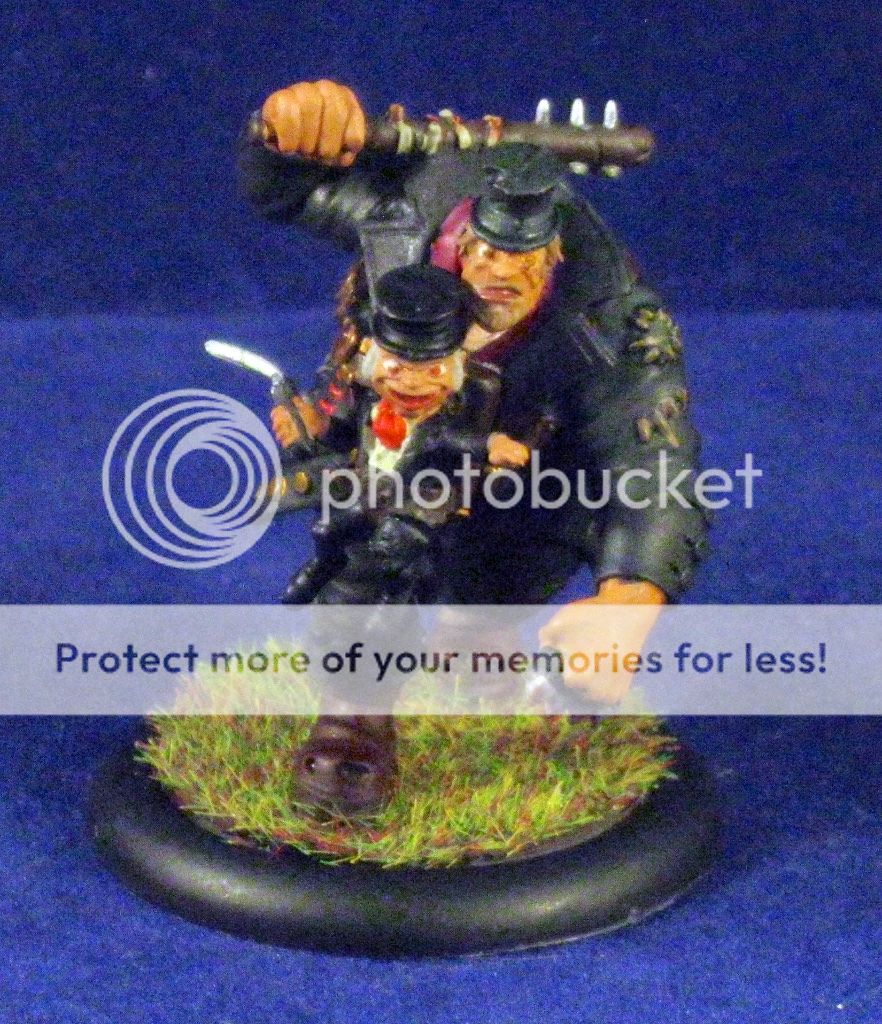
Turn 1 Take Out
The Turn 1 Take Out is a much tougher play to put together for the majority of teams. The Masons are the best at doing this, coining the "Chisel Missile" play. Morticians, Union, Butchers, and Brewers can all string together a Turn 1 Take Out but it's a little tougher for them. Many times this requires the use of either Gutter for her Chain Grab or in the case of Morticians, Lure and/or Puppet Master. One advantage to the Turn 1 Take Out is the generation of Momentum and positioning for starting turn 2 strong.In nearly every case we want to make a series of attacks with a model who does not need to charge into combat. This is done in order to maximize the number of attacks on the target, maximizing damage and generated momentum. Because of this we're looking for a way to force a reposition onto the target to bring them into range of our hitters. Gutters chain grab, models with push/dodge and push playbook results, and models with access to lure all facilitate this movement. Specifically for morticians there's Obulus with Puppet Master and for Brewers there's Stave's Lob Barrel. However it's accomplished we want to pull the target into range. Once we reach that point it's time to launch our damage and kill the target. When possible take the target out although it's sometimes just as useful to leave the target low on health (1-3 health) if you can assure initiative on turn 2 to finish them off.
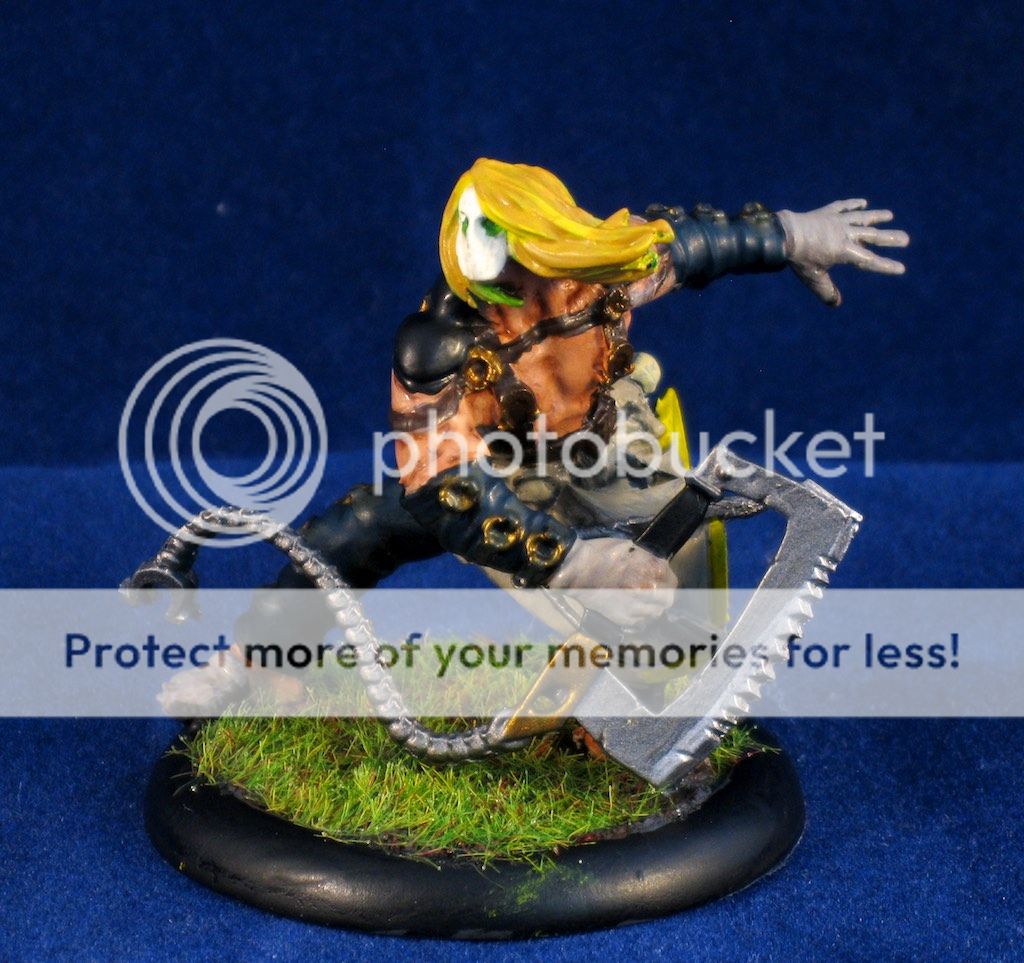
Chisel will activate last with 6 influence and make her first move down the board. She wants to move toward a target model with average or less defense and around 12 health. During her first activation she will activate Crazy, taking 3 points of damage. If she has second wind she will move an additional jog toward the target. On her second activation she will activate crazy at the start of her turn taking another 3 damage, then move into combat with the target model. Her range between these two activation's is 14 inches from her deployment line, 18 inches if she has second wind.
Chisel can now make 6 attacks (2 inch reach) against the target model, averaging 14 points of damage and netting 5 momentum if that takes out a model. She can reduce that damage by 1 if it will not take out a model and still net the 5 momentum. Provided this is enough to gain initiative on turn 2, Chisel should be given 4 influence again. She will start the turn by using Crazy and taking 3 more points of damage, triggering her Painful Rage ability. This lets her deliver 4 attacks averaging 12 additional damage.
Countering Shock and Awe
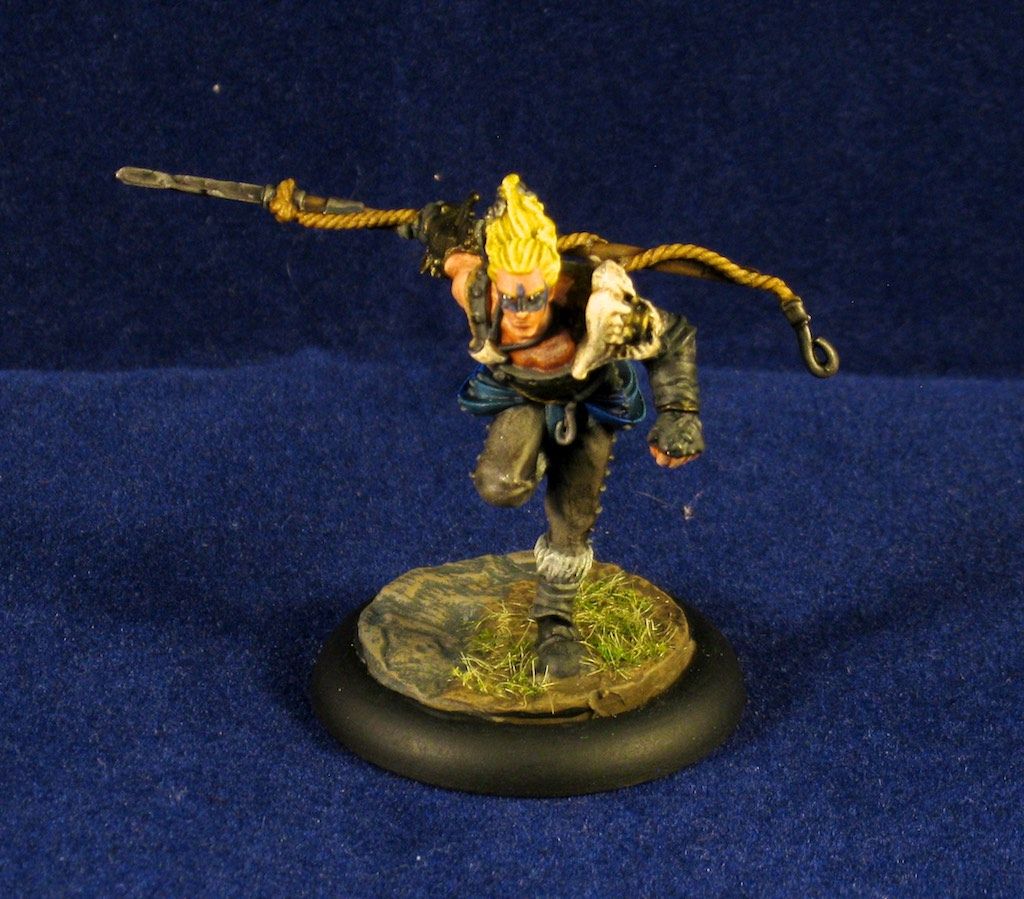
How does on deal with an opponent who plans to deploy a Shock and Awe tactic against them? The first thing to do is determine if it's coming. If a Masons player starts giving buffs to Flint or Chisel while they're playing Honour, you can safely assume they are planning a Shock and Awe play. If a Union player is giving Mist a "bag of coffers" and/or Second Wind, you can safely assume they are planning a Shock and Awe play. If an engineers player is using Ping Vise and they recieve the ball, expect a Shock and Awe play.Once you begin to predict and expect the plays it's time to see what can be done to counter them. The first step is to counteract the activation control. This is impossible to do when facing Honour led masons, just accept that. Aside from that specific team, adding Avarisse & Greede to your own roster evens up some of the activation's. I dread saying that as I'm already seeing A&G in almost every tournament list, but it's a simple fact (and likely the motivator is exactly what I'm describing here).
Finally, try to stay balanced in your view on the game. If you can keep an eye on your objectives and not fall into the "Shock" portion of the tactic then you may be able to recover quickly and move forward with your plan. This will minimize the impact of your opponents play.
Share your Shock and Awe stories in the comments below, I'd love to hear what people have seen in their games. If I'm blessed then I should be on the road home right now with the US National Championship under my belt. More likely I'm on the way home from Gencon without that title and just had a fantastic time at a great convention.


