


I fielded the same posse I have been bringing to learn all my games with. It's working for me, and is especially delivering to my expectation of being fairly balanced and good for learning. You can see pictures of the posse in the previous blog post.WWX Rule Note / Commentary: The scenarios in the rulebook all indicate an intention for a 6' x 4' table to play on. John and I are playing at the $750-point level of game as we both prefer skirmish style games. Neither of us have vehicles and our only light support are the infantry style light support. We have kept to the 6'x4' table size so far but are finding with each game that the games are playing out within a 4'x4' space very comfortably. I suspect I might take a hand at rewriting some of the scenarios in the future with the board moving down to 4'x4' as one of the changes.

John tried out a different list for this game (and the fourth game). This time he brought out his own copy of River, Billy, Johny Ringo, and a whole load of hired hands. His 750 Outlaw list was something along these lines:
- Bill the Kid
- Johny Ringo
- River Flowing
- Sniper Bandit
- Shotgun Bandit
- 3x Close combat Bandits
- 4x Long Range Bandits
WWX Rule Note / Commentary: Since this game we found out that the tool we have been using to build our posse's actually had the wrong price/hiring cost for River. The tool was using the price on the website, which does not match her higher price on the release card. River actually costs $125-points to hire instead of the $95-points. This put John over on his list, but no worries there as my lists are over as well.
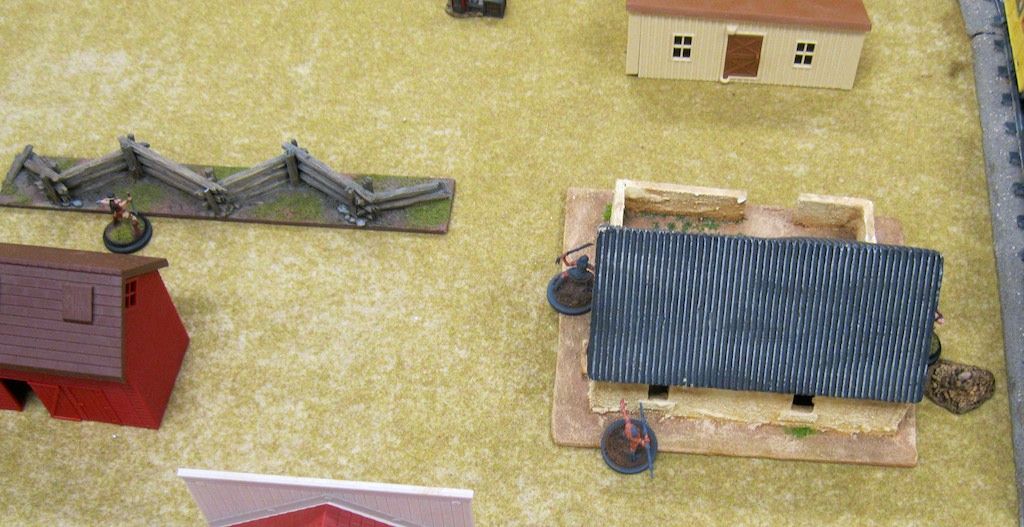
We deployed split across the table, with Billy, Ringo, and River deploying on the left side of the train and John's sniper deploying on the right side of the train. The Dark Council member and a load of hired hands joined Billy on the left of the train while 4 of the hired hands deployed with the sniper on the right. In response I fielded my Dynamic Duo (River and Walks) on the left with the three braves while the rest of my posse (Cunningham, Sitting Bull, Sky Spirit) deployed on the right behind a building and out of sight.
Turn 1


Turn 2

Cunningham went first which dropped the smoke and pulled out the "on the lookout" shot from the sniper. The shot missed and I was able to move forward them burn some more influence to place the smoke back into an advantageous position. Continuing my simultaneous activation, Sky Spirit jumped back to the center of the smoke and unleashed a long range shot at the sniper, killing him. He then proceeded to take his ROF 3 shot and spread the damage out across two hired hands. Sitting Bull activated at the end of the sequence and moved forward, engaging two hired hands on the right side of the board. He proceeded to bite the head off one of the hired hands who (due to Wolf Blood) activated and shoot and kill one of the hired hands on the left side (near Sky Spirit). Sitting Bull then shifted slightly and bit the other hired hand with his full AP of attacks, killing her and having her unload her full activation of shots into Billy. I was very satisfied with the turn at that point.WWX Rule Note / Commentary: Dark Council members are effectively immortal but have a limiting rule built into their function. They must activate first, which limits the "acting model" activations to 2 non-dark-council models on the first turn opposed to 3.
John moved up with Billy and took some shots which were not terribly effective, and kept Johny Ringo hidden behind the train. Copying a trick/thought I had on the left side of the board, he placed River "on the lookout" to respond to Sitting Bull next turn.
WWX Rule Note / Commentary: We have since discovered that the game is far less dangerous that we have been playing. We were playing that a "Lethal Hit" could only benefit from the armor roll if that armor roll was a "Life Saving Dodge". We have discovered this is not in fact correct, even with a "Level Hit" a model still gets their armor roll, the "Lethal Hit" only negates in-built armor on the card.

At the end of turn 2 John pointed out to me that the game was essentially a foregone conclusion. Looking at the end of turn death toll had the appearance (and liklihood) that John would be unable to recover. Despite controlling activation turn 1 and 2, the Hired Hands just did not stand up to my Character heavy posse. 1 death on my side to 6 on his were just bad odds this early in the game.

Turn 3

Three turns and the game was locked up, with my gaining a win through wiping John out. Even if we used the objectives, I controlled all three objectives definitively and would have won that was as well.
Final Thoughts
This was a bloody game and not much went John's way. The game is not as bloody as it appears here however, as we were playing with far deadlier "Lethal Hit" rules than intended. This was due to both John and I misinterpreting the meaning behind the "Lethal Hit" rule. I think the game would have the same result even playing that rule correctly, it just would have taken longer to get to the same conclusion.Sitting Bull can be a really nasty model if he can get into your crew and kill models with his bite. The bite is pretty tough and he gets enough attacks to be able to bring down models. Even taking over an activation of a Hired Hands's is going to be effective to push out some additional damage. I like this ability as it's something I can work a bit of "trickery" into and try to plan for creating wow moments in the game.
I also like being able to use "On the Lookout" for melee models. It's going to be most effective for "living spirit" and similar ruled models, but may also be effective for general melee models. The trick will be hiding the "on the lookout" model so they can interrupt movement and engage the opposing model, then making sure the "initial engagement" attack is effective.
I am still concerned about the intention for the game to be bigger, as in army size bigger. I can see this competing with Warmachine/Hordes pretty easily as a squad sized game. This, combined with the ease of play at the skirmish level (6-10 models) put's it at a nice place in my opinion. It's that army scale size sneaking around the background that has me concerned. I would like to see the board size moved down to 4'x4' and the missions moved to objective wins with some mix of kill objectives. I will fairly caveat this comment saying I have not yet played a game with vehicles in it. I may find I enjoy the games when vehicles (light support and heavy support) are included, but I am skeptical.
Overall I am becoming more happy with the game the more I play. There are some small rules clarifications that are coming up but nothing I would not expect from other games. I feel this is actually clearer and more straight forward than other games, which is both a positive and a negative for me.


So Bill, know what you've said in the past about your skills at rolling "dice" or lack therefore. How do you enjoy this game?
ReplyDeleteI am really regretting switching to Zombicide Season 2 at this point.
My notorious disagreement with dice holds true in WWX. I find myself drifting to specific dice that roll well and then constantly swapping them out as the rolls go really bad. I think I am incapable of rolling "average" on dice. Some of that is mitigated in WWX with the influence mechanic, but not all of it. The list I am running actually comes loaded up with 11 influence, which is a fair amount considering John has only been showing up with 4-8 influence per game. When I talk about "heavily influenced rolls" I typically mean a roll with 2 or 3 re-rolls due to influence spent.
Delete