Tuesday, March 14, 2017

Big League in a Day

I've recently condensed the Big League experience down to a single day event for my local community. This went over fairly well in my local group and lot of people in the global Guild Ball community expressed interest in how I accomplished it. Here's a write-up on what I did and what I would change.


General Idea and Objectives

Steamforged Games released the campaign rules for Guild Ball in the Season 2 rulebook, The Big League. I’ve run the Big League for my local group twice so far, with a very positive reception for the rules. There are some rules which have become dated due to the changes with the Season 3 update however the campaign holds up under the changes very well. The general idea behind the big league is one with some Guild Ball game play and some behind the scenes “wheeling and dealing”. The league rewards three different types of players, competitive players looking to win games, more casual players looking for key game moments, and players who mostly ignore win/loss in a game but enjoy the intrigue behind the scenes.

The success of the Big League campaign format for my gaming group encouraged some work to bring the Big League to a single day casual event. The typical big league is run over several weeks, ideally equal to 1 week less than the number of players in the league. The effort to boil this down to a one-day event required that I keep my eyes on a couple key goals:
  • Restrict the experience to 3 rounds of games
  • Maintain the capability and feeling for P-1 weeks Wheeling and Dealing (i.e. favours)
  • Maintain the capability and feeling for P-1 weeks of league card expansion (i.e. campaign points)
  • Maintain the 3-fold aspect of Competition/Big Play Moments/Intrigue with the limited timeframe of a single day event.

What did I do, what changes did I make?

In preparing for running a Big League in a Day I faced the challenge of distilling the “feeling” of a 7(ish) week league down to 1 day across 3 games. I also had my objectives to keep in mind to capture the same enjoyment for the players. I spent time thinking about those two goals and came up with the following changes.


First I decided to add favours at the start of the day prior to game one. This is a change that has been very positively received in my normal Big Leagues and it would similarly kick-start the wheeling and dealing for the BLiaD. I also decided to increase the access to guild plot card from the start to 2 plot cards. This would give people aiming for those “key play moments” access to more cards from the start. It would also help spur accumulation of campaign points starting in the first game. I knew I would have to increase the speed players would be able to gain campaign points and favours, so I also adjusted for round 2 and 3 on both those fronts.

One of the impacts to favours in the Big League is based on the win-record (League points) of your opponent. Playing an opponent with more league points you get a chance to earn more favours. Additionally, if you beat that opponent you gain an additional increase in favours earned. A traditional Big League where everyone optimally plays everyone else in the league opens opportunities for this to happen. I feel this is an important aspect of the system for a couple key reasons. First, it’s the best opportunity for intrigue focused players maximizing the currency they use in the league. Second, it creates key moments for all players in the league where favours and behind-the-scenes deals can lead to an upset, unseating a league point leader with an unexpected loss. Other players in the league can feed favorable deals to the lower ranked player to beef up their team through the judicious and creative use of favours. I needed to find a way to keep this aspect of pairings in the event despite the event being only 3 rounds. I achieved this by pairing based on favours spent, not on league points or a win/loss/points record. I also added an additional way to spend favours, Match Fixing, where the instigator could choose two players to be opponents in the upcoming round.

Lastly, I looked at the overall balance of the day across three rounds. I decided to adjust some of the escalators along with building in an increasing Longshanks Tax on favour expenditure. The adjusted escalators made sure there was not one all-decisive round during the day which would be the only round that mattered. Players would need to pursue their chosen objective all three rounds to achieve their desired result. The Longshanks tax assured that the escalator on favours stayed balanced through the day, despite having more to spend each round.

After all that planning and thinking my final set of rules resulted in the following:

Event Start:

  • All players start with 5 favours
  • Maximum 5 favours can be spent in round 1 W&D
  • Players can build their plot deck from:
    • Season 1, 2, 3 plot cards
    • Common Big League plot cards
    • 2 selected Guild Plot Cards

Round 1

  • 3 league points for a win / 0 league points for a loss
  • 1 favour for a win / 3 favuor for a loss
  • 1:1 campaign points earned from plot cards
  • +1 favour Longshanks Tax for player trades, 0 for all else

Round 2

  • Max 8 Favour can be spent in W&D
  • Player Trades & Campaign points: +1 Longshanks Tax
  • Match Fixing for round 3: 3 Tax + LP difference between higher LP and lower LP
  • 5 league points for a win / 2 league points for a loss
  • 2 favour for winning a game / 4 favour for a loss
  •  +1 Favour for playing an opponent with more LP / +2 Favour for winning vs more LP
  • 2:1 campaign points earned from plot cards

Round 3 & Post game 

  • Max 15 Favour can be spent in W&D
  • Player Trade, Plot Card Trade, Campaign Points: +2 Longshanks Tax
  • Sponsorships: +1 longshanks tax
  • Match Fixing: same as round 2
  • 7 League points for a win / 3 league points for a loss
  • 3 favours for winning / 9 favours for a loss
  • +2 favour for playing opponent with more LP / +4 for winning vs more LP
  • 1:1 campaign points from plot cards
I also restructured the Campaign points to plot cards table slightly. I started the day with each player picking 2 plot cards, then incremented by 20 cp up to 100. After 100 I incremented by 15 CP per card. Here's a look at the restructured table:

How did the day go?

Overall the day went very well, with all the participants having a great time playing 3 casual games of guild ball. Despite the moderate level of interest for my area, only 5 players attended on the day, necessitating me to play as to avoid a bye. I’ confident this turn out is primarily attributed to a combination of more competitive than casual players in my areas plus competing events on the same weekend plus people schedule conflicts. I say this based on the feedback I’ve received from people who had intended to attend but didn’t (i.e. scheduling conflicts) and my general observation of who did and did not show interest in this event.

Leading into round one, things went very smoothly, with everyone generally understanding how the BLiaD would work, assembling their decks, and grabbing sponsorship's. Early moves were made to buy campaign points for favours early on, a couple players aiming to get access to an additional guild plot card. Round 1 played out without a hitch, although some general confusion about how the big-league plot cards and similar cards across seasons 1, 2, & 3, would work. These were quickly resolved and we accumulated the results to move into round 2. The end of round 1 did see wheeling and dealing timing advantages come into play as players who had finished their games first jumped into spending favours to grab specific players (Tater) and sponsorship's before other players had finished their games and moved to Wheeling and Dealing. This is something to be watched but did not upset anyone in my event.

The escalation of points in round 2 led to some key purchases for round three. One player came late to Wheeling and Dealing and spent their favours to match-fix themselves vs the other League Champion contender. Due to the small number of players and a desire to avoid same-match pairings, this resulted in the entire round 3 pairings being determined by that player. This was not necessarily a negative thing but was an interesting result to see. The overall escalation of points resulted in the desired outcome that all 3 rounds were important to the end of day awards, along with keeping the final post-round-3 wheeling and dealing phase as part of the determination factors.

What (if anything) would I change?

After the event, I asked for feedback from the group along with sharing some of my observations and thoughts. Based on all that feedback I would make some adjustments to the format. I would pull forward the earning escalation (2:1 campaign points) from round 2 to round 1, then create another level of escalation in round 3. I’d keep the longshanks tax largely the same, although I’d add a tax of 1 favour for sponsorships to round 2. I’d set round 3 to contain no escalation (1:1 campaign points, standard favours), but maintain the higher longshanks tax for the round.

I think that those changes would speed up the attainment of favours and campaign points, opening increased access to those parts of the league people are looking for. The escalated league points should be watched to assure than no single round is a decider, but all 3 rounds matter for the league champion.


-->

Monday, October 10, 2016

Minx the Maligned (Guild Ball)

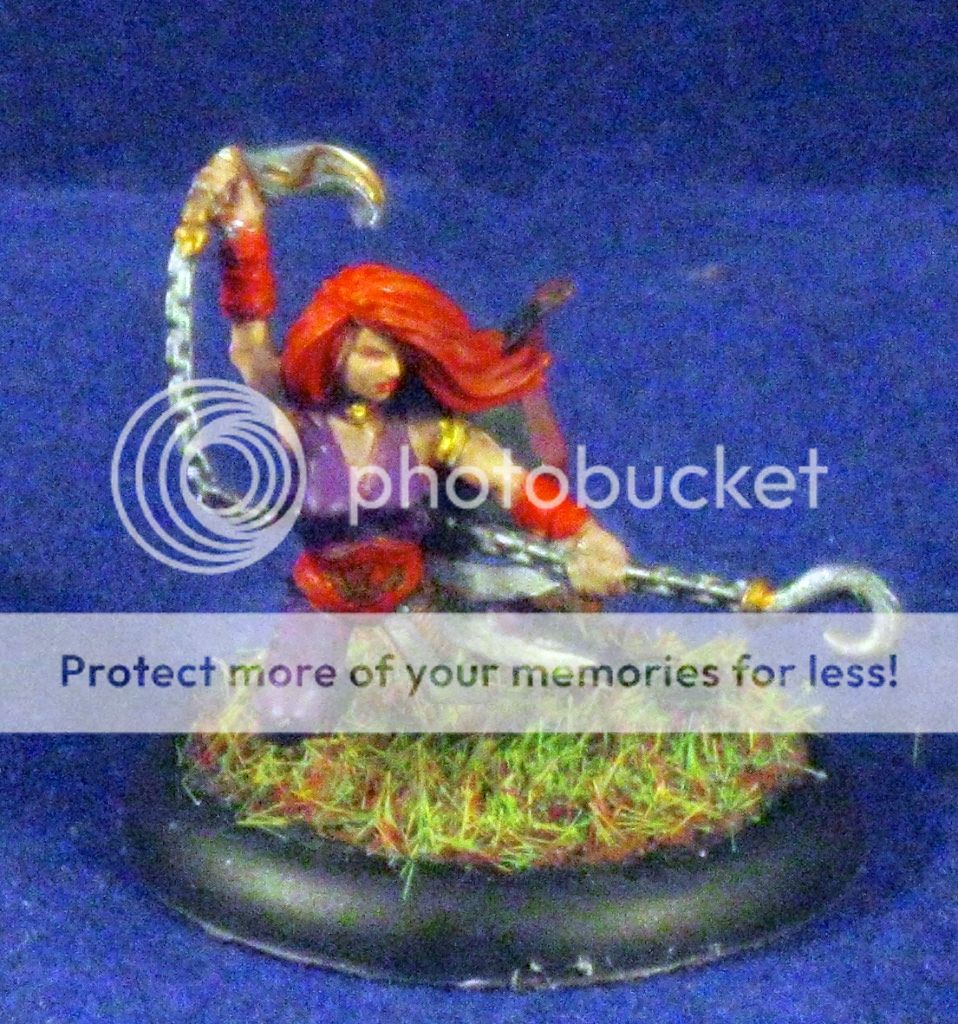
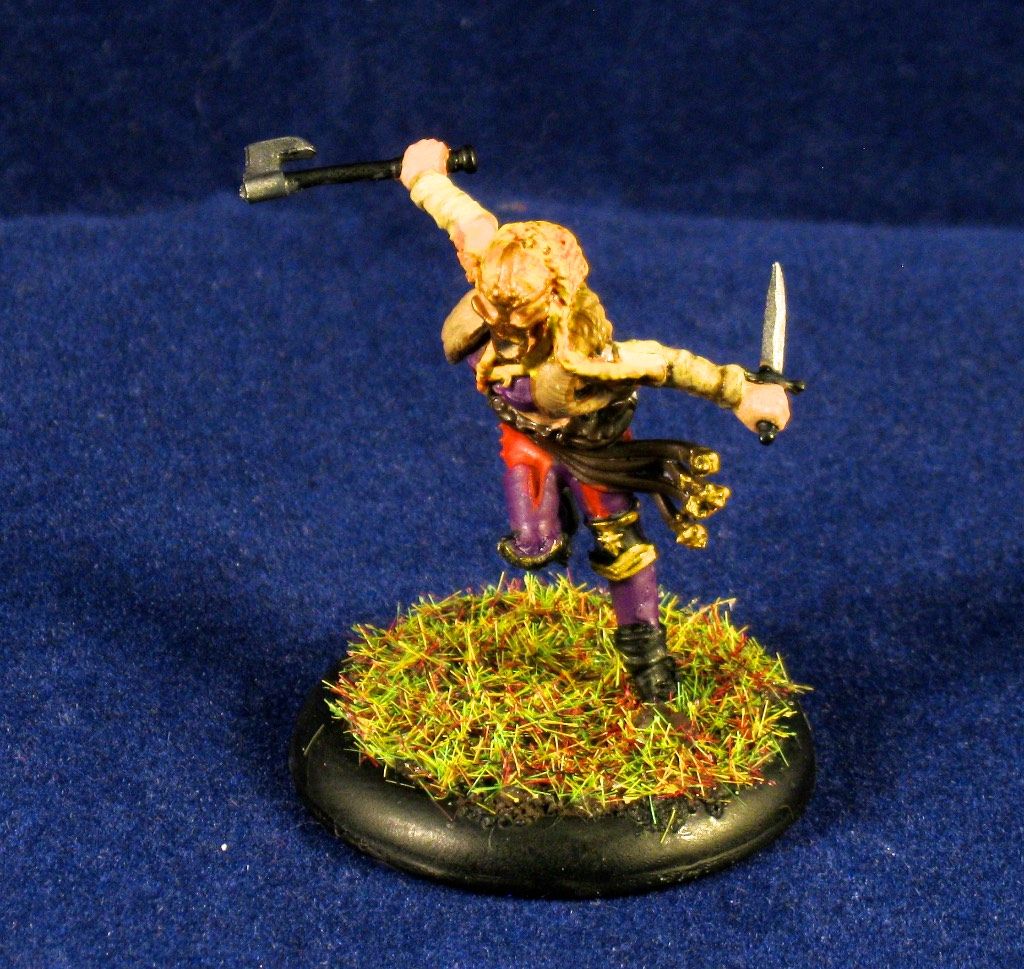
The following article is a mix of opinion and tactics specifically centered on the Union player Minx. I was torn on which label I wanted to apply and decided it's best to go with both and leave it at that. It's not uncommon that outside my local guild ball group I hear disparaging comments about how Minx is not very useful. I specify outside my own play group as my local area has come to respect her through multiple games against my own teams where she is included. I particularly like her in my Captain Rage Union list, there she plays a key role "turning on" the team. I've also gotten good use from her in my Hunters teams, although she does not play as strong a role there as in Union. She's been available since the release of the Kickstarter but is not regularly used. I suspect that's going to change as more time passes and players realise the fantastic tech she brings to team. I'm going to do my part ahead of the curve and help explain where and how she plays best.

Minx - Looking at the Card

I think it's best to start out looking at her card and digging into the basic mechanics of what she does. Looking at the front of her card we are immediately struck my her exceptional movement stat of 7/9. Minx can swiftly move across the board and appears to threaten 10 inches for her attacks. We see a fairly basic TAC, Kick, and the "average" defence on her. Then we reach the second eye catching point on her stat line, which is the 2/2 influence. As a player when you see an influence stat that is equal such as 2/2, this should trigger a question and cause you to scan the card to see if there's a reason for the odd stat. In this case, we find on the back of her card that Minx is furious, charging for free. Overall this makes her a very efficient model, bringing 2 influence and able to charge a target 10 inches away for free without using that influence.

Moving to Minx's playbook and character plays we find she has evenly spread momentous damage on 1, 3, and 5 successes. This points toward her being a damage dealer with nicely placed momentous damage generation. It also means that on a charge, should she get enough results to wrap, she can easily take advantage of damage buffs such as commanding aura and tooled up. On her playbook, we find two interesting character plays, both of which can be triggered from her playbook non-momentously. Screeching Banshee applies a movement penalty to the target model along with delivering 2 points of damage. Marked Target is more interesting, being able to be triggered as well as paid for with 1 influence. This is an 8 inch ranged play which applies a movement bonus for models charging the target the play was applied to. This threat extender can be incredibly helpful to "known threat range" models who want to charge into combat.

Swapping over to the back of her card we catch sight of a couple more interesting tidbits. The first, Furious, I mentioned above and is part of the key nature for Minx in a team. Furious lets her charge a target without influence, getting at least one attack. The second eye-catching trait is Damaged Target. This ability increases Minx's charge range by 2 inches when she is targeting a damaged model for her charge. This increases her overall threat range to a very impressive 12 inches. The third trait is one that's often forgotten but can be useful in niche situations. Follow-Up allows Minx to utilize her 7-inch jog to stay engaged with a model that moves out of her melee range.

Reviewing all of the information and stats for Minx we find the ideal situation is one where she can charge someone 12 inches away, hit them for 3 - 4 momentous damage then bounce away using the double dodge at the top of her playbook. This makes her a finisher model, supporting the rest of the team with both 2 influence to be assigned elsewhere and the final 2 - 4 points of damage for a take out.  If looked at in those terms she is just ok, not an amazing model at all.

One wonders why I would be writing this if that were all?

The Union team led by Captain Rage

Minx can be played with multiple teams but I feel she truly shines in a Captain Rage led union team. She brings some incredible utility to that team which increases the overall effectiveness and threat of the team. My current favorite team roster for Capt. Rage includes Minx, Coin, Gutter, Avarisse & Greed, and Mist. This team brings a total of 12 influence to be allocated turn 1, plus the Bag of Coffers influence allocated during the turn. Often turn 2 will see a desire to allocate 4 influence to Rage, 4 to Gutter, and 3 or 4 to Mist, draining the base pool of allocatable influence. This means that the other models, in this case Minx and A&G, are left with no influence. This is not a problem for Minx as she can still charge for free, adding some additional damage to a select combat. Almost more important, Minx can charge from "seemingly nowhere" to set up a gang-up bonus for a targeted combat. This becomes very beneficial for Capt. Rage when using Bloody Coin.

The second, and somewhat more important, value Minx brings to the team is Marked Target. Minx is able to extend Capt. Rage and Gutter's threat range. Of these two models, Capt. Rage has the more important threat range to extend. Typical opponents will be accutely aware of Capt. Rage's 7 inch charge / 8 inch threat range and endeavor to stay outside of it. Savvy opponents will often consider "Quick time" on Rage, extending that threat to 10 inches and will stay out side that. Minx can often charge into that range, hitting to trigger marked target and adding an additional 2 inches to increase Capt. Rage's threat to 12 inches. Even when she cannot charge, such as during turn 1, giving her a single influence gives a 1 dice chance to land Marked Target on an opposing model within 15 inches of Minx's starting point. It's especially useful to use Coin to give Bag of Coffers to Minx, giving her the influence and a bonus time for the character play when activation is not an issue.

Lastly and least important is her actual damage. Minx being able to charge an engaged target, attacking in range of Capt. Rage's legendary play can deliver some reliably good damage. In this situation she should be rolling 11 dice, averaging 5 hits for a momentous 4 damage plus a 2 inch dodge. Often she will spike this roll to 6, 7, or 8 hits and escalate that to 7 damage, 2 momentum, and a 2 inch dodge. It's a fairly nice finisher to a turn where she was not allocated any influence.

Minx vs Gutter with Blackheart

I've been fairly vocal about my disapointment with Gutter after the April errata, specifically when played with Blackheart. On Guild Ball Tonight I commented that I have switched to using Minx in place of Gutter because I felt she was better. This is a good place to discuss this comparison and where my preference comes from.

Following the April 2016 errata Gutter moved from a reliable control player to a damage focused player, specifically utilizing Scything Blow for her damage. Many people point out that Gutter still have a 4 inch chain grab along with reliable momentous damage. I always hear the stories about Gutter getting multiple scything blows off on models that get grouped up, thus delivering amazing results and incredible take-out's to generate points.

I'll point out that this is not untrue, in specific situations. Gutter when is an amazingly dangerous player when used to focus on maximising damage via scything blow. I'll go further and say that in specific teams (Butchers and Capt. Rage) she is a top choice among players, almost critical for a Capt. Rage team in my opinion. That said, she's not as good with Blackheart.

Blackheart benefits Gutter in two ways, via crowding out her target and via Commanding Aura. Commanding aura will grant +1 damage to playbook damage results and +1 TAC while attacking a target within the aura. In these situations, where Gutter can position appropriately to not endanger Blackheart or another friendly model, Gutter generates moderate results. She will be attacking with TAC 7 (base 5, +1 for gang-up, +1 for commanding aura) which only reliably generates 4 successes. This means that Gutter can choose momentous 2 (becomes 3 damage) or momentous scything blow (3 damage to everyone in 2 inches). Not bad damage, especially if she positions to get multiple people in range. Maximising this attack to get 12 damage by using all 4 influence on attacking means Gutter had to start within 8 inches of the target model and be able to walk to a position where she is not within 2 inches of any friendly models. She'll aim to pick this position to also have 2 or more enemy models in range.

Let's lay that out as a list:
  1. Must be within 8 inches of 2 enemy models
  2. Cannot end within 2 inches of a friendly model
  3. Blackheart is already engaging the target model she'll be attacking
That's the "ideal" situation that can be reasonably expected to scything blow and put 12 damage on 2 models.

Looking at Minx in a similar situation we can start by making a couple assumptions. The basic one is we assume Commanding Aura and engagement, but that the target model has not taken any damage yet. In this case Minx can charge the model from 10 inches across the board and will be making her first attack with 11 dice (base 5, +4 charge, +1 gang-up, +1 for commanding aura) and reliably generating 5 successes on the hit. This will do 4 damage, followed up by 2 attacks at TAC 7 doing an additional 3 per attack. Let's compare with the following list:
  1. Must be within 10 inches of the target
  2. Blackheart is already engaging the target model she'll be attacking
The comparable damage is 12 damage to the single target (possibly 12 to 2 targets in an ideal situation) vs 10 damage to a single target. Gutter took 4 influence and had to be closer to the target. Minx was further away and only required 2 influence. Gutter generated 4 momentum while Minx generated 3 momentum.

I have found that the more often I play savvy opponents, both locally and at the top tiers of tournaments, those opponents know how to counter Gutter. They watch for her and since she's a threat they focus on removing her or mitigating her threat. Minx tends to slip under the radar more and is not considered as much of a threat, or considered out of range to get into combat. When I combine this with her Marked Target being useful for Decimate and Blackheart charging, extending both their threat ranges, she is far more useful to me. Gutter can still chain grab, but in a team that cannot boost her number of attacks or drastically increase her damage on character playes, every chain grab is less effective damage she delivers.

As such, Minx is better with Blackheart. Spelling it out here are my reasons:
  1. Greater threat range
  2. Similar damage range (10 - 12), same threat if her charge spikes to 1 additional success.
  3. Only 1 less momentum generation (which becomes same if Gutter has to chain grab)
  4. Better team enablement with Marked Target

Conclusion .... for now

This should give you a good handle on how to start including Minx into your lists. I think she works very well with both Union captains, as you can see above. Minx also plays for Masons, Butchers, Hunters, and Morticians. I will write a future article about how she works with the Hunters, suffice it to say I think she's very useful in that influence constrained team. I think she fits well with Butchers as well, enabling the build of a team that's almost completely furious. I don't think she brings as much use to Morticians nor Masons, not really filling a necessary niche in those teams.


Monday, September 26, 2016

Painted Models - Hunters

During the Summer I typically have the opportunity for a Work-Cation trip to New England. This is a two week period of time where my wife, mother-in-law, and kids get to go to the beach and I settle myself out on the porch and work. One of the high points of this week is the relaxation and an increased chance to paint. This, along with Christmas, is typically my highest level of yearly productivity for painting miniatures.

This year I brought a number of things with me including my entire hunters set. These were already primed and I had been waiting to paint them before playing them. I'd stumbled around trying to figure out a good scheme for them for a while. I thought I wanted a fall theme but was having trouble picturing the right combination in my head. Thanks to "The Art of Wargaming" on facebook, I found the scheme that fit the picture in my head. While I certainly do not compare to their level of painting, I am pretty happy with my table top quality Hunters.


Overall I'm happy with the way the team looks, and I particularly like how they look when all together. Here's a group shot of the whole team.