I will be going through and writing up some reviews on the different Guild Ball teams. I plan to get these written up as I gain experience playing the teams and only after I feel I've gotten a good grasp on how the players play. There is one other blog I've been following lately that has written some fantastic reviews on the teams and the players. Docbungle over at
Miniature Musing's of the Bear has great character write-ups which can be quickly found using his
Team Talk tag. That said, let me dive into my own review of the first team I painted and started playing, The Masons.
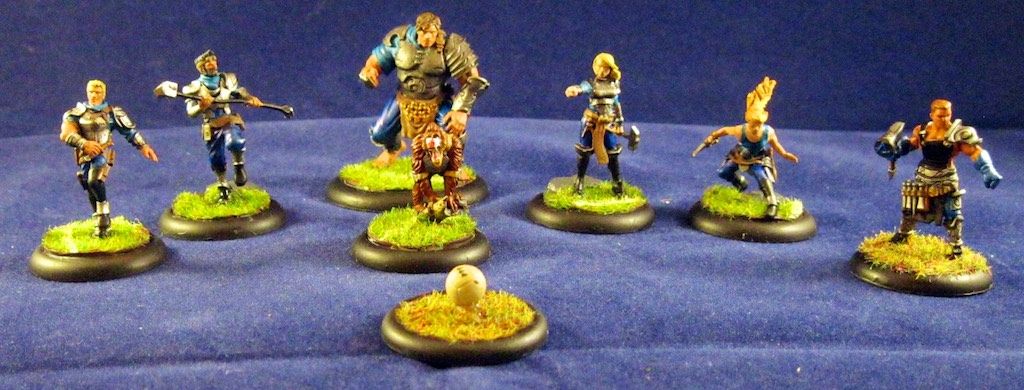
Masons Team Overview
The Masons were the first team I chose to paint up and play after receiving my kickstarter. I made this decision from the choices I had, Masons, Brewers, Alchemists, Morticians, Union, primarily due to ease of painting and secondarily due to play style. I expected the Masons to be the most direct team to play as they were billed as the "every man synergy team" during and after the kickstarter.
Having now gotten several games in with them, I agree with the original assessment, although will quickly point out that despite being a "middle ground" team they have a fair bit of depth as well. There are two methods of scoring victory points in the game of Guild Ball, scoring goals and taking out opposing players. The Masons deliver on the middle ground but not being the best at either scoring method, but by being "pretty good" at both. This allows them to shift between the two during a game, adapting to the strengths and weakness of their opponent. Masons deliver exceptionally well with the "whole is greater than the sum of the parts" play style.
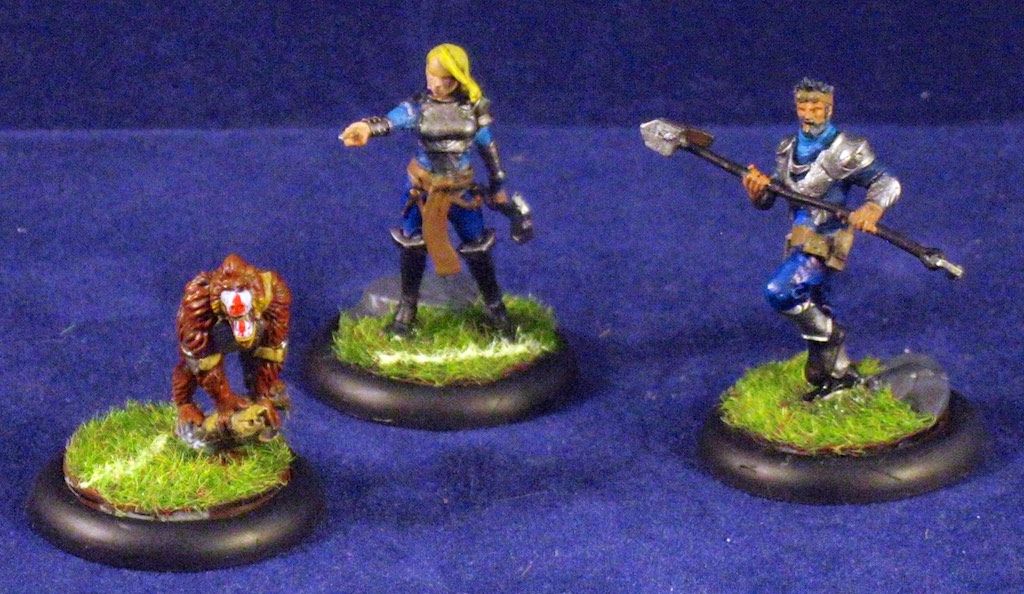
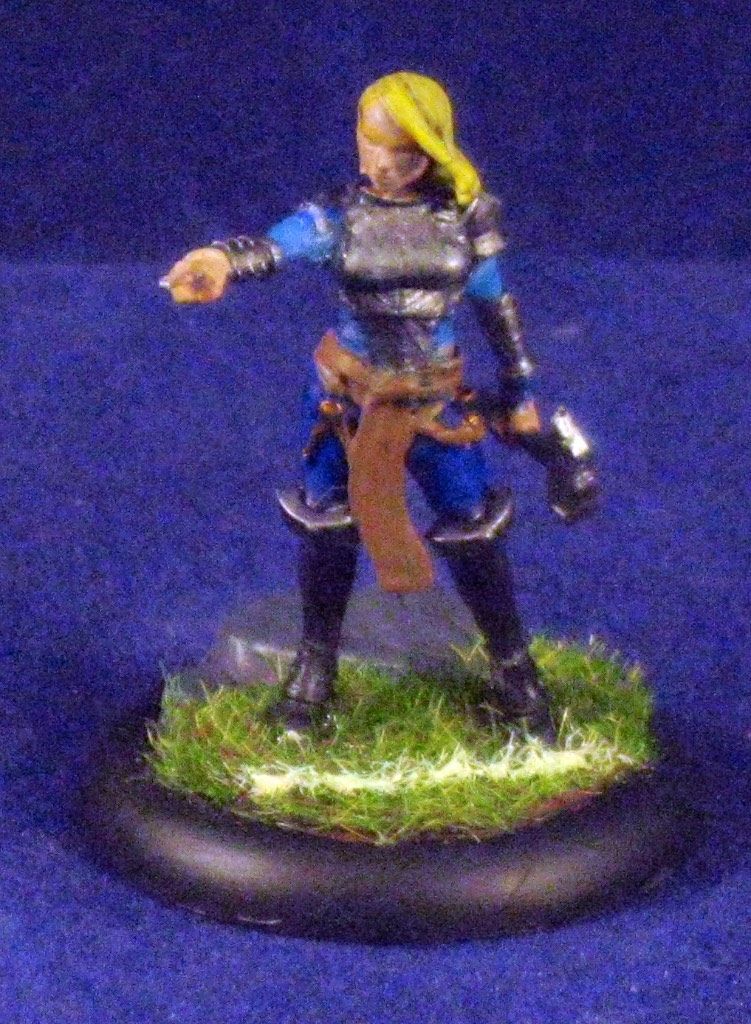
Honour
Honour, as is typical for Guild Ball team captains, has a lot of abilities she can play around with. She comes to the field with an excellent movement of 6"/8", TAC of 6, and kick of 4/6". While she is fairly easy to hit with an average defense, her armor of 2 makes it really tough to actually land those successes when attacking. Honour also brings the most influence to the team, contributing 3 during the maintenance phase and able to hold up to 6. She needs these influence however, as there is a lot you'll be wanting to do with her.
Honour has a Legendary play, "
Topping Out", which allows her to choose between gaining an additional armor for the remainder of the turn, or picking up an additional free influence. Once this choice is made all friendly guild players within 4 inches receive the same bonus. This is a very good legendary play, but has the limitation that it only benefits Mason's guild players, not any union players which may be joining the team for a game.
There are a couple of key choices to make when allocating influence to Honour at the start of a turn. Honour benefits a great deal from a solid plan prior to the start of the turn opposed to being flexible during the turn. She has two fantastic character plays, both requiring influence to use in place of being triggered by the play book. "
Quick Time" allows her to re-position herself or friendly model within 4" with a 2" dodge at the cost of 2 influence. "
Superior Strategy" grants a model within 4" (including herself) the ability to take a second activation during the turn plus gives them an additional free influence. Honour also has a very nice playbook, making her a very viable combat model with a high TAC, character traits granting extra damage, and a good damage. She can make very efficient use of influence aimed toward combat, typically able to deal 2-4 damage per influence spent plus generate momentum.
Honour is also a bit tricky to pin down in combat unless the opponent has a 2 inch reach. She has a character trait called "
Responsive Play" which allows her to make a free attack when an enemy ends an advance within her 1" melee range. Using this play and her very high TAC, Honour can pretty easily score 2 hits allowing her to deal a point of damage and then dodge 2 inches away from the enemy model. This is also momentum generating, which is almost insult to injury when you typically end the dodge in a place the opponent can no longer attack you.
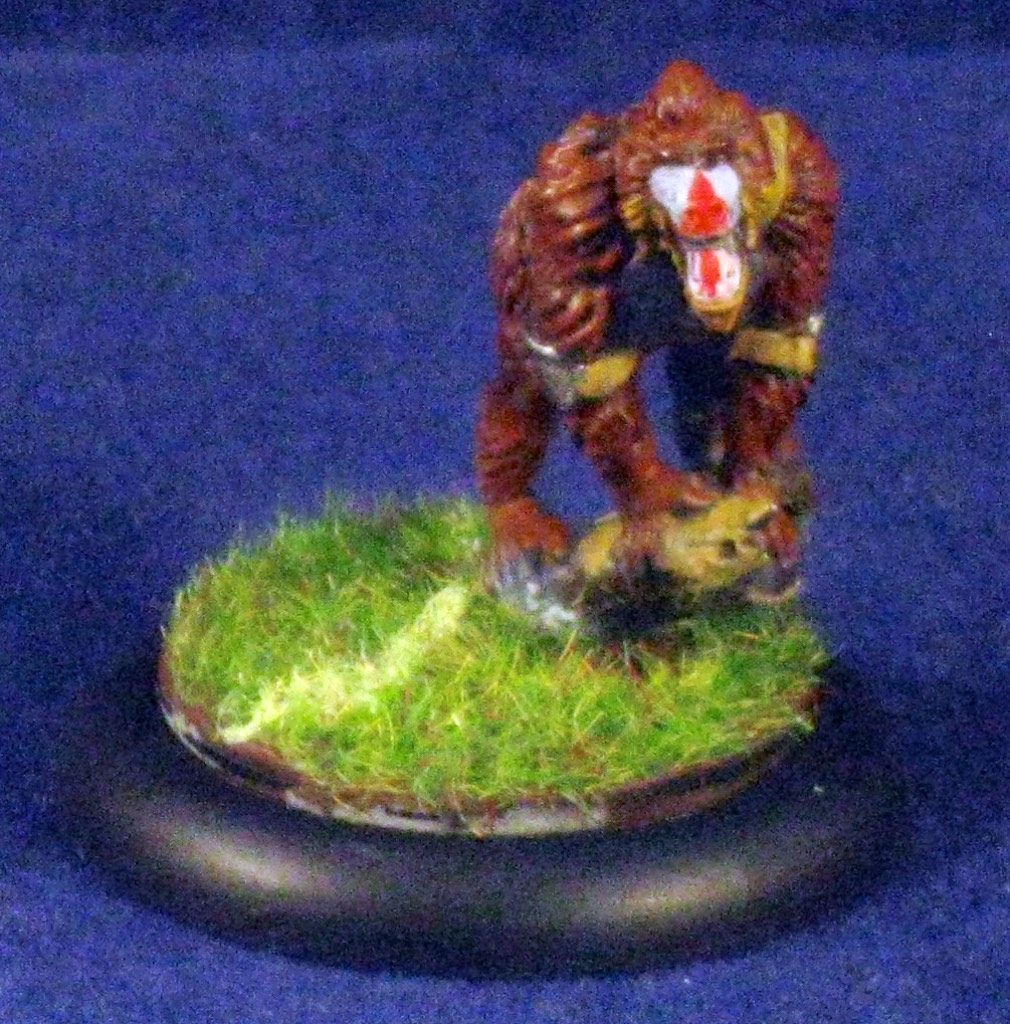
Marbles
Marbles is a lovable monkey mascot for the Masons team, which we know because it's actually listed as a character trait of "
Loved Creature". This is a nice trait to have on a mascot, as it grants the team some excellent bonus when opponents spend time hunting down mascots for easy points during a game. Marbles is one of the more useful mascots in my opinion, bringing some key abilities into the team.
To start with, Marbles is able to help out Honour simply by sitting near the model she wants to take out. Marbles provides an additional dice to Honour's TAC plus an additional damage to her playbook plays simply by engaging the model she is attacking. Marbles also bring the character play "Tooled Up" at the cost of 1 influence, granting a model +1 damage to playbook results and character plays.
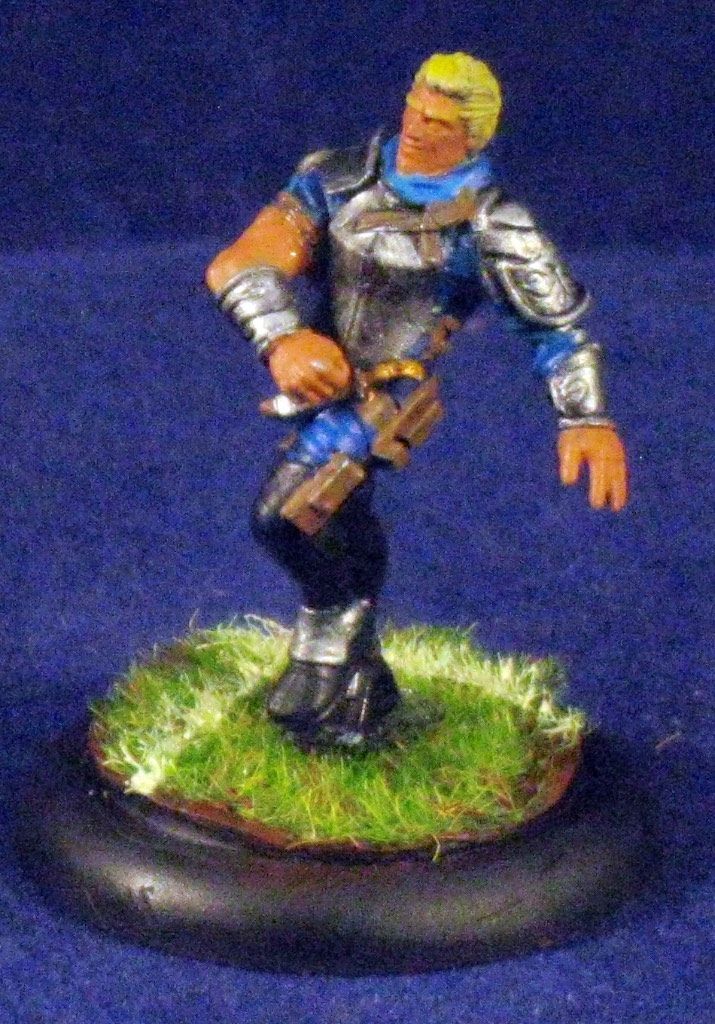
Flint
Phil, who co-hosts the
Guild Ball Tonight podcast with me, claims that Flint is not only his favorite character but also the best striker in the game. I really cannot argue with him at all on either of these opinions, especially since Flint truly delivers on the Striker front. Flint brings to the table an amazing (and best in the game) 22 inch threat for a goal shot. This is achieved via a combination of multiple abilities he has, but that 22 inch threat is not including any additional buffs from other players on the team. Added to this is the ability "
Close Control", which means Flint will not give up the ball on the first tackle of every turn.
I find it nearly impossible to not include Flint in every team lineup I play with the Masons. Simply having that single scoring threat on the board is invaluable, even in games where I am focusing on dealing damage. Flint is amazing at grabbing the ball from other players with a low success momentous tackle, and at scoring once he has the ball. He is also a "snap shot" threat if he is parked near the opponents goal, which he usually is. I have had games where Flint has earned his place in the game simply by standing on a flank and being a scoring threat, forcing my opponent to play heavily to the other side of the field away from Flint.
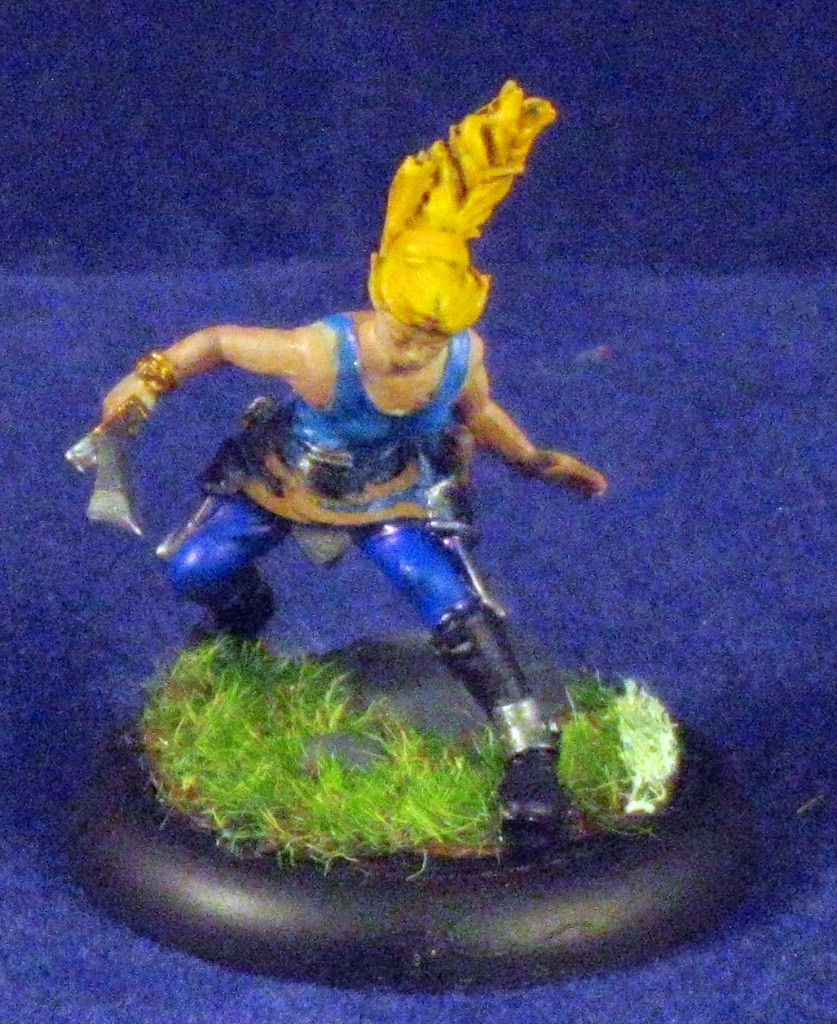
Harmony
Harmony is Honour's little sister according to the Guild Ball back story, with abilities that reflect that on the table. One key ability is actually a character trait on Honour's card, allowing Harmony to activate out of sequence after Honour ends her activation. This allows for some very adaptive play, especially if Harmony is positioned near Honour in order to utilize her Family ability to grab Honour's kick or TAC. It's also a wonderful sneak play if Honour can grab the ball and pass to Harmony while the younger sister is in a key position to make a goal shot.
Those two abilities are the best ways to utilize Harmony in my opinion, although I have not been successful at getting either to work well. Harmony has a nice single success momentous tackle, but her default TAC of 3 means this struggles to go off against most strikers. She does have the hated "
Scything Blow" character play, but it's tough to trigger and she only has a 1 inch range for it to work. Overall I like the model and enjoy using Harmony on my teams, but she is first in line to be swapped out for a replacement player.
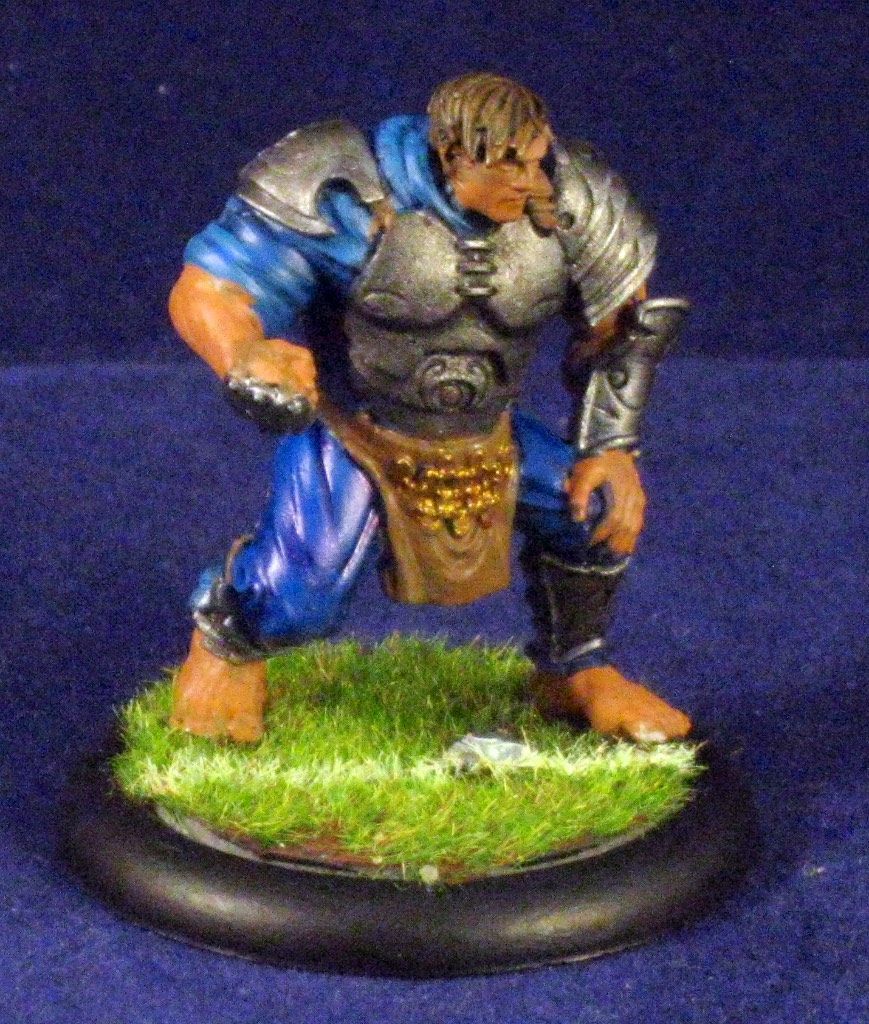
Mallet
Mallet is potentially my least favorite model in the Mason team, when it comes to painting him up. On the table once painted he delivers consistently in every game I put him into. He is part of the "Mason's Brute Squad" I run, able to deliver a hell of a damaging blow and bringing a key character play in "
Singled Out". That play, which he triggers on a single momentous success of his playbook, adds +2 TAC to a targeted model for any subsequent attacks that turn. This becomes a really nasty combo when a "
Tooled Up" Honour decides she wants to remove a model from the table.
Additionally, Mallet has the character trait "
Extended Reach" which increases his threat zone to 3" while he is active. This is very useful as he is one of the slower models in the game, only clocking in a movement of 4"/6". He augments this reach when charging by knocking enemy models back 2" and dealing an additional 2 damage when choosing a damaging playbook result during a charge. Mallet is excellent at moving enemies into position for other plays while subsequently buffing those plays for other models.
Brick
Brick is the much maligned large base player for the Masons team. He is one of the "big boys" in the game, with a meager defense of 2+. This makes him very easy to hit and allows teams to potentially "farm" momentum and character plays off him. Brick brings some important abilities to the Masons which really shine when used well.
First on that list is a ability known as "
Counter Charge" which grants Brick an out of sequence free charge at an enemy who ends their advance within 6 inches. When this is combined with Brick's ability to "
Knockback" enemy models, pushing them 1 inch and following up after the push, he is key to protecting other models on the team and blocking incoming charges and advances.
Unfortunately players have learned how to mitigate Brick via engaging him with the charging model or positioning other models earlier in the turn engaging Brick. That engagement plus Brick's mid-playbook Knockdown result (thus he cannot easily become unengaged) reduce Brick's effectiveness on most Masons teams. This seems to be the reason he is tied or second place to Harmony for being swapped out for other models on the team.
Tower
Tower is the model on the team I have the least experience with, having picked him up after the kickstarter and only recently gotten him into rotation. Overall Tower seems to operate as a small base Brick, contributing a bit more resiliency via a 3+ defense. His other abilities are very similar, with slightly different placing in his playbook thank Brick.
Tower brings two interesting abilities to the table, one in the "
Shout Out" character play and one in his heroic play "
Protect Those Close". I have not yet found a good situation where using his heroic play made sense, a play which forces him to take damage in place of friendly models within 2 inches. Alternatively I have made the attempt to use "
Shout Out" multiple times and been unsuccessful with my rolls every time. That play is a control style play which forces the targeted model to activate last in the opponents turn, giving me some capability to manipulate my opponents plans and plays. I've been consistently fielding Tower in place of either Harmony or Brick in most of my recent Masons games, and have yet to feel like the team is missing anything.
Union Additions
There are 5 union players who will play for the Masons team, Snakeskin, Decimate, Mist, Minx, Avarisse & Greede. I have included Snakskin, Decimate, and Mist in my lineup each a single time to try out different things. My overall experience with Snakeskin was fairly neutral, with her neither shining nor letting me down. I am still learning Snakeskin so feel I am not using her to her full potential yet and thus have no real judgement.
Mist adds an interesting dynamic to the team by putting the two best strikers in the game on the same team. This creates some horrible scoring threats for my opponent, and some real opportunities for goal scoring and snap shots. Combining both of these players with the typical Mason's brute squad of Honour, Mallet, Marbles creates a tough team to face. This also leaves a final spot for any of the other players to fill in a back-up role to the players taste.
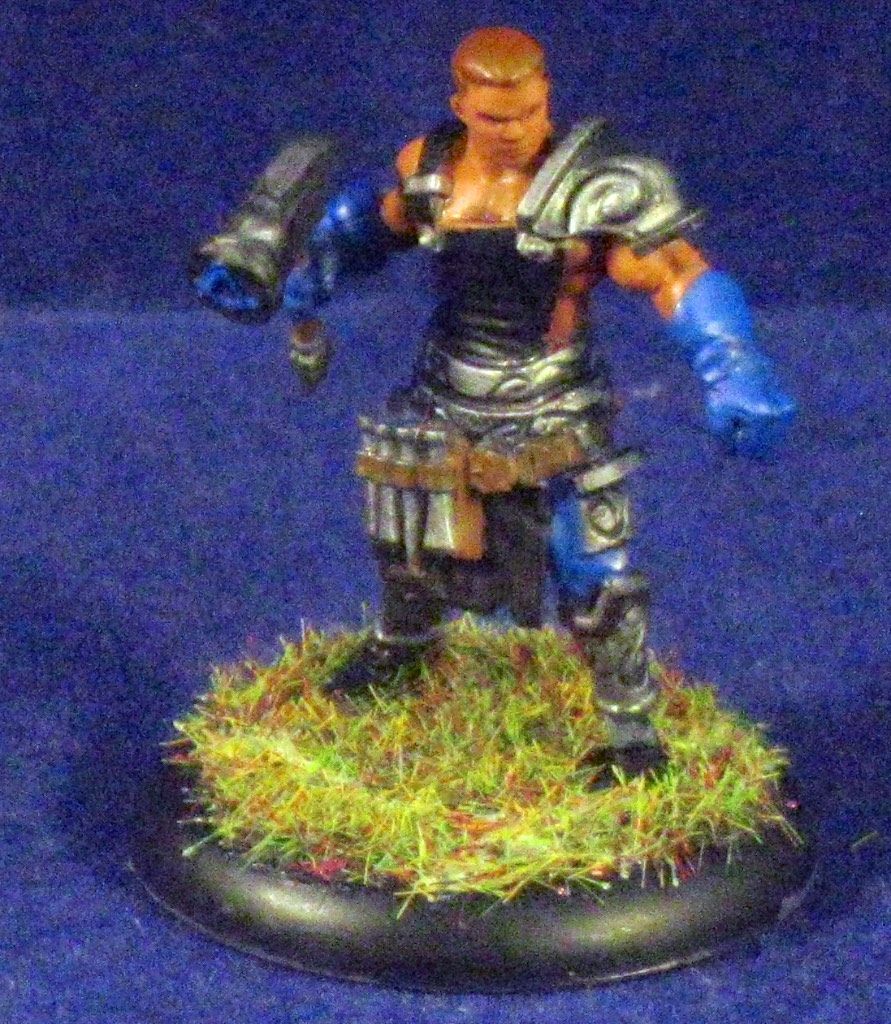
Decimate is fairly maligned by my Guild Ball tonight cohost, with claims that he cannot get her to work well on the team. I have found her to be a delight to play with the Masons, teaming her up with Marbles and using "
Tool Up" on her to increase her damage. Decimate is very influence hungry but is able to translate influence to momentum on a one to one basis reliably, and adding "
Tooled Up" makes her easily reach a 2-4 point damage spread on each hit. The fact her hits all have a dodge included means she is incredibly maneuverable while dealing that damage.