Recently I wrote up a bit of a description on
my Union Brute Squad portion of the Union team. The idea behind this was a grouping of players within the Union line-up who operated as a highly effective combat team. This team, when working at peak effectiveness, was highly efficient on it's influence cost to take out an opposing player in a single turn. This left a fair bit of influence to be assigned elsewhere in the team, allowing alternate threat's during a turn and forcing tough choices onto an opponent.
I wanted to take some time to write up the mirror of the union brute squad as it plays out for the Masons team. I like this look at the Masons vs the Union to demonstrate how the Mason's work together as a "whole greater than the sum of the parts" style team. The Union Brute Squad has synergy, but each model is playing their own part and delivering an individual contribution to the overall result. The Masons build together and then bring the foundation of the play pummeling down onto the heads of the opposing player to deliver the same result.
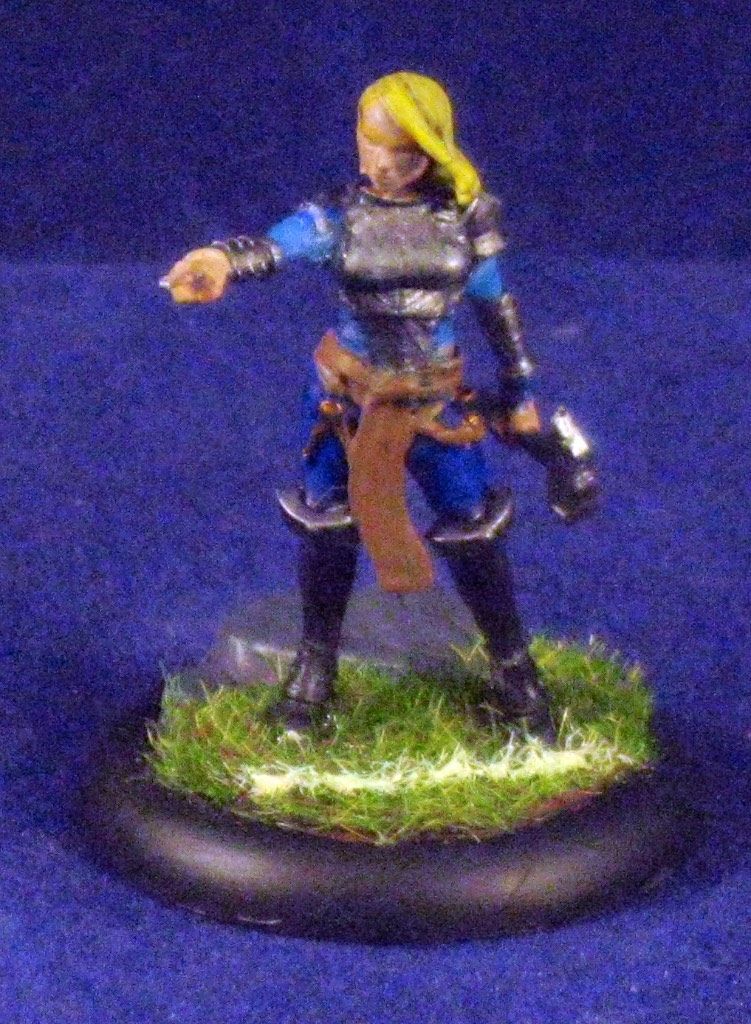
The Brute Squad
The Masons Brute Squad consists of three players, with the difference of one of those players is the mascot. This group combines character plays and positioning in order to buff a single player and then that player attacks to remove an opposing player from the field. The masons are able to accomplish this for an influence spend of 7-10 influence. This is a higher spend than the Union uses, but is in line with how the Mason's operate overall. One challenge to the Union Brute Squad is there is not the option for a "half measure" in the overall play. The lynch pin of the play is Honour, so if she is tied up during the preparation of the play the entire play can be weakened or stopped.
The Mason's brute squad has limited capability to reposition a particularly uncooperative target, but it's more a minor adjustment than a true reposition. Due to this, I prefer to target models who have already activated and are fairly fixed in their final position for the turn. Brick can provide a useful push when this is not possible, although he then uses some additional influence to line up the brute squad play sequence.
Roles
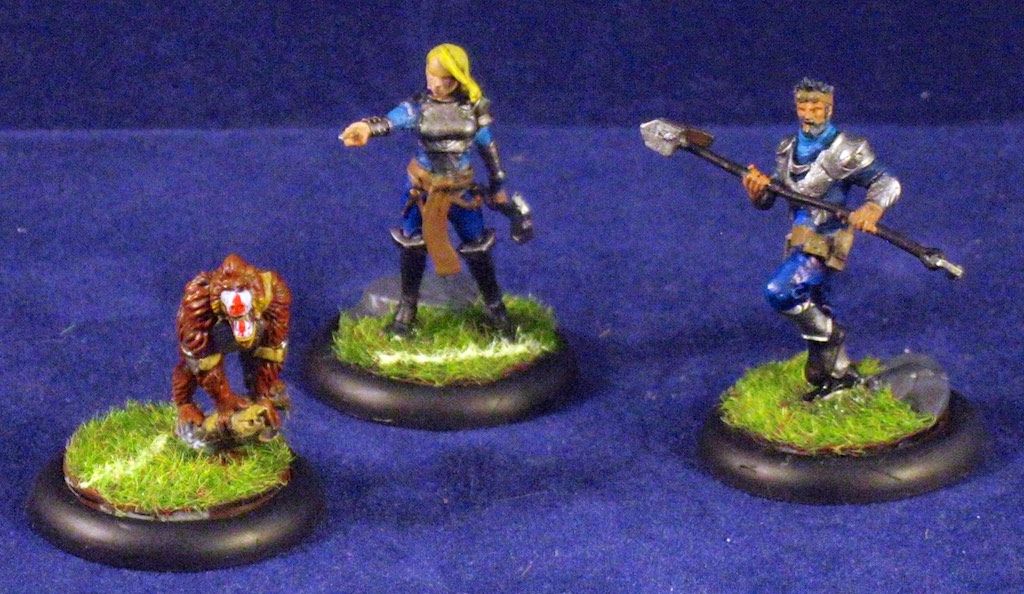
Marbles is the opener for the Masons Brute squad with a fairly simple job. One nicety of the opening play is that it appears fairly innocuous unless the opponent is familiar with your end goal. Marbles will be given 1 influence at the start of the turn and use that influence for his "Tooled Up" character play targeting Honour. After this he will move his base movement to engage the target player. That's all he does, no attack or other actions on the play. Marbles role is to provide a buff to Mallet through ganging up, along with his varied buff's to Honour. Honour receives +1 damage to her playbook results fro "Tooled Up" and an additional +1 damage to playbook from Honour's [Assist] character trait. Additionally he provides +1 TAC for ganging up and +1 TAC from the same [Assist] trait.

Mallet lines up second on the squad, preferring to charge the target. In a perfect situation Mallet will end his charge in base contact with the model on the opposite side from where I want to push the model 2 inches to end up. The end goal, regardless of where Mallet actually ends his activation, is to have the target model engaged by Marbles (within 1 inch), Mallet (within 2 inches) and 7 inches away from Honour. Mallet will charge in and is looking to deliver a single success from the charge to trigger his "Singled Out" character play plus a momentum. Where possible, Mallet would prefer to use his 10 TAC (TAC 5 + Charging 4 + Ganging Up 1) to deliver 6 success, which he would then choose the Knock Down and "Singled Out" results for 2 momentum. In the event he absolutely must push the target around, swap the knock down for 4 damage, losing a momentum but delivering a total of 6 damage and pushing the target due to his "Forceful Blow" character trait.

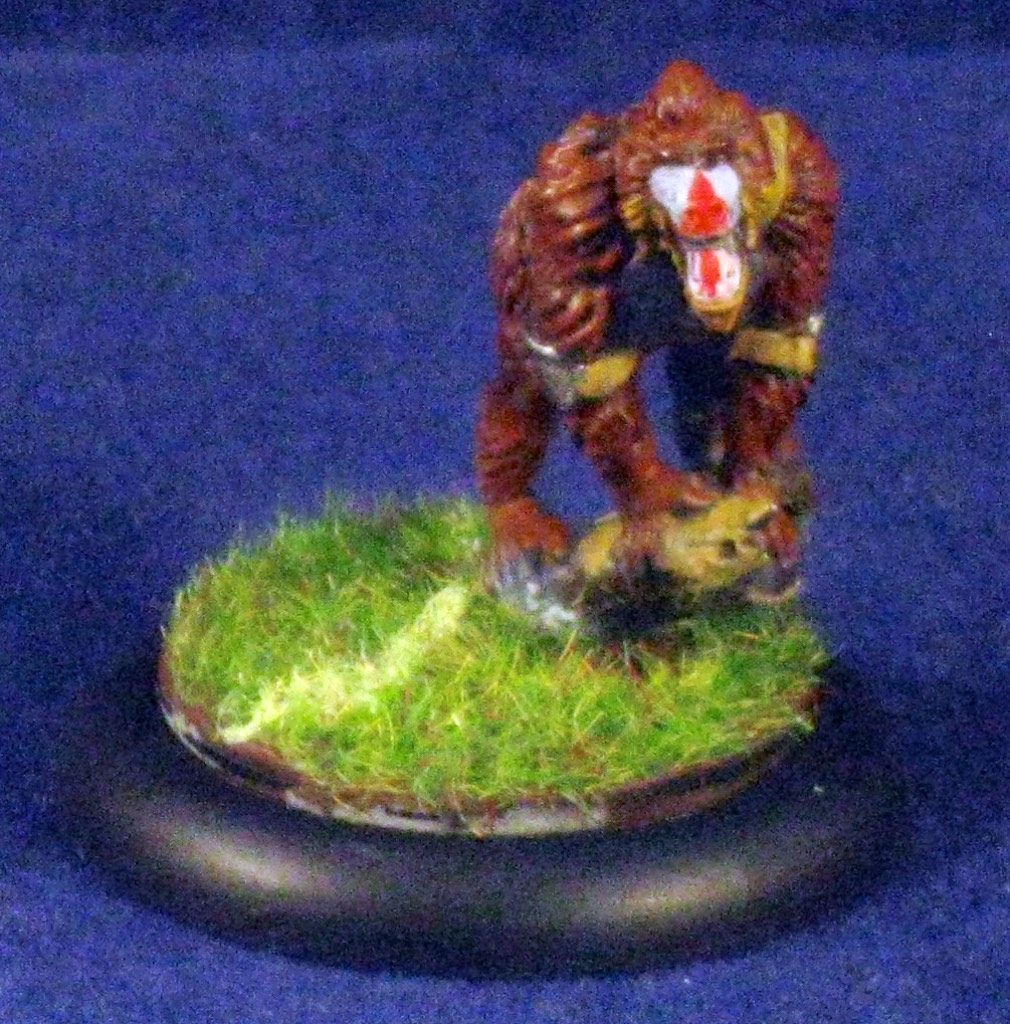
It's time to bring in Honour, who will be doing the bulk of the work in this combined play. Honour should walk into combat where possible and start swinging, aiming to use all 5 of her TAC to take out the target player. On each Influence spent Honour should be rolling 11 dice (TAC 6 + Assist 1 + Singled Out 2 + Ganing Up 2) and averaging 4 damage and a momentum per influence spent. If there is less need for momentum in the turn, she should be able to easily deliver 5 damage per influence on the play.
The Play
Plan to spend a minimum of 7 influence on this series of plays, potentially spiraling up to 10 influence to get it to work just right. Unfortunately this tends to tie up the majority of linfluence in the team, but that's the cost of using the Masons. On those 7 influence you should end up delivering 20 points of damage and netting 7 momentum or 25 damage and 2 momentum while taking out a player. All of this damage is dealt during the activation, which is a bit different from how the Union plays.
The ganging up component combined with the synergy between Marbles and Honour are key to the success of this play series. As previously mentioned, be careful of how the opponent reacts or deals with Honour, as she is the linchpin for the entire series of plays.