Monday, September 17, 2012

Dark Debts Game

This past weekend I was able to get in a game with fellow Wyrd Henchman Merbak (Shawn), the Grove City PA Henchman. One of my locals, Tim, and I headed up to Grove City to partake in Shawn's first Malifaux tournament. It was a 20ss tournament and I had a lot of fun playing Arcanists across the three rounds. I realize that at this point your wondering how playing Arcanists in 3 rounds of an event equates to a blog post about the Dark Debt's crew. Well, after the tournament Shawn and I were able to carve out time to sit down and play a game. I had just finished painting up the bases and a fair amount of my 10 Thunders models before leaving for the event, so I was very happy to get the chance to get them on the table. Shawn said he would not be taking 10T, but would be going Arcanist instead, which made a nice fit overall. We agreed to 35ss for the game size and I settled in to picking my crew.

Ok, it wasn't really picking a crew because I had just a bit more than 35ss to take Jakob as 10T. I knew I could throw some Stitched in if I needed to, but I wanted to try out a solid 10T crew led by Jakob. Missing a lot of the solid Orange models, I ended up with the following list:

Ten Thunders Crew - 35 - Scrap
Jakob Lynch -- 8 Pool
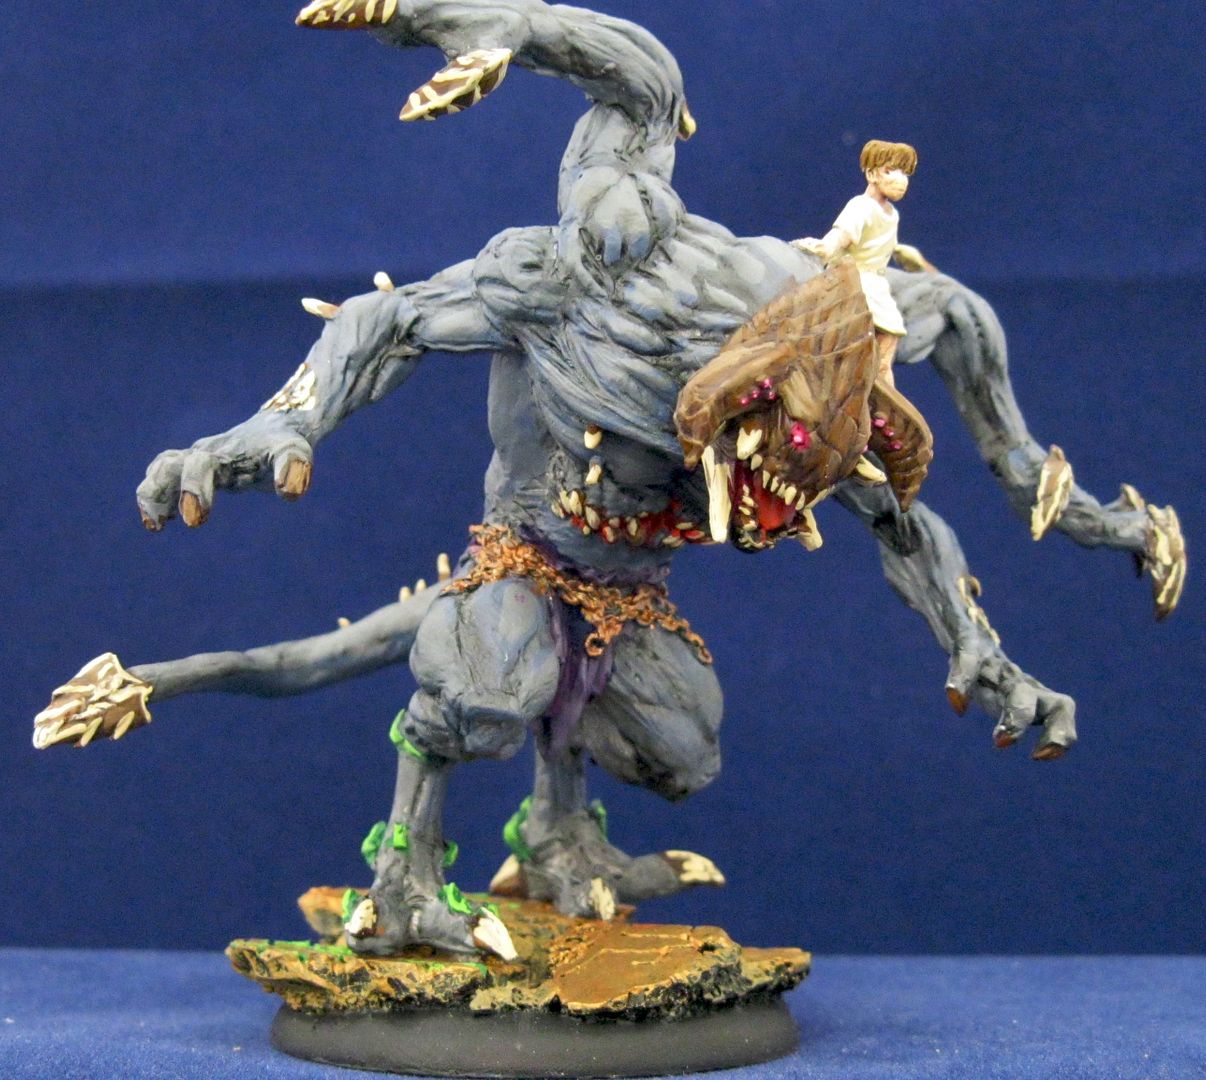
Hungering Darkness [0ss]
Beckoner [5ss]
Beckoner [5ss]
Mr. Graves [7ss]
Ten Thunders Brother [5ss]
The Illuminated [6ss]
I was playing with a full SS pool, but somehow when I added it up it came out to an even 35 stones (the crew creator has be losing 1 stone). There has been some discussion locally about how the Illuminated function, and as I had just painted mine up I really wanted to try him out.

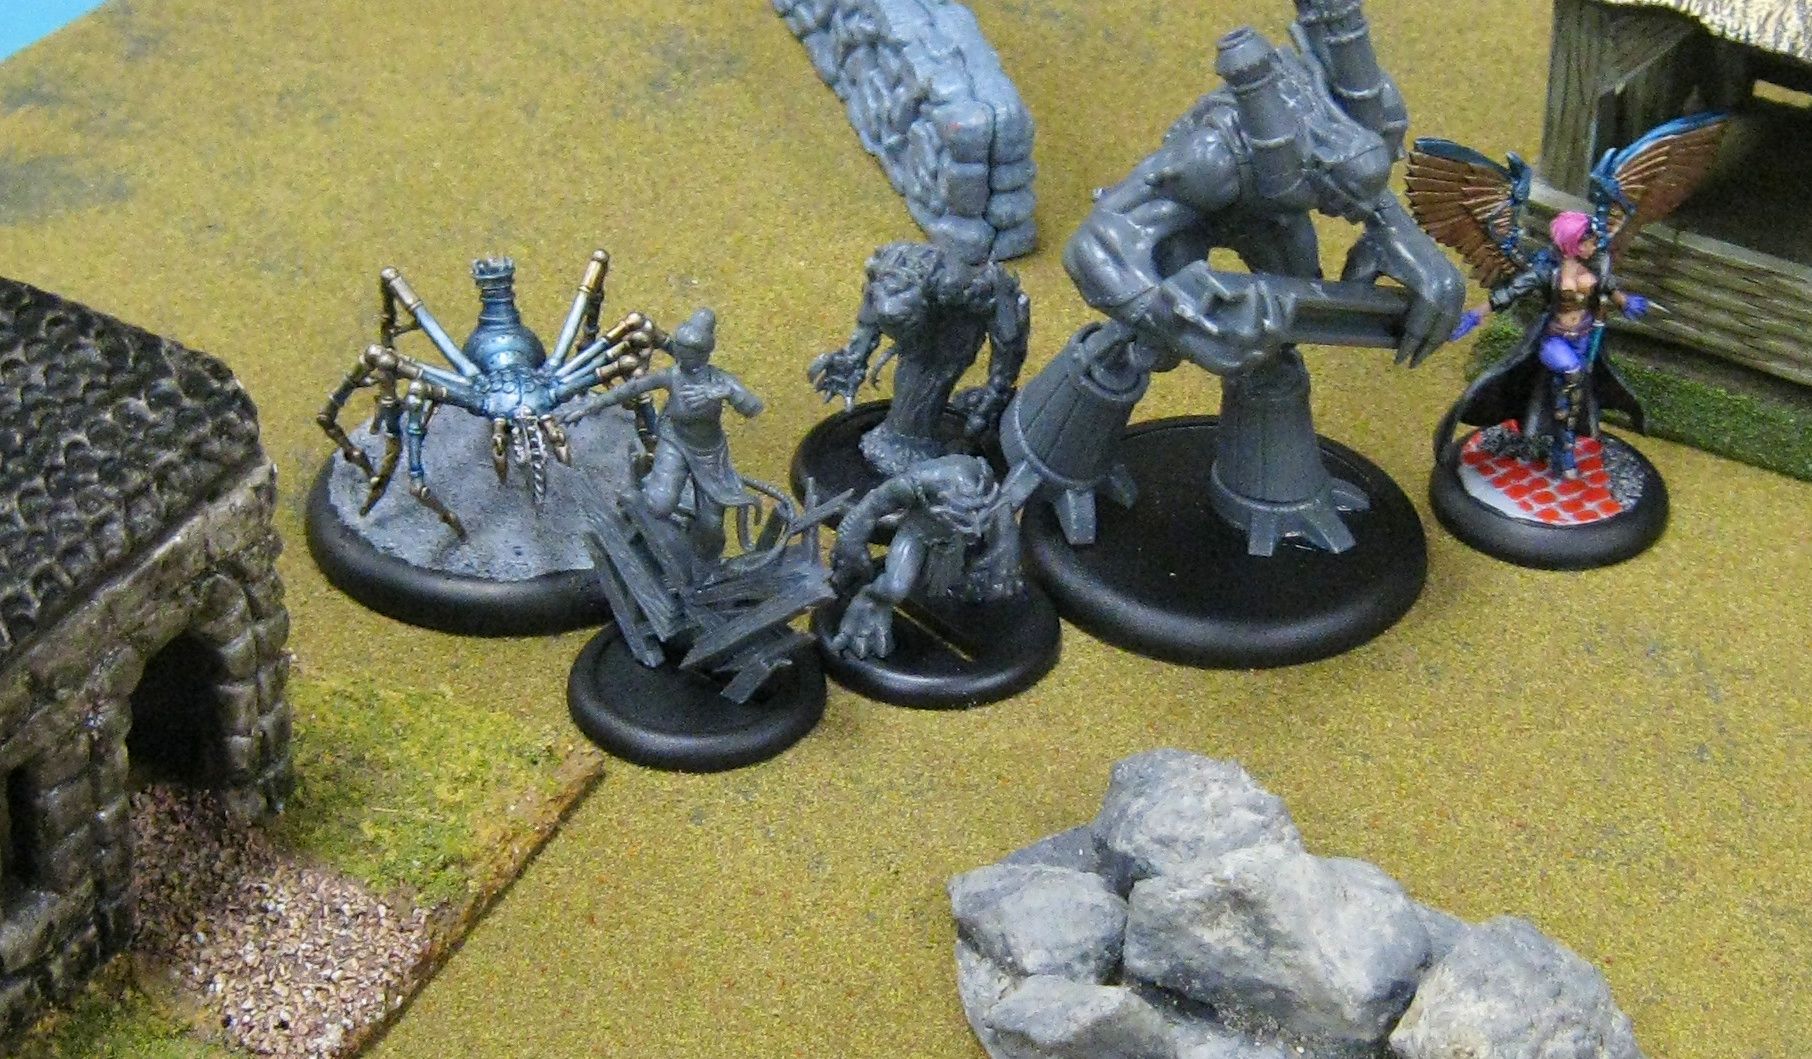
Shawn pulled his crew out across from me and I saw I was facing Fellow 10T Mei Feng, with her crew. He was playing her as Arcanists, but it was still Mei. If my memory serves well, his crew was:

Arcanists Crew - 35 - Scrap
Mei Feng -- 7 Pool
Emberling [2ss]
Kaeris [8ss]
Student of Conflict [4ss]
Metal Gamin [5ss]
Metal Gamin [5ss]
Steampunk Arachnid [3ss]
Willie, the Demolitionist [6ss]
The crew creator has Shawn sitting at 7 stones, but he somehow calculated it as 6 stones in his pool. I am not sure what his plan was for the small spider, but it was on the board.

We had flipped for strategies and I had ended up with Contain Power while Shawn had Line in the Sand. Looking at his crew I moved on to picking my schemes. I wanted to pull out and try some of the new 10T schemes to see how tough they really were. I went full bore and picked up Save Face and Spread the Light. Spread the Light was the Jakob Lynch with Huggy on the board scheme where I need to have two enemy models alive at the end of the game, both infected with brilliance. Save Face meant that if Shawn and I both did not get a full 4 points on our strategies, then I picked up an additional 2 points for my scheme. It basically constrained me to a max 6vp game. His schemes were Hold Out and Kill Protege on Mr. Graves.

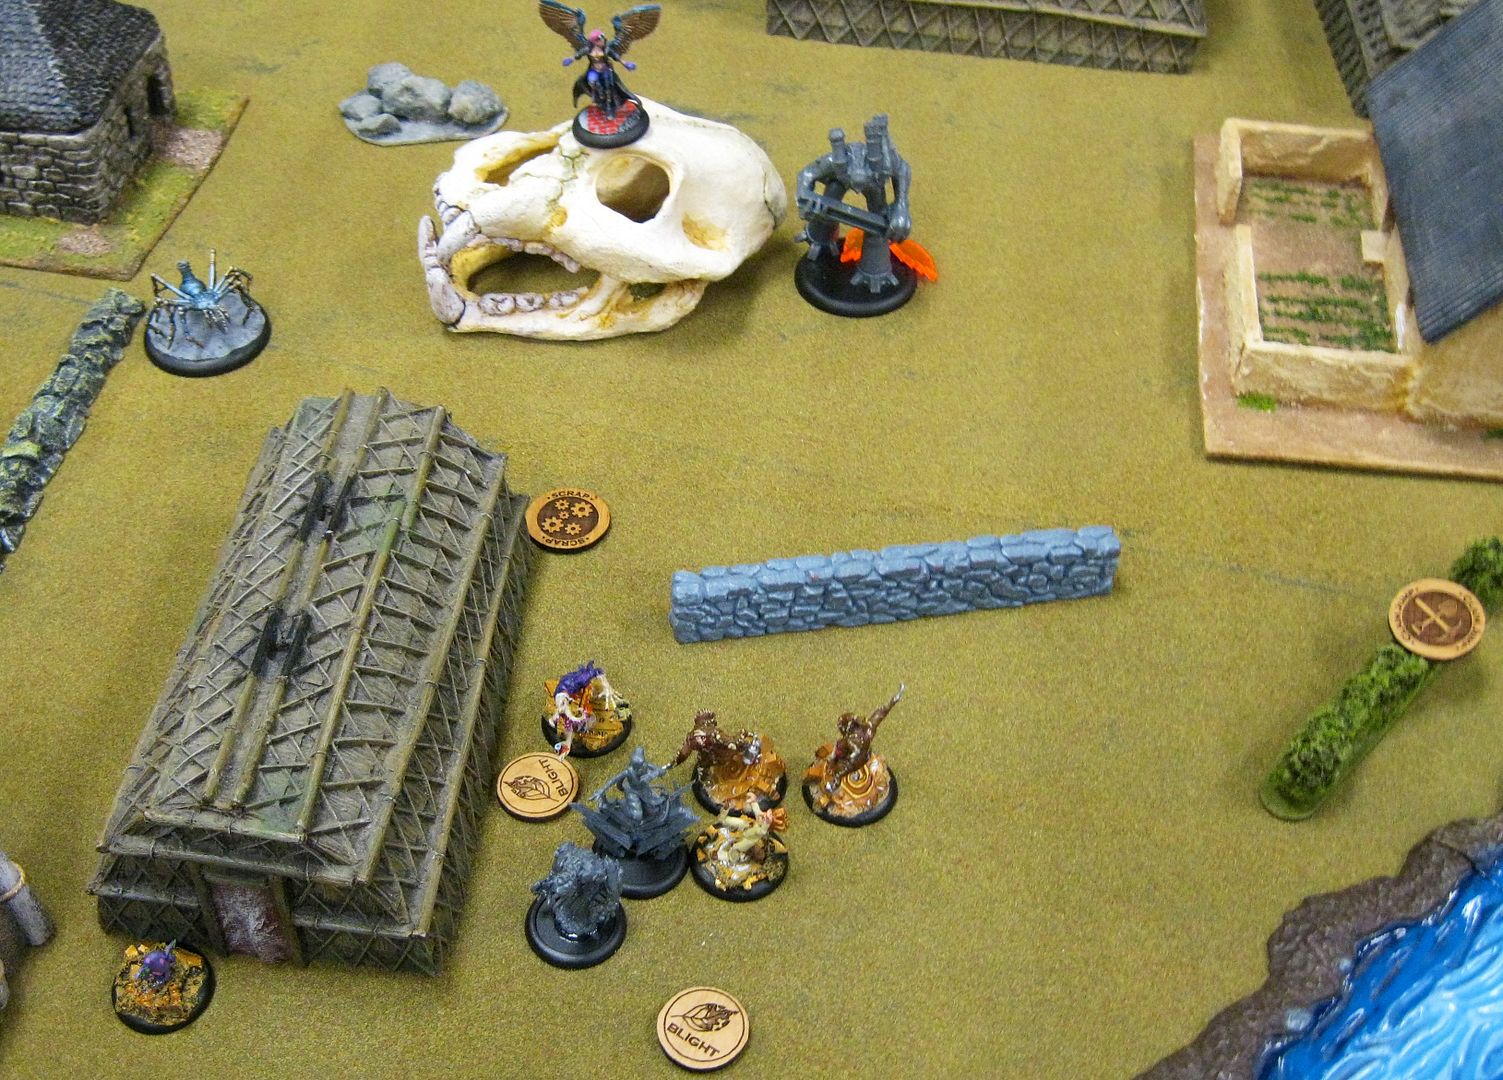
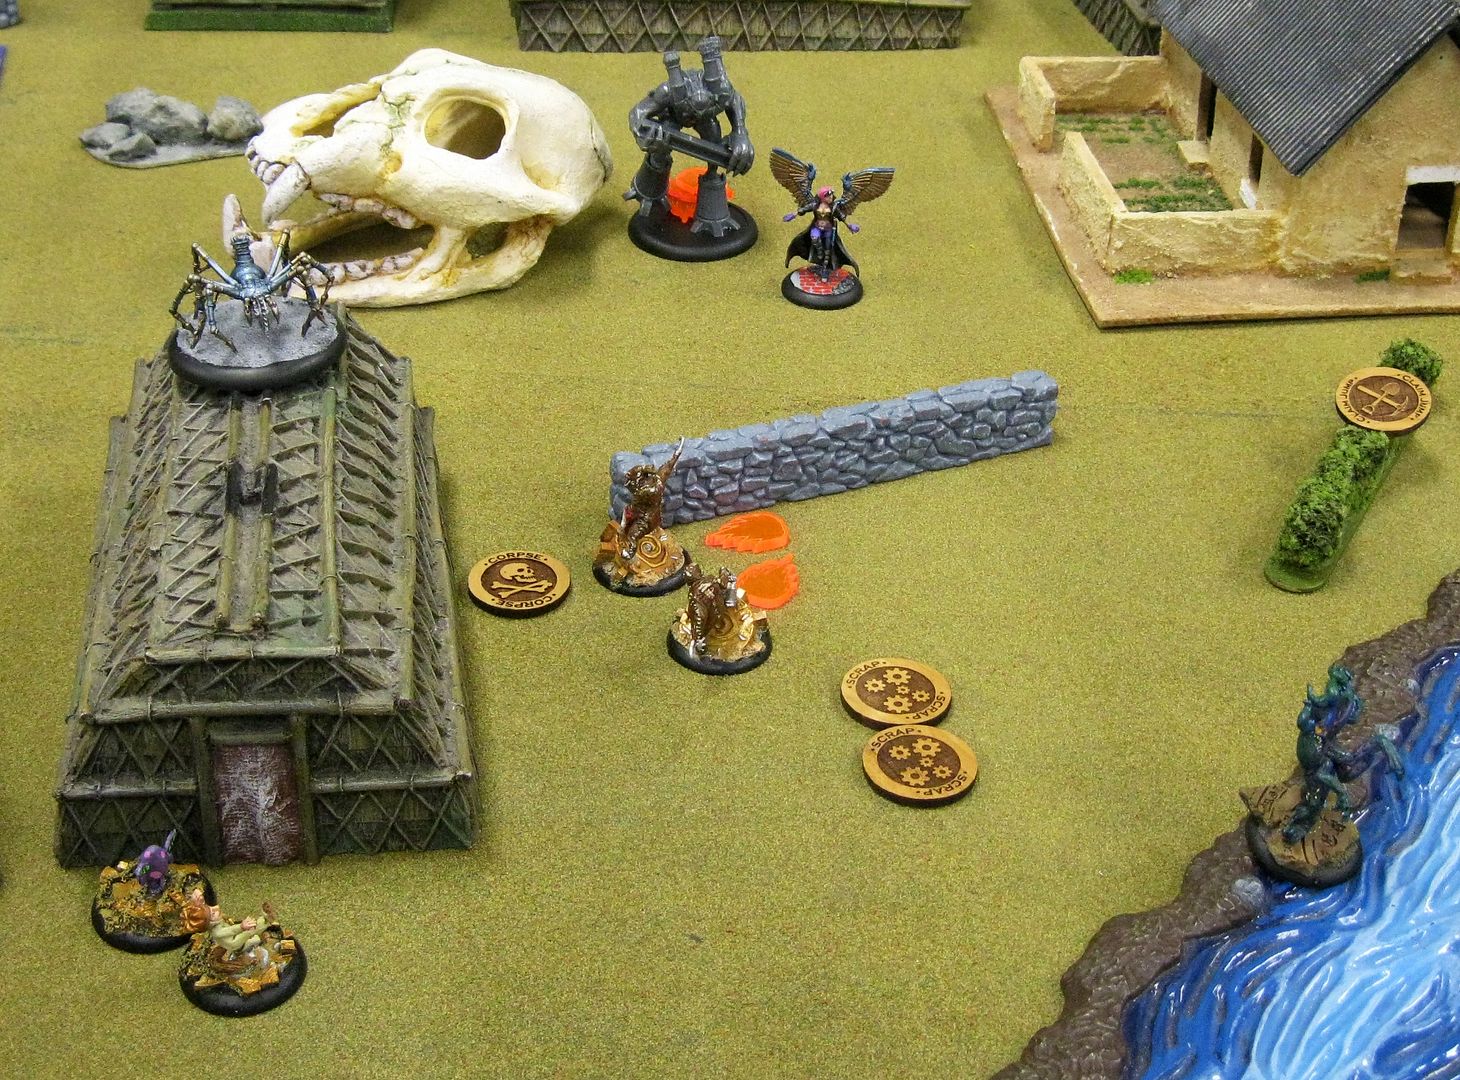
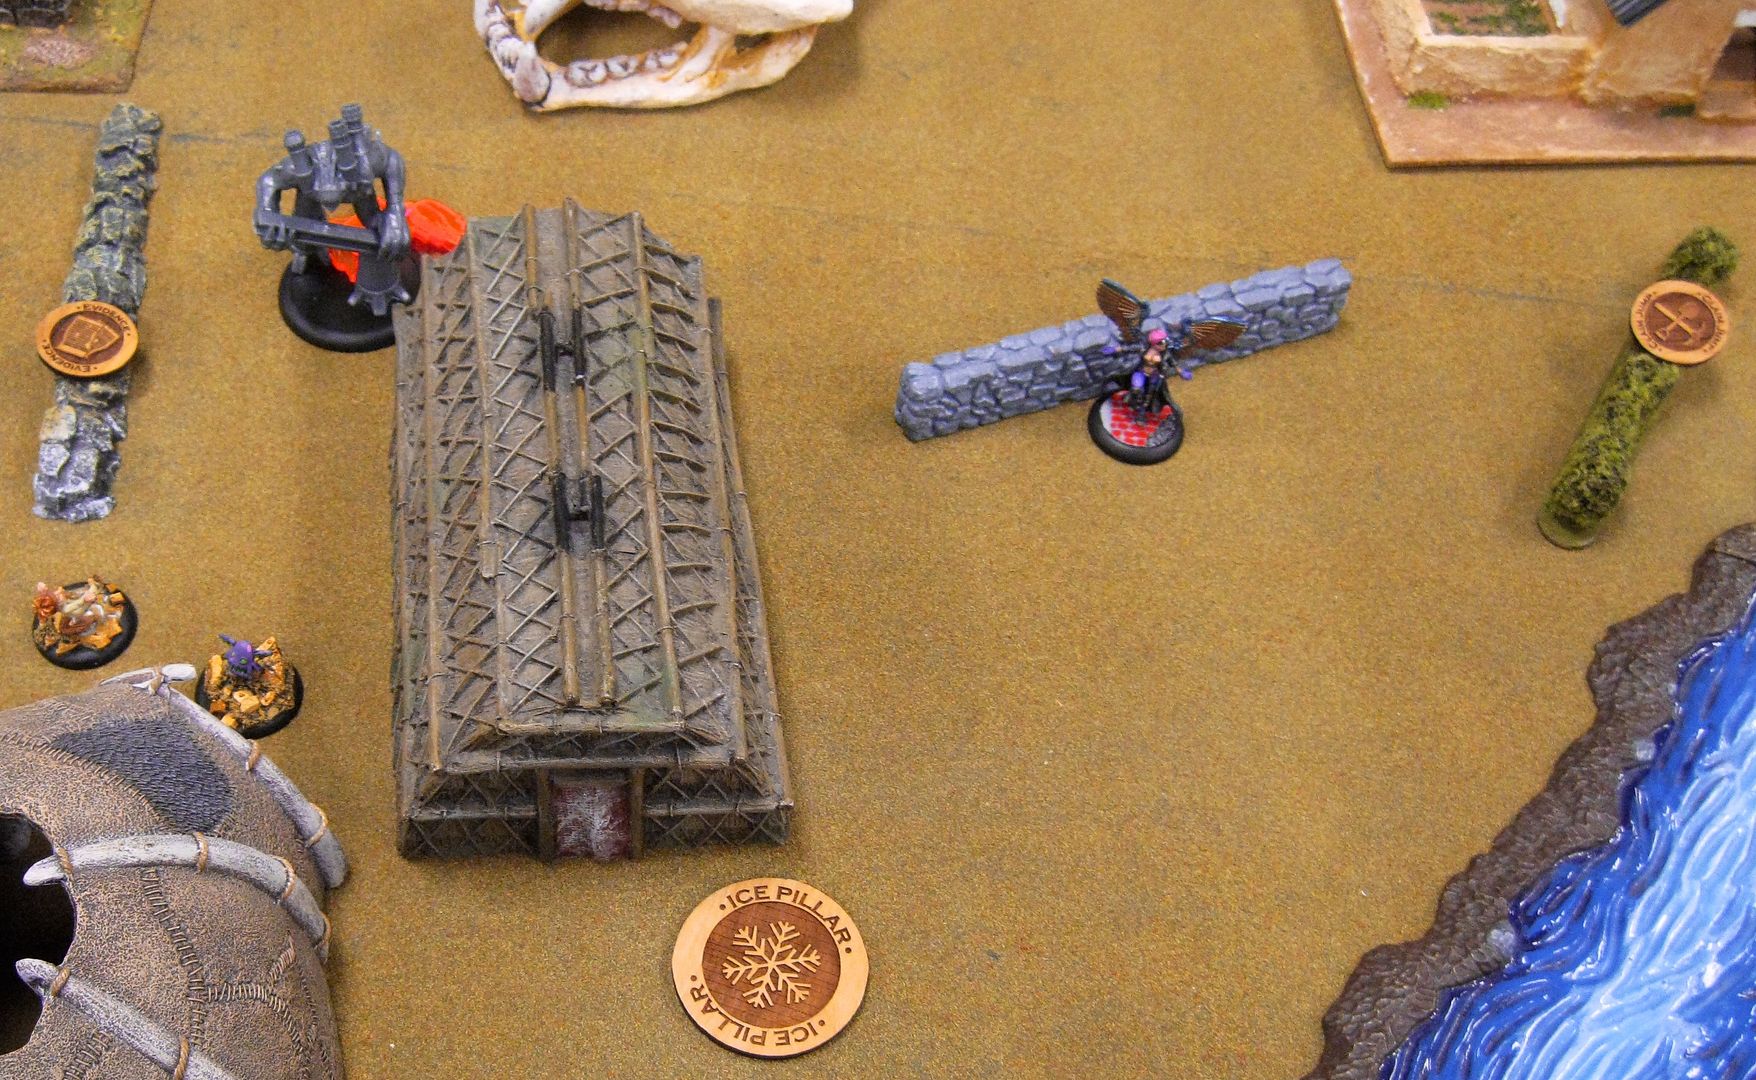
Now, I would love to give you a play by play recounting of the game, but I did not grab pictures and my memory is not that great. Keep in mind this was the fourth game of the day, with the previous 3 being during a tournament. With that said, let me try and recount some high-lights of the game and some things I learned or picked up. I will say, at the end of the match I won 6/2. Shawn picked up Kill Protege by killing off Graves with Willie's blasts, and I was able to pick up all my schemes while parking Jakob in his deployment zone to break his hold-out. The game was an incredibly fun time, and Shawn was a great opponent. Mei is a ton of fun to play against and Jakob and Crew were certainly a huge enjoyment.

So, observations and thoughts after the game.

10 Thunders Brothers - I had a brilliant plan with this guy. I am learning that after Saturday, anytime I have a "brilliant plan" I need to stop and rethink the plan, because its not so brilliant after some analysis. So, I deployed my crew in two groups, seperated by a building in between them. On one side I had placed the 10T Brother carefully positioned along with the Illuminated and a Beckoner. I figured this would be fantastic, as the Brother could companion the 10T models in that group and I could get off an Alpha-strike. This plan is brilliant until you look closely and notice that both neither the Beckoner nor the Illuminated are dual faction models. Both are pure Neverborn. Bah.

So, lesson learned. 10T Brothers cannot companion Beckoners or Illuminated.

Willie and a Metal Gamin - Holy crap is this guy a whole lot of fun! Shawn had a great move at one point of the game where Willie and his pet Metal Gamin found themselves facing the Beckoner/Illuminated/10T Brother team. Willie was locked in combat with the Illuminated and the Metal Gamin was protecting Willie. Willie down to 1 wound, and all three of my models were hurt as well. Willie and the Metal Gamin activated in companion, with the Metal Gamin going first. The Metal Gamin put up Hard Case, allowing him to grab 2 wounds from models in his aura, and then moved to the far side of Willie, keeping Willie in his aura. Willie then used his (0) action to drop a charge counter within 2 inches of him, but in a fair range of all my other models. He then proceeded to walk less than an inch, triggering the charge, and cheating in a black joker to cause a 5 inch explosion doing 5 damage. The damage killed off all three of my models, while Willie's armor reduced it to 2 damage which the trusty Metal Gamin then soaked up for him. At the end of the turn, the Metal Gamin had taken only 2 wounds, Willie was still at 1 wound remaining, and all three of my models were dead.

Incredibly cool!

Saving Face -  This was an interesting scheme to take. It had a couple effects on my game, and I think it was particularly suited to playing against an opponent who has Line in the Sand. Due to how Line in the Sand works, I only had to keep Shawn from flipping 1 marker to keep him at 2vp and give me a chance for my scheme. The trick was then to kill Mei Feng with a model that was not my master. On the bright side, Huggy works like a master but does not count as a master when it comes to schemes. This let me kill Mei with Huggy, which is a fairly even matchup, while still only getting 2 VP for the contain power kill. Even knowing this, I still killed Mei with Graves.

Spread the Light - This was another fun scheme. I really had to spend time thinking what I was going to leave alive in the game to get this. I ended up choosing the Metal Gamin and removing everything else. There is also the challenge of how to assure that the 2 target models are kept brilliant through the end of the game. There are really only 2 ways to do this. The first is have a Beckoner parked within 6 inches of the brilliant models at the end of the game. This is not hugely effective and can be a challenge. The more reliable way was to give out Permanent Brilliance with Huggy. I found that his Brilliance Granting spell was a good one to use for this, as it auto-triggers the perma-brilliance.

Graves - I really enjoyed using Graves in the game. I think that he is a great control piece who can be really dangerous when the enemy closes in. I got some decent use from Bar's Closed to move my own crew up turn 1. I am looking forward to getting him into a couple more games, but to be honest I need to consider his long term use. I have some decent control pieces in Jakob's crew already and I can see an additional beater melee model being helpful to the crew. Once I get him in hand, I am going to try swapping Graves out for Ototo and see how that works. At this moment, Ototo is still in the box and on his way to me, so Graves will be my go to model for now!

Illuminated - I think these guys look really good on paper. Really good. I even like a couple of the models and am looking forward to painting them up. Honestly, I am not sure how much they will make their way into my crews. At 6 points I believe there are better models that could fill thier slot. Both Torekage and Archers come to mind pretty quickly. The Illuminated were not bad, they just did not perform as well as they looked. I think this is a theme for this book, where there are models that are just different in performance than how they read on paper. I expect a fair few surprises coming up over the next year. The Illuminated did not deliver as well as expected, but they are not horrible. Again, my replacements are not available to me at the moment so I will probably keep 1 illuminated around for a while.

Those are the real big thoughts from the game. I loved playing Jakob and Huggy and they both delivered as expected. I was able to get a fair number of cast's for DMH through the game, and even got an excellent use of Mulligan where I replaced a hand with a high card of a 5 with a hand that had a low card of a 9. Huggy delivered as expected, making models brilliant and even re-summoning in with a pair of 13's. He was very resilient but did not heal up as much as my local group has mentioned. I found myself not often using his (0) consume brilliance spell as it would do more damage to my crew than my opponent.

I am certainly looking forward to more games and need to get some pictures of my crew uploaded.


Thursday, September 6, 2012

Tuesday Main Event - Dreamer v Mei Feng


Slaz and I agreed to throw down for our groups semi-regular Tuesday Main Event on the most recent Tuesday night. Slaz really wanted to get Mei Feng on the table, but was lacking clockwork traps and some other goodies. Due to this he decided to field her as an Arcanist. I have not played many Dreamer games this year, and after bringing him out for a game at Gencon I was hankering to get him back on the table. We agreed to 30 stones and got ready for the game. I missed a couple pictures (like the board set-up) for the Battle report, but grabbed all the turns. I also marked out where models died during a turn with a variety of markers, which I will note through the report.

Set-up
I did not grab any good pictures of the complete table, which is a shame. I am out of practice on grabbing pictures for battle reports, and this shows part of it. On the bright side, I did grab pictures of the crews and the end of each turn. The board had a number of rounded buildings set-up across the board, mixed with some regular small houses and barns. There was a river running on the right of the board, through my deployment zone, and a giant skull in the middle "town square". Then there were small hedge rows and low stone walls scattered around the board.

We flipped strategies, with me ending up with Plant Evidence and Slaz flipped Claim Jump. We had corners deployment (12 inch square in each corner) so shuffled around some terrain so there were at least 2 pieces in Slaz's deployment zone and at least 5 pieces on his half of the board. After that we hired crews and he ended up picking corners and deploying first. I only deployed Dreamer and the Day Dreams while he deployed in a block.

Our crews were:

30SS Scrap
Bill - Dreamer, Coppelius, 2x Stitched, 3x Day Dreams, Insidious Madness, 6 Stones
       - Plant Evidence, Eye for an Eye, Kidnap (Emberling, Metal Gamin, Large Spider


Slaz - Mei Feng, Emberling, Kaeris, Rail Golem, Metal Gamin, Large Steampunk Arachnid, 6 stones
       - Claim Jump, Stake a Claim, Kill Protege (Coppelius)

Turn 1

Slaz grabbed initiative turn 1 and the game got started. Slaz started out with the Emberling using Magical Extension to Seismic Punch, giving his crew a bit of a boost on the movement in the first turn. I expect this to be a fairly normal first activation for a Mei Feng crew. With all the models pushed 3 inches directly away from the emberling, it then moved up to Mei Feng and linked to her. I started with moving the little bat-eared Day Dream to hide behind the long-house. Slaz moved his Large Spider up the table into a nicely parked position about 5 inches away from Mei. He was clearly setting up the rail-path for Mei Feng to first turn Rail Walker, which was not unexpected. I moved Duncecap Day Dream to the near side of the building, a bit forward up the building. (the forward Blight token near Coppelius). Slaz then double walked the Metal Gamin all the way forward to sit on the corner of the long house, staring at my day-dream. (the scrap counter near the corner of the house). In response I had the cards in hand to unleash Chompy on the Metal Gamin and cancel the end of Slaz's Rail Line plan, so I companion activated Dreamer and the remaining Day Dream. Dreamer chose to fly, bounced forward (double walk) and brought out his nightmare friend. Chompy attacked the Metal gamin, hitting hard and taking it to its Hard to Wound. Not bad, now to finish things off. I flipped the second attack and cheated to get a high Tome involved, with plans to All Done and bring Dreamer back out. On flipping damage the Black Joker came up, leaving Chompy on the board and failing to kill off the Metal Gamin. I knew this would be a mess. The companioned Daydream saftey moved up (rear most Blight Counter) and put Chompy away, bringing the Dreamer back out. He then used Magical Extension to place a Stitched in front of the Dreamer as a bodyguard.

At this point Slaz decided to make his attack run with Mei. He declared the activation, flipped to cast Rail Walker, and realized he did not have a sufficient Tome in hand to do what he wanted (Terminus Trigger). Despite this and my offer for him to take back the action, he launched Mei forward to sit in front of the Metal Gamin. He then used his first AP to cast Scalding Breath and was able to knock out both Day Dreams with the spell. In return, I brought out Coppelius on the far side of the Metal Gamin, and a second Stitched ahead of Dreamer. Mei proceeded to put up her armor and kick into the Stitched, putting some damage on him and sitting herself right next to Dreamer. I activated Coppelius, attacking the Metal Gamin twice and killing it on the second atack (plucking out an eyeball). Coppelius them moved forward to get near Mei. The Rail Golem double moved forward, starting his collection of burning tokens. The Stitched tried to take out the Emberling, but only ended up putting 2 wounds on it. Kaeris jumped to the top of the skull, and the second stitched shifted sligthly to get LOS but ended up with the Emberling winning the Gable your Life and turning the damage back on the Stitched (not killing it).

At the end of the turn, this was the board layout. As a reminder, Scrap token near the corner of the building was the Metal Gamin, Blight tokens were Day Dreams.


Turn 2
I really needed initiative on Turn 2, but did not get it. Slaz activated Mei and the Emberling and geared up to wipe me from the board. The Emberling tried to scalding breath but failed. Mei was a lifer so ignored how scary Coppelius was, then she started with putting up Iron Skin, making sure she was armored before starting the attacks. He opened with Tiger Claws attacking Coppelius, hitting, and cheating the trigger in to Tigers Fury. We both tried to figure out how he could shift 2 inches to only have the dreamer in range, but could not quite make it work to pull Mei out of range of the Stitched. Instead of that, he shifted slightly and dropped an attack on the wounded (closer) stitched. The Stitched died (activating Does not Die but no reactivation yet), and Tiger Fury back into Coppelius. Hit Coppelius, damage, and bounce through Dreamer to attack the other stitched, missing the attack. Second AP let loose on the second stitched, triggering and bouncing back to Coppelius, hitting and killing Coppelius. Slaz drew his card for Price of Progress, Vented Steam and failed to get superheat off. He then shifted through Dreamer again to stay in melee range of both stitched but be to the right of Dreamer and behind the Stitched (two scrap tokens together are Mei in front, emberling in rear).

This did not go as badly as I had thought, but was not great as Slaz had just grabbed his 2 points. Dreamer and the Day Dream activated on Companion (at the end of the range), and Dreamer started by first casting Frightening Dream to place the Insidious madness on the riverbank, with only Mei and the Emberling within 4 inches. He followed up by casting his (0) Inflict Dreams on Mei. I cheated in a 13, setting the initial total to 20, then stoning to try and push it as high as possbile. The Red Joker jumped up, setting my total at a fairly tough to reach 34 on the WP resist. Slaz shook his head and flipped, not even trying to match the total. Things were looking up, and Dreamer then brought out his Nightmare Friend with 3 AP to attack with. LCB burned out all his attacks and a couple soulstones (I was down to 2 at the end) attacking Mei, but only got her to half-way. She is tough with her DF and Armor. At the end the Daydream lead LCB back toward itself, then calmed him down to bring Dreamer back out next to the Daydream and hiding from Kaeris and the Rail Golem.

This brought us to the wrap-up of the turn. Slaz had the large spider run up on the building, aiming to get a next-turn attack sequence on Dreamer. I had the Insidious madness use Danger to Yourself to put 2 more wounds on Mei, then brought up the extra negative flip on WP duels. Kaeris jumped down from the skull to the far side of the Rail Golem, then put some Flame Wall between the Stitched and her, blocking LOS.  I activated the Stitched to the far right and used Gambler with Mei, netting be two additional cards. I GYL with Mei, cheating a 2 to fail and gaining Reactivate. I then did it again to start piling on some wounds. The Rail Golem passed his activation, only picking up 1 more burning token. The second Stitched activated, Gambler with Mei to grab 2 more cards, then GYL with Mei, cheating the black joker to fail and gain reactivate. He did it one more time to kill Mei off. Slaz had nothing left, so the first Stitched reactivated and walked to try and kill off the Large Spider. He failed to do GYL, taking some meaningless damage back. The second Stitched reactivated and tried the same, putting wounds on the spider but not enough to kill it.

The end of turn 2 was a far lonlier board than the start of turn 2. Both stitched were getting Sacrificed, the corpse counter was Coppelius, and the Scrap counters were Mei and the Emberling.

Turn 3
So turn 3 was a time to start focusing on objectives and do some cleanup. I was down to a Day Dream, the Insidious Madness, and Dreamer/LCB. Slaz had a wounded large spider, the Rail Golem (with burning tokens), and Kaeris left. We both figured we still had a game and flipped initiative, with Slaz getting it again! We checked the shadow of the building and both the Daydream and Dreamer were hidden in the shadow. Due to this, the Spider had to double walk to get in range to attack. Slaz picked the Daydream over Dreamer due to my stones remaining, and made his Melee Expert attack, missing. In return, I activated the Insidious madness and moved over next to the Spider, then did Danger to Yourself and was able to put 2 wounds on the spider, killing it. (Ice Pillar). Slaz moved Kaeris forward to tempt me out to attack her. I didn't take the bait, knowing the big ChooChoo train was waiting to come barreling down on me. Instead I companion activated the Day Dream and Dreamer, and Dreamer flew over to near the wall and brought out LCB to plant some evidence on the wall. The Day Dream flew over near Chompy, staying within 6 inches of the Insidious, told Chompy to go to sleep then with the return of Dreamer, magical extensioned Calm Dreams to bury the Madness. Slaz double walked the Rail Golem over near Dreamer, intending to stage to harrass Dreamer/LCB on turn 4, and ending with 5 burning tokens. At the end of the turn the ChooChoo took the wound.


Turn 4
I drew my hand on this turn, holding a 12 of rams, 13 of tomes, and the red joker. I really needed initiative on this turn and luck was with me. I smiled, shrugged a bit at Slaz, then started my turn. Companion activate Day Dream and Dreamer, Dreamer flys up to the end of the stone wall next to the building and brings out his nightmare friend. LCB uses Melee Expert on the Rail Golem, hitting and using a SS to push the attack to a straight flip. Red Joker and Flay pushes the Golem to its Hard to Wound despite its armor. Second attack hits and kills the Golem, spilling 3 damage and a burning token onto LCB. LCB then walks over to the house so Dreamer can pop out behind the house. Day Dream double walks to next to LCB, then brings Dreamer back out.

In response, Slaz did not have many choices, so Kaeris moved behind the hedge he needed to camp on and prepared for turn 5.

Dreamer end of turn:

Kaeris End of Turn:


Turn 5
At the start of Turn 5 Slaz and I spent a couple moments analyzing the board. The game was in an interesting position. I already had my 2 points for Kidnap, and 2 points for Eye for an Eye if the board did not change. It would also be very easy within the next 2 turns to plant evidence on two pieces of terrain in his deployment zone for 4 points, to get a total of 8. In return, Slaz had his 2 points from Kill Protege, and if I did not come over to challenge Kaeris he had 4 points for his Claim Jump, and 2 points for his Stake a Claim, also totaling 8. I suspect he wanted me to call it as a tie there, but I really thought I could pull out a win on this.

We drew up our hands and started the turn. Slaz grabbed initiative, which benefited me. Kaeris stayed where she was and put up a flame wall blocking the clear line to get to her. I activated my Day Dream, moved into his deployment zone and used magical extension to pull out the insidious madness in B2B with one of the terrain featured. The Insidious planted evidence on the terrain and moved to the second piece for turn 6. Dreamer then flew 14 inches across the board, sitting himself just behind the long house. Now it came down to how turn 6 went.

End of Dreamer Turn 5:

End of Kaeris Turn 5:

Turn 6
Turn 6 rolled in with Slaz getting initiative again, much to his chagrin. Kaeris popped up a Flame Wall, blocking the most direct approach for Chompy. Slaz would have been a bit better putting up Defensive Stance here, but it did not make a huge difference. The Insidious madness planted evidence on the building, then the Day Dream magical Extensioned to bury him in case I killed Kaeris. Dreamer flew 14 inches across the board, avoiding the Flame Wall, and then brought out his Nightmare Friend. Kaeris was only down 2 wounds, so I did not have a big hope I could finish her with 2 AP, but we were both out of stones. LCB attacked three times, thanks to Melee expert and onslaught, but only dumped a little damage on Kaeris. I flipped the card to see if we would have a turn 7, and the game ended.

At the end of the game it ended up a win to Dreamer 8/4.

Dreamer: Plant Evidence - 4, Eye for an Eye - 2, Kidnap - 2
Mei Feng: Claim Jump - 0, Stake Claim - 2, Kill Protege - 2

Final Thoughts
Overall it was a really fun game. This was Slaz's first outing with Mei since assembling her and she can definitely bring the pain. I think Slaz was a little too aggressive railwalking across the board without the Tome's in hand for Terminus, but it worked ok for him. If it wasn't for Dreamers insane movement Slaz would have had a tie game overall. He also could have camped the objective with both Kaeris and the Rail Golem, forcing me to choose a pretty tough confrontation at the end of the game.

For me, I was happy to get Dreamer back on the table. I enjoy playing Dreamer and do not feel like the Errata handicapped him at all. Even without the insane cross-table slingshot, Dreamer is still very viable and now you have to play his crew.

Wednesday, September 5, 2012

Hoffman - a discussion of his crew

Over the past couple months Wyrd has released the Wardens into the wild, expanding the choices for moderate costed minions for guild crews. This was an especially anticipated release for me because they provided a decent 5 point minion for my Hoffman crews. Of all the Guild masters, Hoffman was the master I had stayed away from playing regularly. This was very heavily influenced by the fact I had trouble getting him to work well for me. He just did not feel (to me) like he had enough models to flesh out a solid crew selection for him. The Wardens filled the price slot I was looking for, allowing me to play with a crew that felt "filled in" to me.

So, with the release of the Wardens Hoffman has begun to get some table time in my games. I have trotted him out a couple times recently, with results that are not too bad. A quick look on my spreadsheet shows a record of 4 wins, 2 losses, and 1 draw for a total of 7 games. While that only comes in at less than half the games I have played with aSonnia and aJustice, it is ahead of Perdita and Sonnia without her Avatar, and slightly edges out even Lucius. Overall he has been very interesting to play, and I have enjoyed the games.

Click on graphic to jump to my spreadsheet

So far this article really looks like a lead in to discuss the crews I have taken and how much I like or dislike Hoffman. Thats not where I want to go with this though, I have a different goal in mind. I have heard a whole lot of feedback on the Wyrd Boards about how Hoffman players limit themselves to only construct crew. Further, this approach is presented as a negative or weak way to build a Hoffman crew. This type of feedback really made me think about how I build Hoffman crews, and then further on how I build Guild crews in general. Thats the area I wanted to target and discuss with this article.

I am going to step right up, raise my hand, and say that I build construct only crews for Hoffman. When I reach to pull Hoffman out of my bag, my crew selection narrows down to the following models:

  • Pale Rider
  • Warden
  • Watcher
  • Guardian
  • Peacekeeper
  • Ryle
  • Hunter
  • Joss (Arcanists)
  • Coppelius
  • Mechanical Assistant
Ok, so there are some missing models here, namely the Mobile Toolkit (Handy), Mechanical Rider, Steampunk Arachnids and Swarm, and the Steamborg Executioner (Hank). I also admit that Coppelius is not a construct, but is uniquely suited and allowed in a Hoffman crew. At the end of the day, these are the models I reach into my bag to pull out though. Namely missing are the mainstay guild models such as any Ortega's, Death Marshals, Austringers,  or Witchling Stalkers.

Looking a bit closer as to why I reach for the constructs, it comes back to what Hoffman is good at. Hoffman is a support centered Master who has some combat/offensive ability in a pinch. His strongest abilities are Machine Puppet and Override Edict. Machine Puppet allows him to use his AP to make a nearby construct attack with a CB of 6 Ram's, along with adding the Critical Strike trigger. As the construct is making the actual attack, all benefits that construct might get normally are included in the attack. Override Edict allows Hoffman to burn 2 AP to "take over" a full activation of a nearby construct, friendly or enemy. Both of these abilities are amazing abilities and only work when he is paired with constructs. Furthermore, Hoffman is a very slow master but can "Hitch a Ride" with friendly constructs of at least Ht 2. He has a number of other abilities that are only triggered or enhanced by the presence of friendly constructs.

I understand that Guild as a whole is pretty versatile. The other Guild masters (Justice, Sonnia, Perdita) can use fairly interchangeable crews, bringing their own type of support to the crews. One of the reasons for this is that none of these other masters are support masters. They all have their own role to play, and then provide crew support as an addition to what they do well already.

So, here is the crux of the argument I get stuck on when reading about adding living models into a Hoffman crew. First, we have to agree that Hoffman needs some constructs to work well. Lets be nice and agree that at least half his crew is going to consist of constructs. That leaves half or less of his crew for models that he does not synergise with as well as constructs. Except in very very rare circumstances (coppelius) these models do not benefit from being in a crew with Hoffman, and Hoffman will not benefit from them in the crew. Meanwhile, had we gone fully construct, every model in the crew can both benefit and benefit from Hoffman.

Here is where it gets worse. If I want to play a crew with living models such as Stalkers, and Nino, and Austringers, other Guild masters work better with them. Lady Justice brings hard hitting and can bump all thier CB values. Sonnia brings big blasts, recycling near-dead models, and magic protection. Lucius and Perdita bring extra actions to the crew. Looking closer at Lucius, he brings extra attacks, CB boost, and movement to guild-guard crews, nearly identical to what Hoffman brings to Construct crews.

So, why would I run a sub-optimal master with a sub-optimal crew when I could make a better choice? Adding a construct to another masters crew can enhance that other crew. Adding a living model to Hoffmans crew does nothing for Hoffman, his crew, or the model you added.

So, dear reader, I leave you with that quandry. Why would I add living models to a Hoffman crew when I could add a construct? Why lead a living crew with Hoffman, when you could benefit better with other Masters?

Maybe its just down to people liking the Hoffman model and Aesthetic. I can understand that argument, but its the only one I can really understand. Are there other sound reasons?