The Brewers have been a tougher team to get my hands around than the previous teams I've reviewed. I used them briefly (less than 4 games) in the era prior to the kickstarter arriving and really liked them. I thought I had a good handle on how they played at that point in time, and expected to jump right back in once I got them painted. Now that my team is painted and I'm putting them on the table, I found myself mistaken at how they played. I've dedicated a solid two dozen games to working out the team and I feel like I have a decent handle on the basics. I will say in these opening comments, the brewers are the team I'm having the toughest time winning games with. I can see their strengths and they are fun to play, but they just don't quite deliver what I want them to do in game, specifically for my play style.
Brewers Team Overview
The Brewers are intended to a team focused on melee damage second to the Butchers, if the prevailing interwebz information is to be believed. There is a very nice article on the
Muse forums that has been re-represented in an article on the
Ozball blog that shows the distribution of team characteristics. My own experience differs in a couple areas to this in some specific ways.
The Brewers as a team are very good at knocking down opponents. Many of the players have knockdown results as a first or second choice on their playbooks, often as a momentous result. Brewers also have a fair bit of damage to serve up, but I find that it's actually a bit behind the damage capability of a solid damage focused union team. Many of the damage choices the Brewers have are not momentous or the damage support options (such as Commanding Aura) are not momentous or easy to reach.
One of the areas I find the Brewers do succeed is in pushing the opponent around the field. My experience with the team indicates their strengths to be knockdowns and pushes overall. Unfortunately I have not found a way to turn this into a scoring solution as effective as goal scoring or take outs. Many of my opponents are aware that the sides of the board are a dangerous place to be when facing the Brewers, thus choosing to congregate closer to the middle of the field.
Tapper
Oh Captain my Captain...... Tapper is the only captain in Season 1 who does not have a legendary play. In place of that he gets one of the more interesting heroic plays in the game. Tapper has the ability to convert a single momentum into two influence once per turn, then allocate those influence to a friendly guild model within 4 inches, including himself. This means he is very capable of generating his own momentum via attacking then generating additional influence to finish beating down an opponents model. Tapper has a decent damage spread in his playbook, along with the typical Brewers easy access momentous knockdown. He also brings along Commanding Aura, via playbook and directly paying for the ability. His commanding aura is just shy as useful as Blackhearts (in the union), bring a bit harder to reach and non-momentous. Despite that, he is able to use this ability to support his teammates when they are dishing out damage.
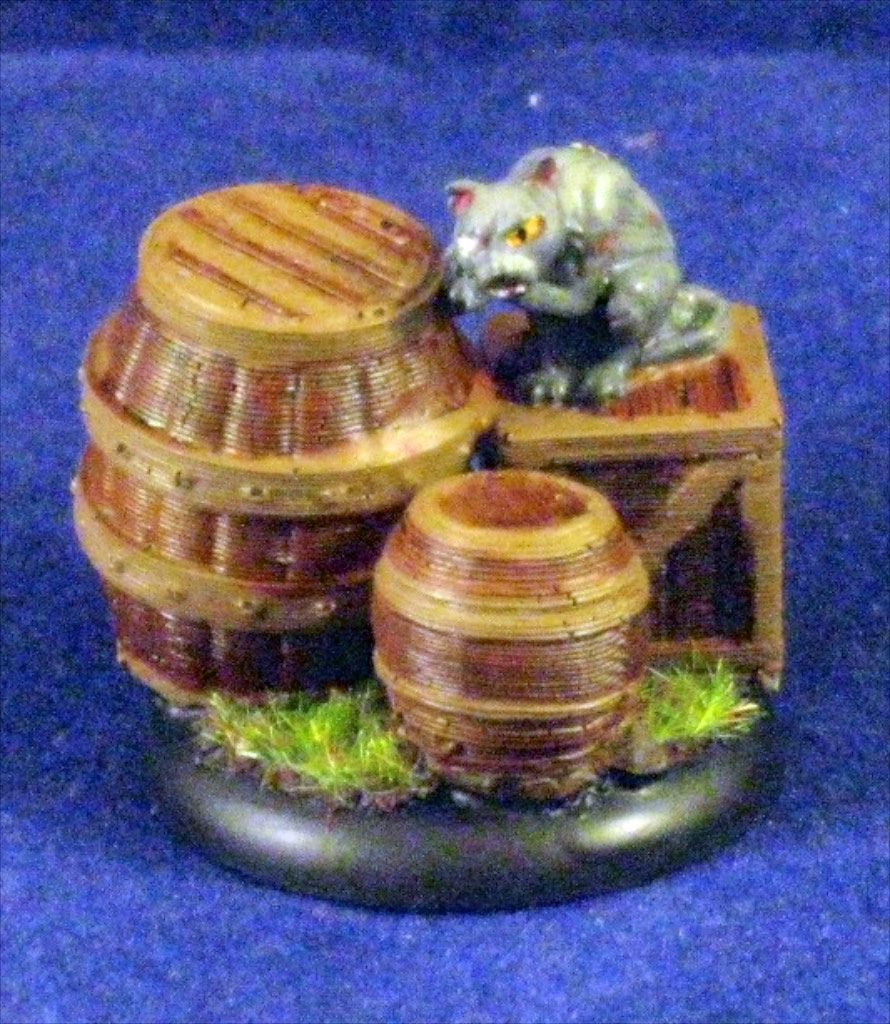
Scum
Brewers bring a cat to the field as their mascot, a cat who will forever be in the shadow of the playtest version of itself. This cat may not do the crazy attacking damage the playtest cat did, but she is an amazingly fast model. Shadow like plus Unpredictable movement combined with a 6"/8" move make this kitty very capable of zipping around the board. She's a good little ball carrier, combining UM with her 5+ defense and being able to be called across the board by Friday. Often the toughest choice is when to give it the ball vs keeping it close to Tapper for his extra influence generation via Tappers Tactical Advice.
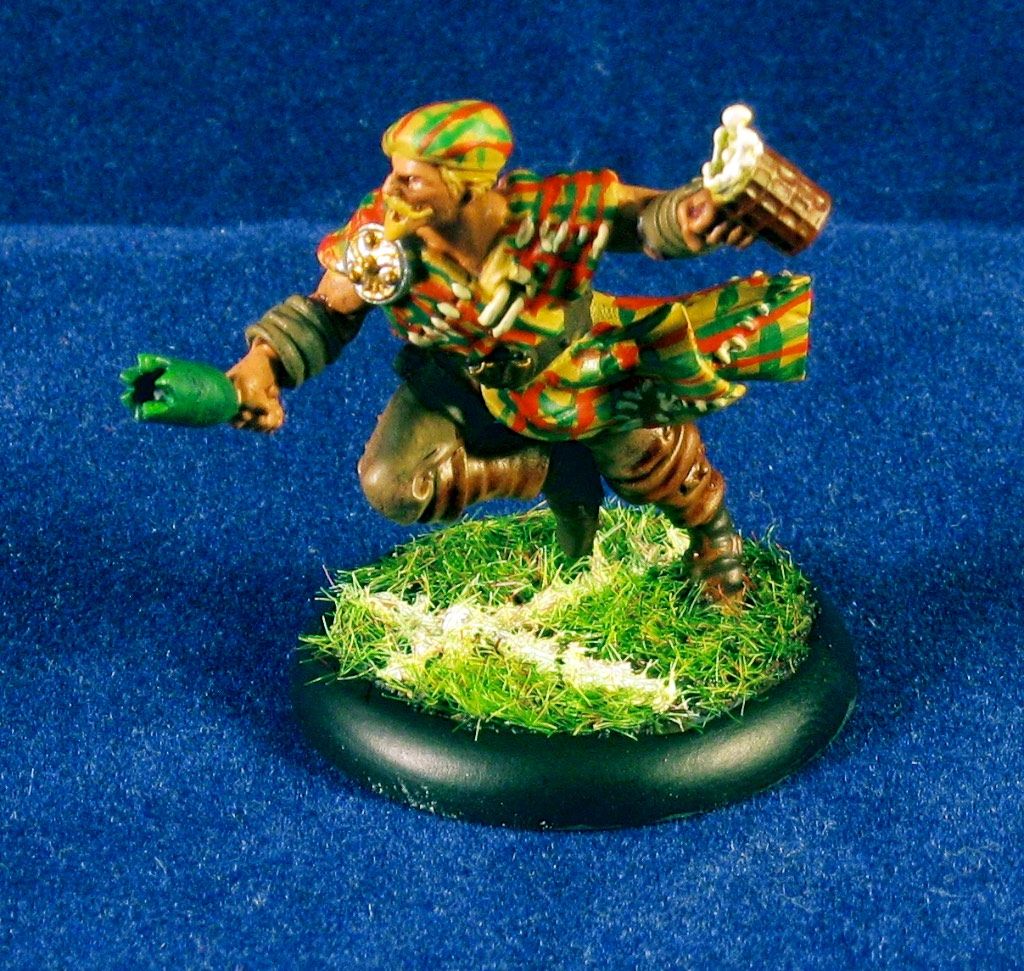
Friday
Friday is the Brewers in team striker, and she operates very similar to other strikers in the game. 6"8" move, 3/8" kick, a 1 success momentous tackle, shadow like, and a heroic play which replicates super shot on other strikers. Friday picks up some extra defense from being near Spigot, which she prefers do to his Football Legend trait anyway. While within 4 inches of Spigot she can jump up to a 5/11" kick if she's used her heroic play, plus has a 5 defense. This makes her a real danger for snap shots as well as straight shots on the goal. Like some other Brewers, Friday has a playbook that is "shorter" than her TAC, making it possible to wrap playbook results pretty easily. She is able to dish out some damage, but really wants to be throwing out dirty knives when not positioning to shoot on the goal. Overall she is one of my favorite strikers in the game, although she is a tier down from Flint and Mist.
Spigot

Spigot tends to play the role of damage dealer or bruiser in my Brewers team, although he appears to be built with a heavier focus on support. He's got Football Legend (extra kicking) as a trait, Tooled Up (extra damage) as a character play, and Times Called (extra movement) as a heroic play. He can pretty quickly trigger Balls Gone via his playbook, a quick way to get the ball and also has a single success momentous tackle. Overall he seems ideal in a support role but for some reason I always find myself not using him that way. At the St. Louis Open I watched a number of Brewers players using him to buff their team, which really showed me where I was using him wrong. I just have not been successful since then in changing how I use him. I suspect my overall win ratio with the team will jump once I can train myself to focus on Spigots support abilities in place of his damage track in his playbook. Spigot is one of my favorite models in the Guild Ball range, I really like both his spilling tankard and his broken bottle.
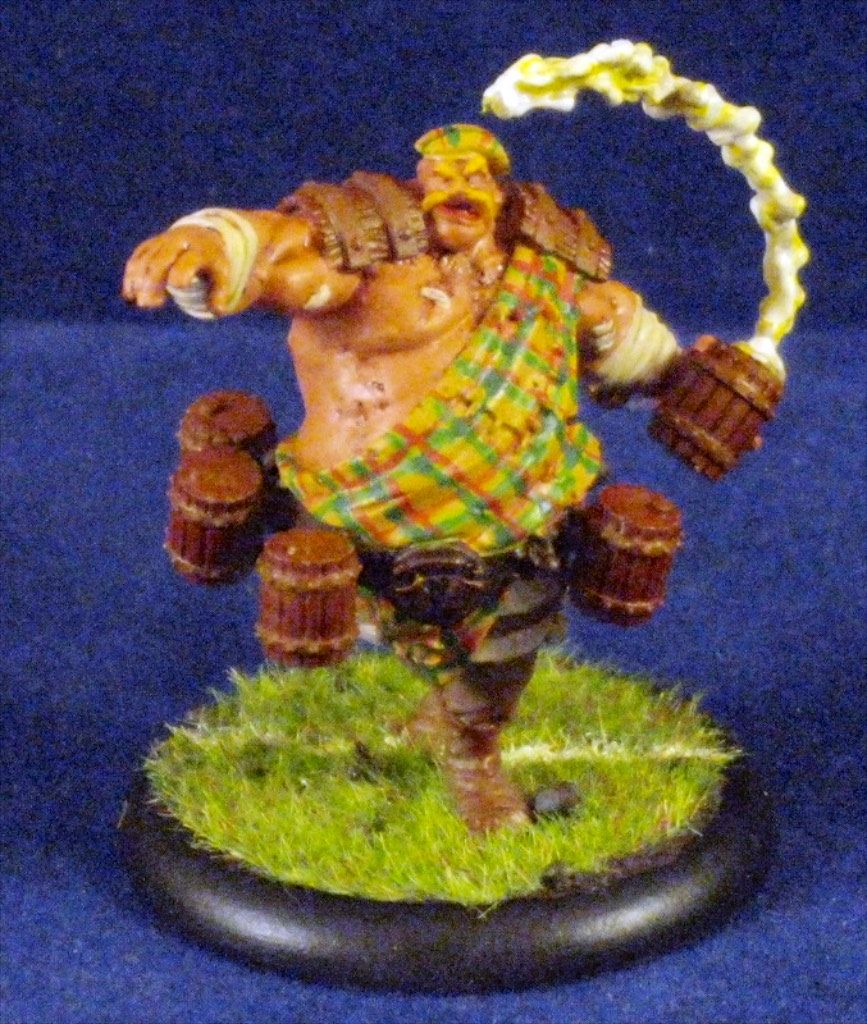
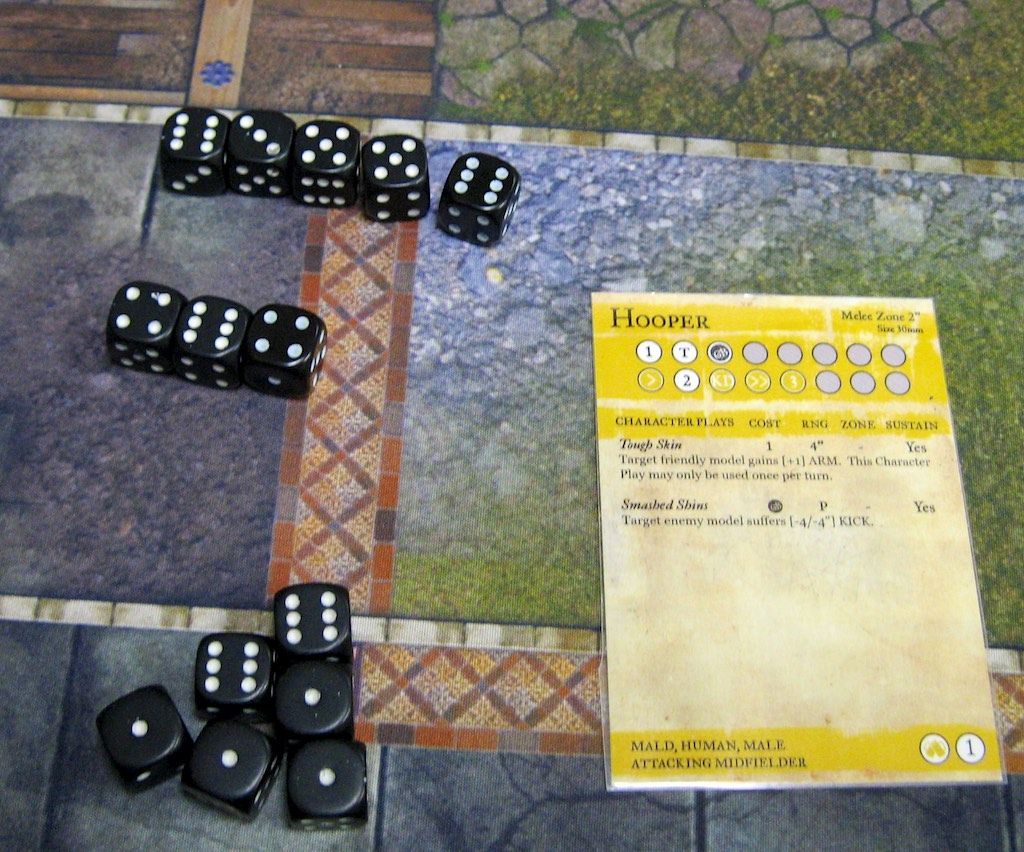
Hooper
Talking with Mat Hart recently I was presented the idea that Hoopers role on the Brewers team is one of enforcer, bruiser, and damage dealer. Here's another sign that I just do not understand the team as I should, as Hooper often is one of the models I cut from the line-up to replace with another option. Hooper is very resilient with Tough Hide and a decent damage track combined with a 3+ def and 1 armor. His playbook has damage in it, which get's increased due to his trait adding +1 damage to playbook results on a knocked down target. My challenge here is his first two (of 3) damage results are non-momentous, forcing him to grab at least 5 successes in order to deliver momentous damage. His knockdown is on 3 successes, higher than most other Brewers, and he has a momentous push on 1 success. Overall, Hooper is a good player but I'm finding I prefer Stoker or a Union choice over him most of the time.
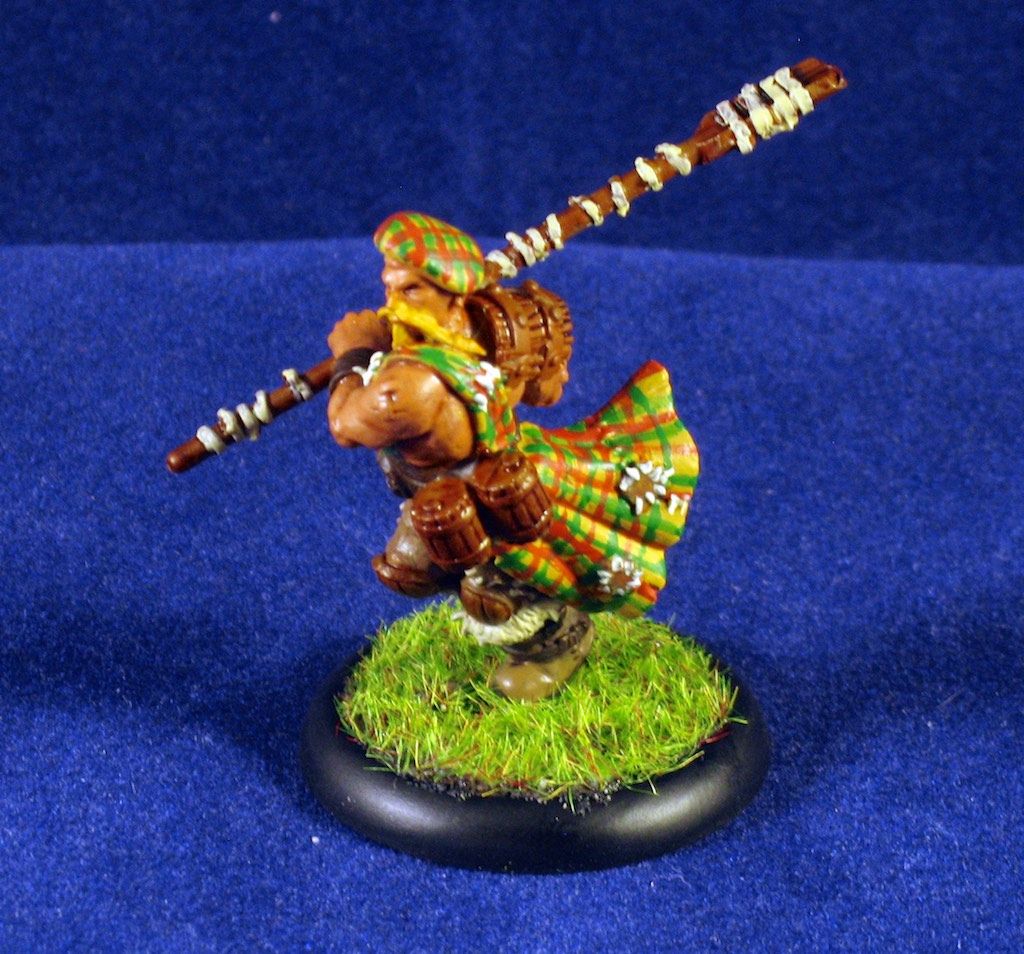
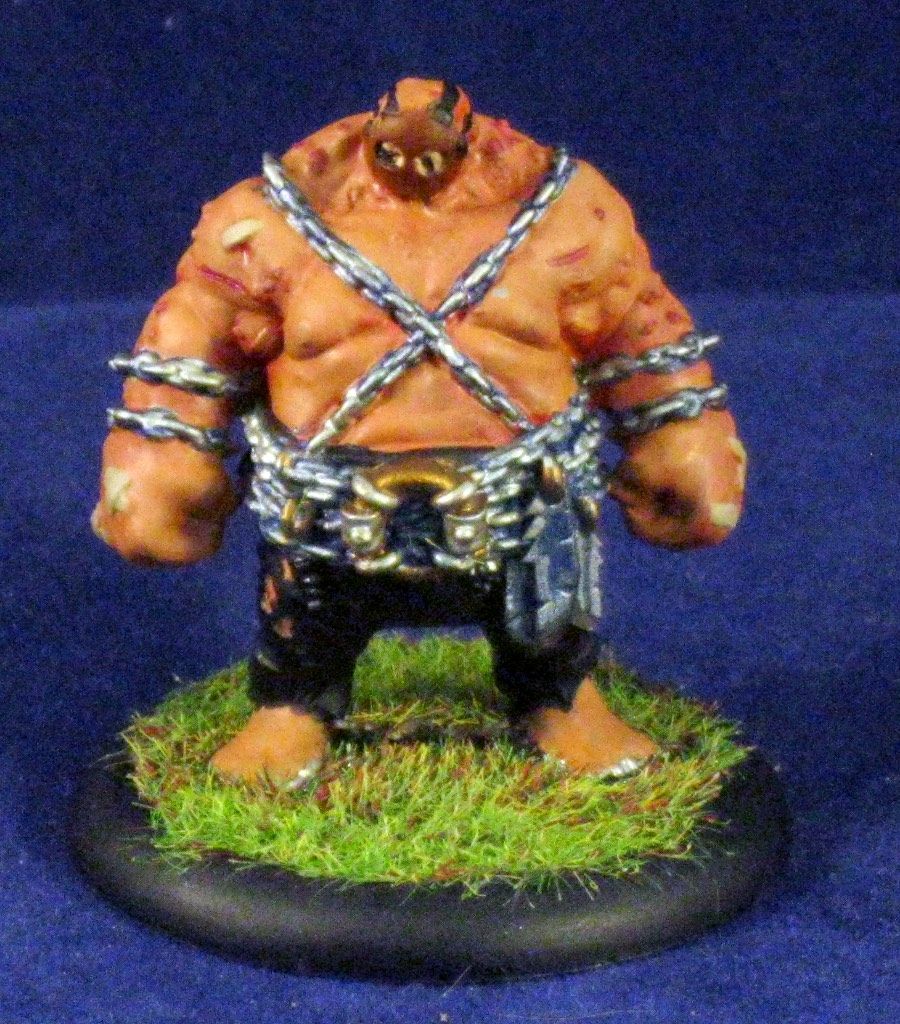
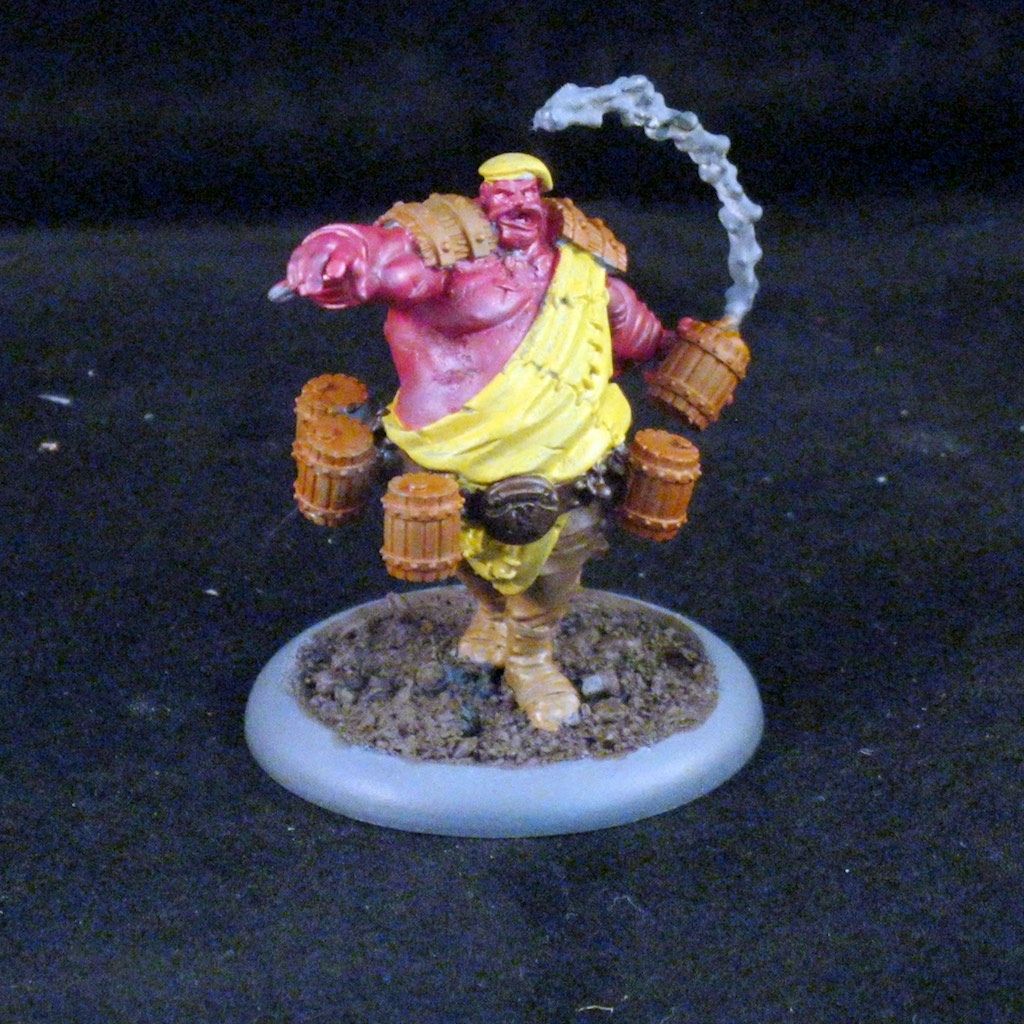
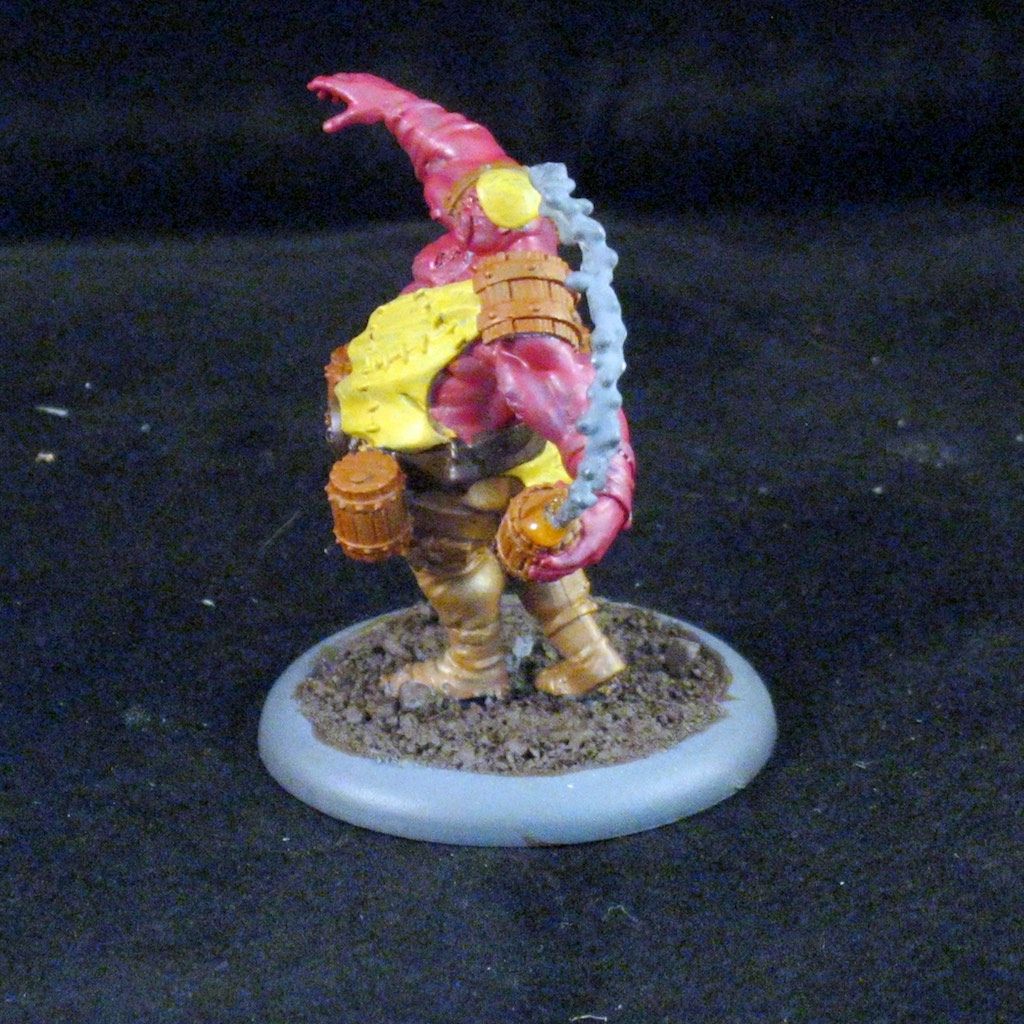
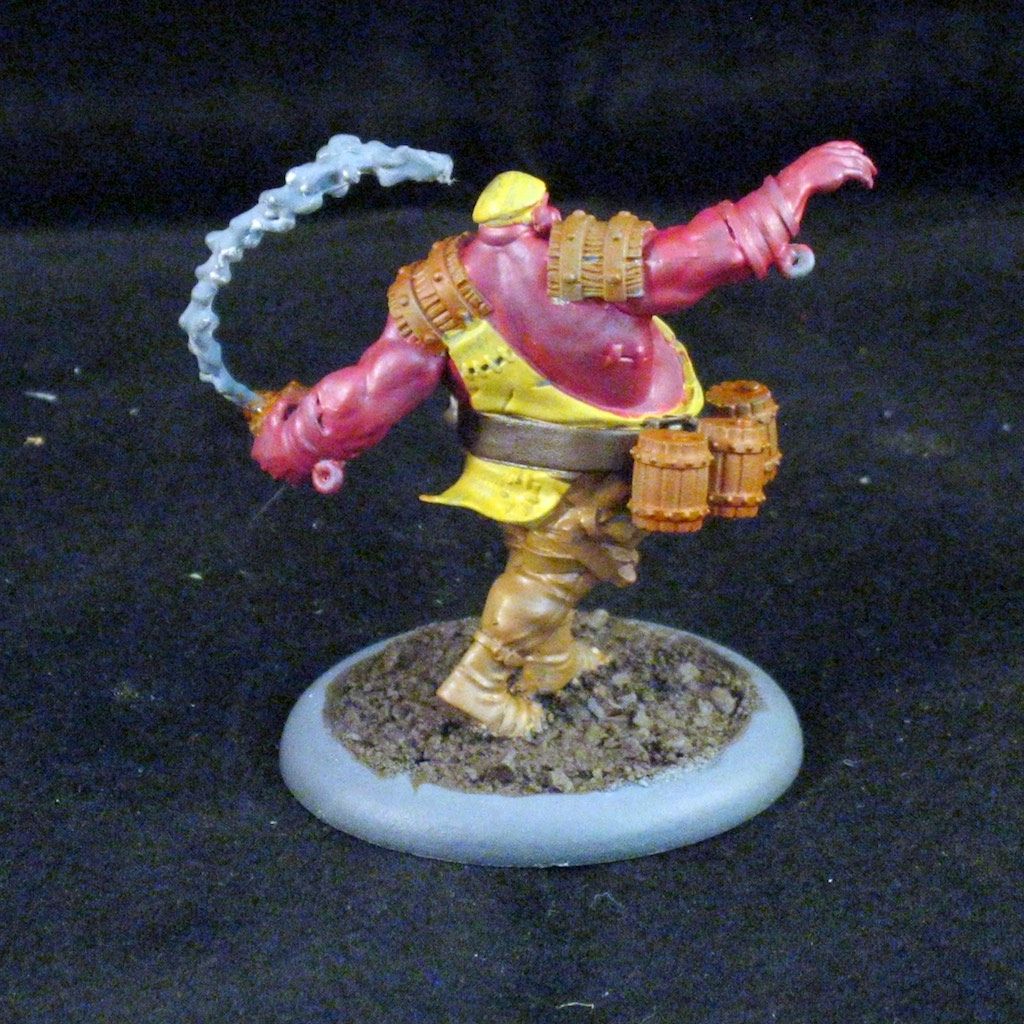
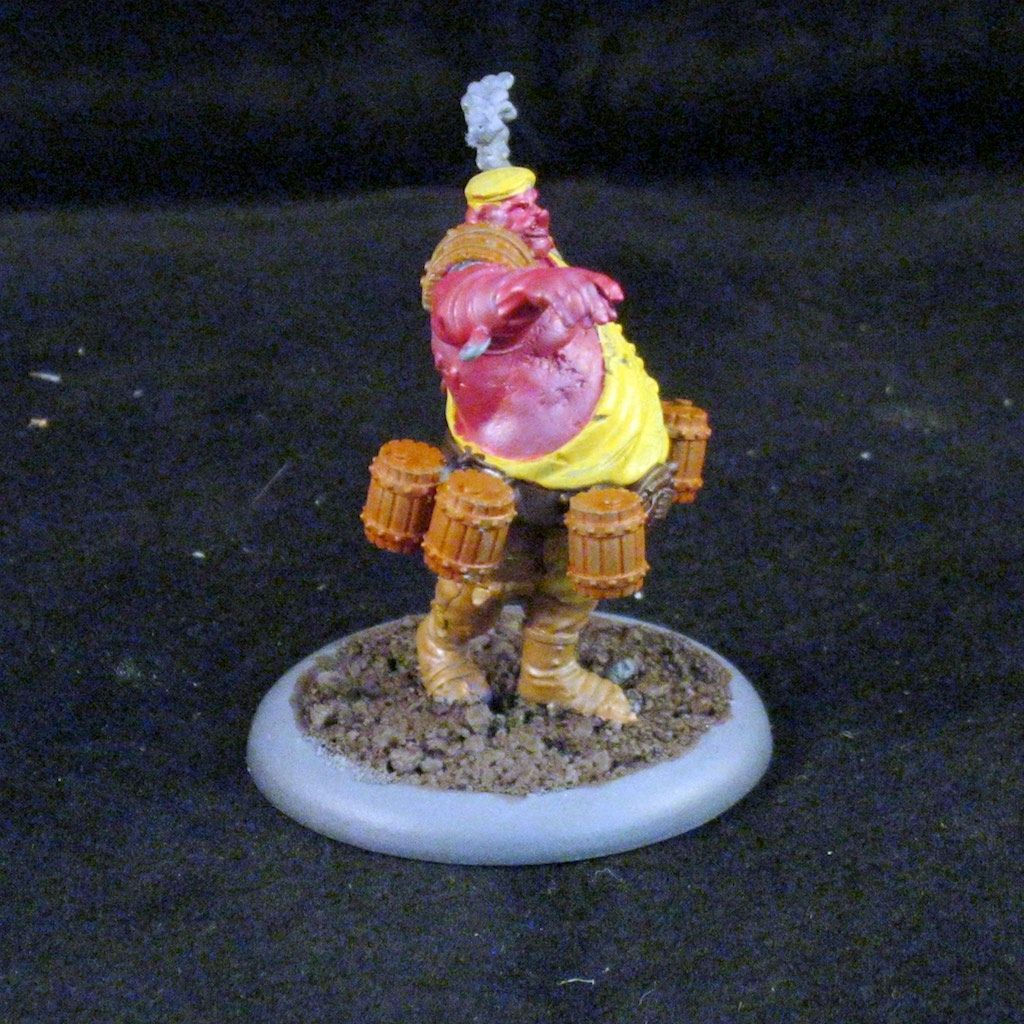
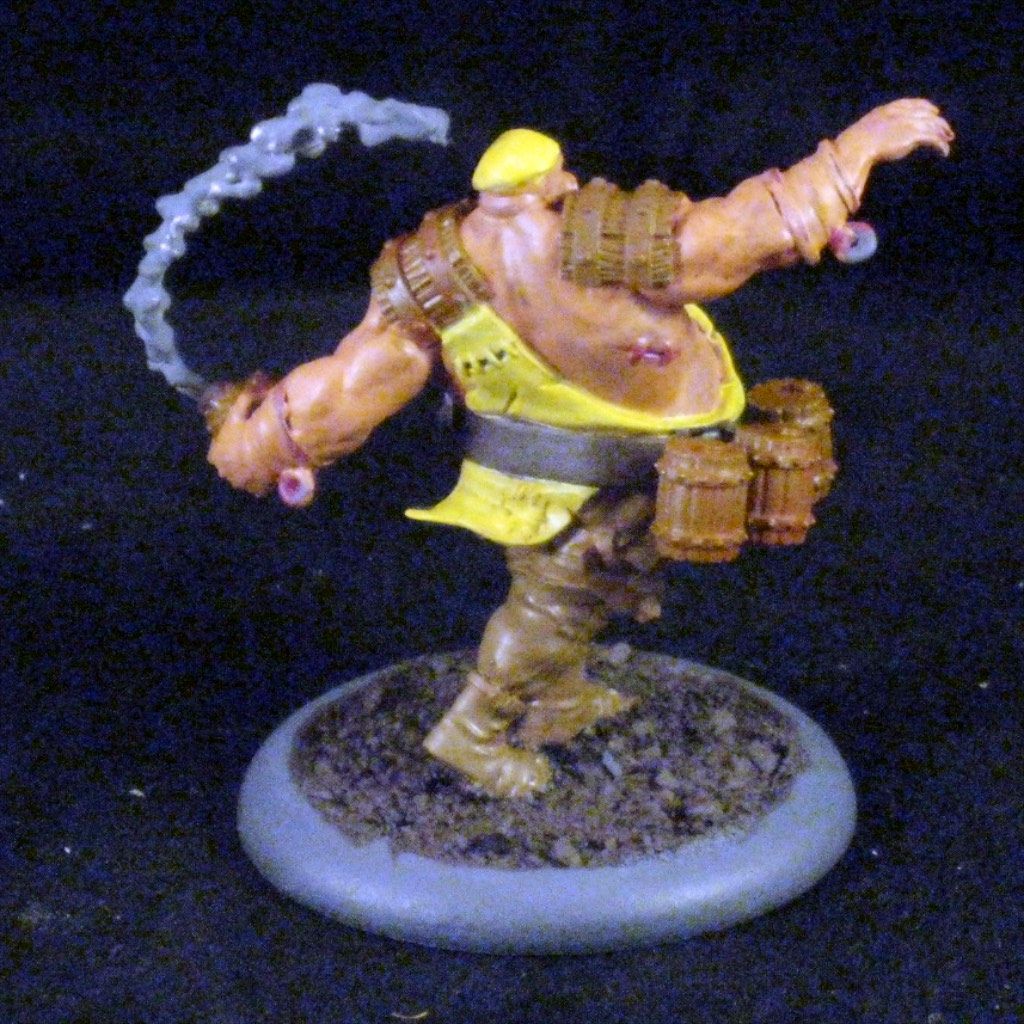
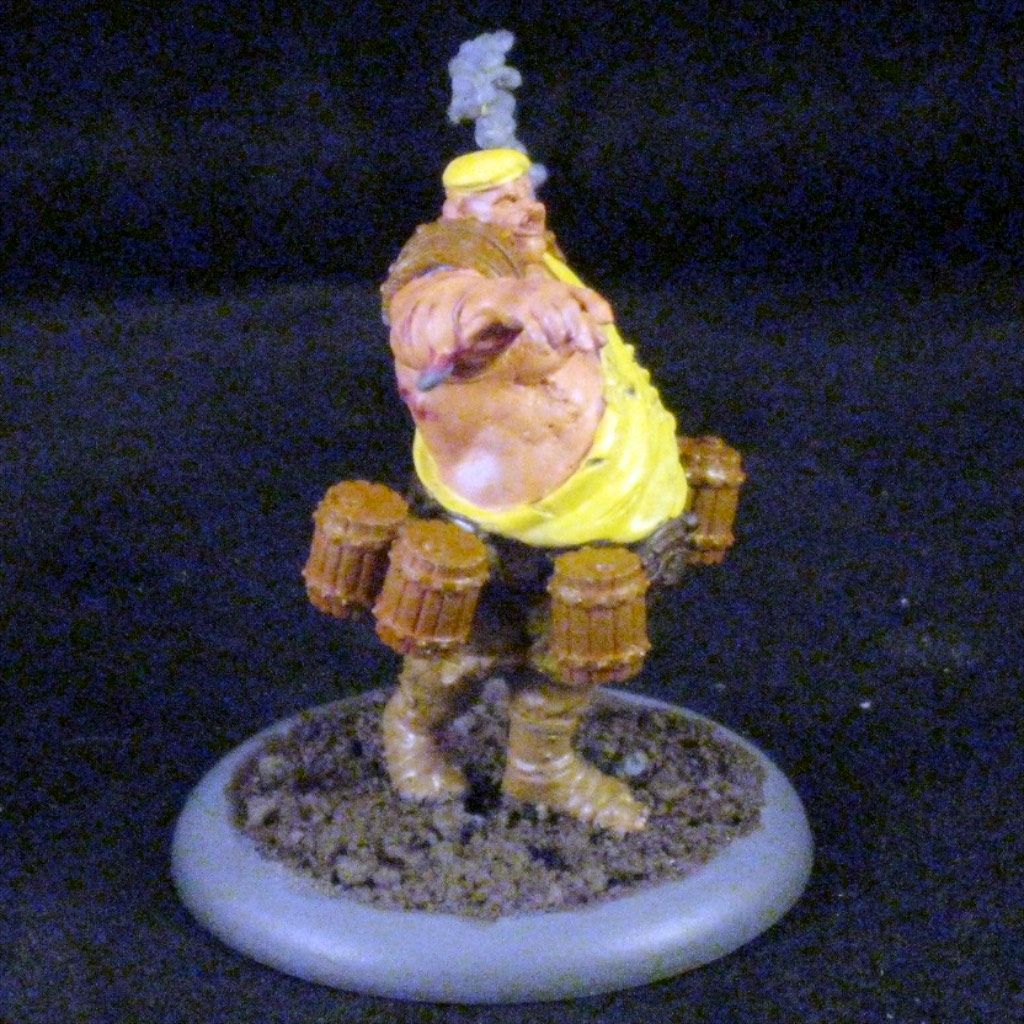
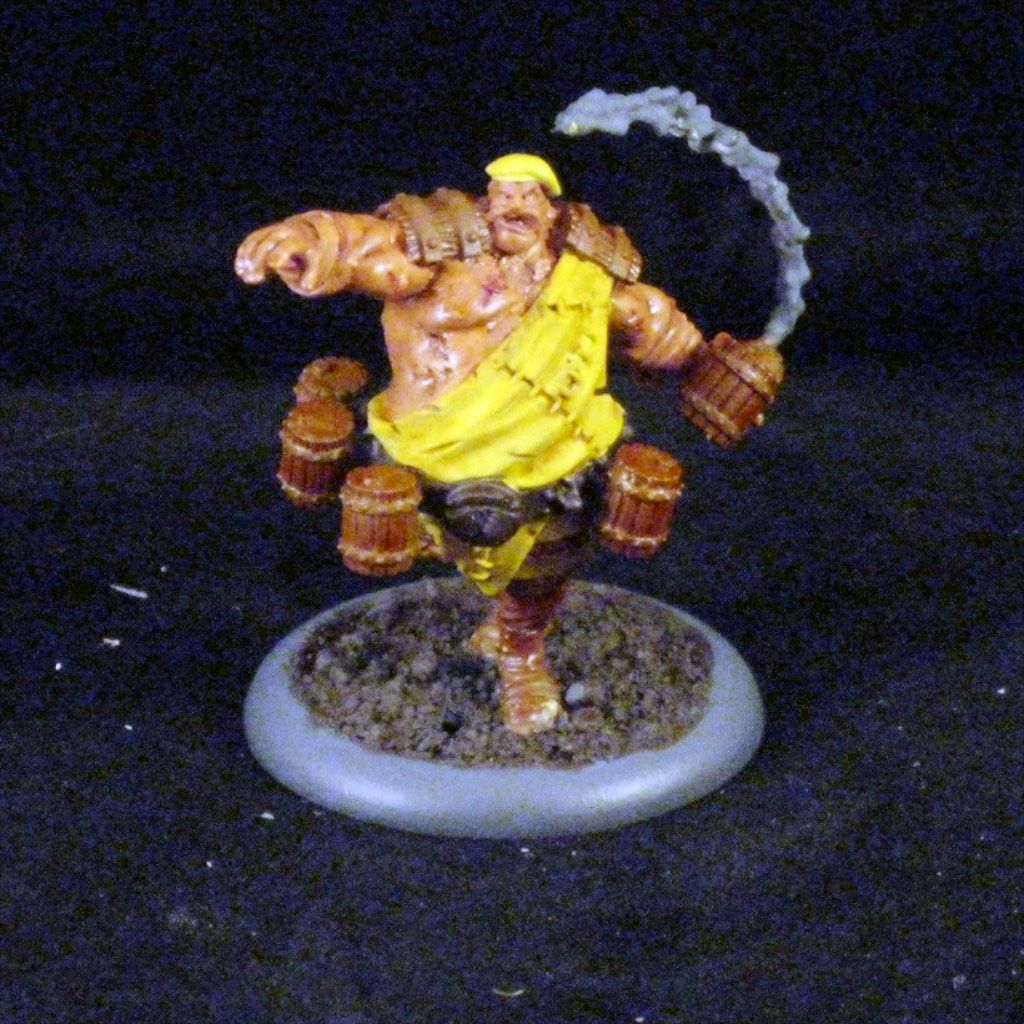
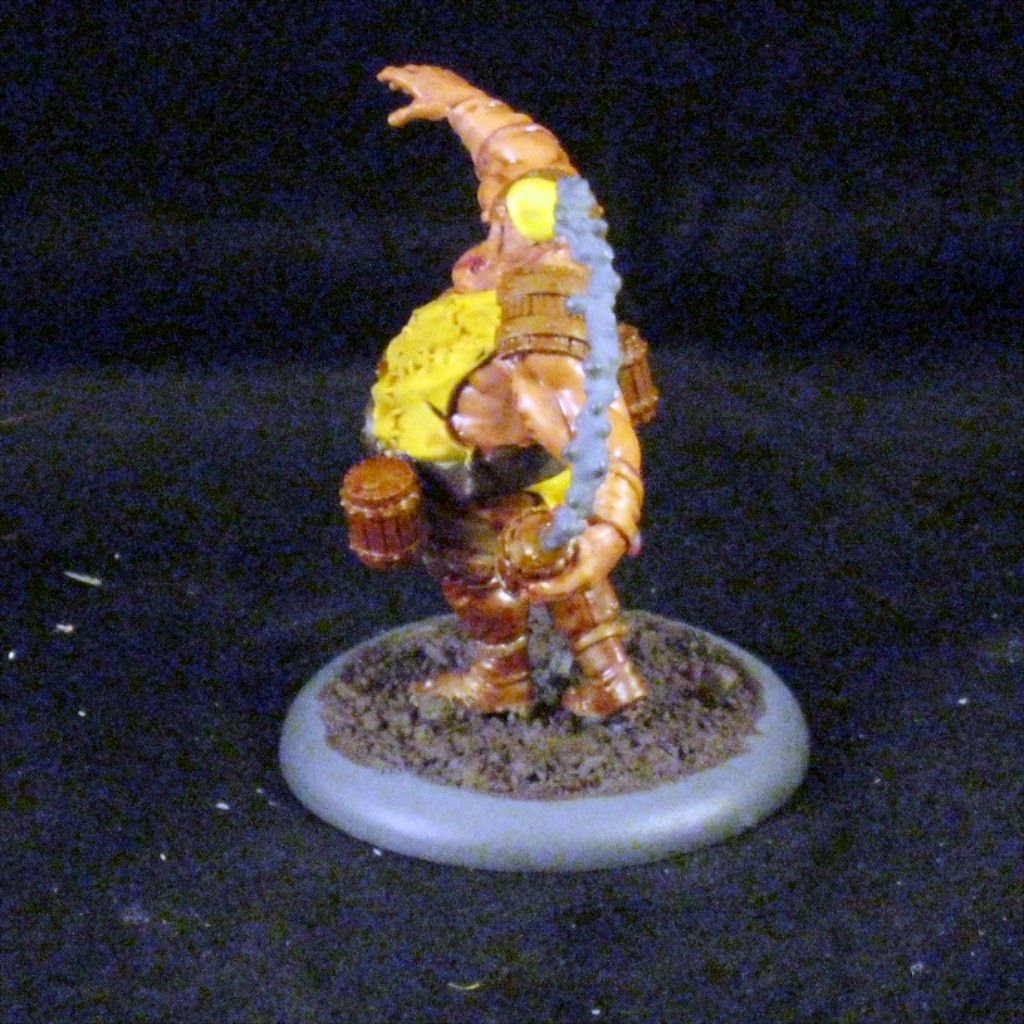
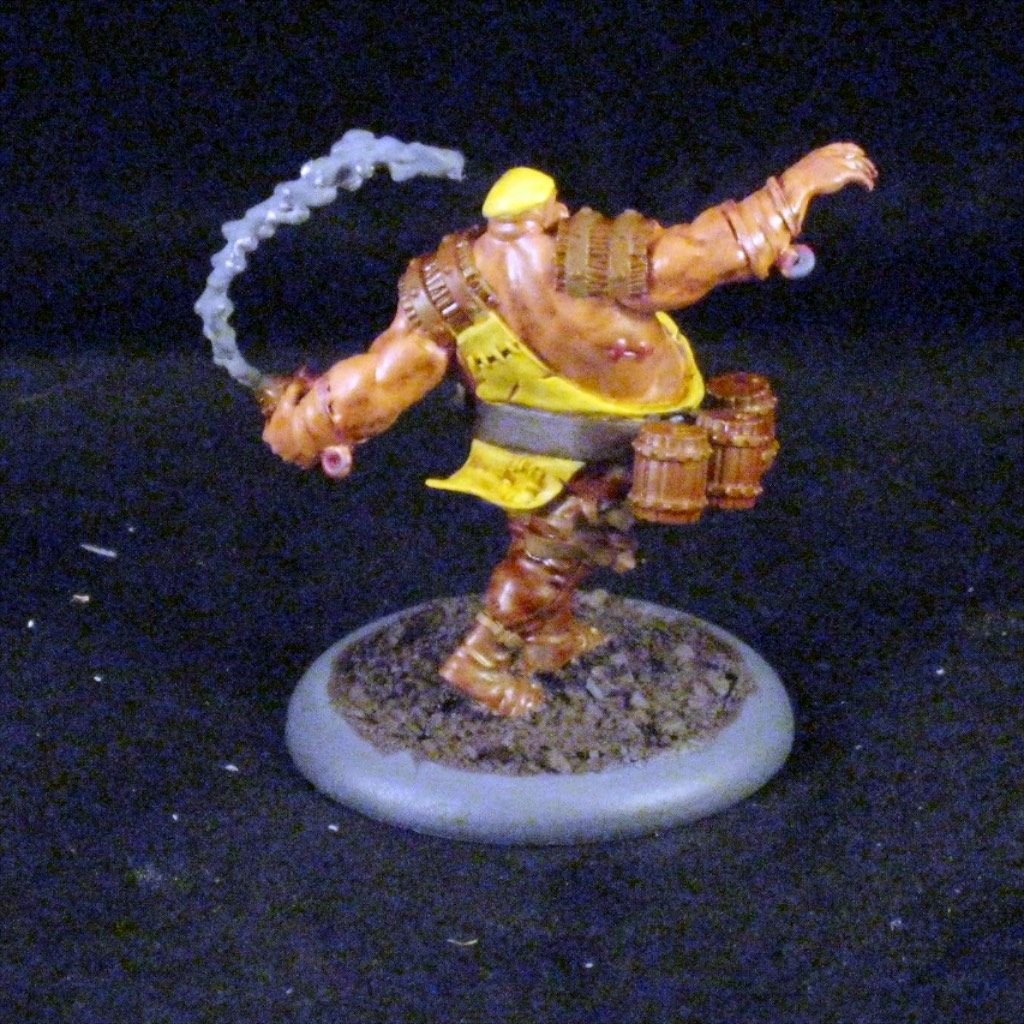
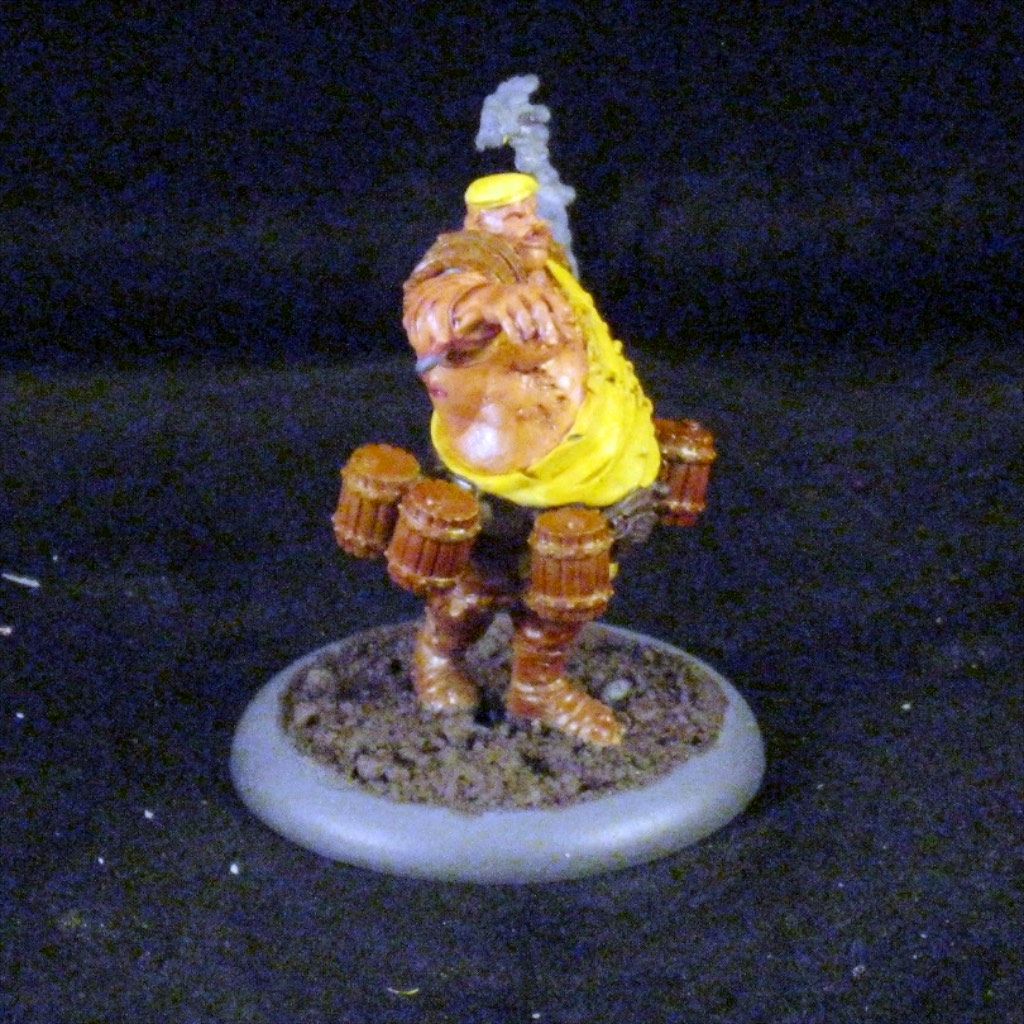
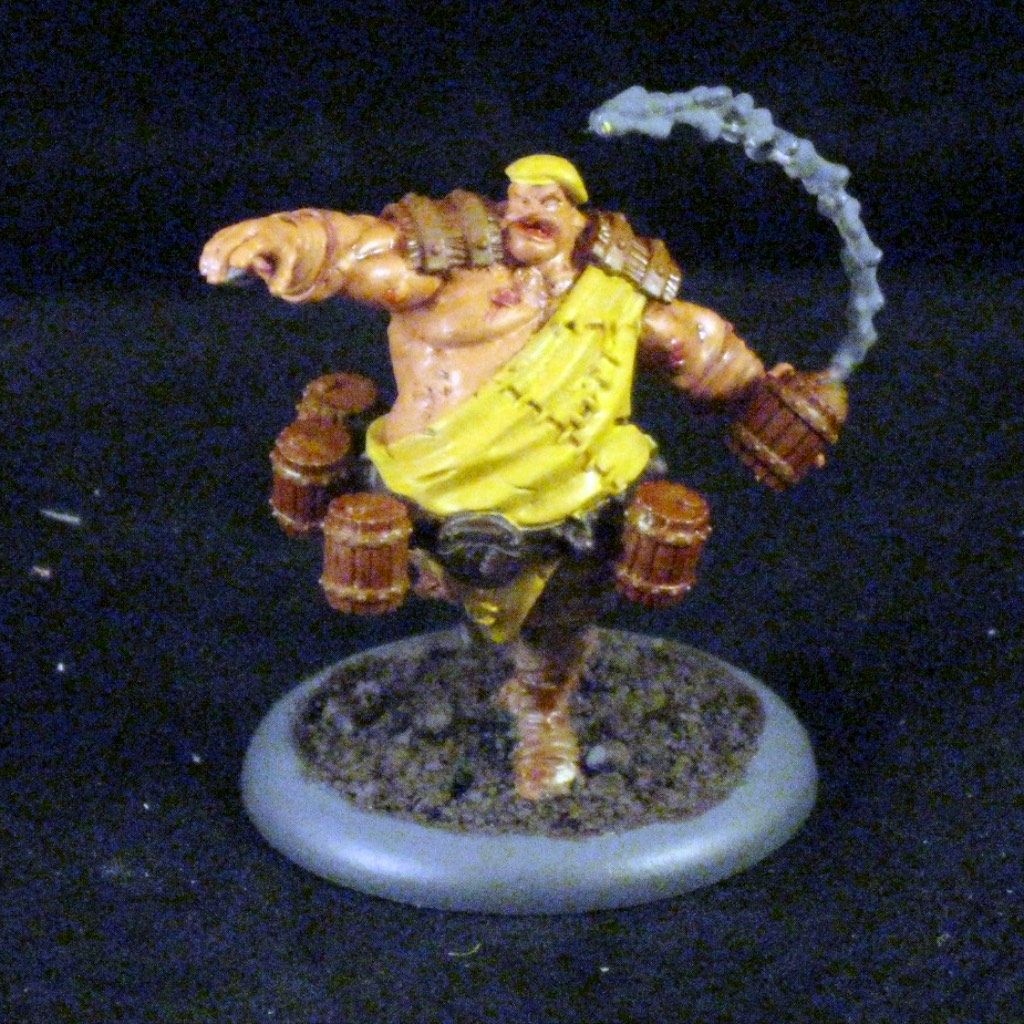
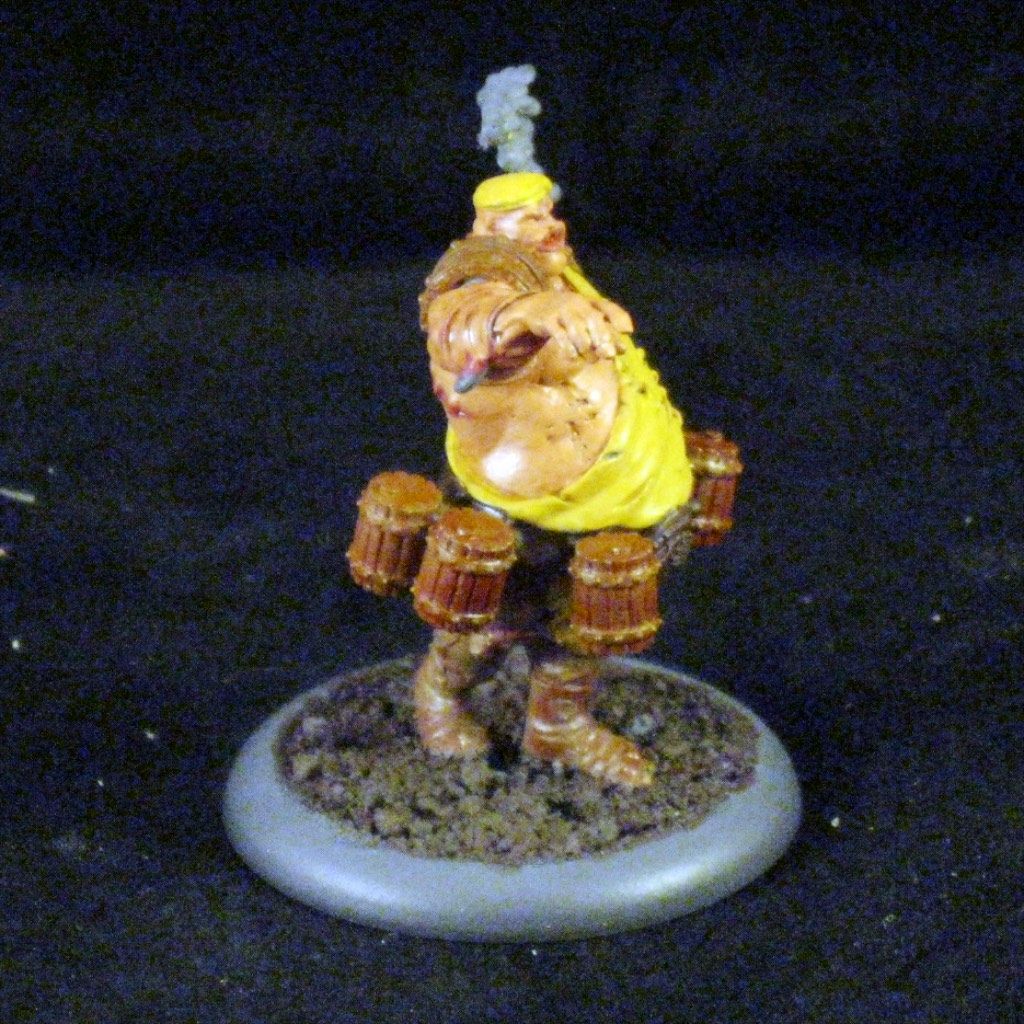
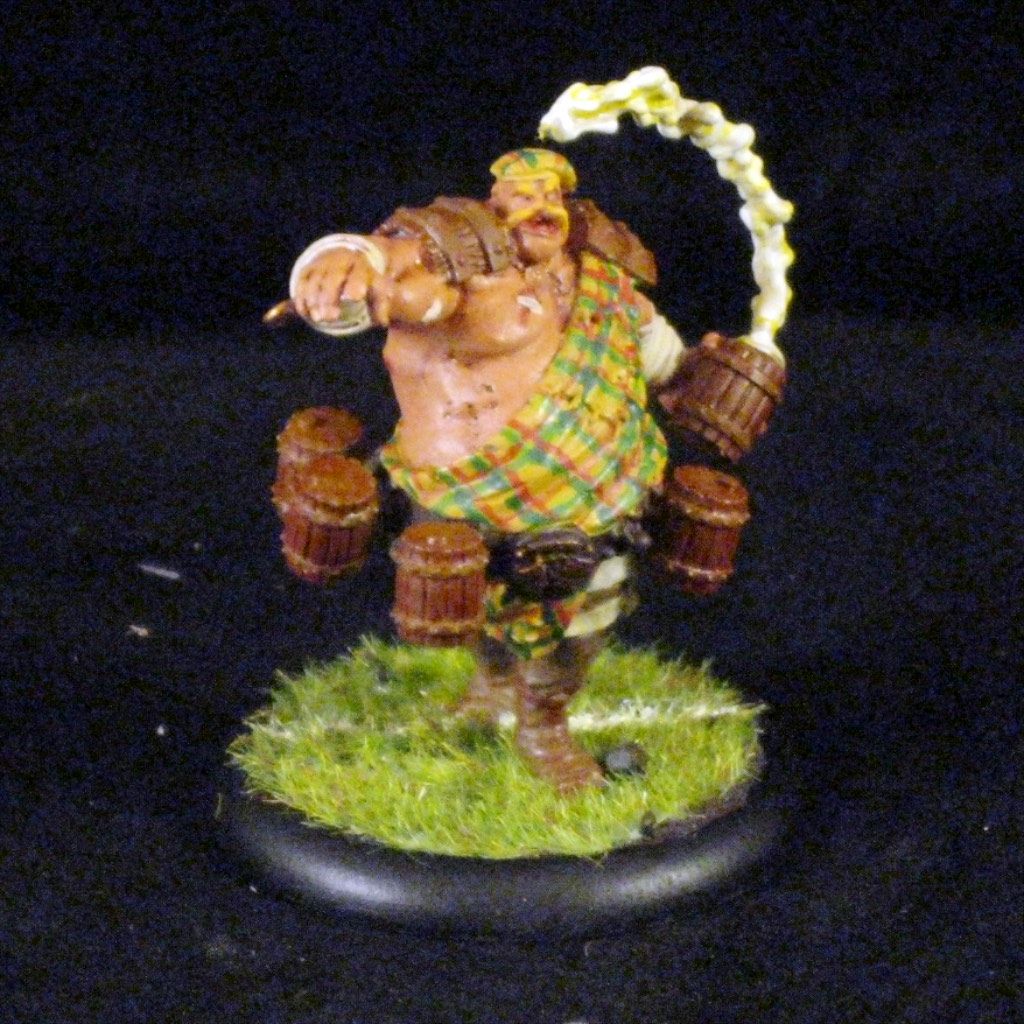
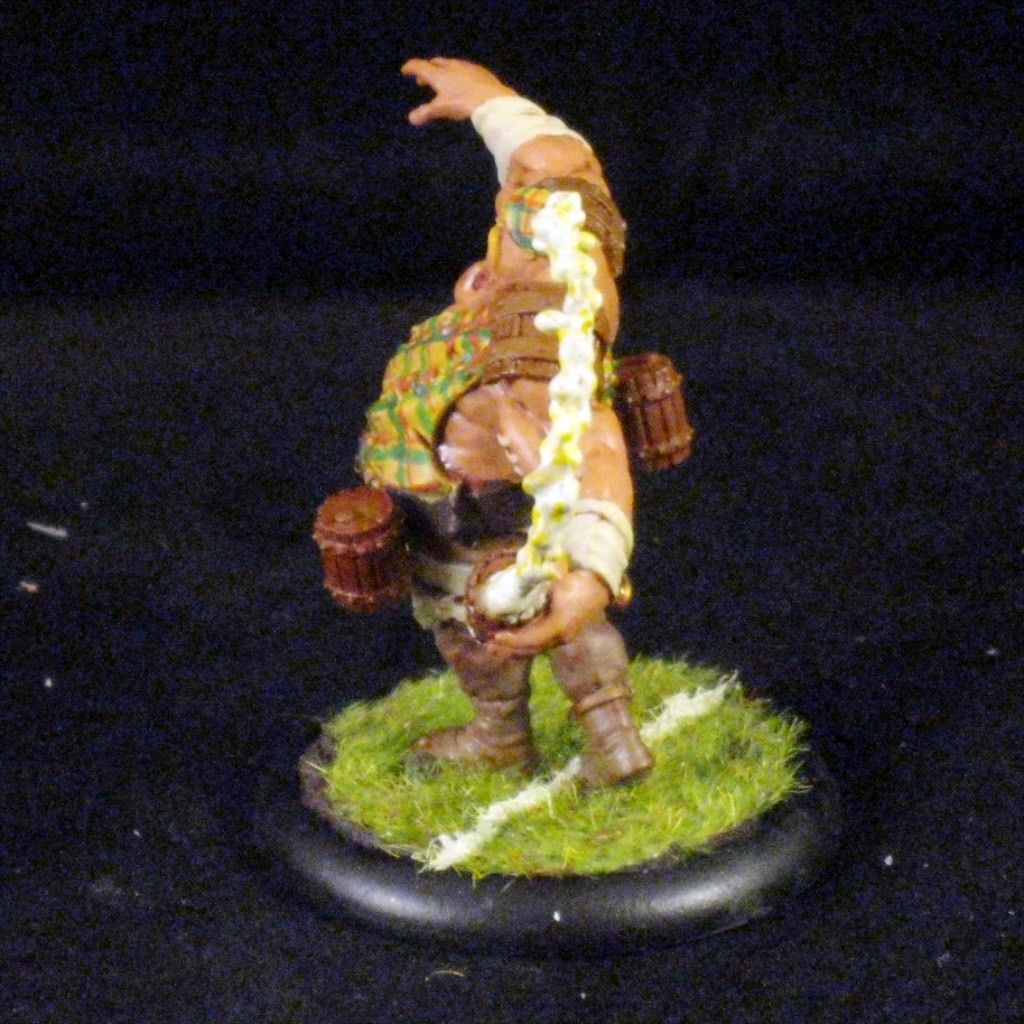
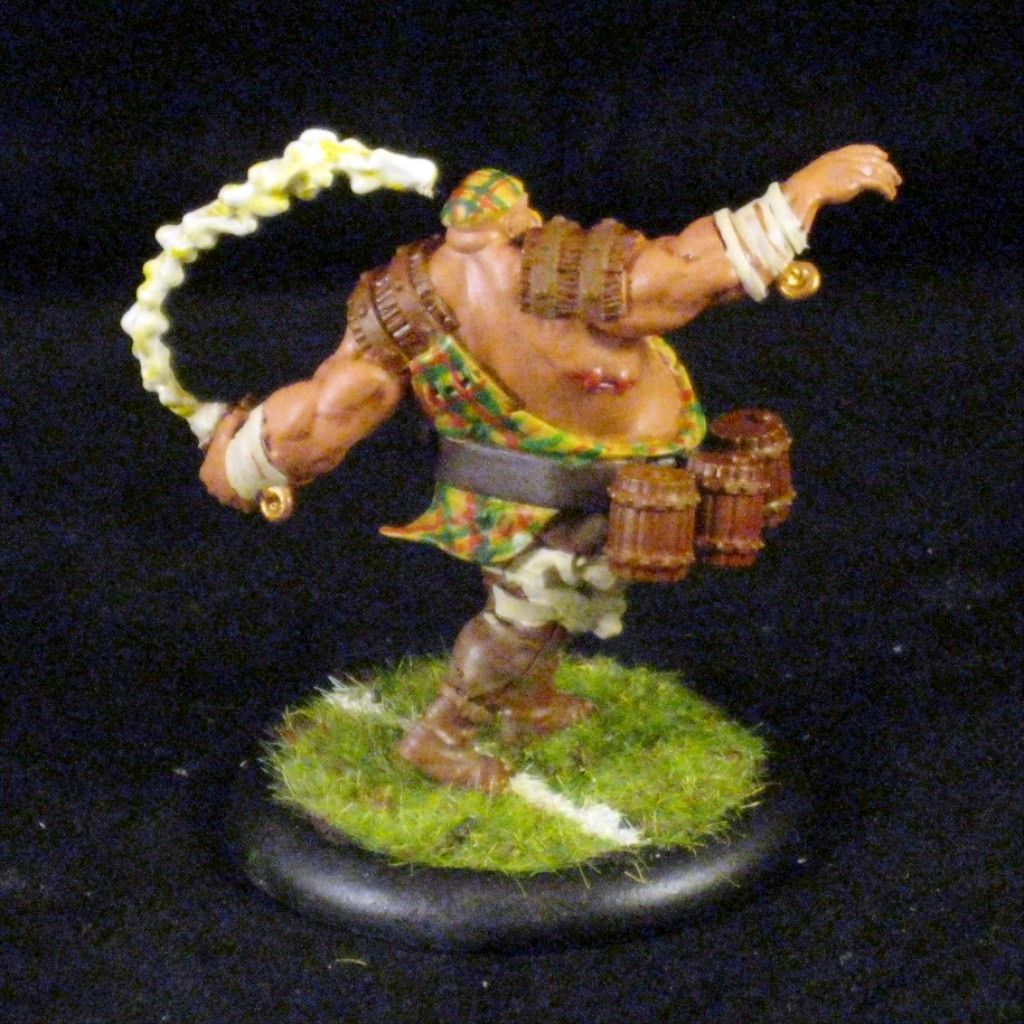
Stave

I would argue that Stave is the poster player of the Brewers team. He is certainly not very fast on the field, but has one of the largest and most noticeable impacts on the game of any player in a team. Stave has access to the very solid momentous knockdown as the first choice in his playbook, but this is not what he really does best. Stave's signature barrel is really what people will notice, to the point of often forgetting he has a playbook at all. Stave is able to hurl his barrel 6 inches, causing a 3 inch AOE on impact which can knock down and then push models hit. The combination of knockdown plus the 4 inch push is incredibly useful for a variety of uses including springing the ball free from hard to tackle models, making target models more vulnerable, and for positioning opposing players to your teams benefit. Stave projects an 11" - 13" threat zone on the table, threatening careless models on the flanks of the field with being knocked into the crowd for a fairly easy take-down.
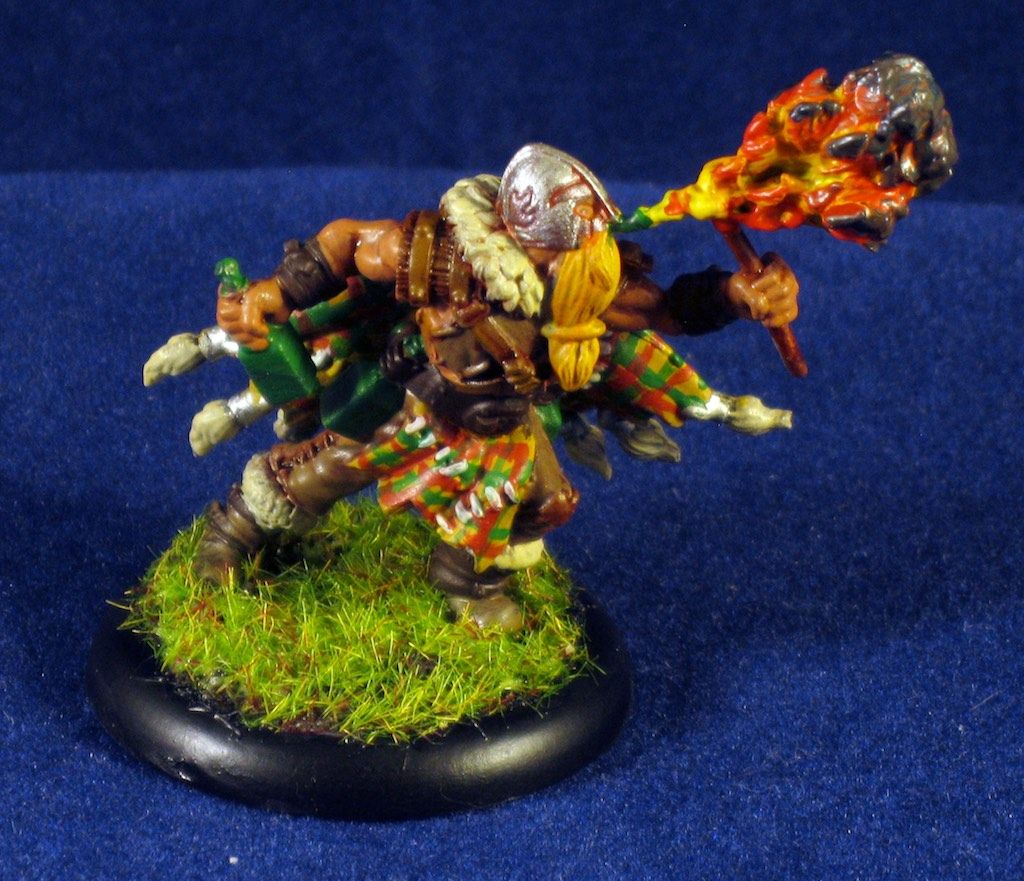
Stoker

Stoker is one of my favorite models on the Brewers team, but that has a lot to do with how much I enjoy painting up fire. Stoker is a bit maligned in the general Brewers community, which is something I'm not sure I competely understand. This misunderstanding may be why I have trouble winning with the team however. Stoker brings a couple abilities to the table which are fairly unique, adding extra damage to play book results on a target with the burning condition and extra influence if positioned near Stave (Tactical Advice: Stave). This ability mitigates his fairly low influence stat, allowing him to contribute 2 influence to the team in place of 1. Stoker also has access to the same Magical Brew trait that Hemlock brings, permitting him to shed conditions for free once per activation. Aside from this Stoker has 3 different character plays which all apply the burning condition in different ways. He can simply light someone on fire, light someone on fire and do damage, or light a terrain feature on fire along with anyone in it. Add to this a 1 success momentous double push (in a short playbook) and Stoker can move the opposing players around the board very effectively.
Union Additions
There are 5 season 1 Union players who will play for the Brewers team, Gutter, Hemlocke, Rage, Fangtooth, Avarisse & Greede. I have primary focused on playing pure Brewers guild to get the best feel for what their models do. I can see some real benefits to swapping in Rage or Gutter as a damage dealer to the team. I can also see times when having Hemlocke on the team will be good, simply to toss out some poison and blind affects. I'm not confident that A&G contributing a 7th activation can be best used by the Brewers, although I'd love to hear a strategy for that. Fangtooth fits in nicely, adding in additional knockdown. His biggest downside will be the risk of slowing down an already slow team with his aura.


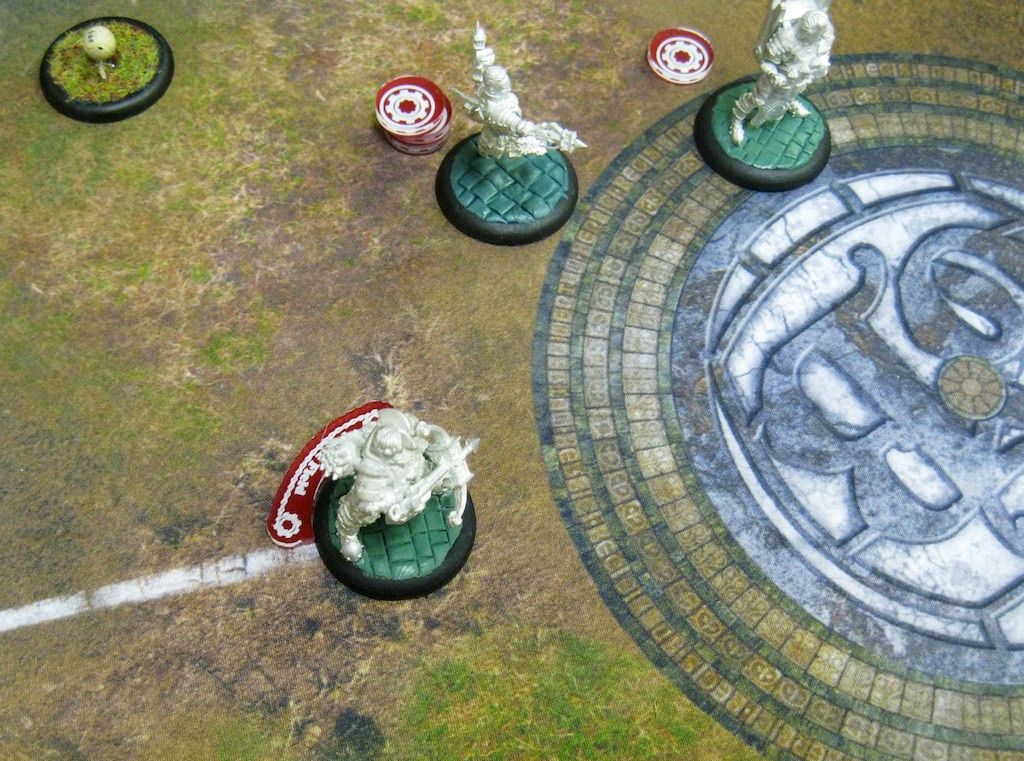
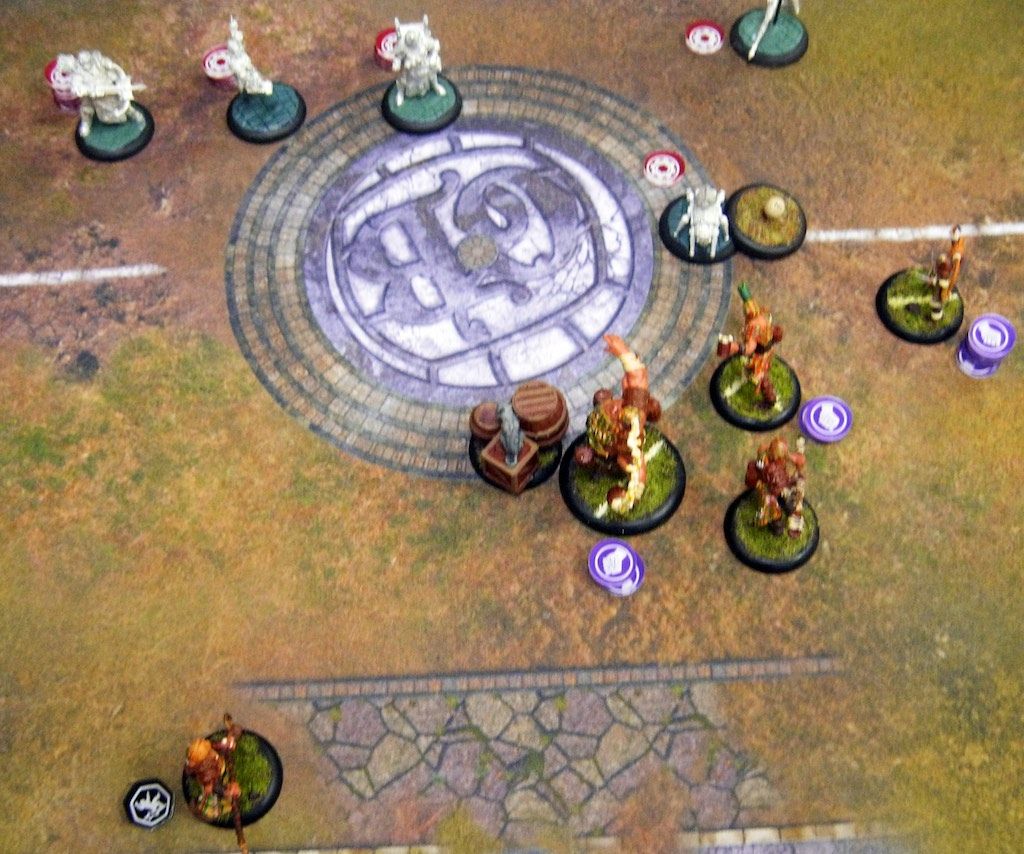
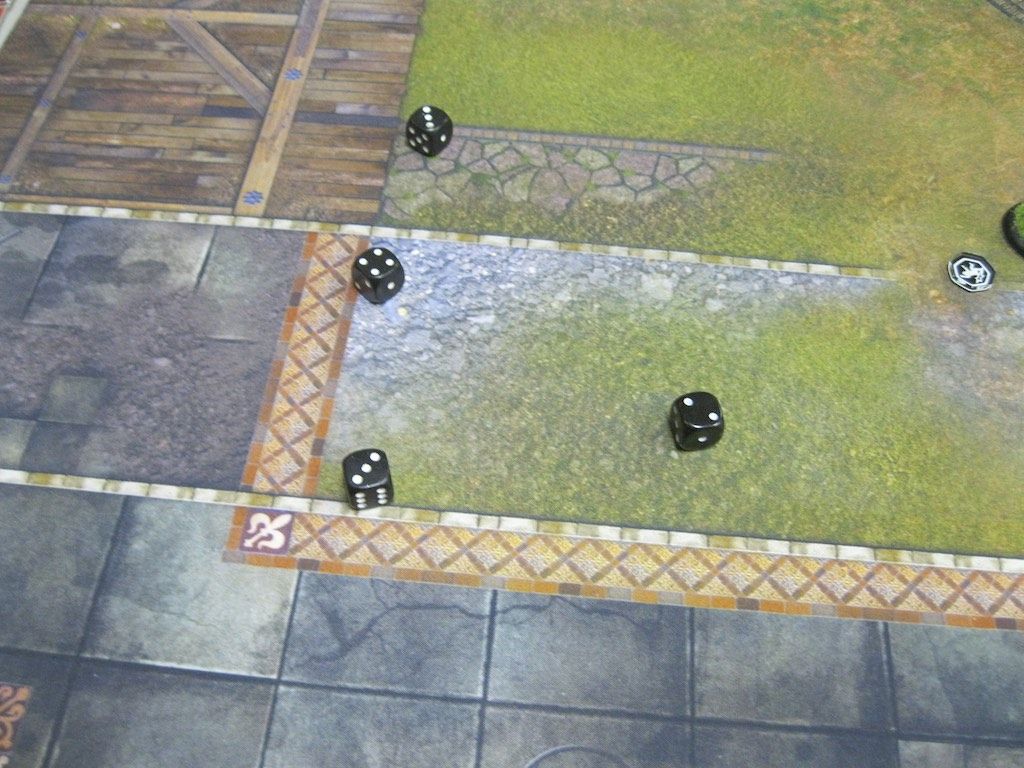
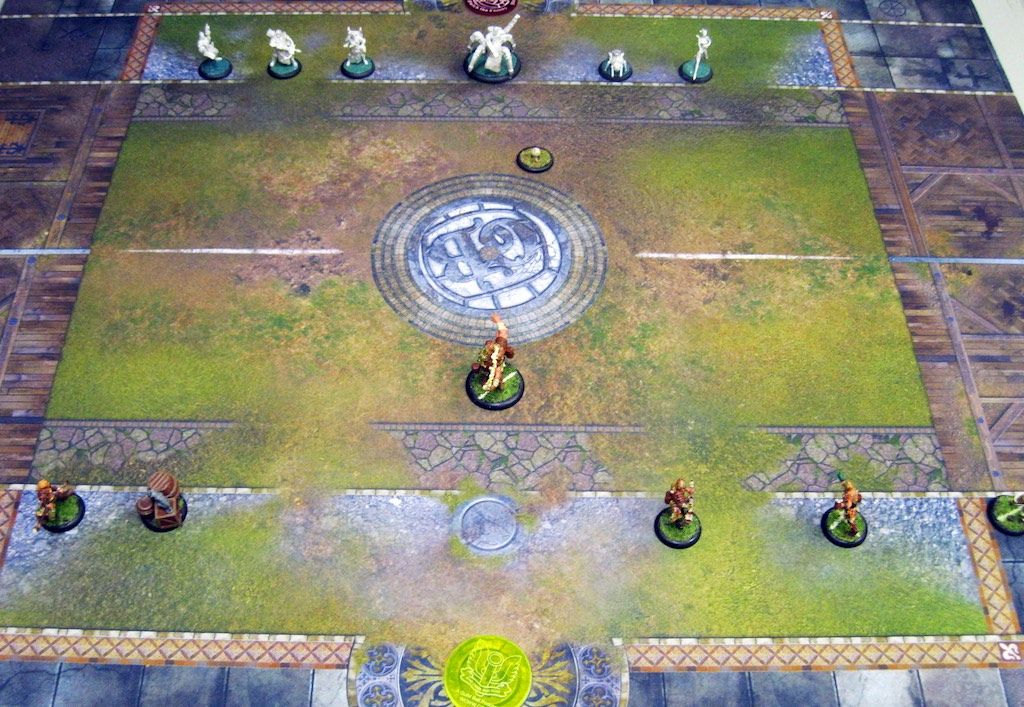 On the Brewers side I decided to also role out with a fairly standard Brewers setup. Tapper, Scum, Spigot, Stave, Friday, Hooper. I needed to figure out how to use Spigot more effectively, and was hoping to find the rumored damage dealer I've been hearing Hooper is. I kept Friday in the line as she's a fantastic striker, and of course no Brewers team is complete without Stave. I had the kickoff so chose to kick with Stave. I like using Stave for my kick-off as it allows him to move up the field before the game starts. This gives his impressive threat range for his barrels a solid grasp on the center of the board. I'm also not concerned with his poor kick stat as he has enough to place the ball over the mid-line. I'm starting to set the ball centered on the mid-field line, knowing my scatter (minimum 1 inch) will always carry the ball across. This becomes tricky if your trying to kick at an angle, which I do not regularly do. In this case the ball flew straight forward, halfway to Collosus. I was comfortable with a plan for knockdown to spring the ball from from whoever ended up holding it.
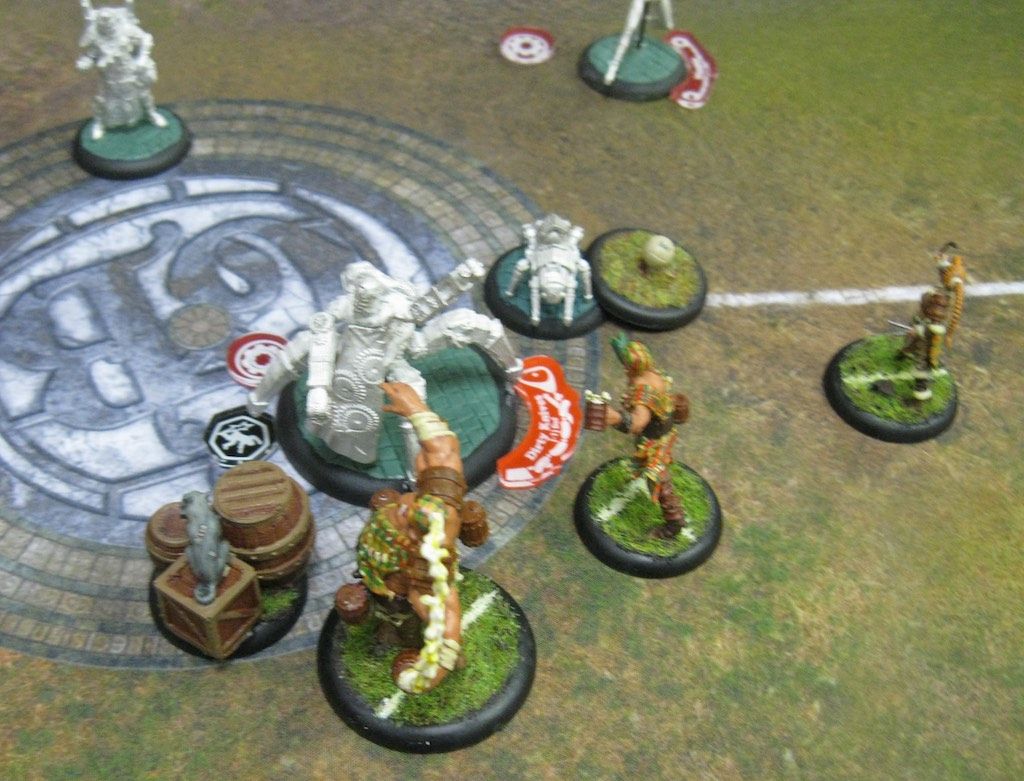

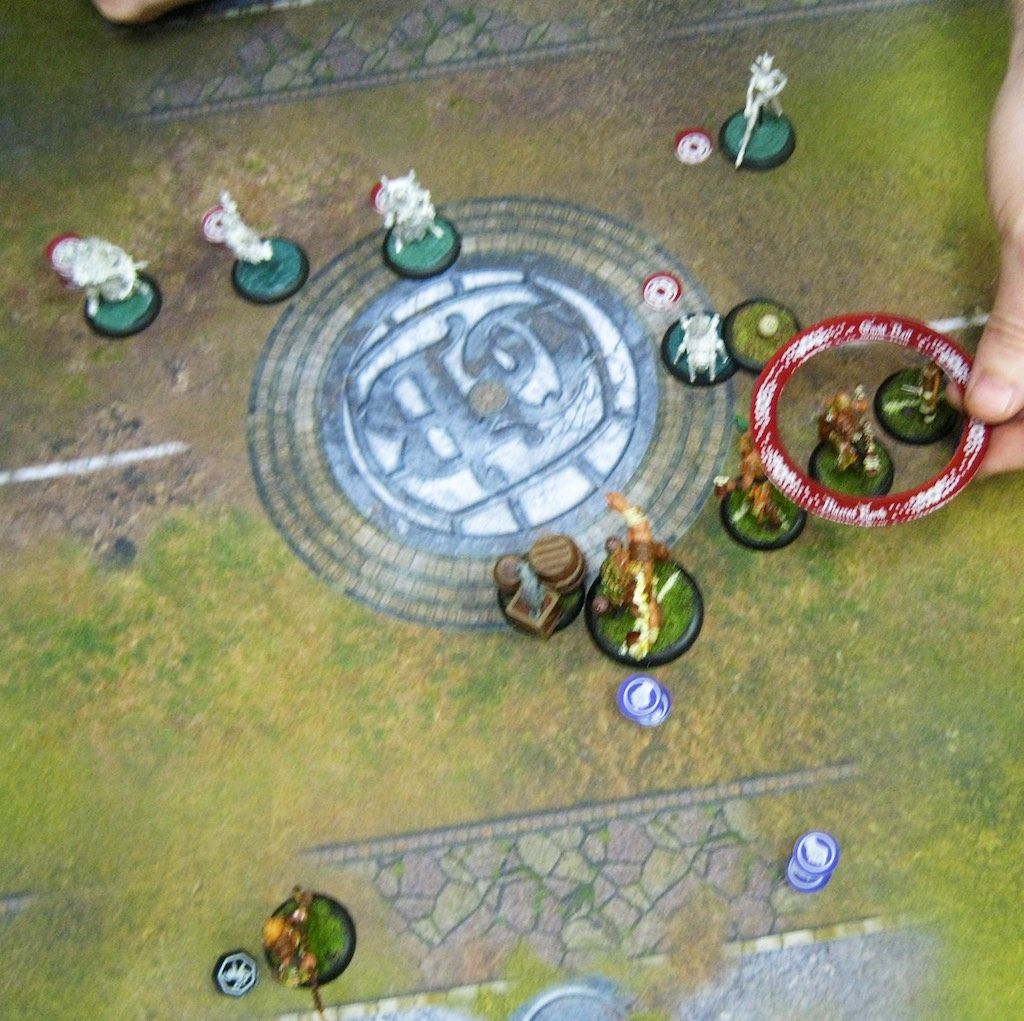
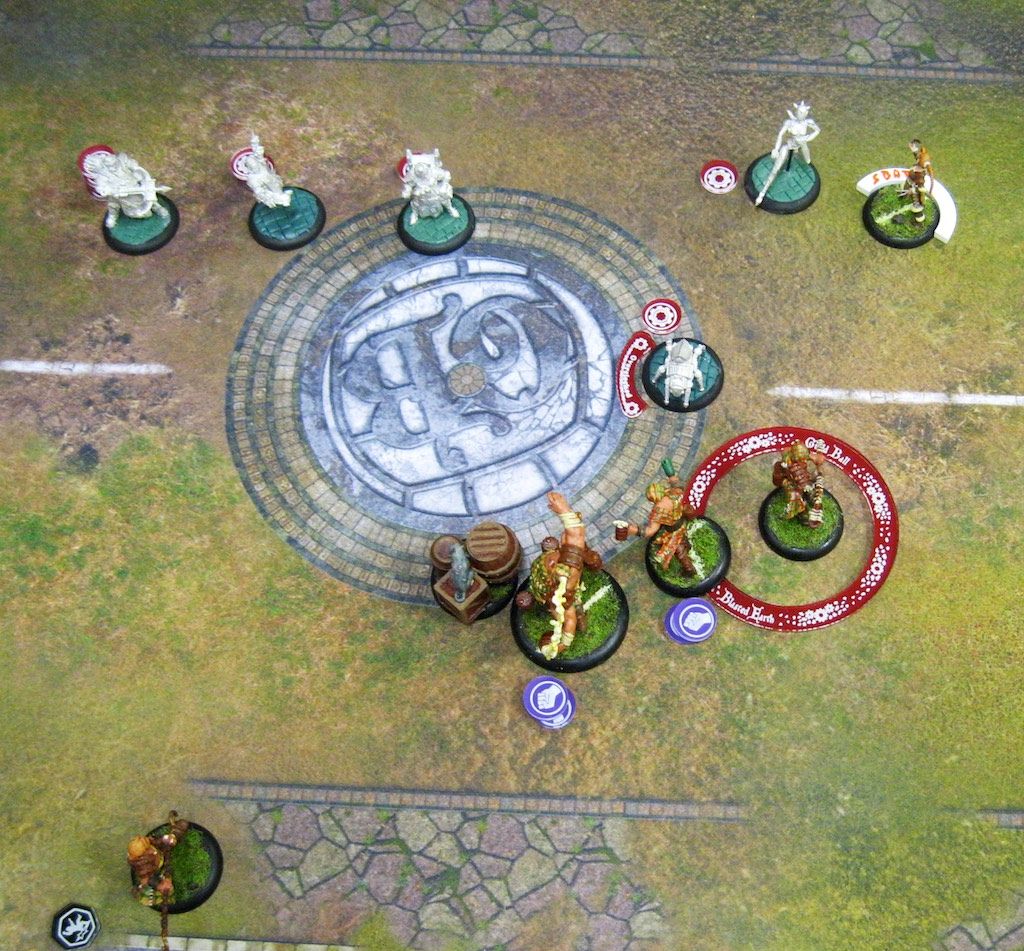
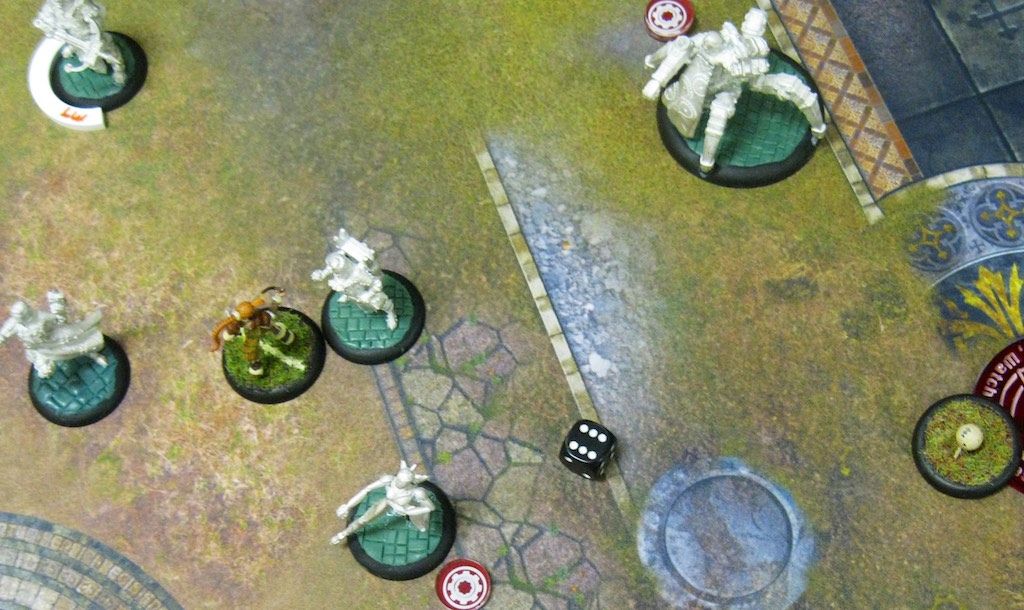
 Following that action the score was sitting at 6 - 0 in my favor and Ben felt he needed to try and balance things out. He moved Mainspring forward, attacked for a point of damage on Spigot, then blew himself up. This did some damage and dumped fire out on three of my players, but also gave up an additional 2 points to me for an 8-0 score. This left me 1 goal out from winning the game. I activated Stave with the intention of putting out the fire and knocking Ben's models around a bit. I was successful in knocking Ballista away from his team, causing Ben some challenges in getting him back into position to support the team via momentum generation.