Background
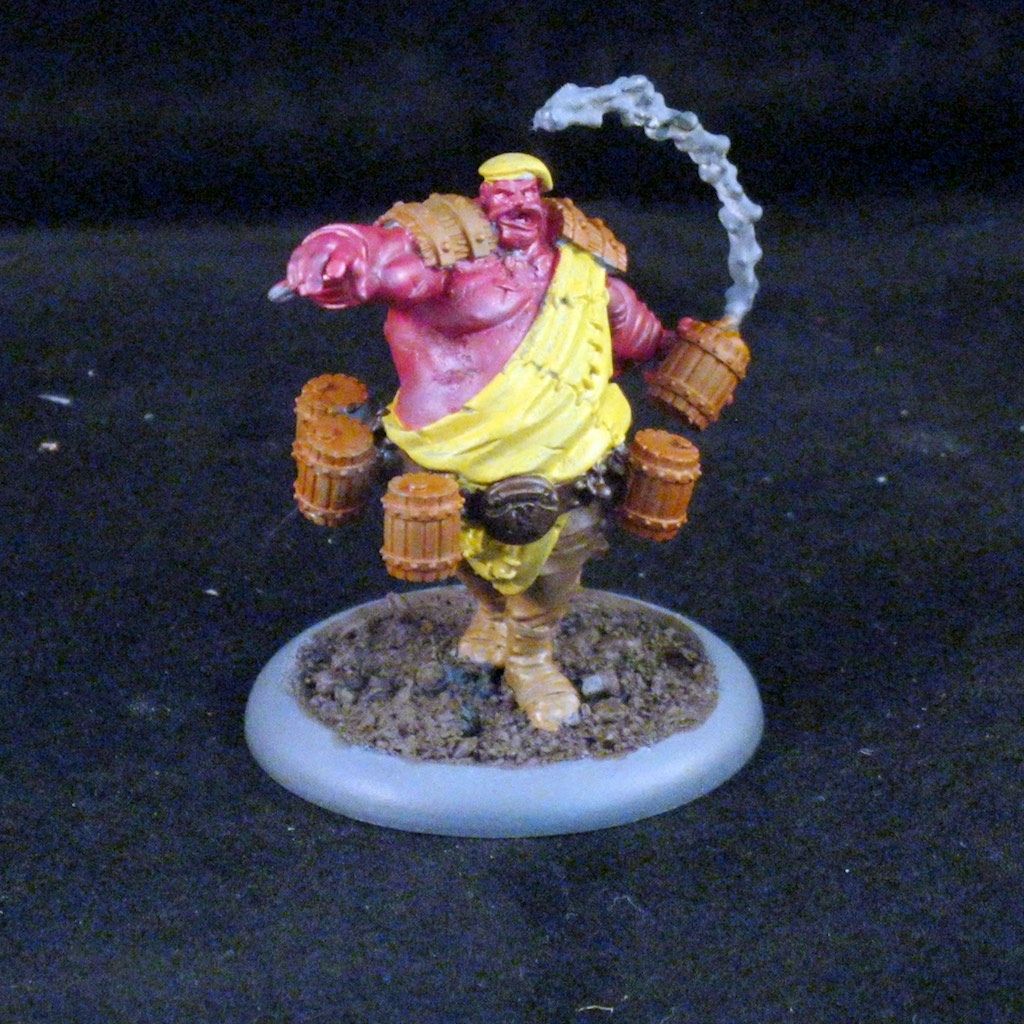
Keeping this in mind I decided to use a similar route for my Brewers. Looking across the Brewers team there is a fair bit of skin with lots of bruises and bandages on the players arms, chests, and backs. Keeping in mind the theme of the team, I thought it would also be a good choice to stray a bit more toward purple, hoping to provide a deeper bruise coloring but also reflect the ruddy "I'm a drunk" look the Brewers deserve. The only model I will refrain from starting with a base red is Friday, where I plan to stick to my typical darker skin/lighter skin theme.
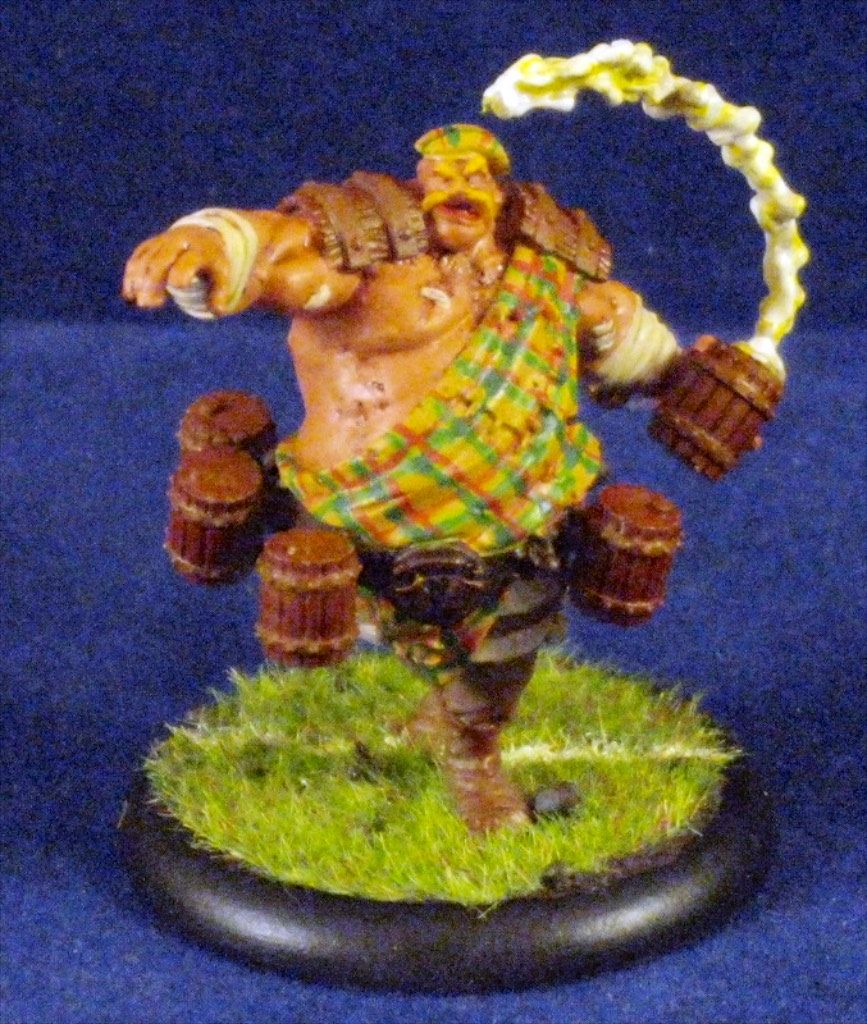
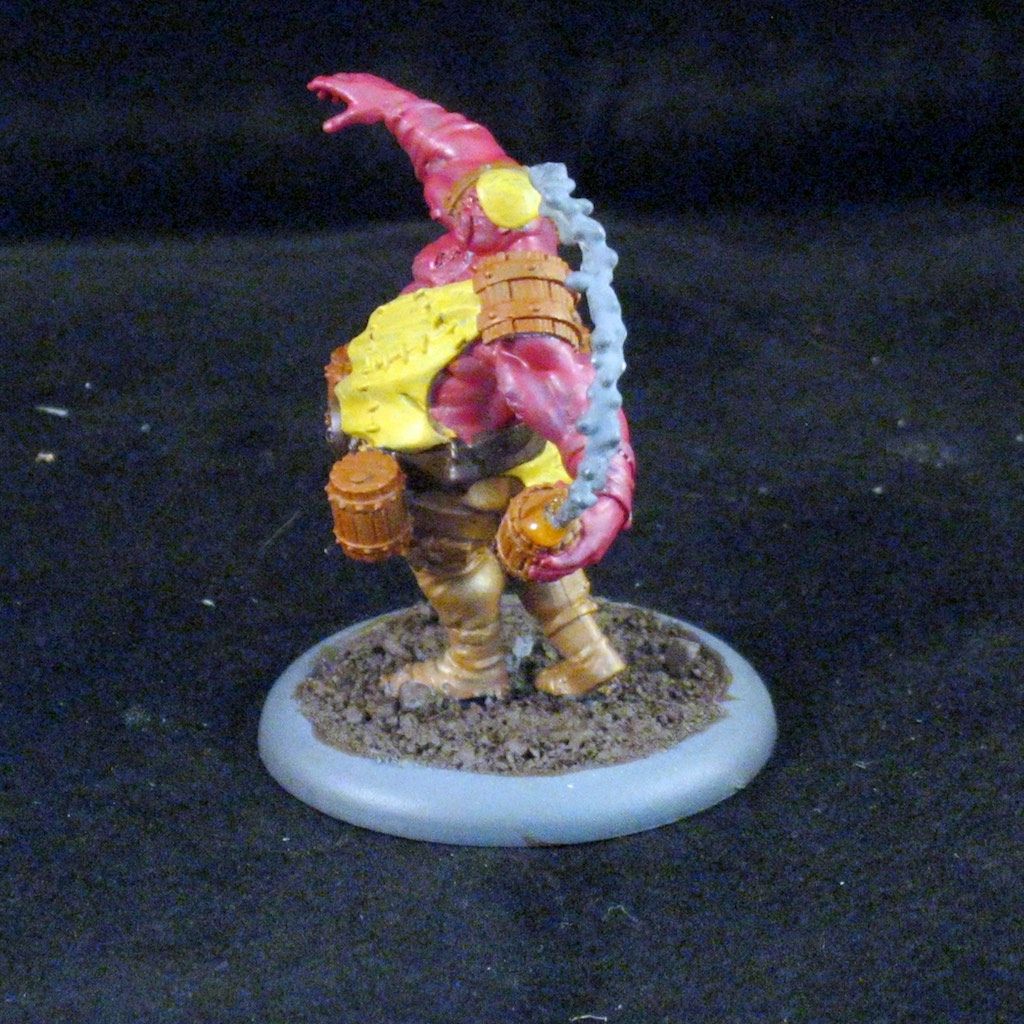
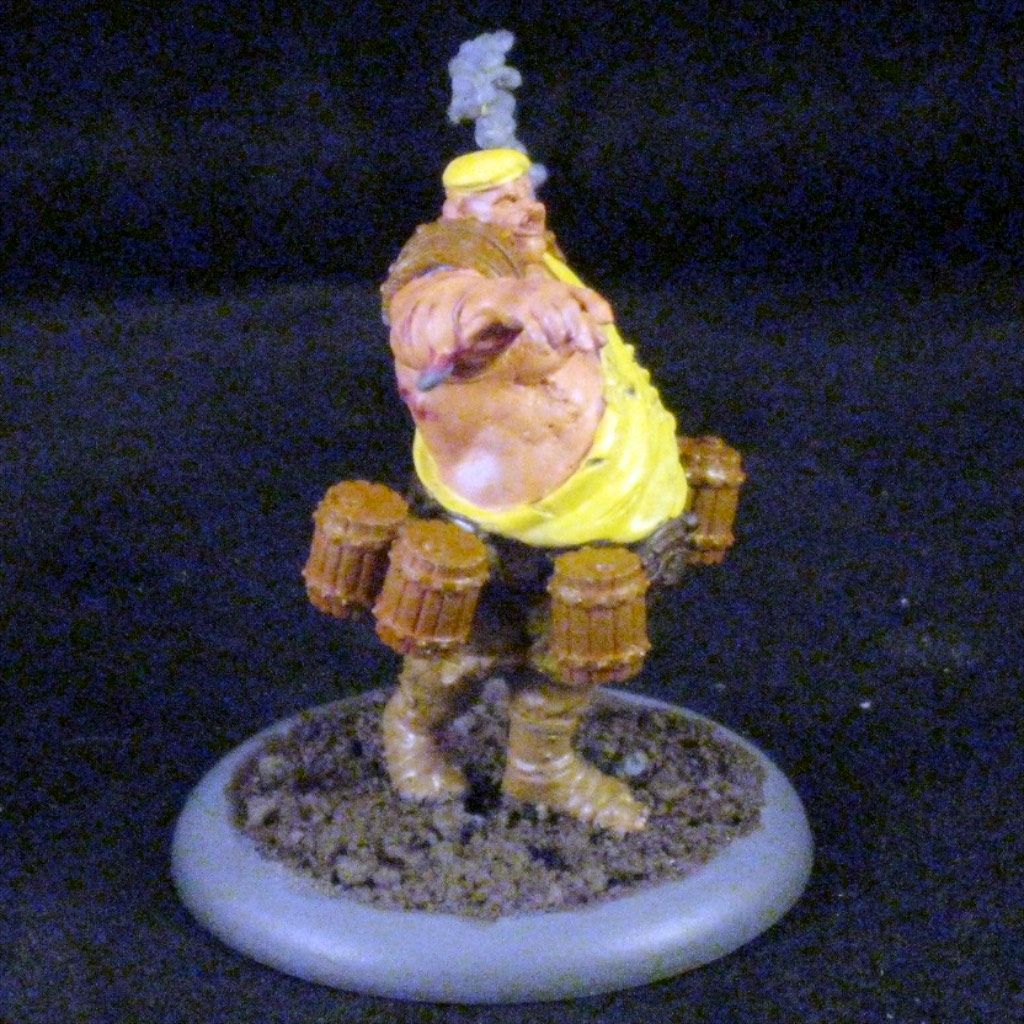
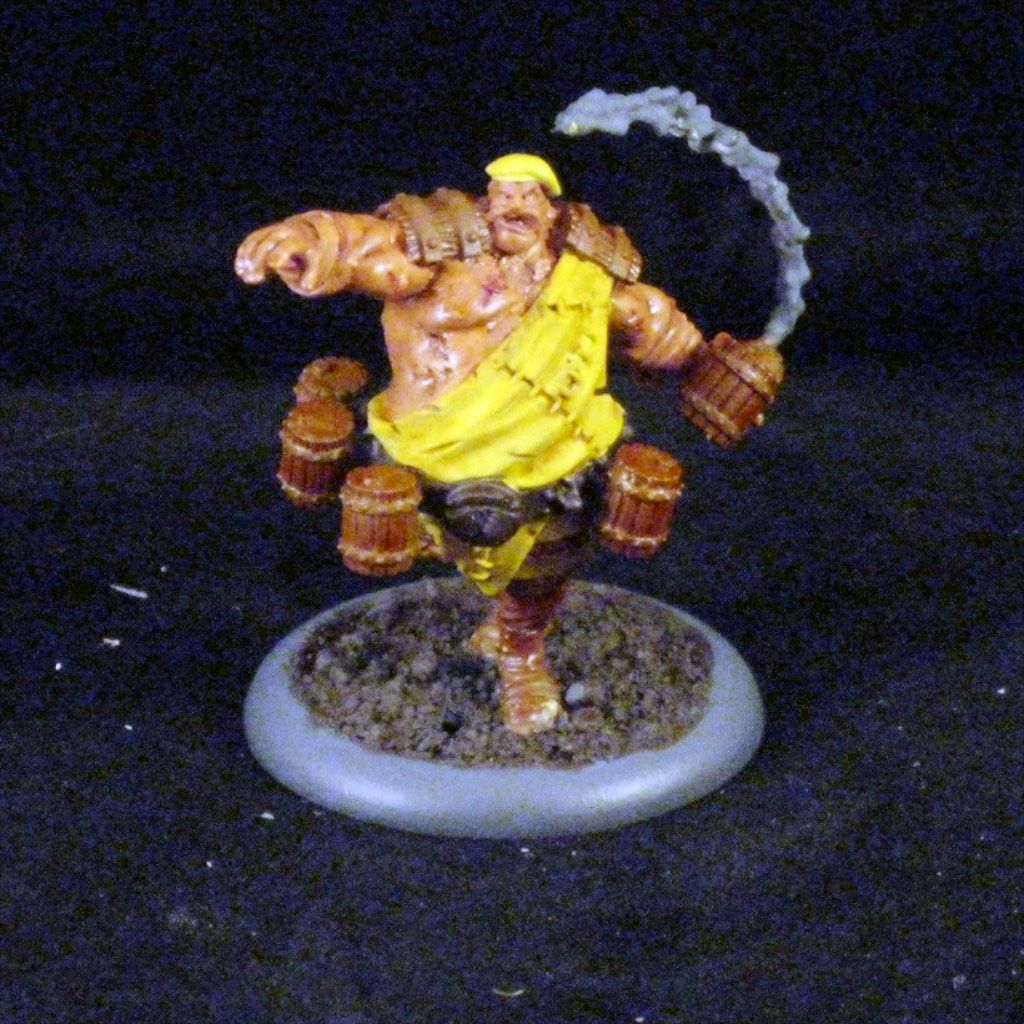
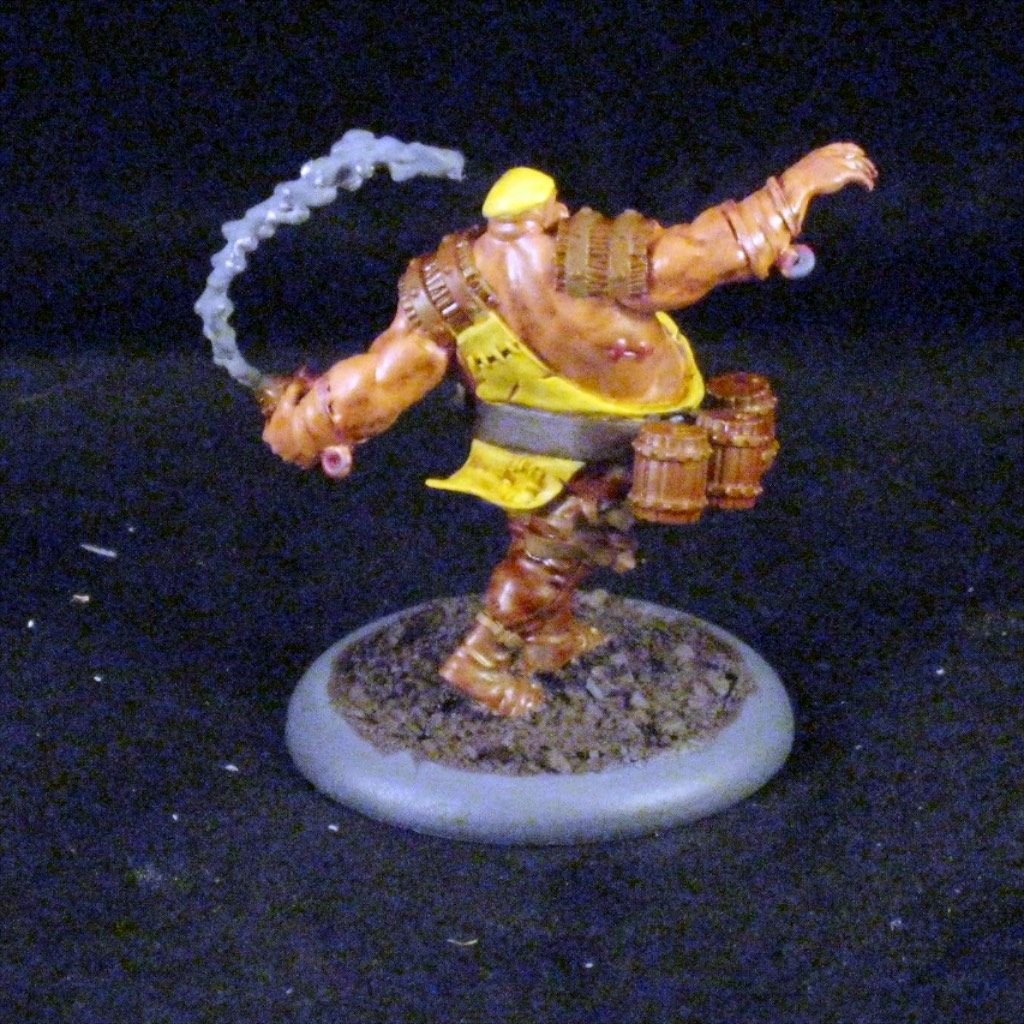
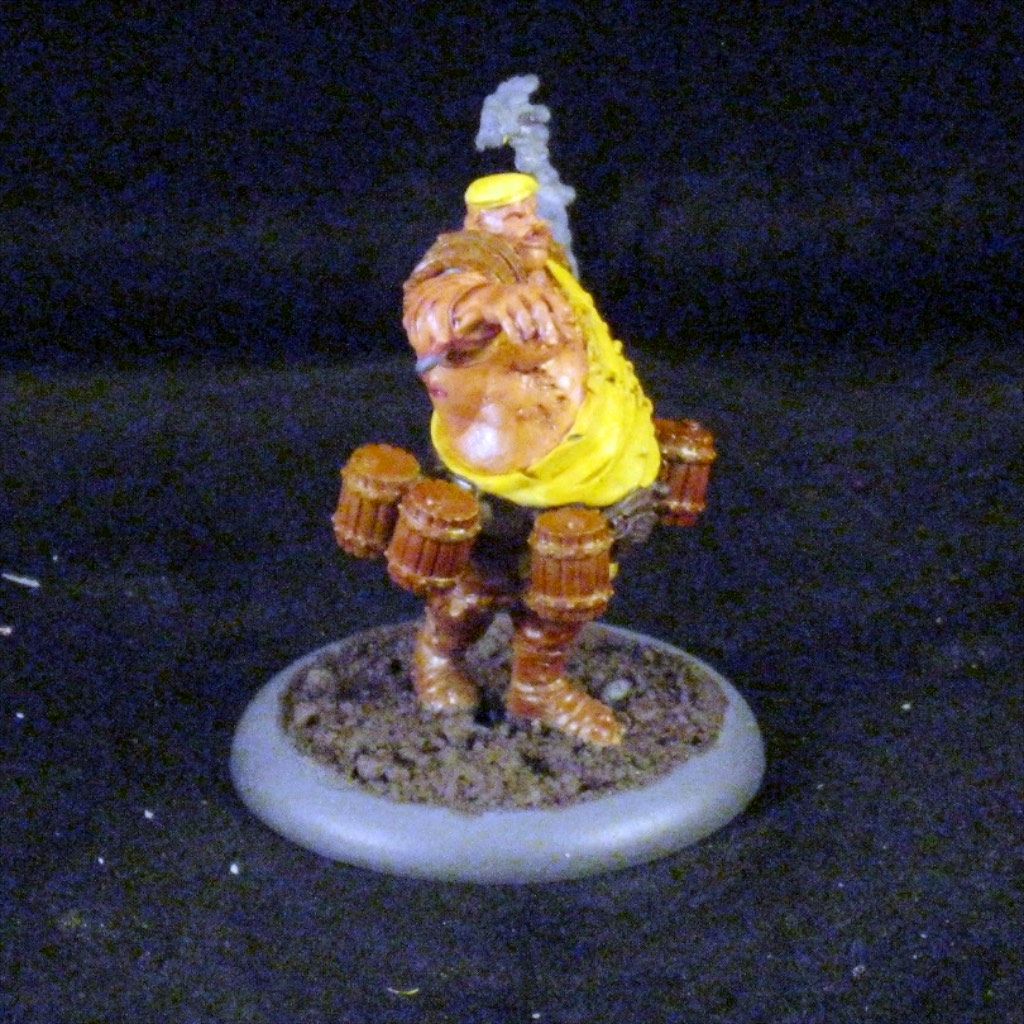
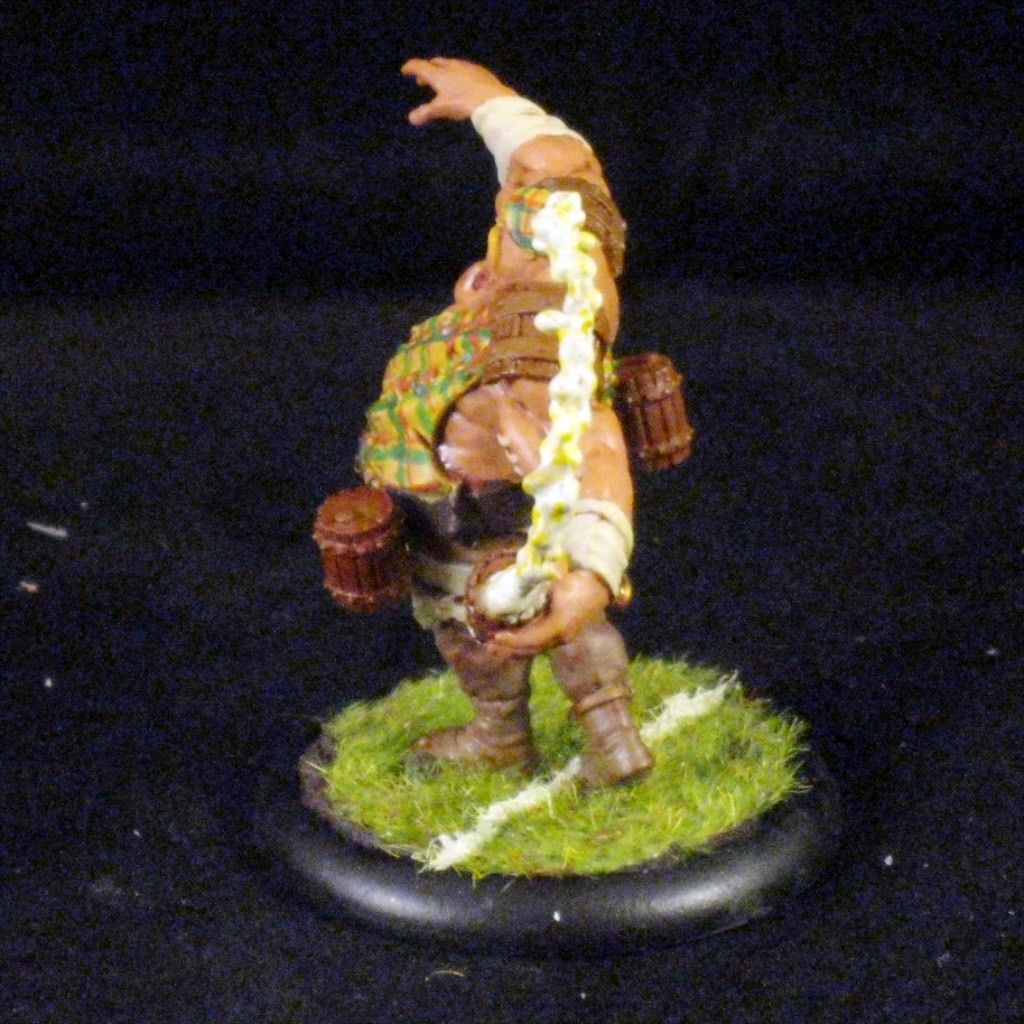
I decided to go ahead and put together a little photo-essay of my painting on the big guy, Stave, for the blog. All my paints for this (with one exception) are P3 paints for anyone trying to reference them. On the primer, I use a matte grey automotive primer to prime my models as I find it's very cost effective ($6 a can), has great spray control, and is actually fairly thin so I don't lose detail.
Step 1 - Base Coats
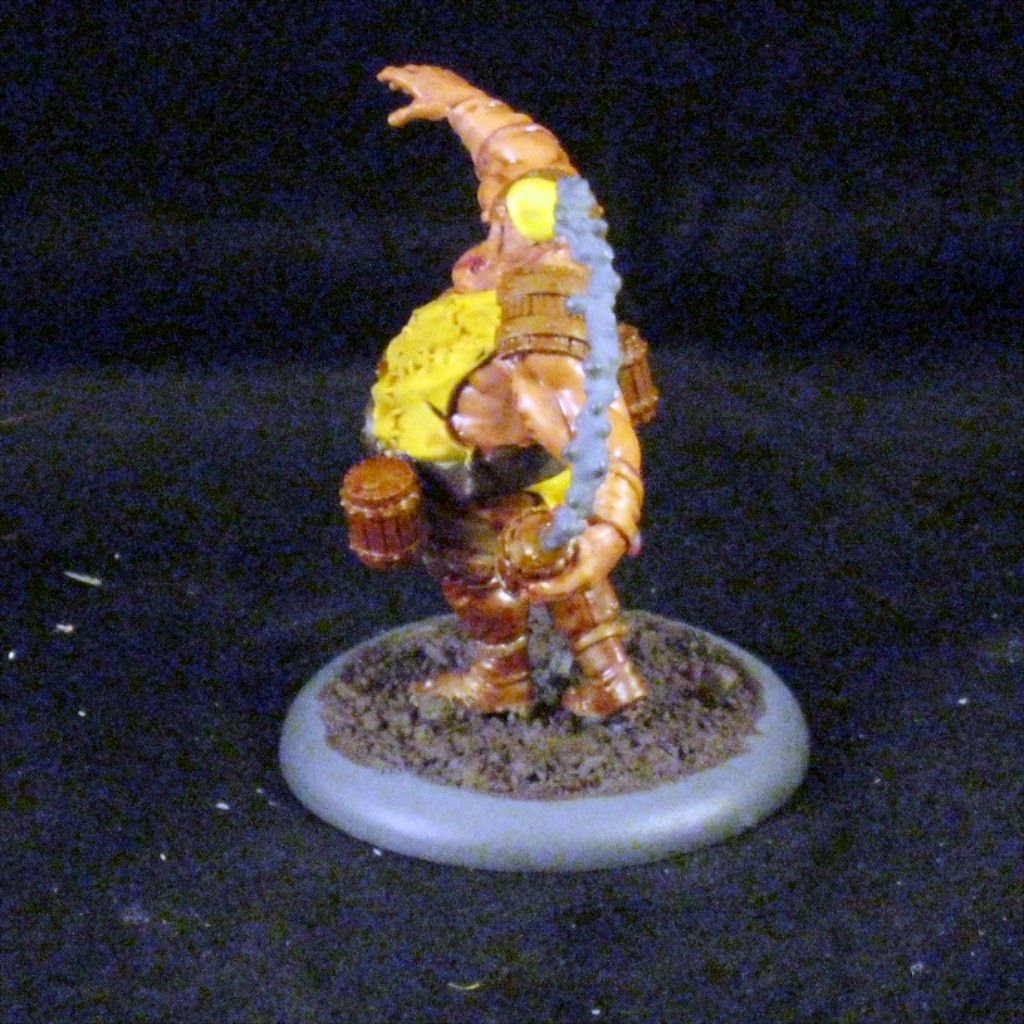
I start out by applying the base coats for all of my colors. I am a bit of an inconsistent painter overall, not always following through with each stage/layer together, but often putting down multiple layers on an area before moving to another. (i.e. I'll finish up the cloth before moving to the skin, etc) In almost all situations I tend to put down my base coats together to block out what colors I'll use while painting a model.On Stave you can see that I left a couple areas primer grey and did not paint those up until I did the final details on the model. Specifically the bandages/cloth wrapping Stave's wrists and the eye-bolts on his wrists. I ended up painting those on my final detail pass (as you'll see below.
Base Coat paints
- Cloth = Rucksack Tan
- Skin = Sanquine Highlight
- Wood = Bloodstone
- Leather = Boostrap Leather
- Belt = Umbral Umber
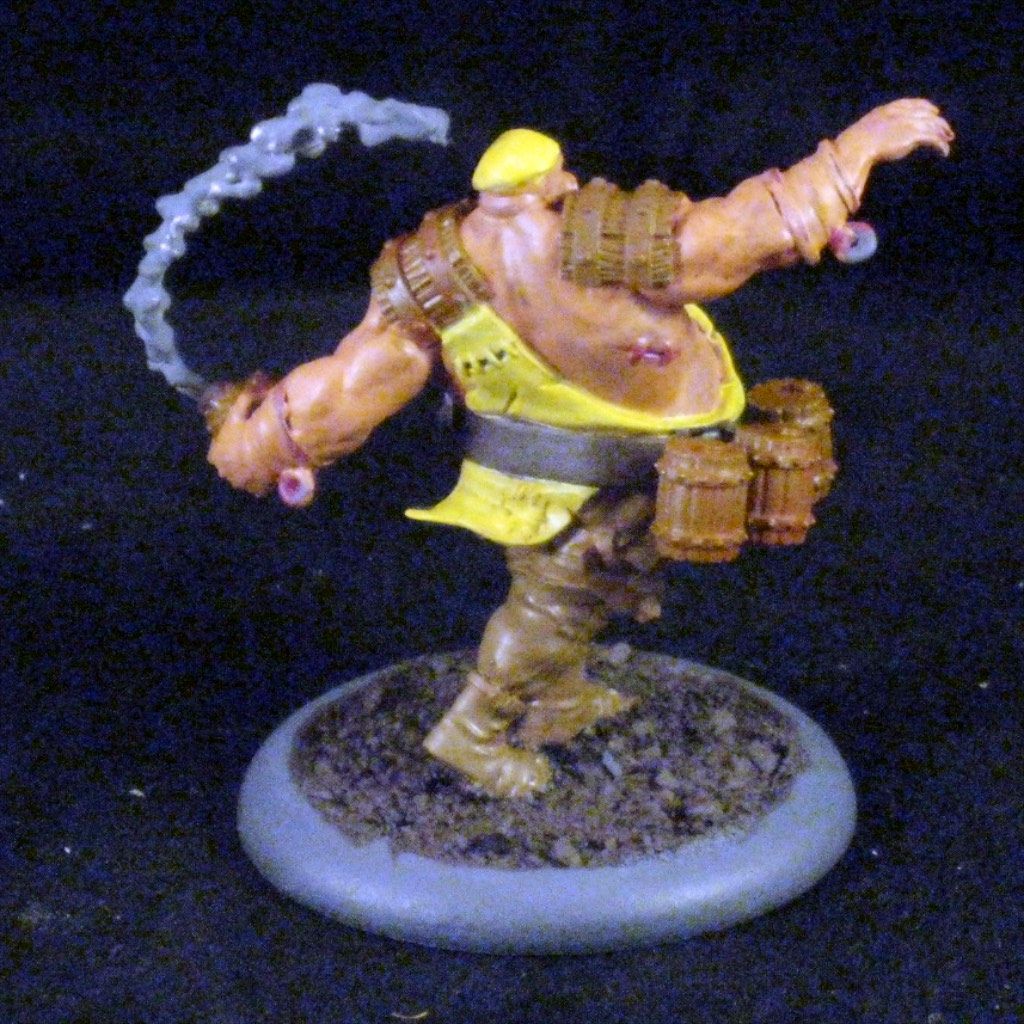
Step 2 - Mid-tones
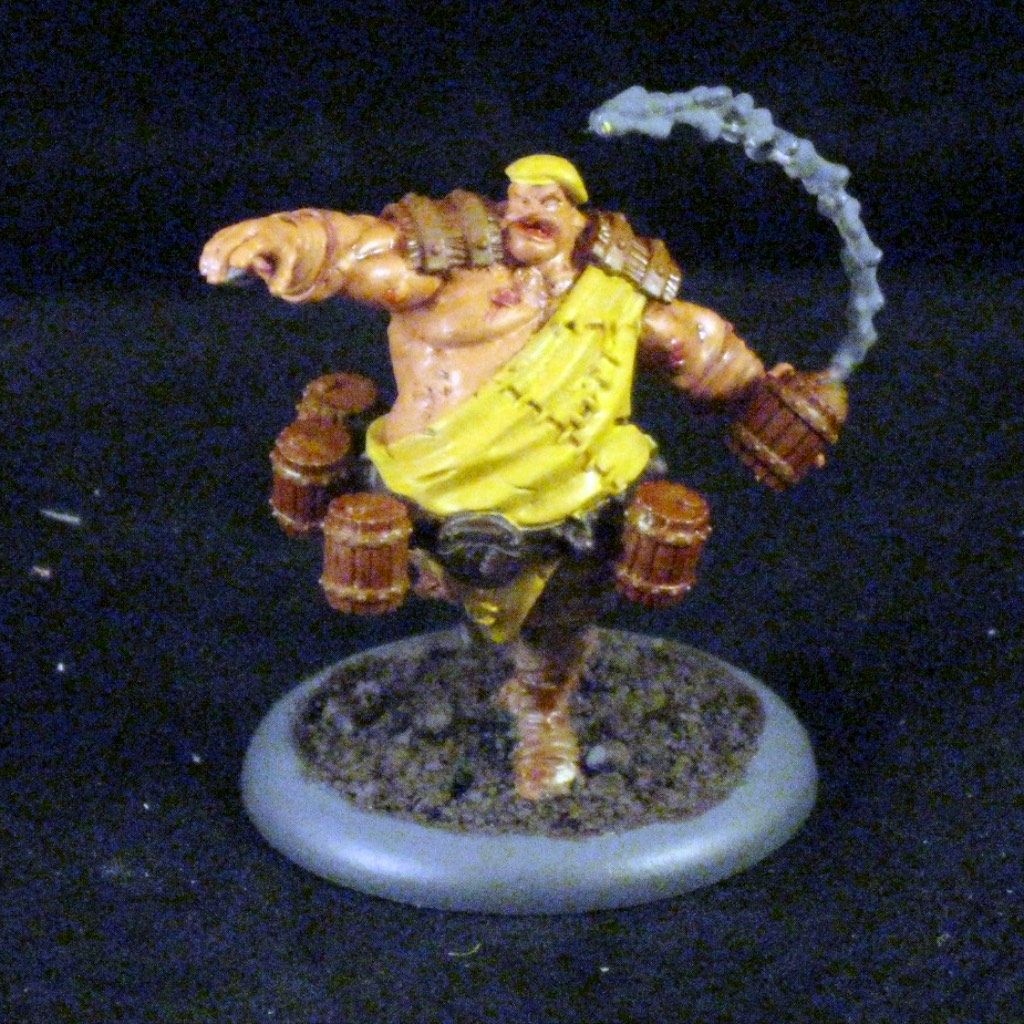
I let the base coats dry on the model before moving onto laying down the mid-tones. This step is where I begin to apply a lighter/brighter color of paint to the model to create shadows and depth by applying over the base coats. While painting the skin I tried to paint around the cuts, leaving the purple/red showing so that it would come through as a bruise or cut. I left a bit of a wider area than I wanted to end with, then used a clean brush to "push" the edges of the paint I just applied toward the center of the bruise, "feathering" the edges a bit. The effect is a bit hard to see in the pictures, and I'm honestly not sure how well it comes out at the end. I went back and reapplied sanguine highlight to any bruises or cuts that I inadvertently painted over during this step.Mid Coat
- Cloth = Moldy Ochre
- Skin = Khardic Flesh
- Wood = Blood Tracker Brown
- Leather = Gun Corp Brown


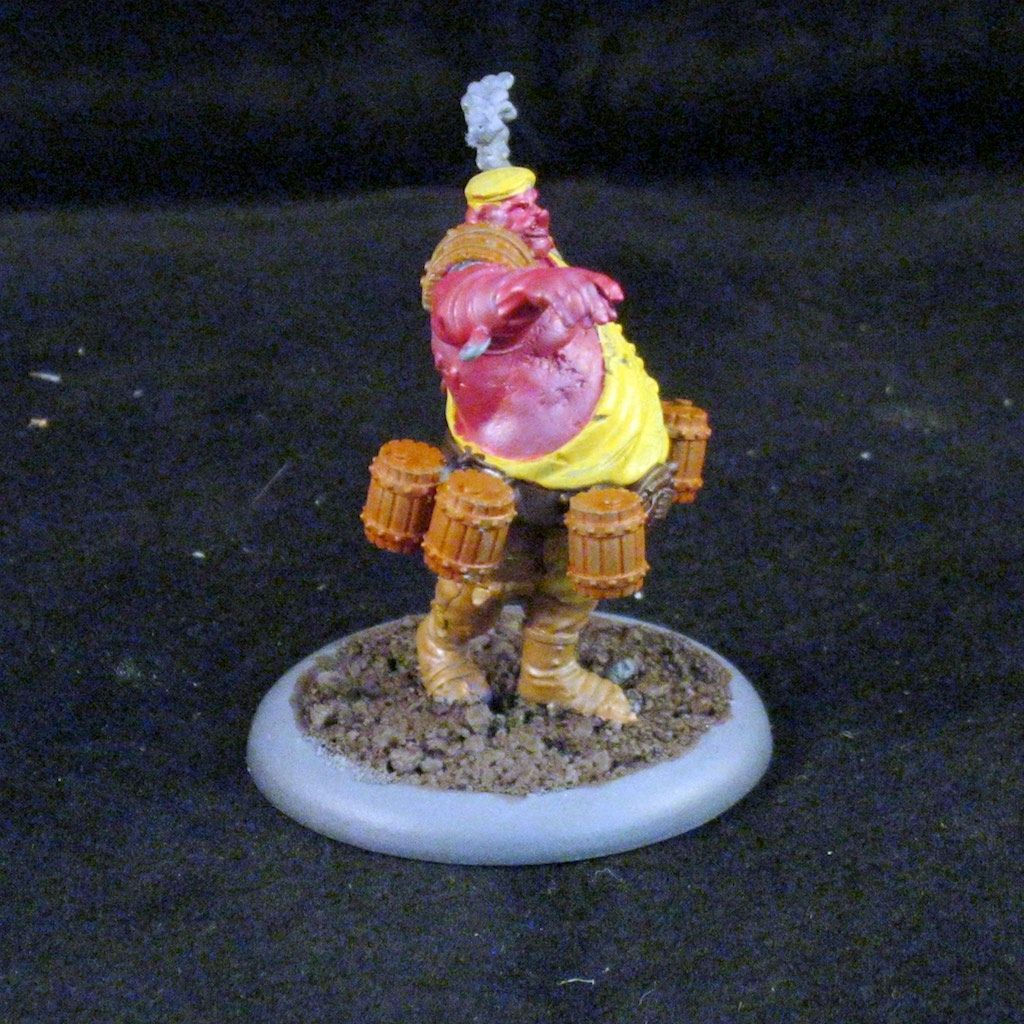
Step 3 - Washes
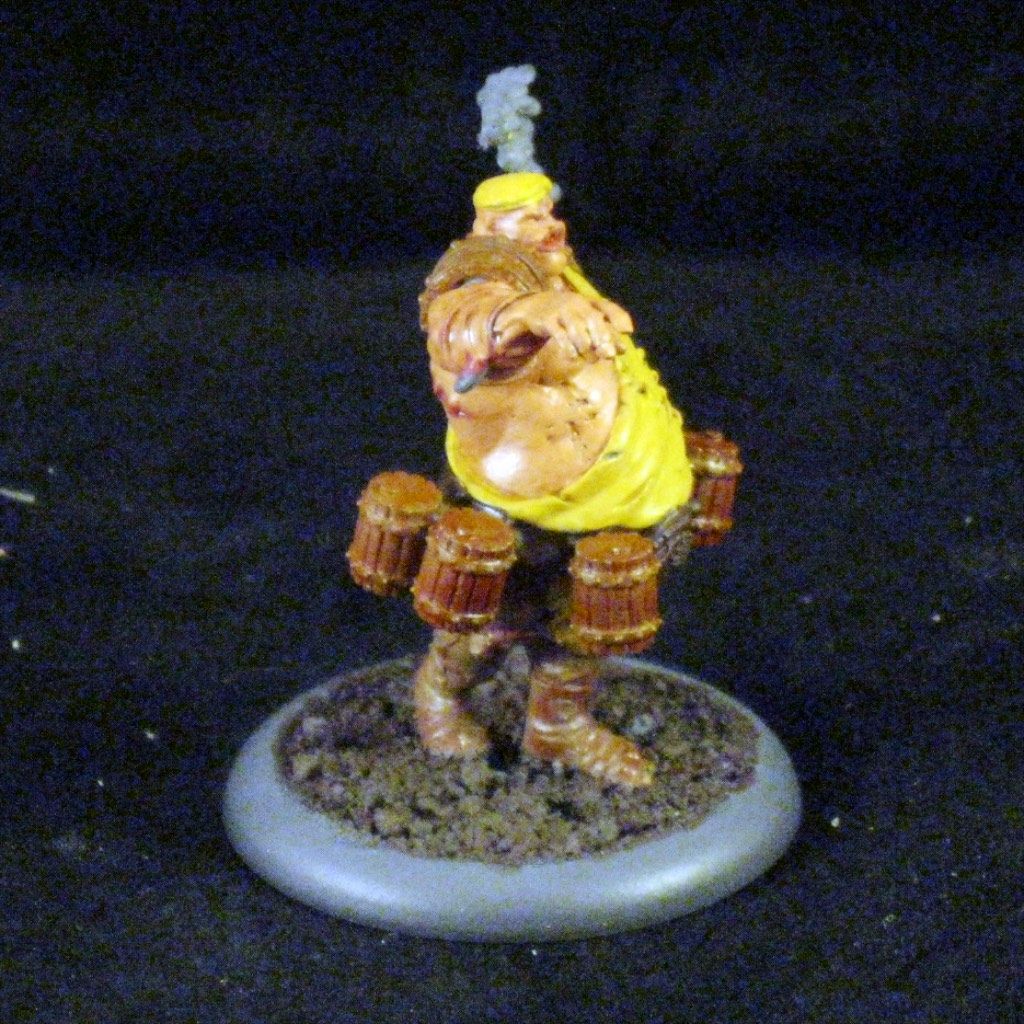
I discovered washes years ago when GW brought out their initial line of Citidel washes. I have to admit that washes are one of the tricks I learned ot use early, not only to make my model look better with only a little effort (by bathing the model in a wash) but also as a technique to strengthen and provide depth to my colors. I apply washes after my mid tones to help blend together the base (shadow) and mid, and also to provide a bit more depth to the shadow. This also changes the mid-tone color a bit, sometimes allowing me to go back and highlight with the same mid-tone color, causing an easier transition.Washes
- Cloth = (Citadel) Seraphim Sepia
- Skin = Flesh Wash
- Wood = Brown Ink
- Leather = Brown Ink
Step 4 - Highlights
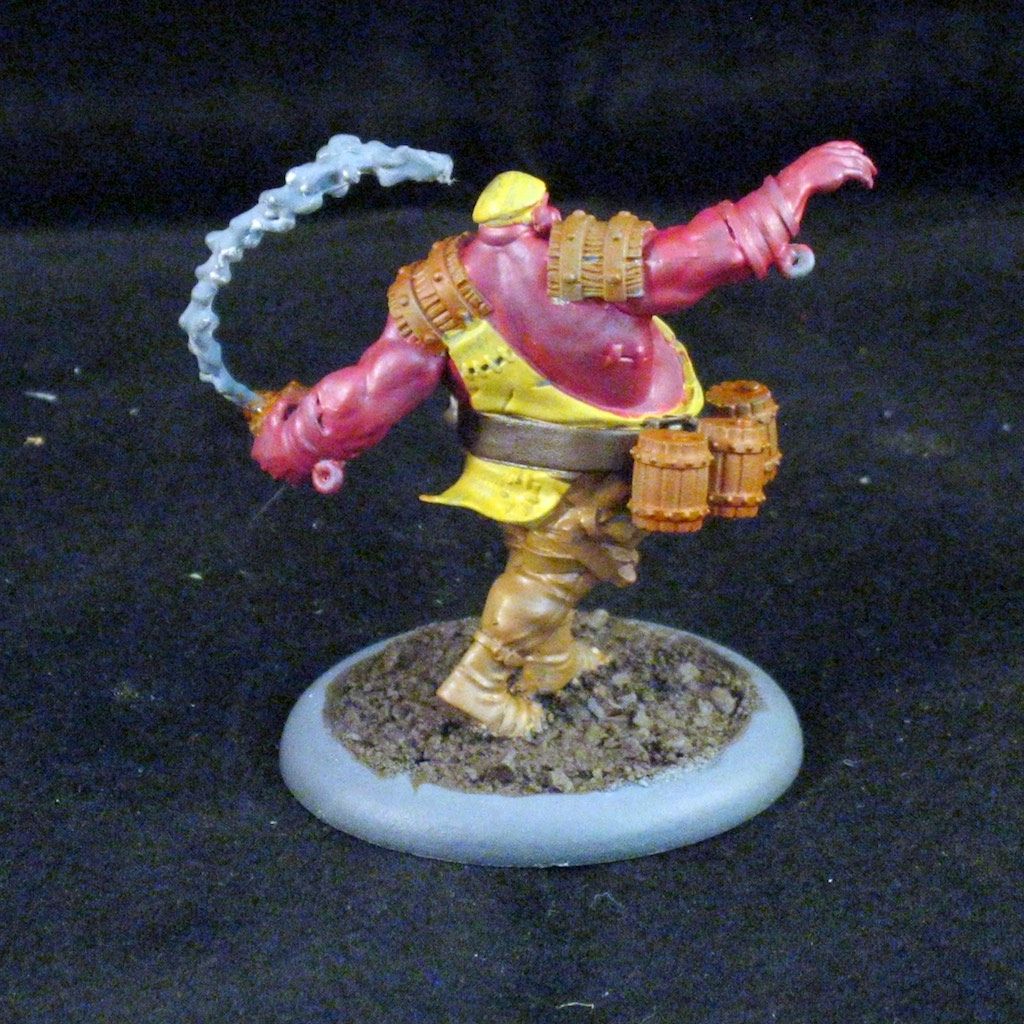
Applying the highlights is where I start to get a bit frustrated when I'm painting a model. Typically my process is to apply my base coats and then go do something with another model while I wait for the base coats to dry. This happens fairly quickly and I can then move onto mid-tones and washes. Applying the washes while the mid-tones are not completely dry is not a bad thing, as it provides a bit of blending if you do it carefully. This actually helps the overall look of the model so I can move through those two steps fairly quickly. I have not had the same results applying my highlights while the wash is still wet. This means I have to wait longer for my washes to dry (frustrating) before applying my highlights. Then, the highlight step is where the model really starts moving to being finished, but I want to rush to get to the final detail step and be done.Considering that, you can see where I've gone through and painted the high points of the models. I'm really looking for the top edge of creases on the cloth and muscle ridges on the skin. I blend a bit closer to the depth's on the skin to even out the overall skin tone along with covering most of the flat areas of the leather pants, leaving the depths and stitching colored by the wash, mid, and base coats.
Highlight
- Cloth = Rucksack Tan
- Skin = Khardic Flesh
- Leather = Gun Corp Brown


Step 5 - Final details
During this step I go back and give the model all the final details I have not yet covered. In the case of Stave I add in the Tartan, cloth bandages, metal eye-hooks, beer foam, and facial hair. I also give it a once over and touch up any areas I may have caused a mess on while painting the highlights. I did notice after completing and photographing this step that I had missed his patches and the stitching on his tartan, which I went back afterwards and touched up.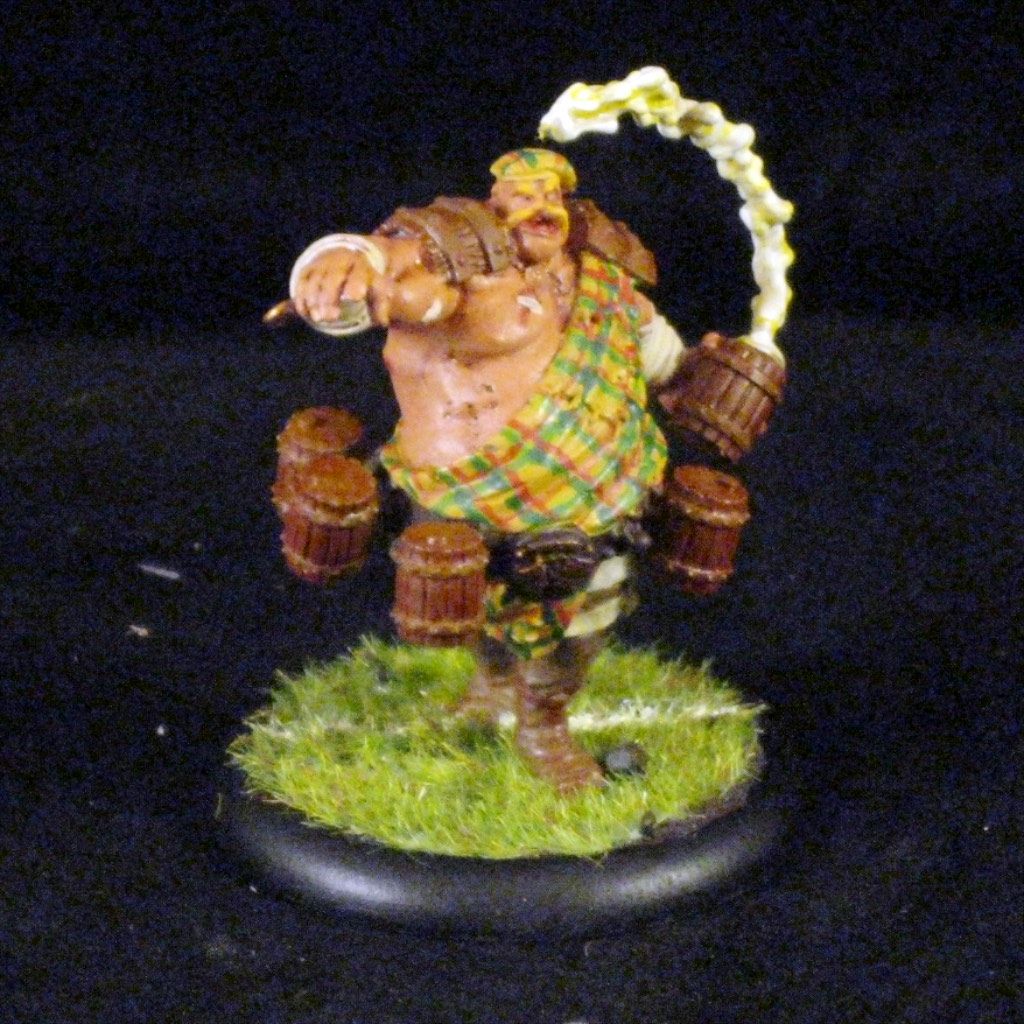

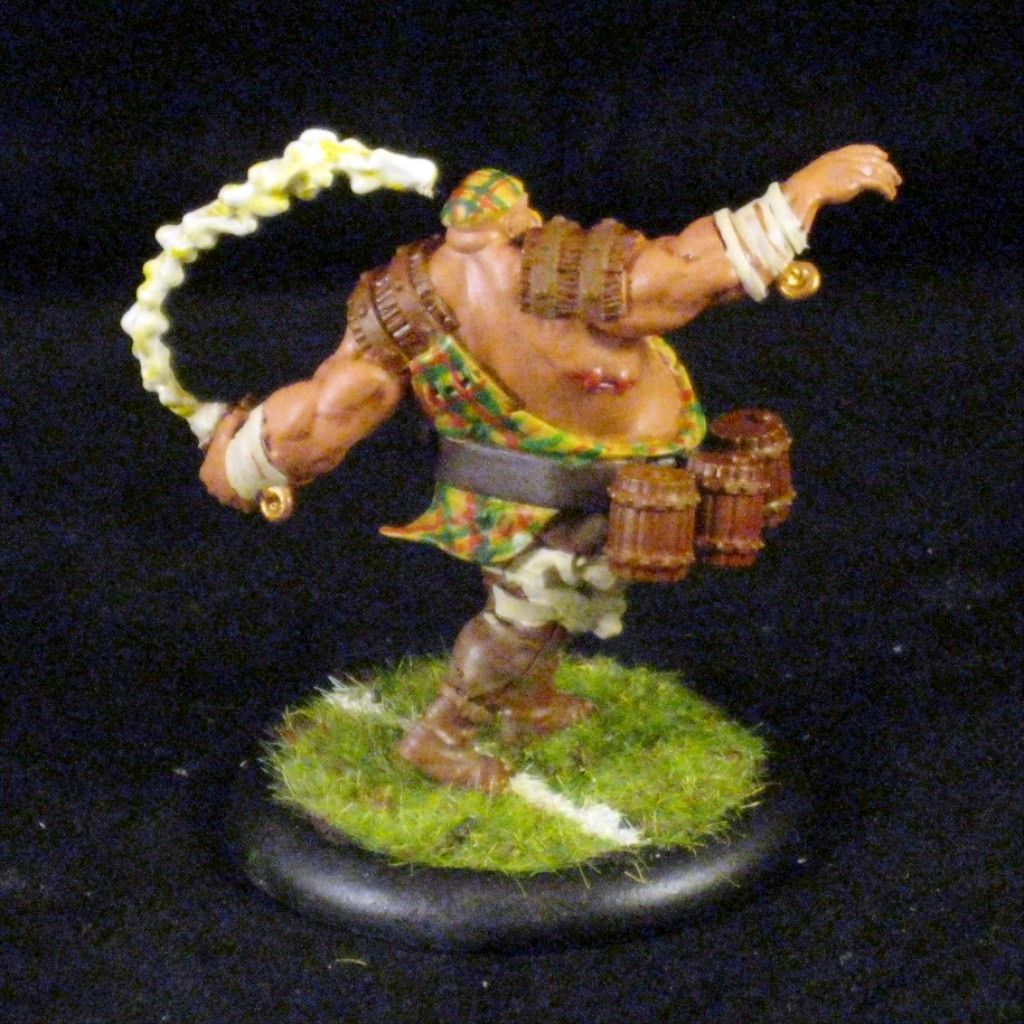
I want to also thank my Guild Ball Tonight cohost Phil for providing a great video on painting Tartan on these models. The Tartan pattern I used follows his technique in the following video.
I hope that you've enjoyed this tutorial and that it inspires some ideas for you to go and paint up your own models.