
Set-up
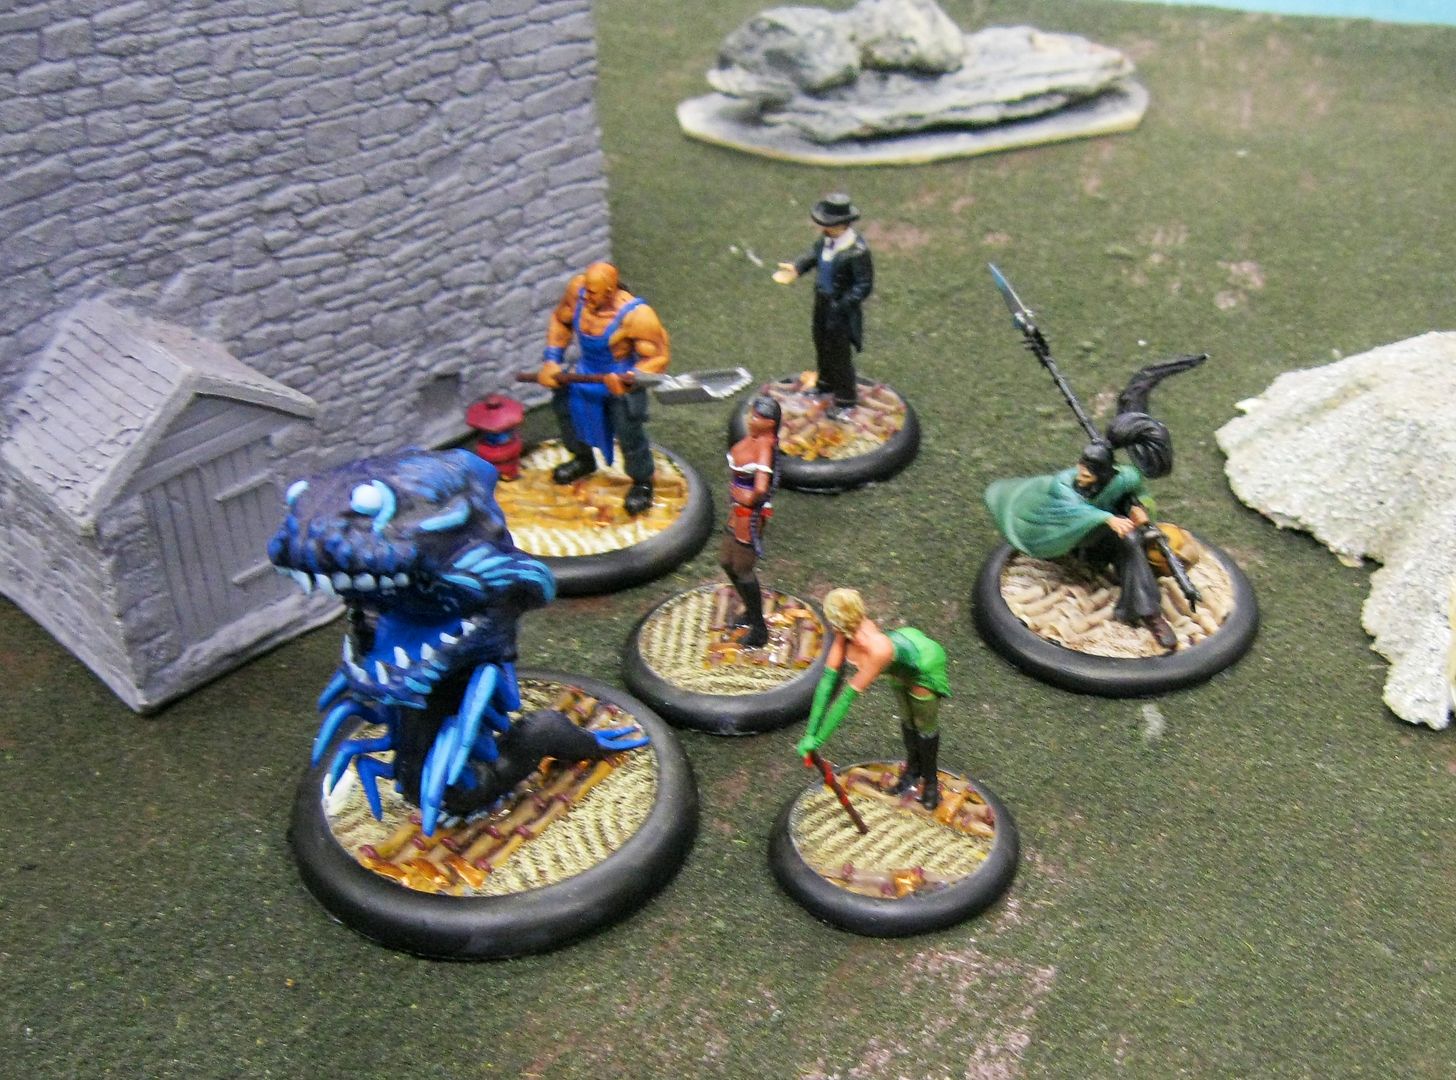
Our board was set-up as follows:
Slaz flipped our deployment zone, ending up with corners and then we flipped our strategies. I ended up with Plant Evidence and Slaz ended up with Line in the Sand. We tossed the dynamite down the center line of the board (corner to corner), then I deployed in the right hand corner while Slaz deployed in the opposite corner. I had a good idea what I wanted to use, and then could not decide on schemes so I shuffled up my scheme deck and randomly drew. Slaz seemed well in control of what he was planning to do, and we got ready to play our game. He had picked aRamos as his master, a master who has gained a fair amount of distaste in our local group. Knowing this, I was looking forward to our game.
Our crews were:
30SS Scrap
Bill - Jakob, Huggy, 2x Beckoner, Yamaziko, Kang, 8 stones
- Plant Evidence, Stake a Claim, Eye for an Eye
- Line in the Sand, Kill Protege (Kang), Do Everything Myself

Turn 1
The game jumped off with little out of the ordinary. I moved forward and Slaz began his preparation to manifest Ramo's avatar on turn 2. Slaz's newest method for manifesting Ramos is to have Handy give Ramos the extra book then Magical Extension Ramos's Combat Mechanic spell, killing itself (Handy) off for the scrap. Slaz did toss out a small spider and the electrical creation during the turn, allowing a whacky combination where one Beckoner made the spider brilliant, the second Beckoner used Come Hither to make it charge into range, the Jakob used Dead Man's Hand twice to draw some card. After that, Huggy shifted over to the far side of the house and sucked off a wound from the small spider at the end of the turn. All in all, a fairly slow turn of preparation. That was certainly not typical for this game, more the calm before the storm.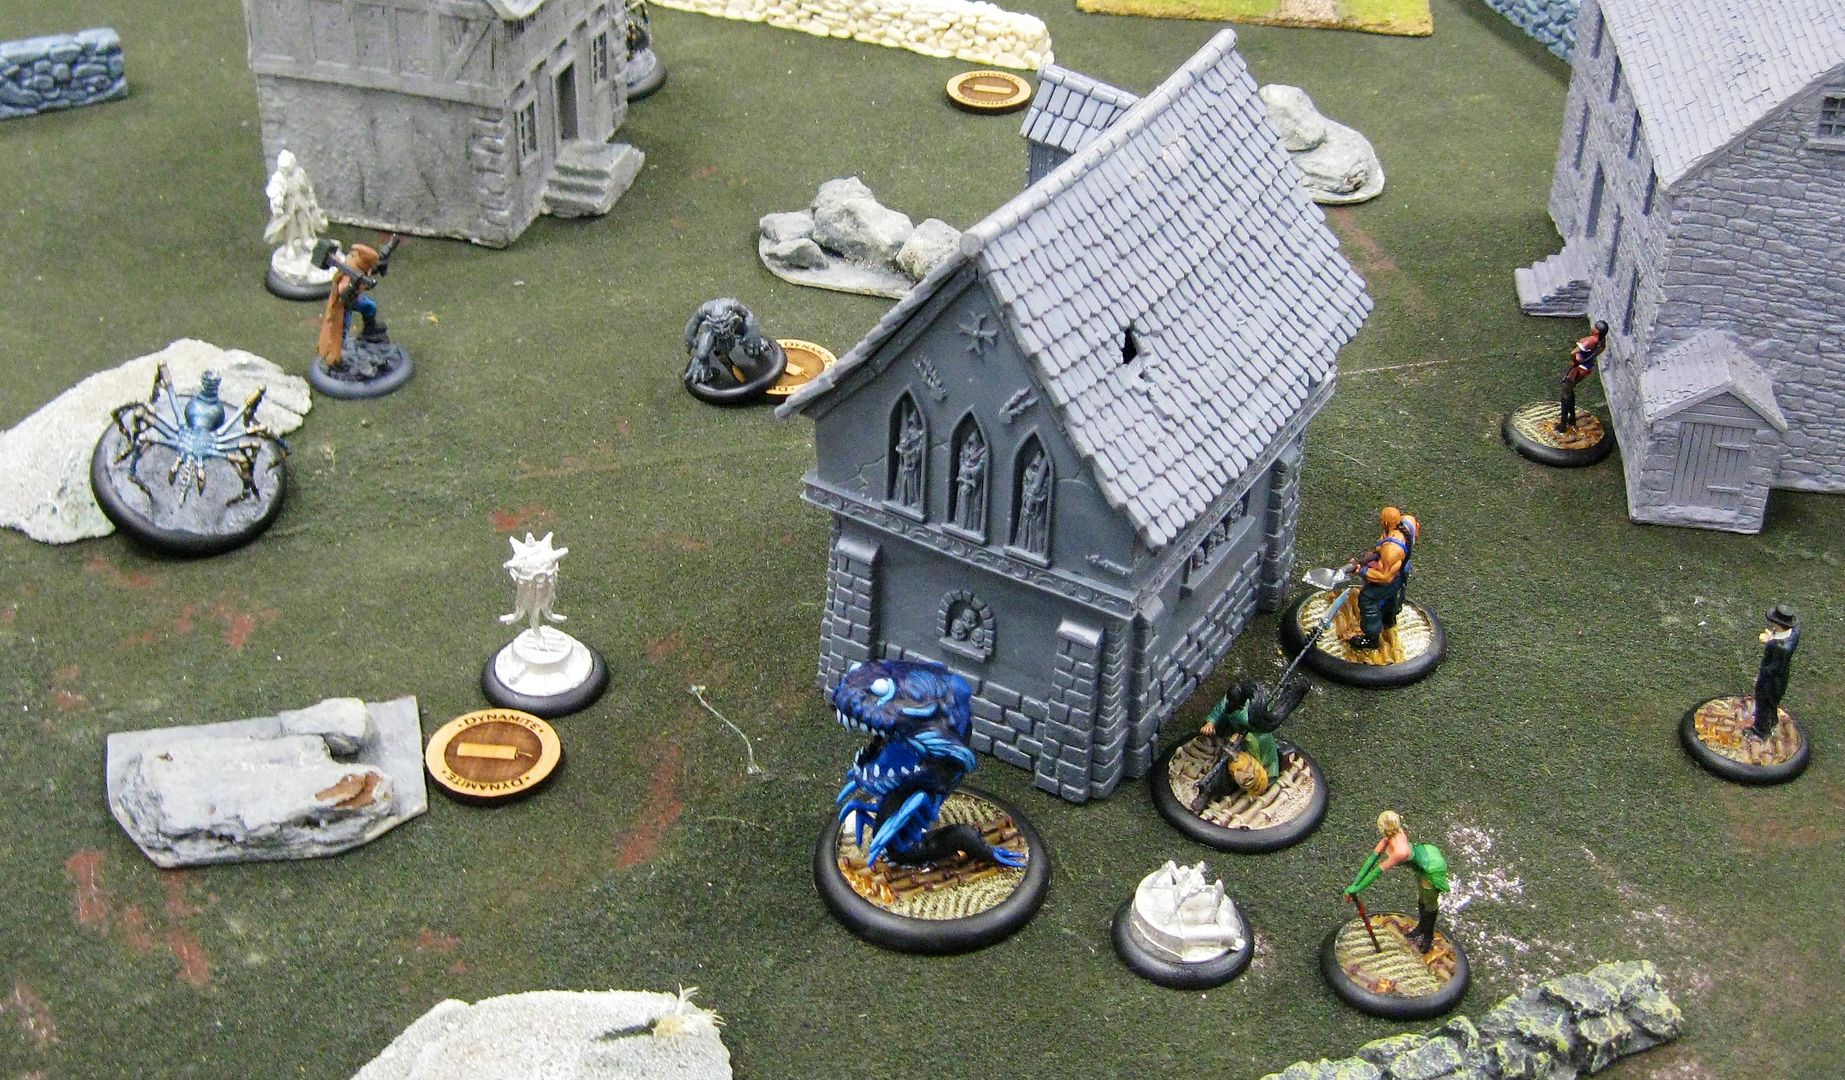
Turn 2
Turn 2 started to pick up the pace of the game overall. Slaz grabbed initiative and the electrical creation moved forward to touch Huggy for a wound, then blew up for another wound on him. Kang walked over to the small spider and bashed it to death with his shovel before walking back to the corner of the house. Slaz charged Huggy with his large spider but missed an attack and was only able to put 2 wounds onto Huggy. I started to set-up the turn at this point, having the Purple Beckoner whisper sweet nothings across the board at the Metal Gamin and Johan, making them both Brilliant. This was followed by the Metal Gamin flipping the dynamite and healing himself back to full health. Tinkerbell (green Beckoner) then walked over to the spider, getting in range to use Seductive Swagger and pushed around the spider and out of range, allowing her to then walk into the center of Johan and the Metal Gamin. The spider on the far side walked and flipped the dynamite, bringing Slaz to two dynamite flipped. Yamaziko charged the Large Spider (heading onto a hill but ending with the spider in her 3 inch reach) and used Spark of Youth to put some more damage on the spider. Johan charged Tinkerbell, breaking through her irresistible but then failing to hit due to bring brilliant. Then it was my turn to let loose. First Jakob used DMH twice on the Large Spider, drawing up some cards. Then Huggy moved to the center of the melee, used Head my Voice to have the Large Spider charge the Metal Gamin and take it down a fair bit, then hit the Metal Gamin with the Enveloped in Darkness trigger, reducing it to one wound remaining. Huggy finished his turn by Consuming Brilliance, hitting Johan and the Beckoner but not killing off the Metal Gamin. Ramos then Manifested using his all action, and at the end of the turn Huggy drained the last wound from the Metal Gamin, killing it.
Turn 3
Turn three kicked in with me grabbing initiative. I opened Huggy and hitting aRamos once, getting Brilliant onto him with Enveloped by darkness, but Ramos resisted the trigger and only took the wounds from the hit. Huggy hit the Large Spider, making it brilliant, then used Heed my Voice to force Johan to charge aRamos, hitting but not doing too much damage. aRamos responded by charging Huggy and bringing him awfully low. Tinkerbell took the hint and used her seductive swagger to get out of combat, then walked over to the nearby house to tag it for the first Plant Evidence. The closer Large spider charged Huggy, hitting and killing the big guy off and ending next to the house (small stack of scrap in the picture below). Jakob walked forward (discarding a card for fast) then used Dead Mans Hand twice on the Large Spider, stripping Slaz's hand and leaving me with a pair of 9's, a pair of 6's, and a fair spread of additional cards including several severes. Slaz had his other large Spider walk to and flip the Dynamite at the far side of the board. My purple Beckoner double walked into the middle of the board, making sure that aRamos and Johan would stay Brilliant. Johan charged the Beckoner but missed again, being brilliant just did not work well for him. The turn came back to me and now that Slaz was out of activations I was ready to kill off aRamos. I had Kang walk around the building and use his Melee Expert to smack down the Large Spider, killing it and letting me toss my pair of 6's to bring Huggy back out. I measured my melee range and realized I was a hair out of range to drop a second hit onto Ramos, so I started to walk away. Huggy then activated and went after aRamos with two attacks, and a Heed my Voice to make Johan join in the fun. I brought aRamos down to 2 wounds remaining and felt pretty good about being able to finish him off. Yamaziko then charged aRamos, using spark of youth but ended up flipping the black joker on damage, leaving aRamos with 1 wound after Huggy put the last wound on him at the end of the turn. That was tough, and it would end up being down to initiative on the next turn. Ouch. 
Turn 4
Slaz ended up grabbing initiative on turn 4, but was not convinced he could kill me off or get aRamos safe with his actions. Instead he used 2 AP to summon up two Large Spiders, placing them on each side of Huggy, with one in range of Jakob. He then used his Melee Expert to try and attack the Beckoner, failing due to being brilliant. Huggy activated with Jakob, Jakob doing the DMH trick to draw up some cards, (0) to push out of combat, then discarded a card to walk over to the pile of rocks for a turn 5 plant evidence. Huggy used Heed my Voice on Johan to have him kill off aRamos, then killed the spider near Yamaziko, following up by making the other spider brilliant. At this point Slaz looked at the board and called the game. He felt it was pretty clear I would continue to clear off Johan and his remaining two spiders and be able to lock up my 8 points handily while easily stopping his Line in the Sand from happening. Considering that both Huggy and Jakob could drain souls, this would make grabbing Eye for an Eye also easy, netting me a full 8 points with the remainder of turn 4, 5, and 6.
At the end of the game it ended up a win to Jakob, 8/0.
Jakob: Plant Evidence - 4, Stake a Claim - 2, Eye for an Eye - 2
aRamos: Line in the Sand - 0, Kill Protege (Kang) - 0, Do Everything Myself - 0
Final Thoughts
Huggy returning to the game when he did was fairly back breaking for Slaz. This is the second game where careful timing of Huggy returning has locked the game for me. While I find it is not always easy to get a pair in hand in time to bring Huggy back out, when it happens it is a real blow to the opponent. I am not convinced this is what won me the game, but it certainly made the game end much quicker than it would have otherwise. It is also tough to tell how much of the game came down to Slaz not being very familiar with my crew and not being prepared for what I could do.One of the big things I was looking at was swapping Graves out with Kang. Being able to also replace the illuminated with the equal priced Yamaziko was an unexpected boon to this game. It worked really really well. Yamaziko is not brilliant but certainly replaces and improves on the Illuminated in the crew. Her healing and damage are both very helpful to the crew as a whole. Kang is an ideal replacement to Graves, bring some incredibly nasty hitting power and also being incredibly resilient with his Hard to Kill and his healing. Against an opponent who is bringing non-living models, he will also greatly help out the crew due to the majority of the crew being alive. As for Jakob as a 10T master, I foresee Graves taking a back seat to Kang in the future.


Good battle report. Haven't gotten a chance to actually play Jakob, but you're beginning to pull my interest towards playing him as Ten Thunders as opposed to Neverborn. Have you played games with him going the other way?
ReplyDeleteAlso, I dig the paint job on the Beckoners. What'd you do for the stockings to get that sheer look?
Thanks Adam!
ReplyDeleteI have not played Jakob as Neverborn since I got the models painted up. My focus after Gencon was to really dive into 10T as a faction, and play the majority of my games as such. I missed a couple oppurtunities, but have not done a bad job overall sticking with 10T.
On the beckoners, I paint the legs the same skin tone as the other skin parts of the model. Following that I put a thin wash of badab black (or whatever the new equivalent is) over the leg for dark stockings, and other suitable washes for the other colors (green on tinkerbell). Once that layer of wash dries I do a second coat if the first did not tint it enough. I use a lighter wash than I normally would, as I want the skin to show through and only to tint the area like stockings would.