
John and I both discuss this and our second game, along with our views on WWX at that point (2 games in) on Gamers Lounge Ep. 81. It can be found over on the Gamers Lounge website.
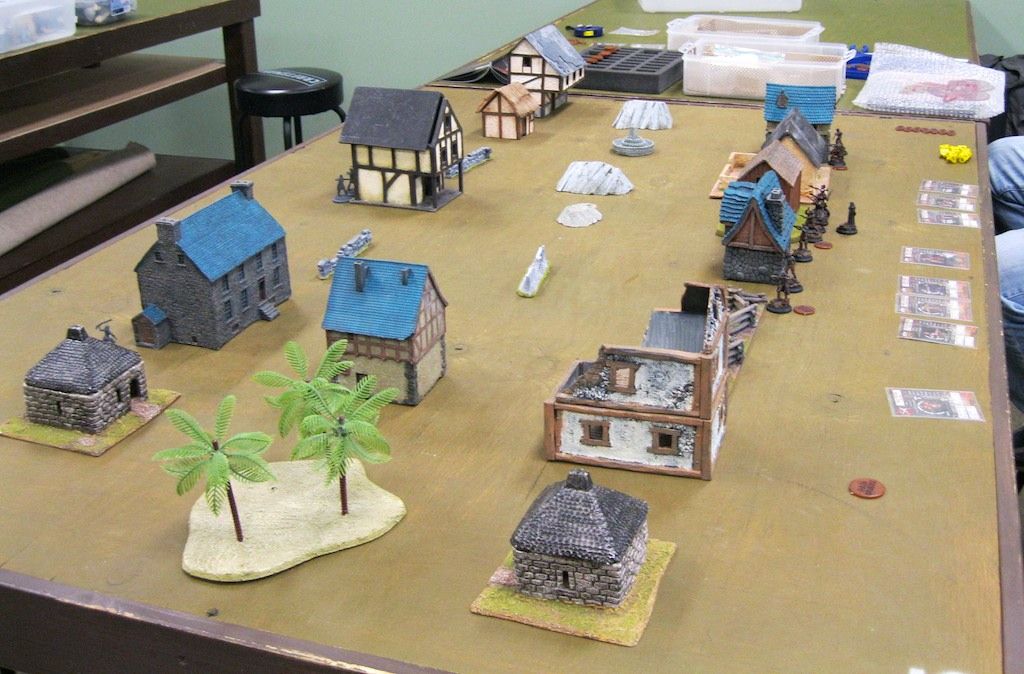
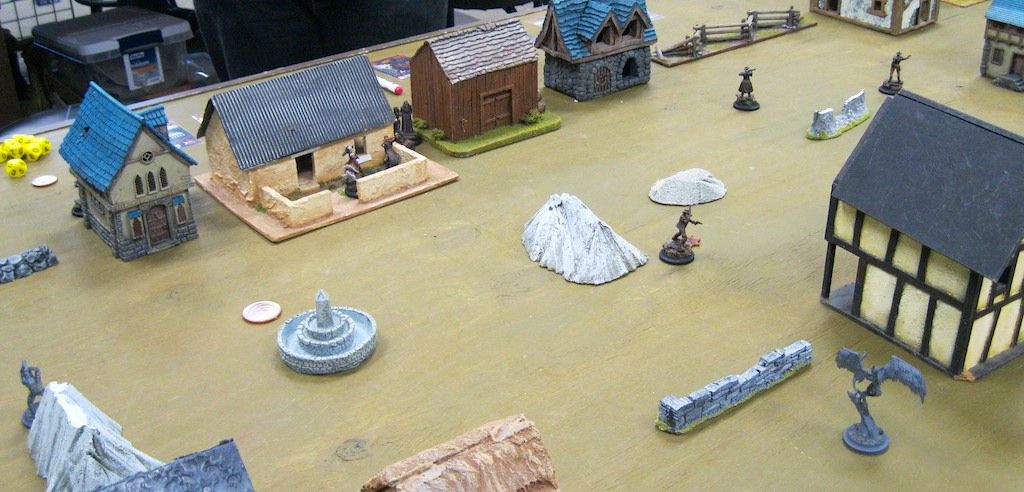
As neither of us had played the game, and only John had actually read the rules, we decided to start with "Competitive Scenario #1 - Shoot Out". John and I had the run of the store so grabbing enough terrain for the 6' x 4' board was no problem. We tried to emulate the scenario diagram as closely as possible. Here is the board we ended up with:
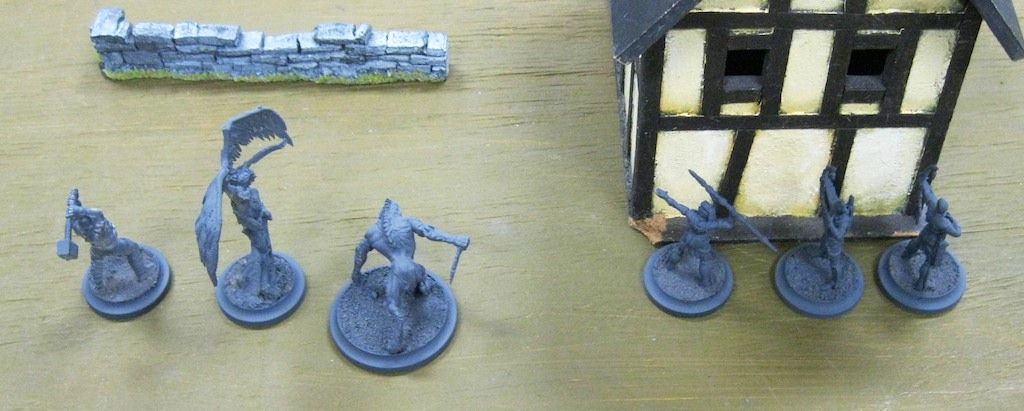
John showed up with his outlaws. He had a good idea what I was bringing, specifically in the case of two melee models who are "invisible" at long range. With this in mind he did a little tailoring of his list to give him an advantage (shotguns). He also wanted to field his Firefly crew models, so he brought along:
- Billy the Kid
- Mal (Mercenary Firefly model)
- Inara (Mercenary Firefly model)
- Zoe (Mercenary Firefly model)
- Shotgun Light Support
- Dark Council Member
- 3 or 4 Hired hands, mixed between long range and close combat
I brought along my Warrior Nation, the list I decided I would start learning with. This is the list I have used for all of my initial games, and is the list I am working on getting painted up first. The idea with this list was to provide a solid and fairly balanced mix of close combat and ranged. Added to that I wanted to add in some of the special rules in the game to get a feel for how they worked out.
The list I brought along was:
- Sitting Bull
- Sky Spirit
- Walks Looking
- Marcus Cunningham (mercenary)
- River (Mercenary Firefly model)
- 3x Long Ranged Braves (Hired hands)
This put John with more models to field, but only 7 influence overall plus the floating influence that the Dark Council model can hand out. I, on the other hand, should have had 11 influence but ended up only grabbing 8 due to a miscount on some of the early calculation I had done.
Deployment
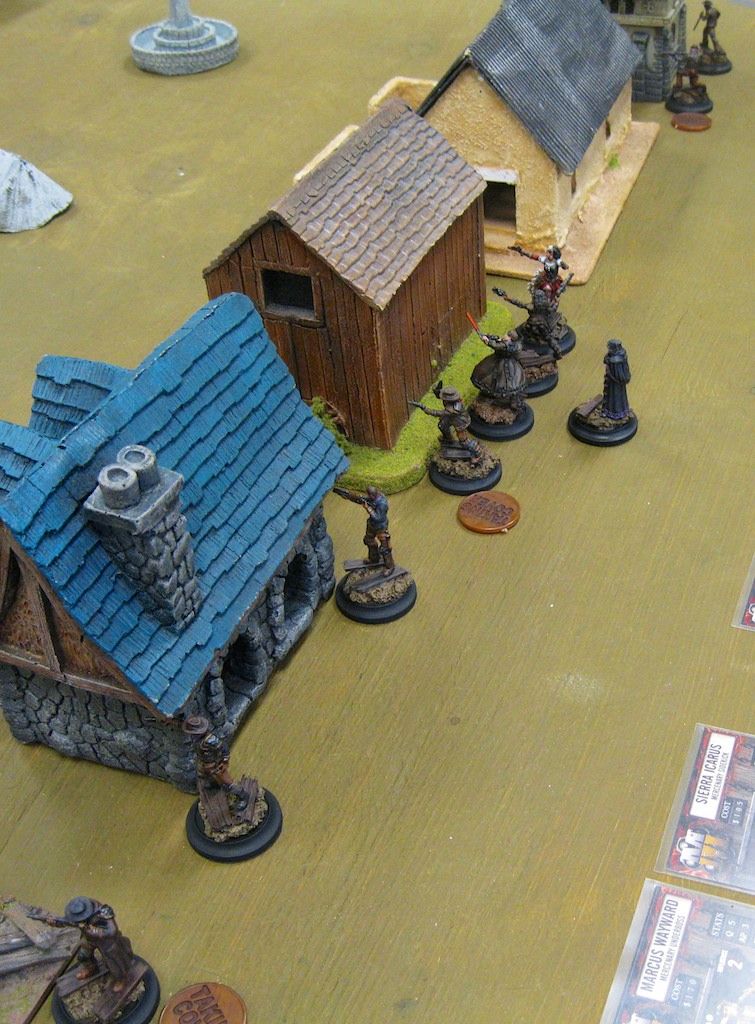
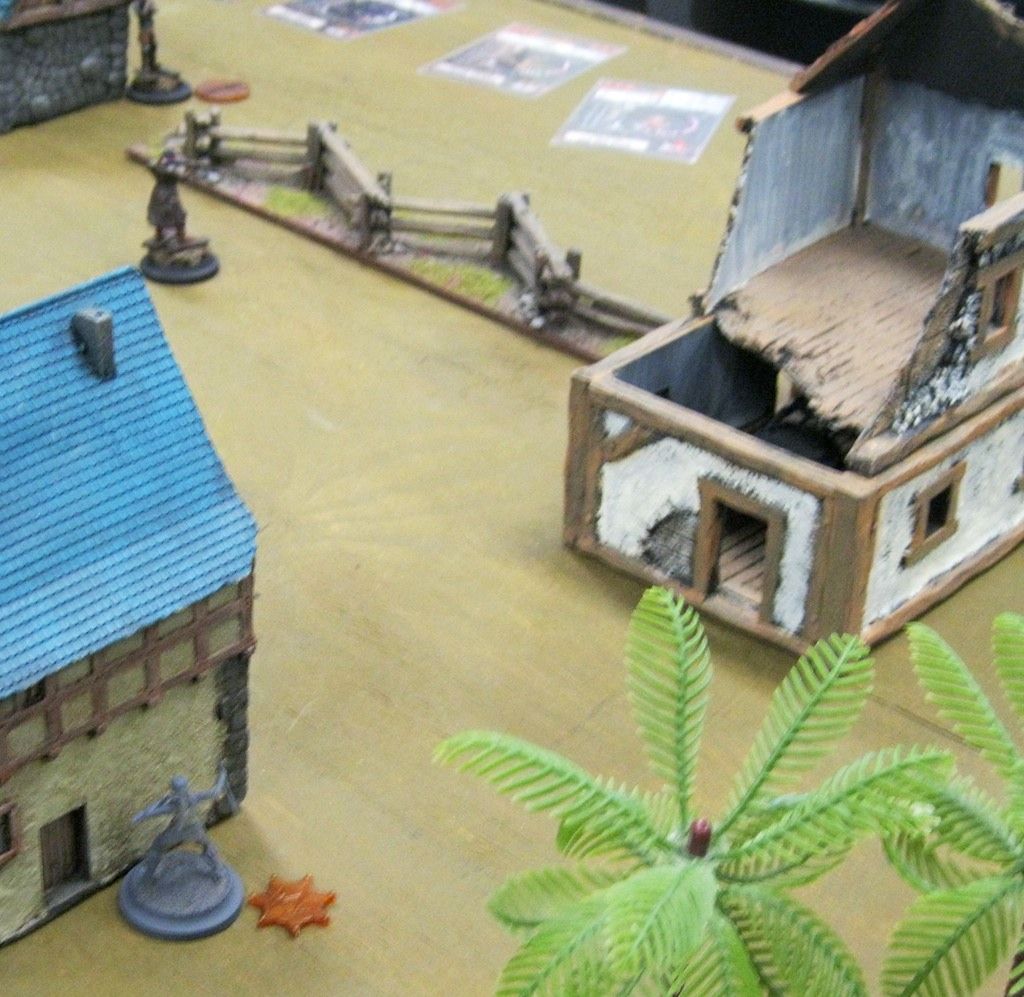
The game was setup with two rows of building lining what would effectively be a street in an old west town. There were a variety of obstacles and other minimal cover down the middle of the "street" but overall it was pretty open. You can see from the pictures above how we deployed, with John setting up a bit of a firing line and me setting up to run into said firing line. It was exactly like that, as a couple rules in WWX influenced my plan. (I swear I had a plan).WWX Rule Note / Commentary: First, when deploying in WWX you can choose to deploy your models as if they had taken the "Taking Cover" action (where applicable) prior to the start of the game. Additionally, in this scenario the player who sets up second ends up going first. This meant that with the small number of models I not only had the advantage of seeing where John deployed his models, but also had initiative on the turn.
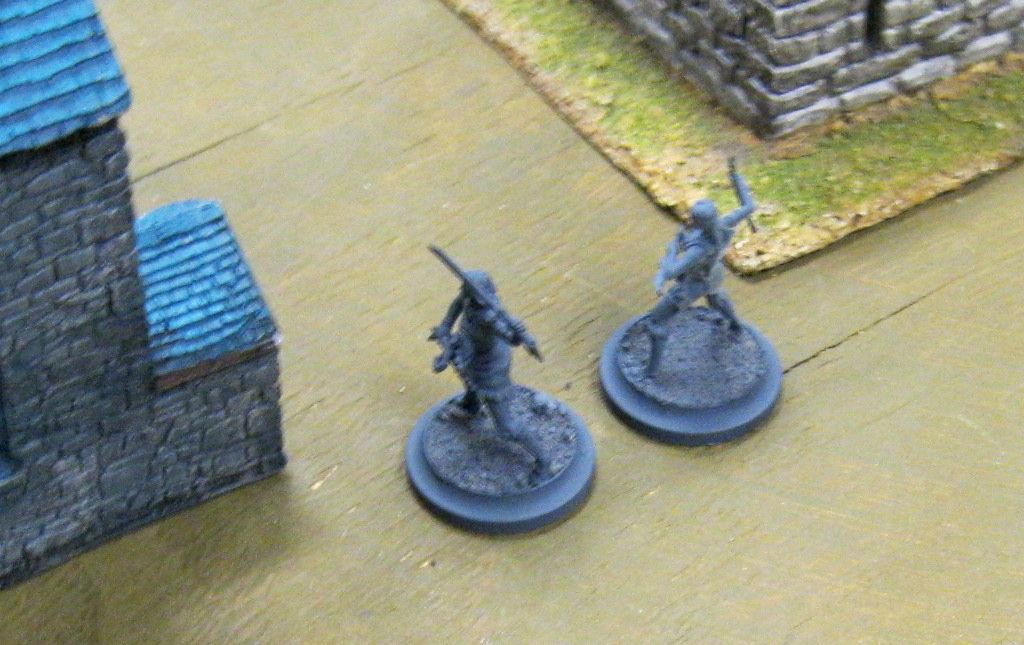
My plan was to move my ranged braves up to the nearby fence and get them in position to cover the street. Following that I would move Sitting Bull and Cunninham into the street, trying to cross into engagement with John's models as quickly as possible. I wanted Sky Spirit to back up my shooting braves and have the Mean Girl Duo (River and Walks Looking) head across the board on the far right flank, then sweep into John's crew from that flank. See, it was a brilliant strategy!!!
You should be able to pick out how tough it is to break deployment habits from other games simply by looking at how I ended up deploying my models. Fail.....
Turn 1
It's been a week or so since I played this game, so much of the turn by turn sequences in the game will be more highlights than not. John and I both moved forward and took positions in cover closer to the street. We traded some shots here and there, but nothing substantial. John did drop an irradiating shot on one of my braves, then proceeded to shoot the same brave again and set him on fire. I was expecting a devestating round of death and it ended up not as bad as I expected. Through the turn John burned a fair bit of his influence to protect against shots from Sky Spirit while I spent none of mine. Sitting Bull and Cunningham moved forward to take some positions in cover and prepare for round 2.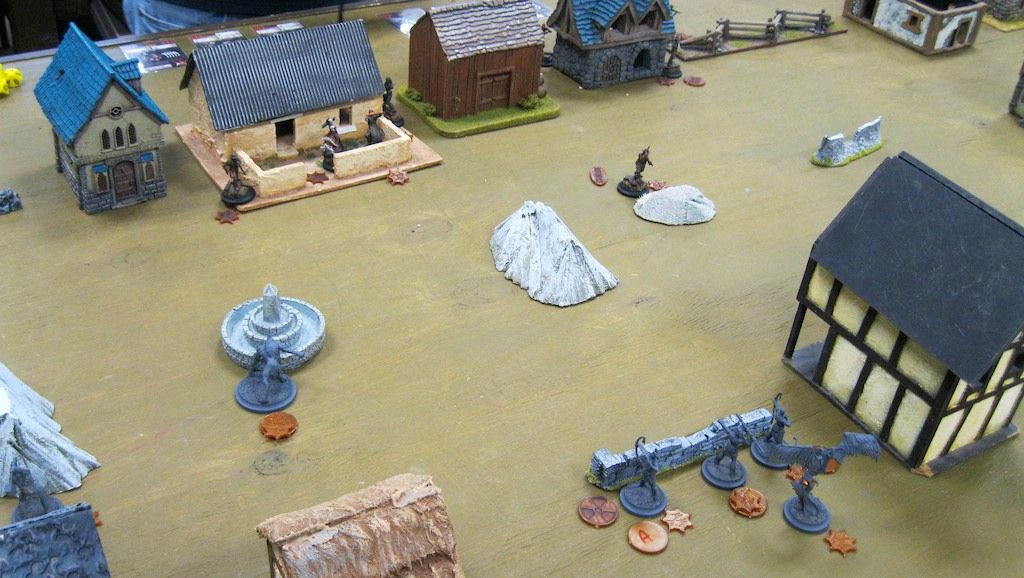
WWX Rule Note / Commentary: I would come to learn about the value of smoke bombs in future games. Cunningham has smoke bombs and these are critical to allowing the Warrior Nation close combat monsters to move up the table and be effective. When you combine this with Sky Spirit's Spirit Aim ability it becomes huge.
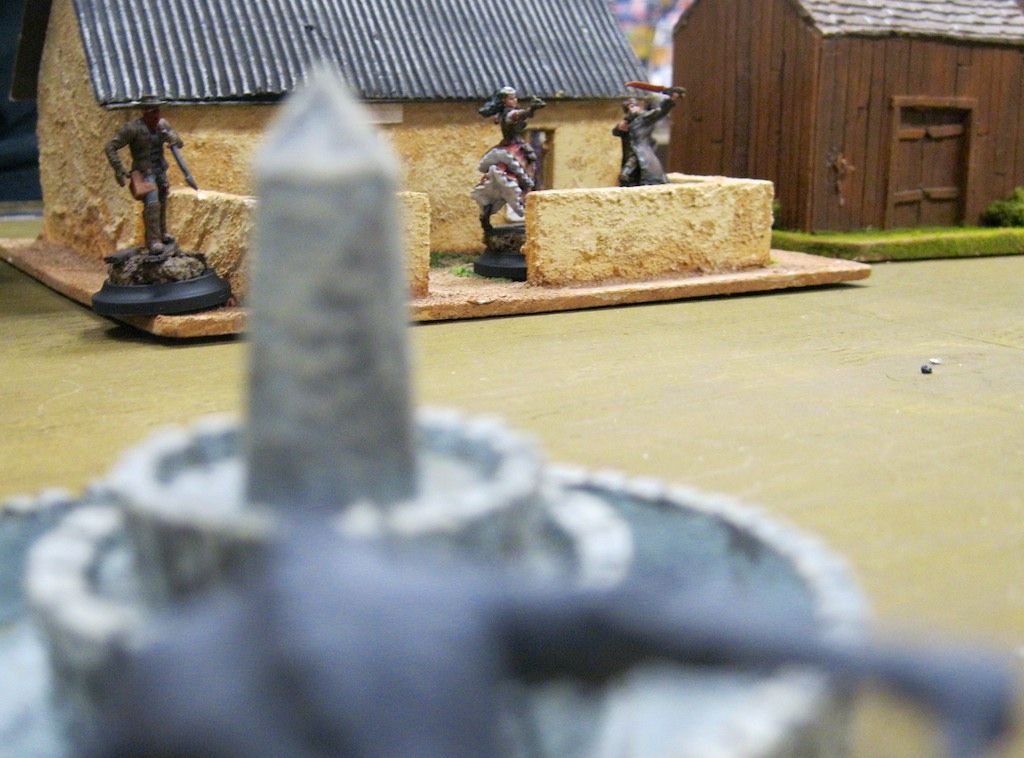
WWX Rule Note / Commentary: Speaking of Sky Spirit, you'll notice his positioning in the picture above.... namely right out in the open. Sky Spirit has an ability called Spirit Aim, which effectively means the positioning above is completely useless and a bad tactical choice. Spirit Aim allows Sky Spirit to target without having LOS and with no negative modifiers to his shot. It took me 3 turns to realize how to use him right. There are some key elements of WWX that work different from other games and can be misleading when your playing it.
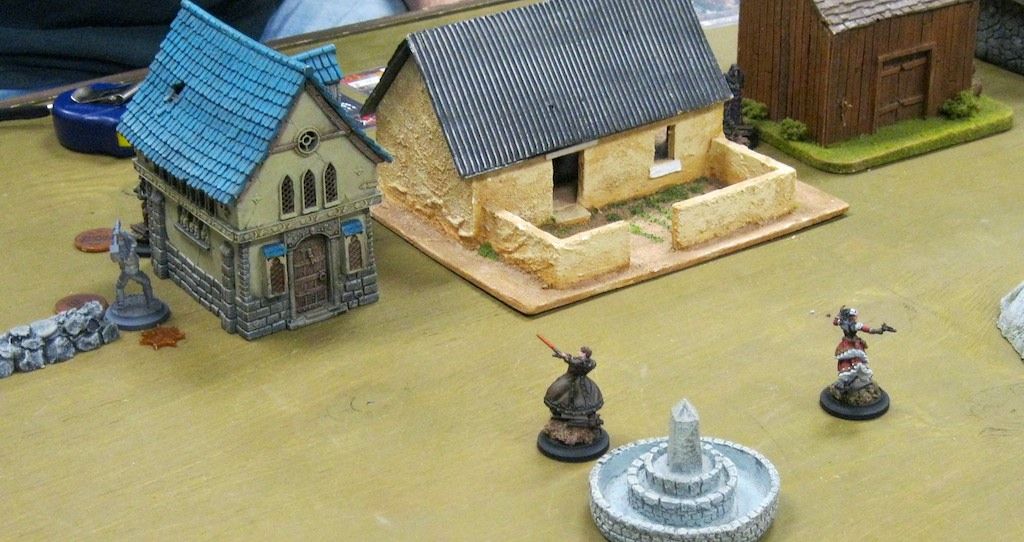
I grabbed a quick picture from Sitting Bull's POV at the end of the turn:
Turn 2 & 3
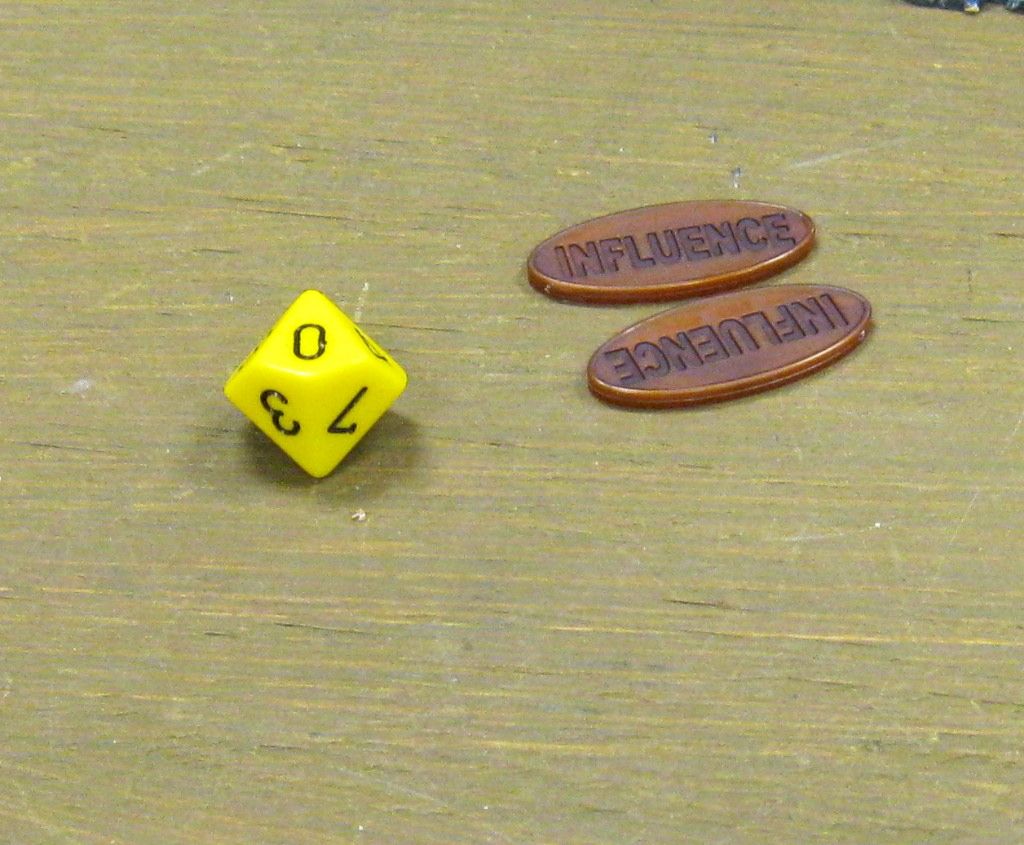 Each turn after the first starts with the initiative roll. Each player rolls a single dice for initiative and is able to use any remaining influence from the previous turn on that roll. Influence does not refresh until after the initiative stage.
 John and I went into our first initiative roll with no idea how to use influence and ended up using it wrong. Basically I had not used any influence on turn 1 so had 8 influence to add to the roll while John came to the roll with only 2. John started with a 10 while I started with a 2. We then proceeded to trade influenced rerolls back and forth until John was out and I eventually won the initiative roll.
WWX Rule Note / Commentary: The way that John and I used influence on the initiative roll is completely the wrong way to do it in the game. After the game we asked the question on the WWX forums and had the developer help us learn how to do it correctly. Basically, each player can add their remaining influence to the initiative roll. After deciding how much influence to add, both players roll initiative. The player losing initiative can then reroll their dice as many times as they have influence, until they decide to stay on a roll. Once they choose a roll to stick with any remaining influence is lost. At that point the other player can re-roll up to the total influence they added to the roll. Once they choose to stay with a roll they also forfeit any remaining influence. If the initiative rolls are tied at that point then both players re-roll until the tie is broken, with that roll being the final result.
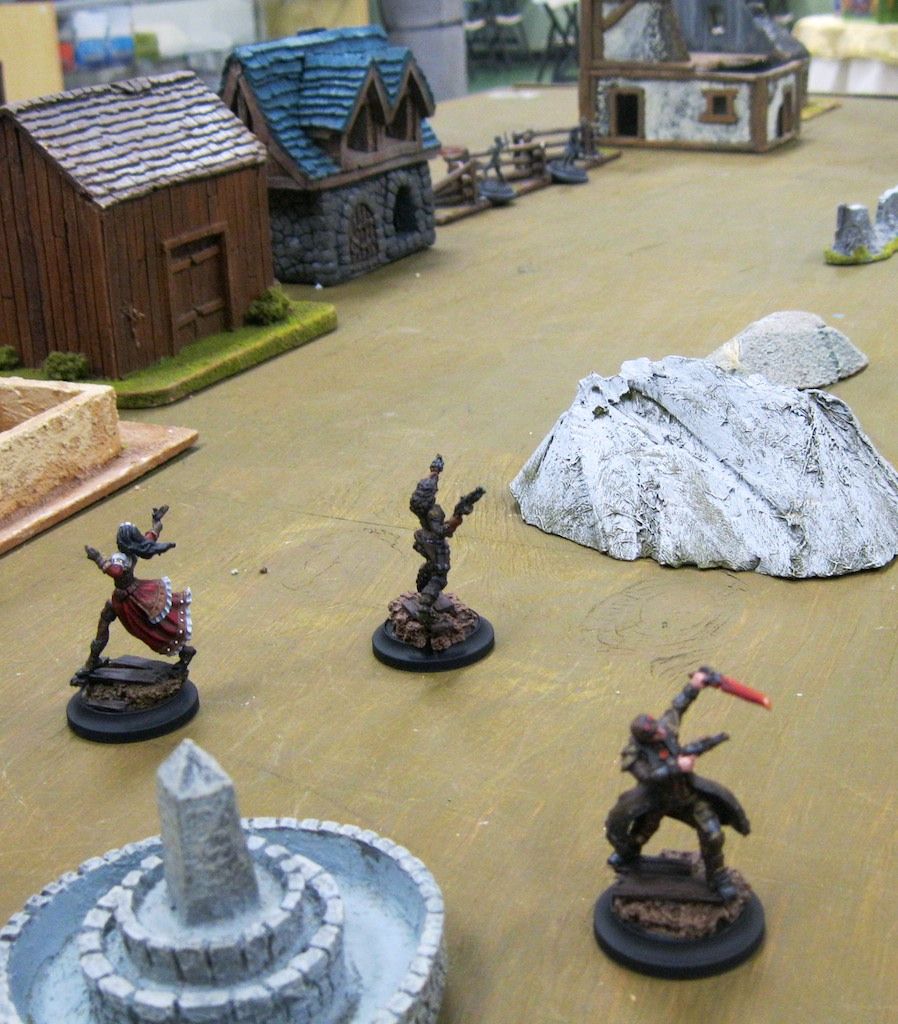
Moving into turn 2 and through turn 3 we were both a bit surprised at how quickly the encounter and action escalated. Sitting Bull charged forward and engaged Mal, Inara, and the hired hand. I had no grasp whatsoever on how the attacks actually worked with Sitting Bull and ended up rolling only 1/3 of his attacks overall. Despite this, I still hurt Mal and killed off the hired hand. Cunningham moved around the big rock on the left and tried to position for some turn 3 engagement, considering his slow speed. He did start to use Smoke during turn 3 to try and stay alive. Walks Looking ran into the street on the far right flank and tried to stab a hired hand, but missed and ran away to hide. John was far more successful on his turn, utilizing Zoe's ability to power up Mal and Mal's melee ability to kill off Sitting Bull. Billy ran out into the middle of the street and unloaded his shotgun into my hired hands, which combined with the variety of other shots to wipe them off the board.
Turn 4

John used a very cool synergy with his models, activating Zoe and Mal at the same time and using Zoe's ability to give Mal an "immediate activation" which he used (with only 2 AP) to move out into the street and get LOS on Cunningham. Because the "immediate activation" did not count as his activation, he was then able to continue with his own activation, using 3 AP to shoot at Cunningham and knock him down to 3 life remaining and setting him on fire. This ended up being very effective.
Turn 5 & 6
Final Thoughts
I really enjoyed my first game of WWX. I found the rules to be fairly simple overall and very straight forward. Even in the situations where John and I ran into confusion it was pretty simple to make a guess and come up with a quick method that worked (and seemed to be a possible interpretation of the rules). I do not find WWX to be as complex as Malifaux Classic, although I find it to be more complex than 40K and WHFB. I enjoy complex games where the models can impact the game in dynamic ways, along with games that encourage combination of model abilities for increased synergy. I would say that WWX is very similar in complexity to the PP games (War Machine and Hordes), although I am unsure where I place it in relation to those games (slightly more or slightly less complex).I can certainly see this as an enjoyable game, which is good since it's my primary mini game for the time being. As it's the new shiny I can see playing this more than WM/H currently. That may shift over time but for right now I am excited to see where things go.
I plan to post a briefer synopsis of my game 2 on Dakka Dakka, then post a similar to this post on game 3 later next week. Comments and Questions are always welcome!


