
 Tuesday nights have been my normal gaming night for years. Tuesdays shifted away from mini games for a while and have been Netrunner night, but have still filled my night out for gaming slot during the week. After months of a combination of board games, card games, and just not making it out (due to life and work) it was refreshing to return to a couple mini-games on the table on Tuesdays. John and I got to the store early and lined up to play games 5 and 6 Tuesday of this week.
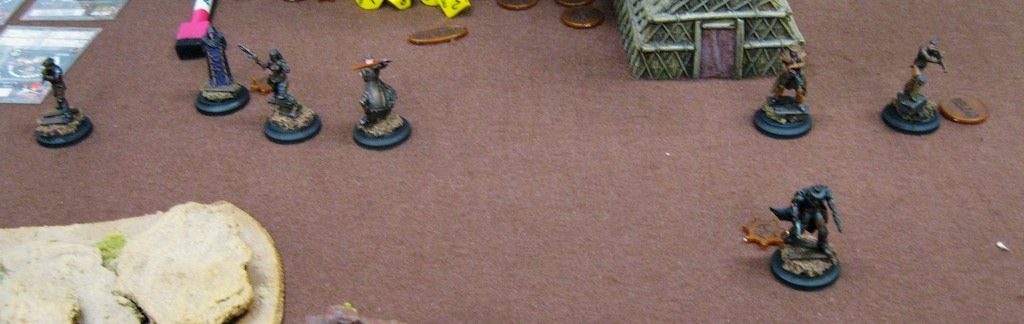
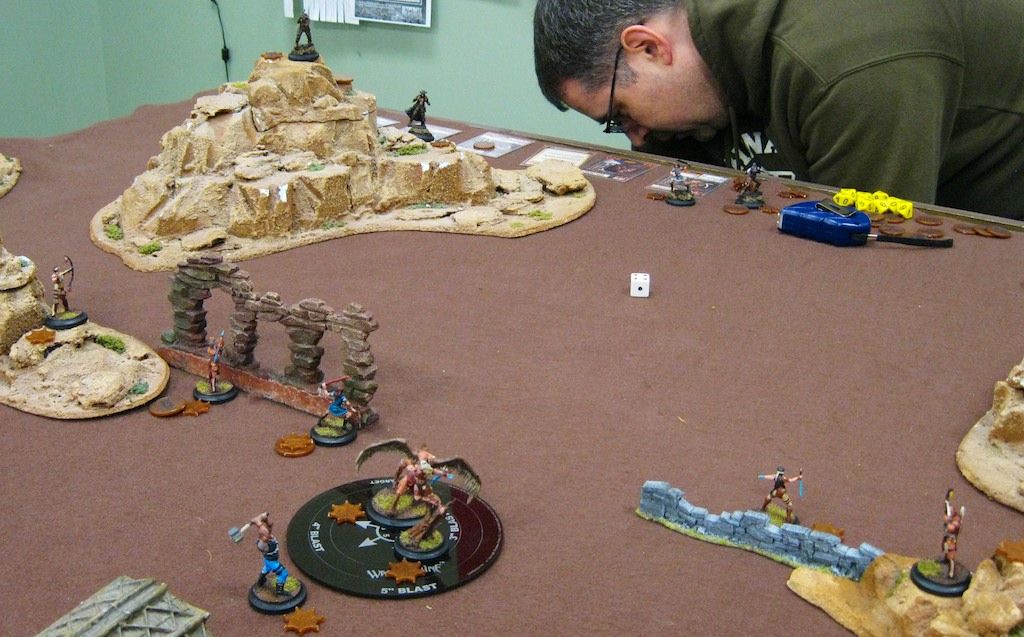
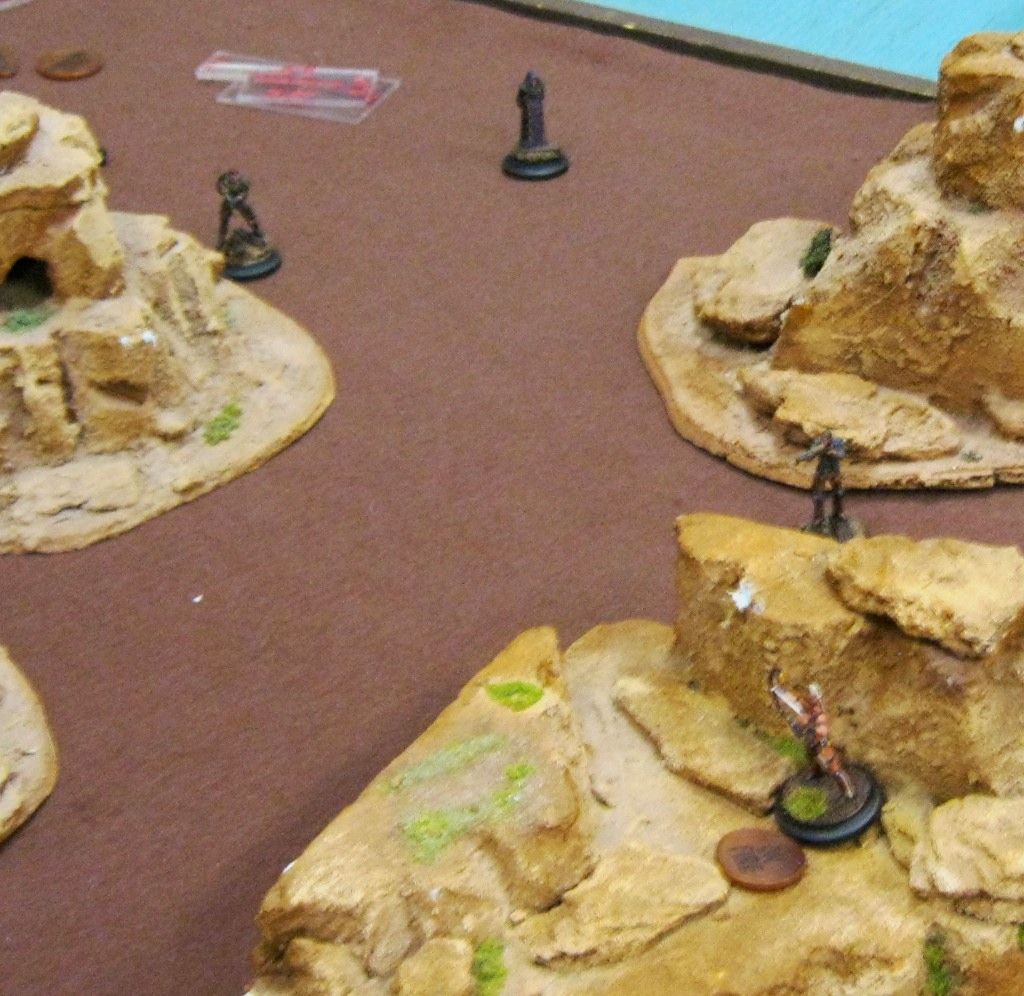
I find it amusing that I have commented several times that it takes me about 6 games to really understand how a new model or new crew works. I'm not sure the reason why, but it's around game 6 that my brain fully clicks and how I play changes overall when I look at games before and after that point. This happened during game 6 and as such I ended up not taking more than 1 picture during the game. Thing's clicked into place across the board for me and the game swept past without me noticing the turn sequence and grabbing my camera. Here is the one picture I took, a nice shot of John's crew with Jesse James:
I did grab pictures of game 5, although not as completely as I would have liked. I thought it would be good to write about that game instead of game 6, partly due to the pictures and partly due to the scenario.
Game 5
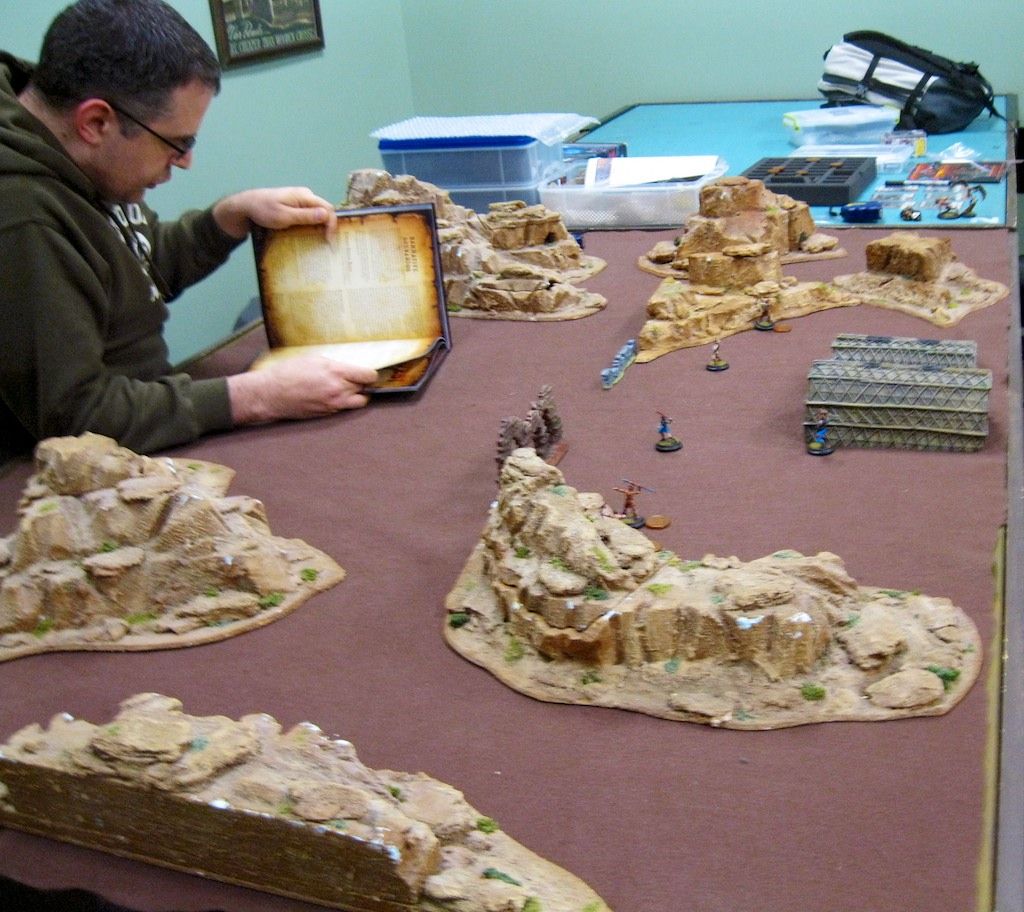
This was an interesting scenario as it uses a couple rules that John and I were not familiar with. One of those was the Sentries rule which has the defender deploying specific models on the table with limited actions they can take. Another was reinforcements, allowing (or forcing in this case) certain models to not come onto the board until later in the game. We set-up the table with an approximation of a base for the Warrior Nation and the Outlaw's as the attackers. I was able to deploy any hired hands or sidekicks as Sentries at the begining of the game, needing to keep my Bosses and Underbosses in reserve. This was not so bad for me as I could deploy everything except Sitting Bull and Sky Spirit.
- Sitting Bull
- Sky Spirit
- Walks Looking
- River
- Marcus Cunningham
- 3x Long Range Braves
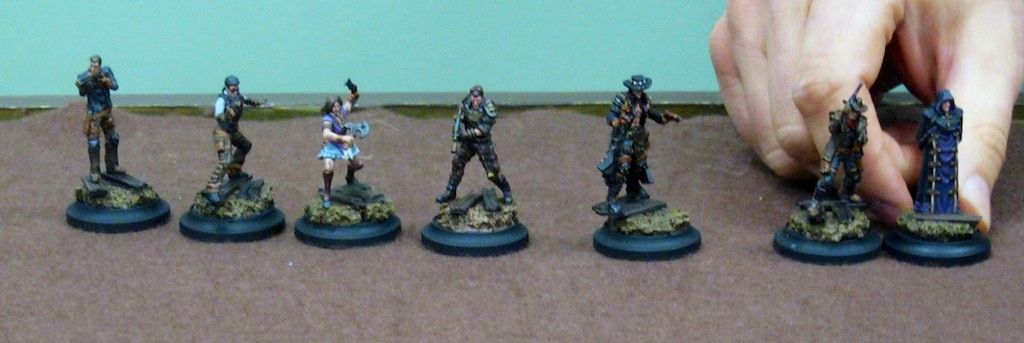
- Billy the Kid
- Johny Ringo
- Jane (Firely crew)
- Simon (Firefly crew)
- River (Firefly crew)
- Dark Council Member
- Shotgun Bandit
WWX Rule Note / Commentary: The scenarios in the rulebook all indicate an intention for a 6
Turn 1 & 2
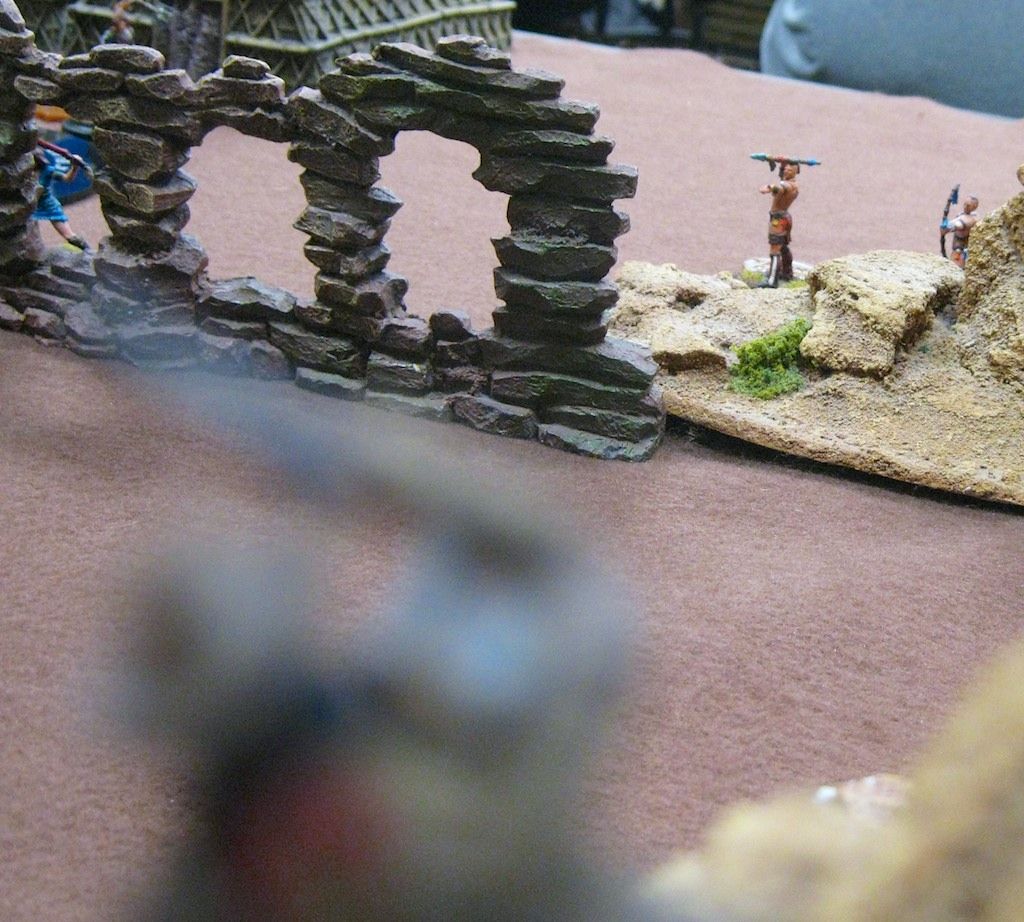
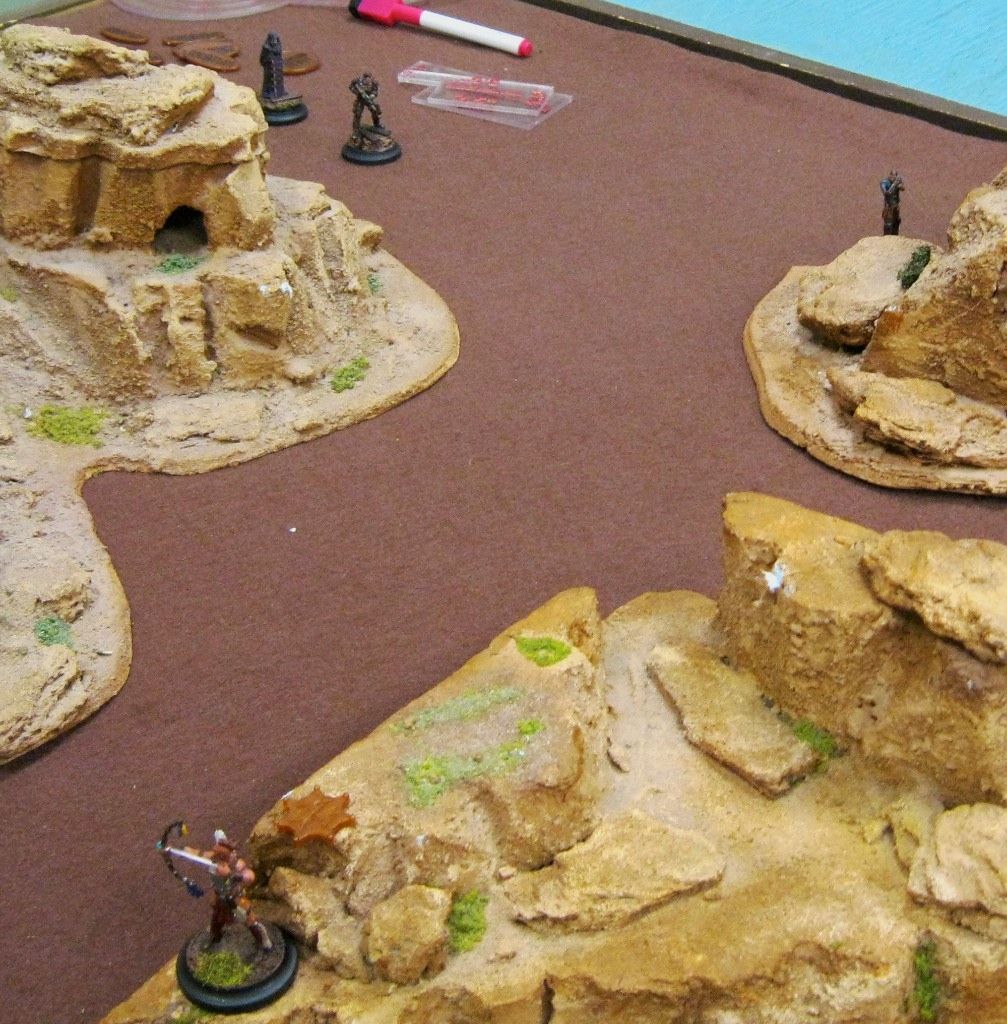
Throughout turn 1 and 2 John moved his models forward trying to get close while staying out of sight. I spent the turns moving my models forward into position and then going on the lookout and hoping to spot him. during turn 2 John finally moved Billy to the top of a hill and I was able to spot him and raise the alarm. Although this was early in the turn for John, it still ended turn 2 and immediately jumped to Turn 3 with my automatically having initiative.Turn 3
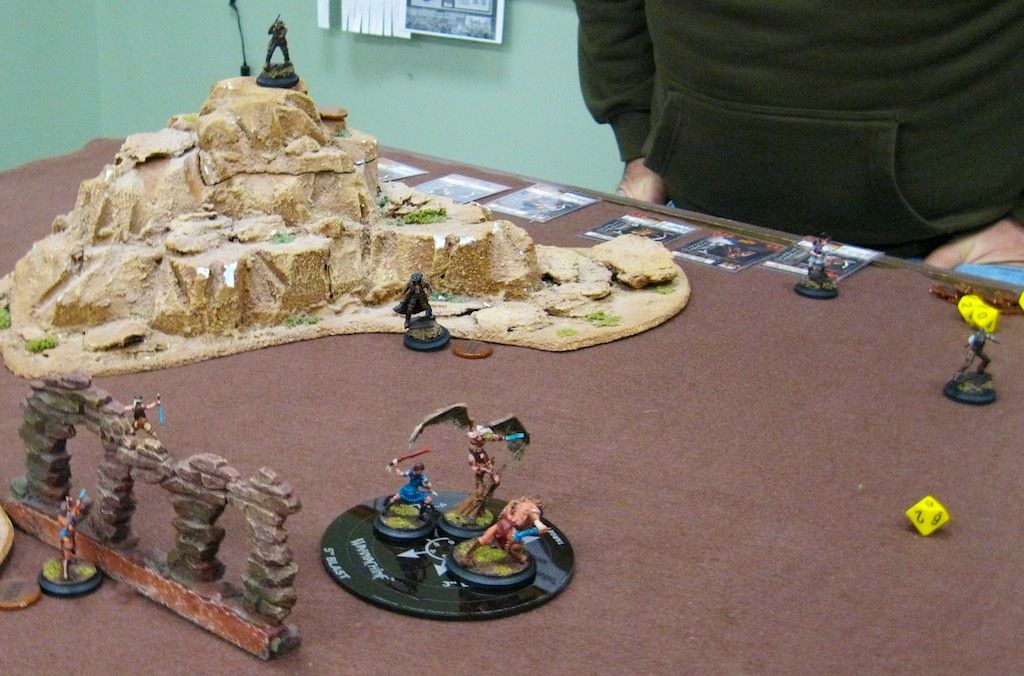
On the right side of the board Jane and the Shotgun Bandit moved forward with the Dark Council guy. Neither got into a good position to shoot at my brave on that side of the board, so positioned for next turn. My brave took some ineffective shots and the turn completed. I was concerned about the right side of the board as the shotgun would be a pretty rough weapon to hit my flank, and I have not really dealt with Jane in the past. I was happy to see the Dark Council on that side of the board as it really limited where the extra influence could be handed out.
Turn 4
WWX Rule Note / Commentary:We would have done better realizing Ringo's rule earlier in the turn as it would have changed some of how things played. As it was, we both did not realize it until the end of the turn so we just adjust Ringo to where he should have been and moved on.John spent the turn taking shots at Cunningham trying to take him down. Billy, Ringo, Simon, and Jane all snapped off shots and burned through a fair amount of my influence before John's attacks were exhausted. On the bright side for me, I was able to make enough armor rolls to successfully keep Cunningham alive.
WWX Rule Note / Commentary: Feedback from the battle reports and the podcast indicated that John and I were playing a much deadlier game than we should have been. I discussed in the previous battle report our misunderstanding on Lethal Hits. This was the first game where we played it correctly and it made a big difference to how the game felt. The results came out the same but the hit's felt much "softer" than in previous games, making the overall game feel less deadly.
 On the right side of the board I tried to reposition my brave to bring some threat to John's models over there. To be fair, one brave was not a huge threat and even Walk's hiding around the corner did not appear to be a deterrent to the shotgun moving up the board. Jane took some shots at the brave, dumping some damage on his but not killing him.
John did point out that this was the first game we had played to date where nothing had died by the time we reached the end of Turn 4. We both attribute this to our new (and correct) understanding of the Lethal Hit rule and how it plays.
Turn 5

Turn 6 opened with my having initiative again and finishing off Billy with the initial decapitating attack from Walk's. With that wipeout, I grabbed a win.
Final Thoughts
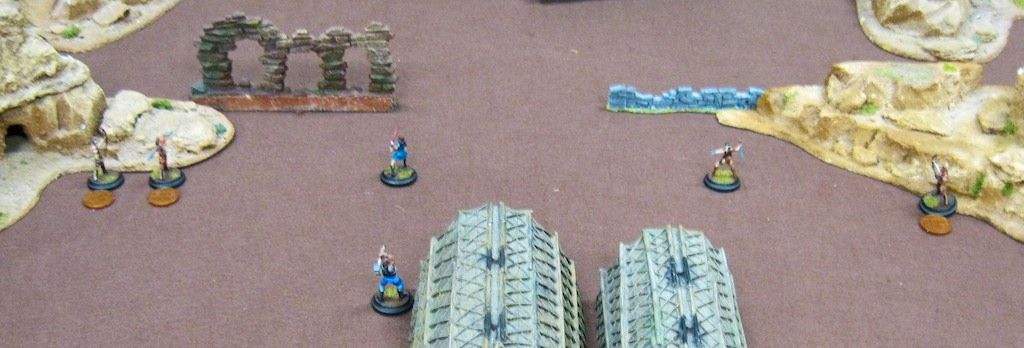
This was an interesting scenario and I can see it being a lot of fun. I think the board would have worked better (and more to John's advantage) if we had used smaller pieces of scatter terrain in place of the larger canyon terrain we used. To be fair, that's what is recommended in the diagram and would have provided more positions for John's models to move forward under cover. I am not convinced the end of the game would have been different, but the early turns would have run a bit smoother allowing John to get a bit closer.Playing with the Lethal Hit rule as intended extended the game out, making it less deadly overall. This is not a bad thing, although neither John nor I felt the game was "Too Deadly" previously. It allows some of the attacks to be resisted more, but the results of the attacks ended up to be the same. I find it most interesting that the game felt "more swingy" or "more erratic" than previously. The previous Lethal Hit rule we used meant that a single swing roll (rolling a lethal hit or a life saving dodge) was the biggest swing on the dice. Now the difference between rolling an armor save of a 2 vs a 7 makes a big difference on every armor roll. This makes more rolls in the game feel the swing of the wide number range on a D10.
I plan to talk a little about models and tactics moving forward on the blog. John and I talked a little bit about Sitting Bull and our experience compared to some internet comments about Geronimo and the comparison of the two. We both feel that Sitting Bull is a simply nasty boss, with truly nasty attacks and his Wolf Blood ability pushing him over the top. I need to get some experience playing Geronimo, but I am not sure I will find him to be as competitive as Sitting Bull. I have not yet had a reason to use Sitting Bulls Frenzy ability, allowing for additional attacks. His bite seems to be enough to kill many underbosses, sidekicks, and hired hands and then grant me a full activation of those models to deal damage to the opponents crew.
Lastly, we are still playing on a 4'x6' board but I see that moving down soon. Many of the scenarios need the full board to work but there are a handful which do not. I believe most (possibly all) of the competitive scenarios can be easily moved down to a 4'x4' board without impacting the balance.


